Clay soil is a normal part of gardening in many backyards. It shows up across many regions, not just one climate. Many gardeners assume this soil type limits what they can grow.
That assumption doesn’t hold up once you take the right steps. Learning how to amend clay soil for gardening gives you a clear plan.
A few simple changes can loosen tight soil and improve drainage. Plants get more space to grow strong, healthy roots underground.
Better soil comes from steady effort, not expensive tools. Small steps, done regularly, build soil that supports real growth.
Clay soil can become ground you actually enjoy gardening in.
What Makes Clay Soil Difficult to Garden In?
Clay soil has a way of taking the blame that gardening skills don’t deserve.
Roots hit a wall long before a single seed gets planted, trapped in ground that holds water instead of draining it. No amount of care can coax healthy growth from soil this compacted and heavy.
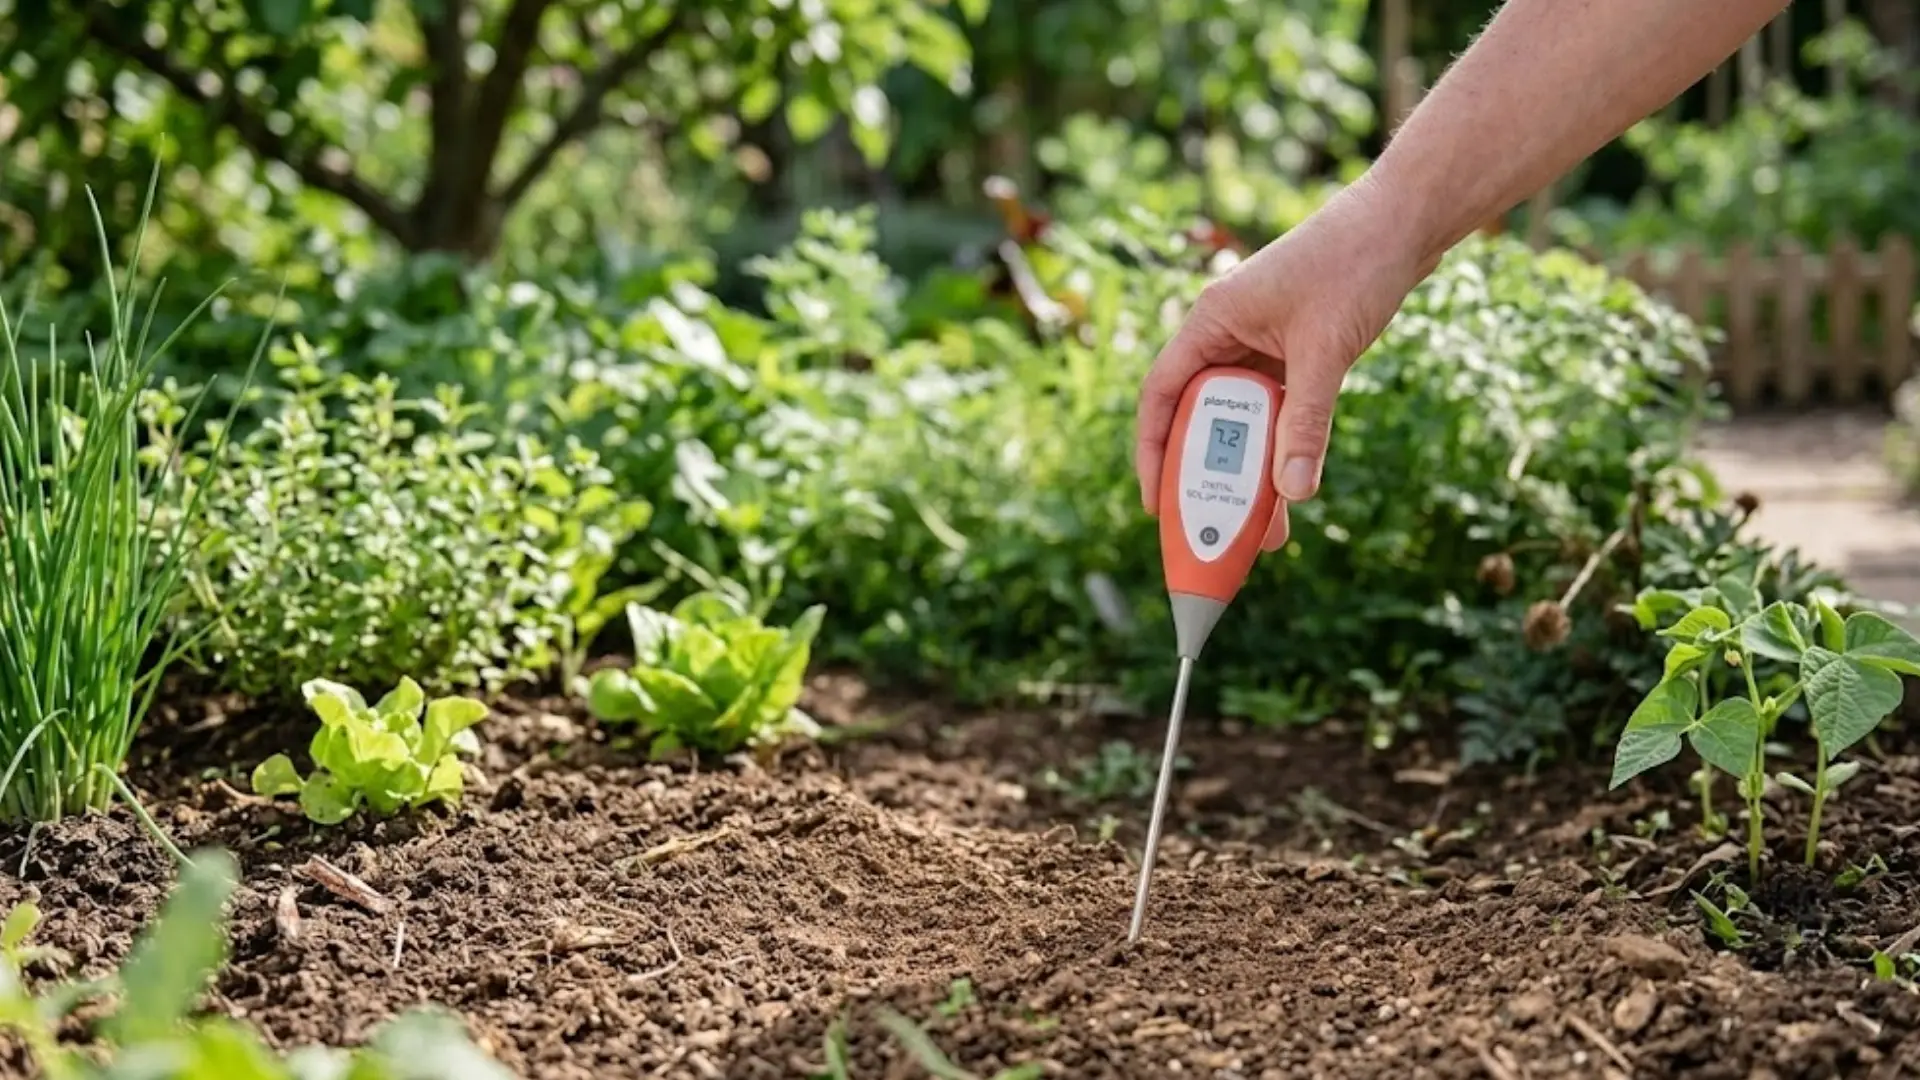
Before reaching for a fix, it helps to check soil pH, since clay often throws off the balance roots need to thrive.
Understanding what makes clay soil behave this way is the first step toward fixing it, and the right mix of organic matter, timing, and technique can turn stubborn ground into soil that supports strong root growth.
Testing Your Soil Before You Amend
Before adding anything to your clay soil, it helps to confirm what you’re actually working with. A simple jar test and pH testing do this well:
- Fill a clear jar one-third with soil, add water, and shake it thoroughly.
- Let the jar settle overnight without disturbing it.
- Check the bottom layer: clay particles form a dense, compact layer distinct from sand or silt.
- Once confirmed as clay, test its pH using a basic home soil test kit.
- Send a sample to your local extension office for a detailed nutrient and organic matter analysis.
- Use these results to identify specific gaps, such as low nitrogen or high acidity.
Knowing your soil’s exact pH and nutrient gaps helps you choose the right amendments instead of guessing. Clay behaves differently from bagged garden soil, so testing first saves wasted effort.
Best Ways to Amend Clay Soil
Clay soil responds well to a mix of organic matter, natural minerals, and smart timing, not any single fix. Combining a few of these methods consistently produces the best long-term results:
1. Compost
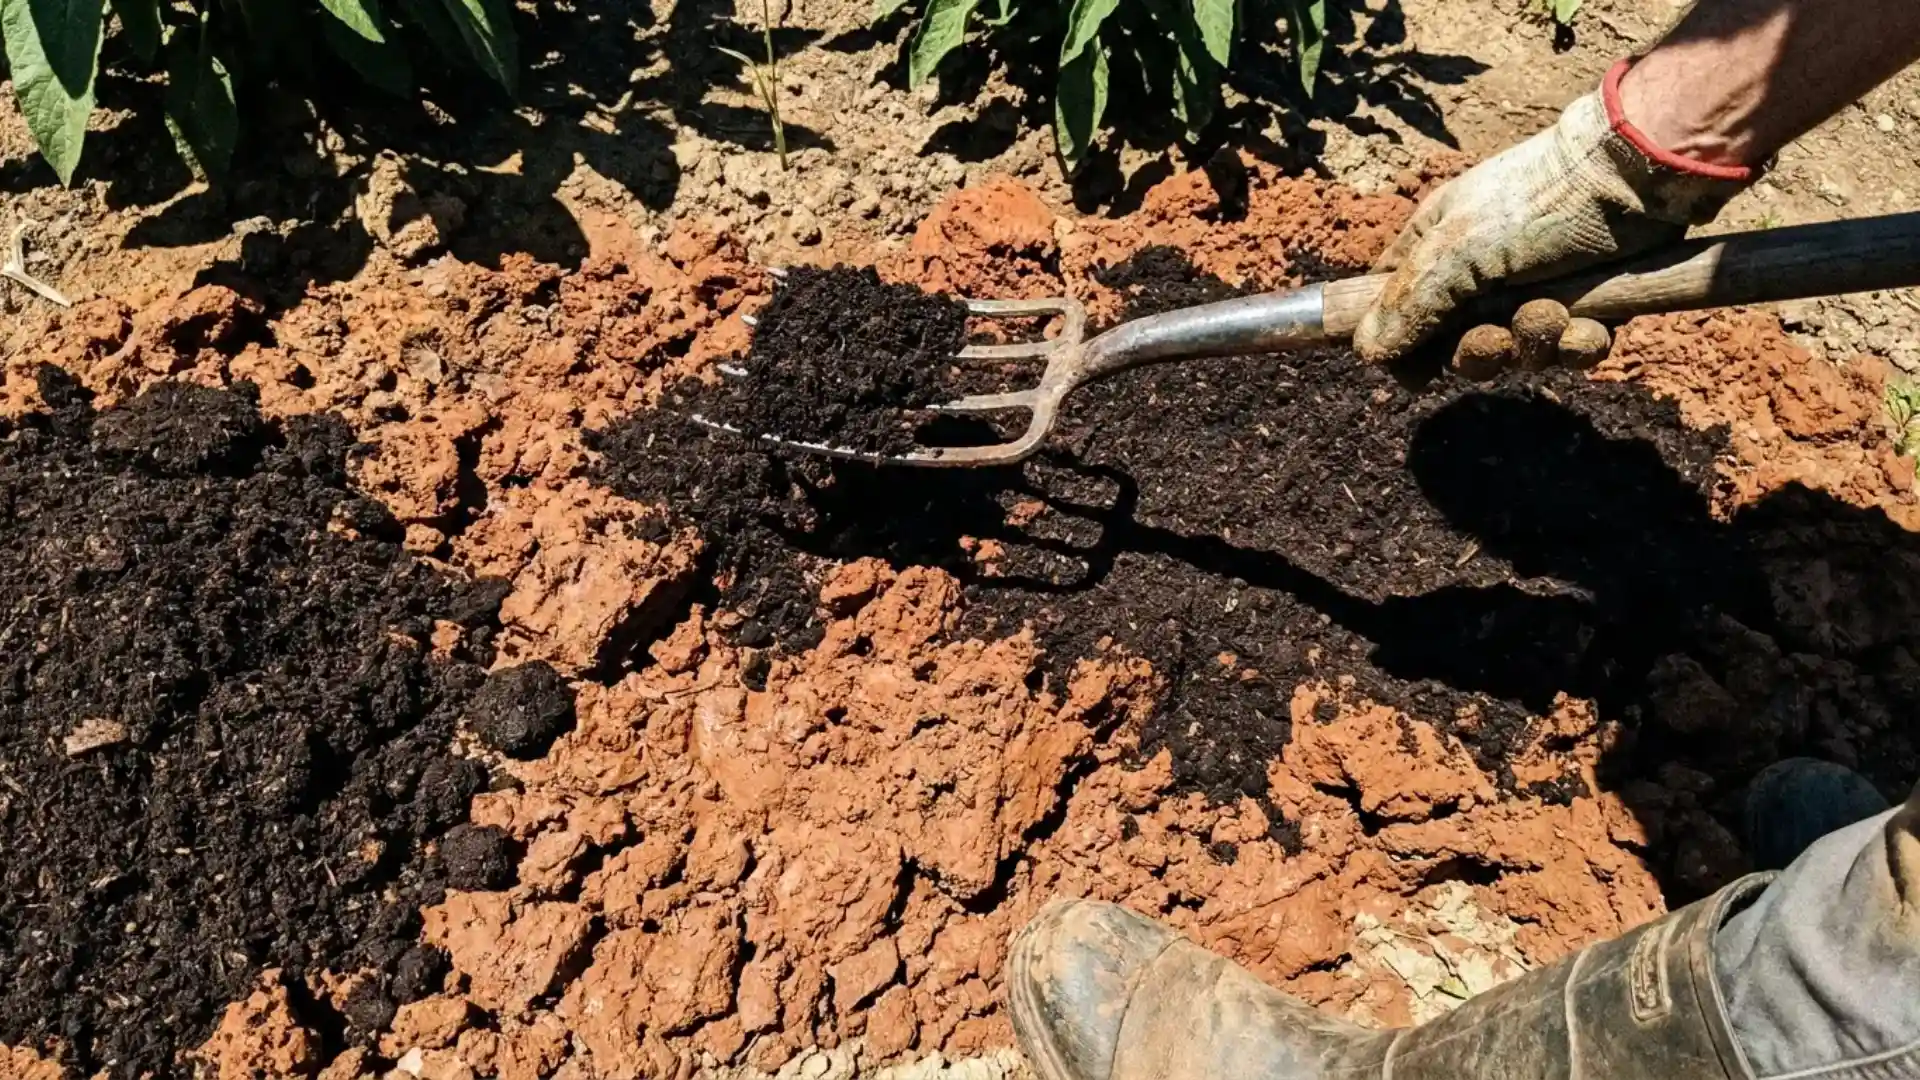
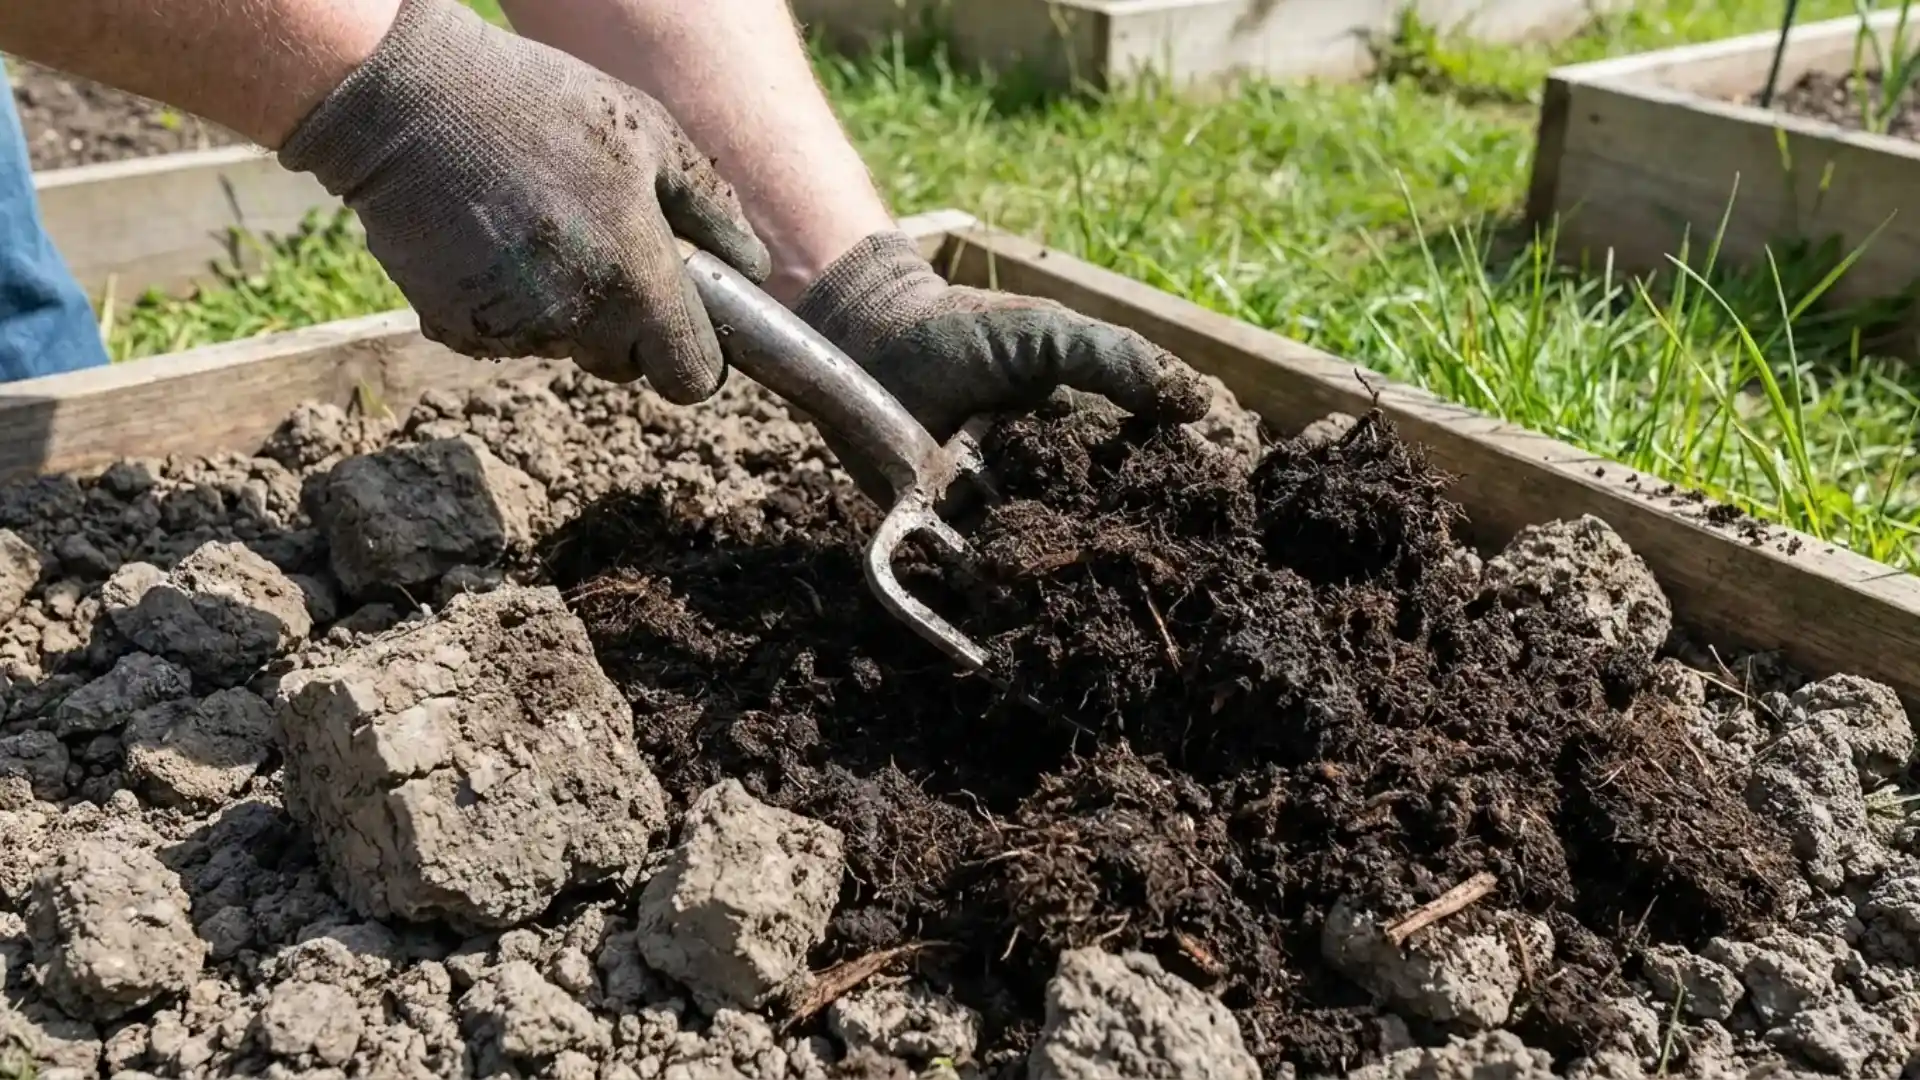
Compost is the most reliable starting point for amending clay soil. As it breaks down, it introduces organic material that separates tightly packed clay particles, creating small air pockets that improve drainage.
It also feeds beneficial soil microbes, which continue improving structure long after you’ve finished applying it.
Best for: General soil improvement in any garden bed
Steps:
- Spread 2–3 inches of finished compost evenly across the bed.
- Work it into the top 6–8 inches of soil using a fork or tiller.
- Water the bed lightly to help it settle.
- Repeat this process each planting season for continued improvement.
2. Aged Manure
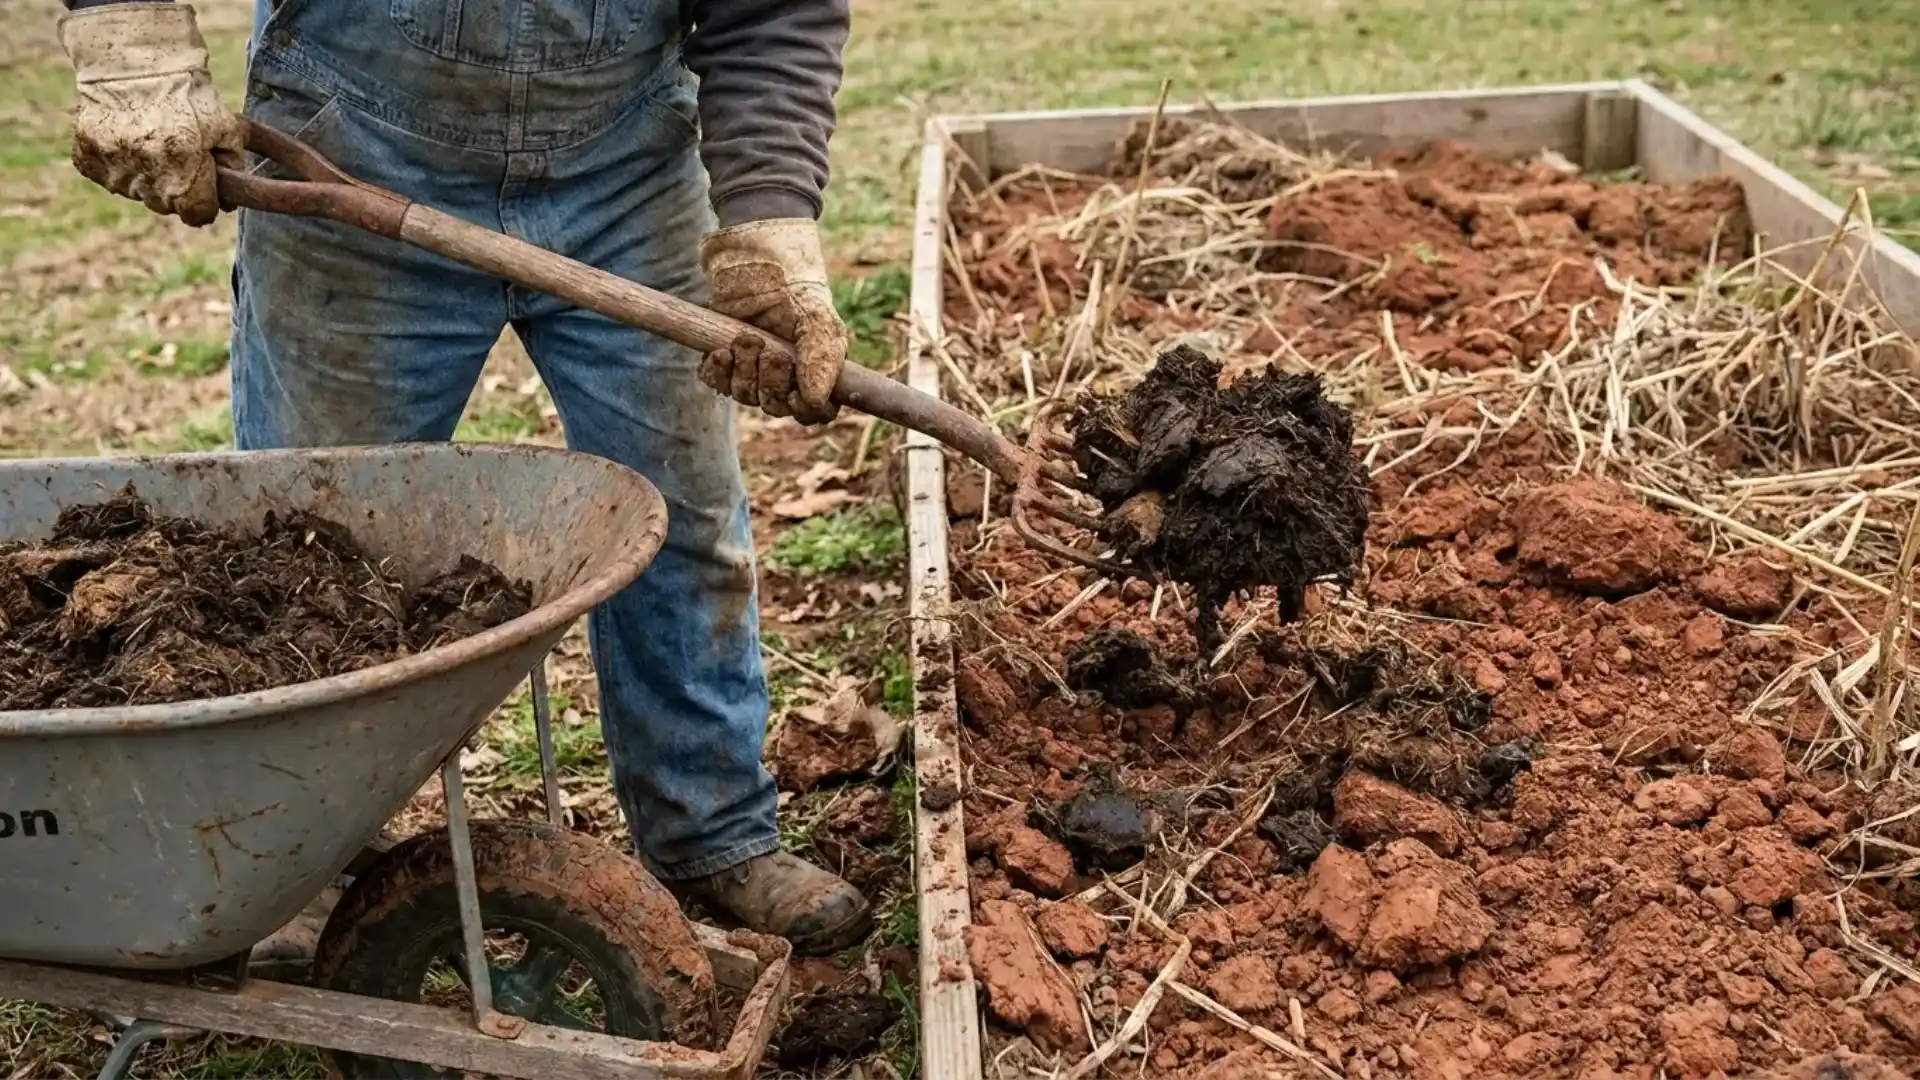
Aged manure works faster than compost because it’s already partially broken down, releasing nutrients into the soil sooner.
It’s particularly useful for vegetable beds that need a fertility boost alongside better drainage. Only use fully aged manure, since fresh manure can burn plant roots and introduce excess salts.
Best for: Vegetable gardens needing a nutrient boost
Steps:
- Confirm the manure has aged at least 6 months before use.
- Layer 2 inches across the bed surface.
- Mix it into the top 6 inches of soil.
- Let the bed rest for 1–2 weeks before planting.
3. Leaf Mold
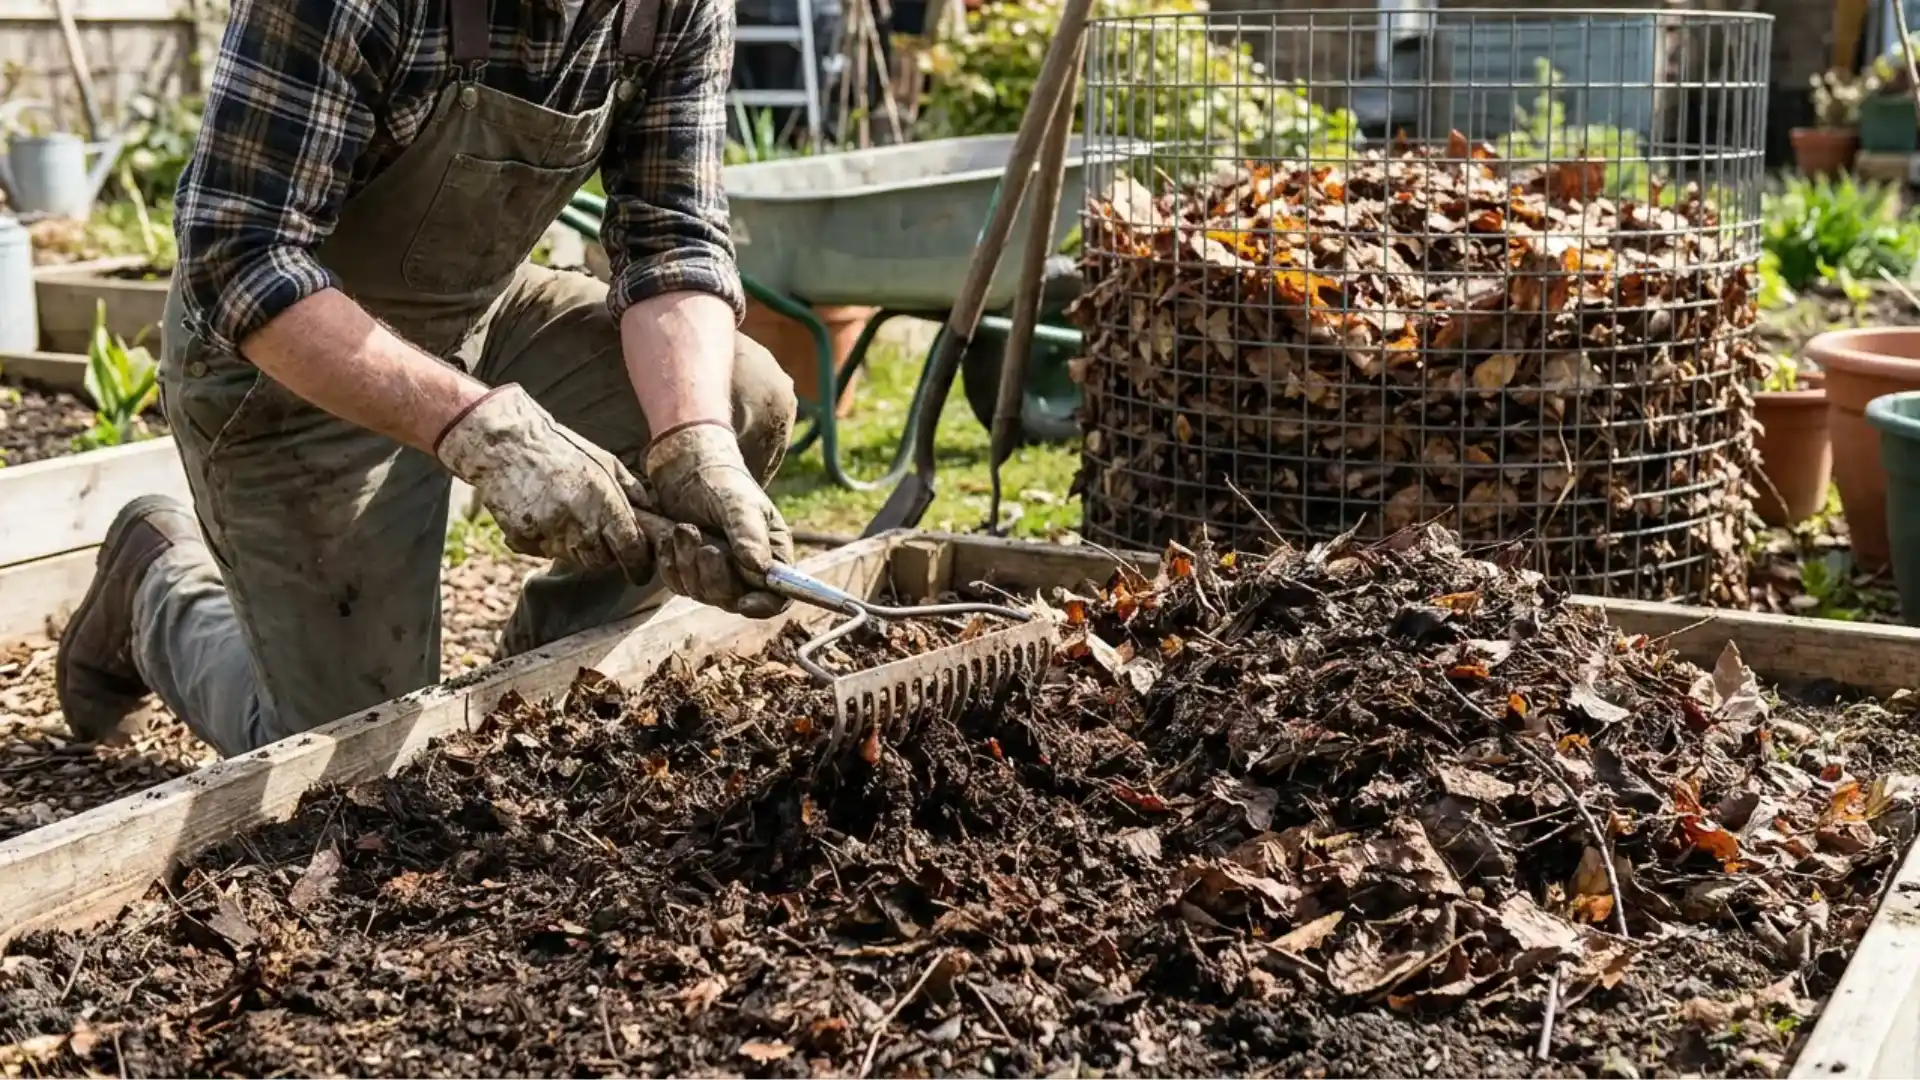
Leaf mold is simply decomposed leaves, and it improves soil structure without significantly changing nutrient levels the way compost or manure can.
This makes it a gentler, slower-acting option, ideal for flower beds or areas where you want improved texture without adding extra fertility to the soil.
Best for: Long-term structure improvement in flower beds
Steps:
- Collect fallen leaves and let them decompose for 6–12 months.
- Once crumbly and dark, spread a 2-inch layer over the bed.
- Mix into the top 6 inches of soil.
- Reapply annually to maintain improved texture over time.
4. Gypsum
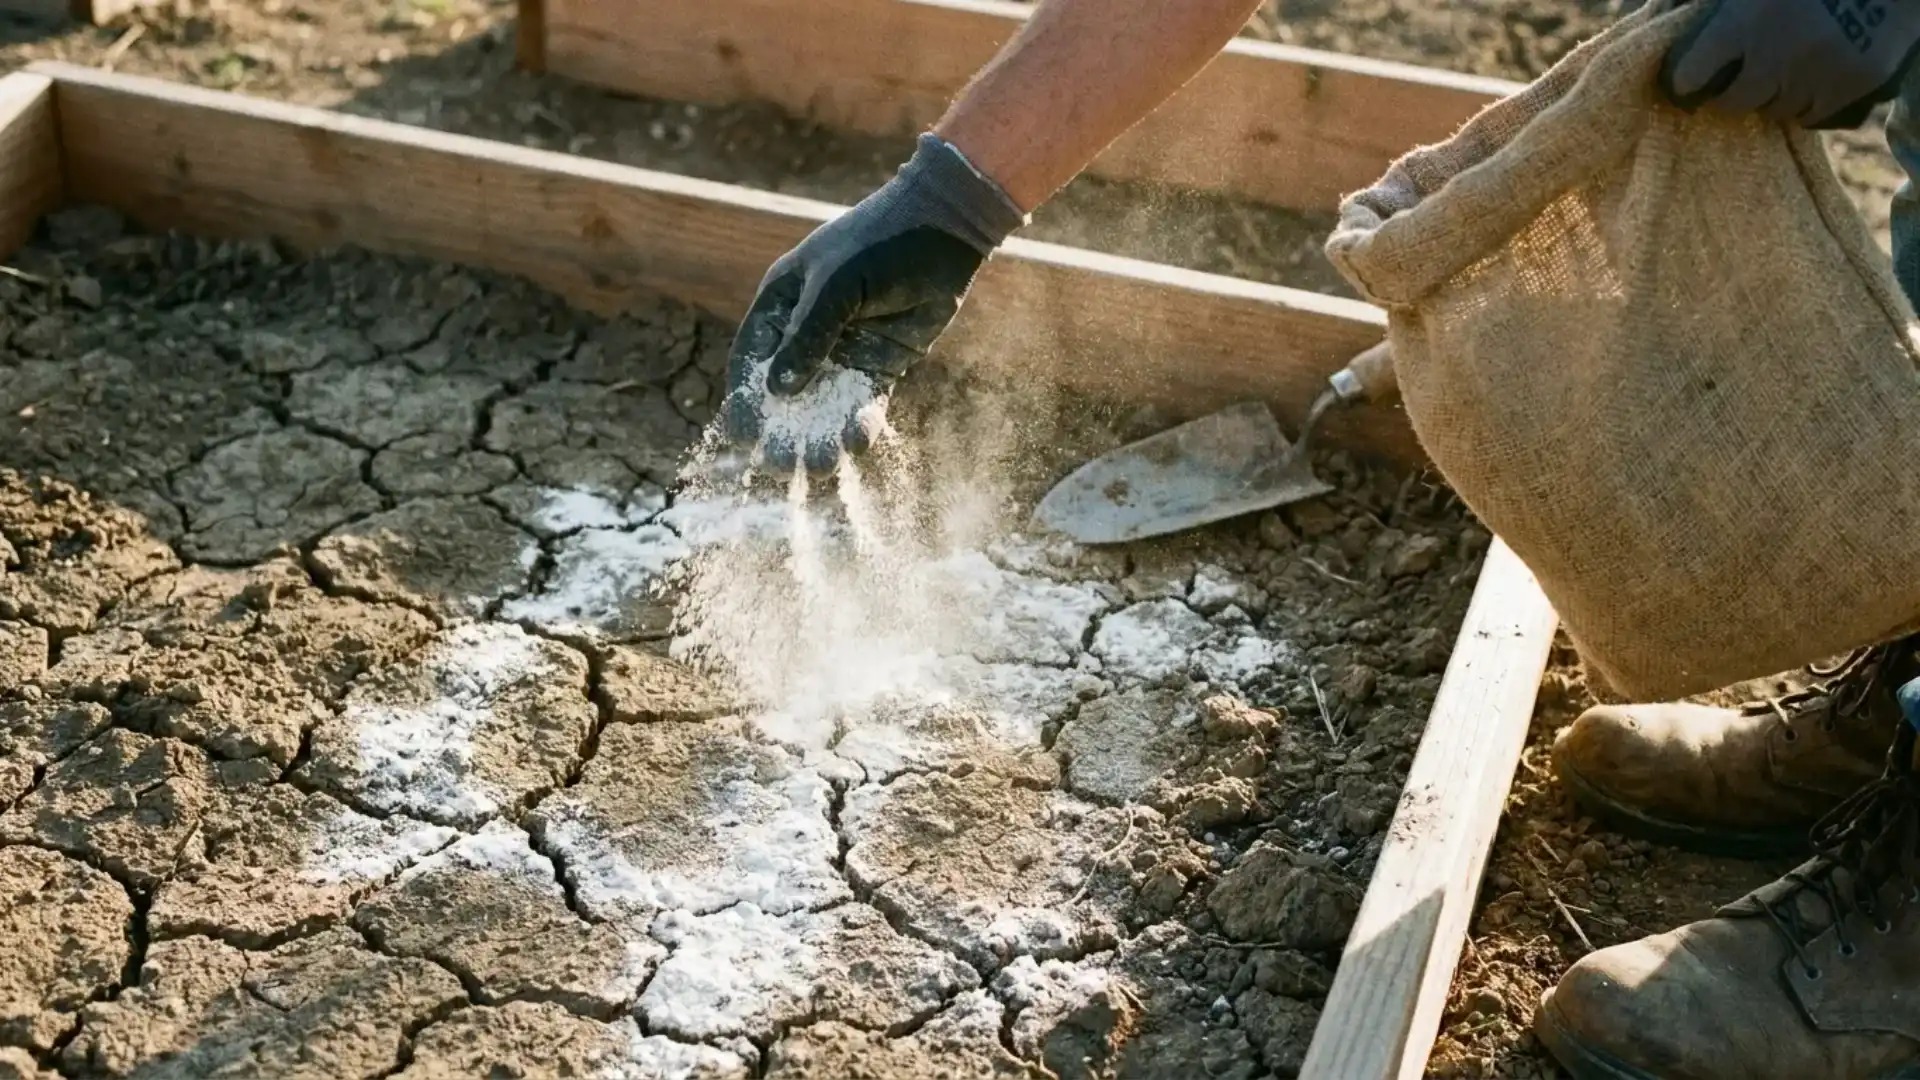
- Best for: Soils with high salt content or sodium buildup
- How it helps: Loosens compacted clay without changing soil pH
Gypsum is often misunderstood as a universal clay fix. It actually works best in soils with high sodium or salt levels. These levels are common in arid or coastal regions.
Gypsum displaces sodium particles that cause soil compaction. It does this without changing soil pH like lime or sulfur.
Gypsum falls under mineral soil conditioners, which loosen compacted ground differently than organic matter.
Steps:
- Test your soil to confirm high sodium or salt content.
- Apply gypsum at the rate listed on the product label.
- Spread it evenly using a garden or lawn spreader.
- Water the area to help it begin working into the soil.
- Retest soil after several months to track improvement.
5. Cover Crops
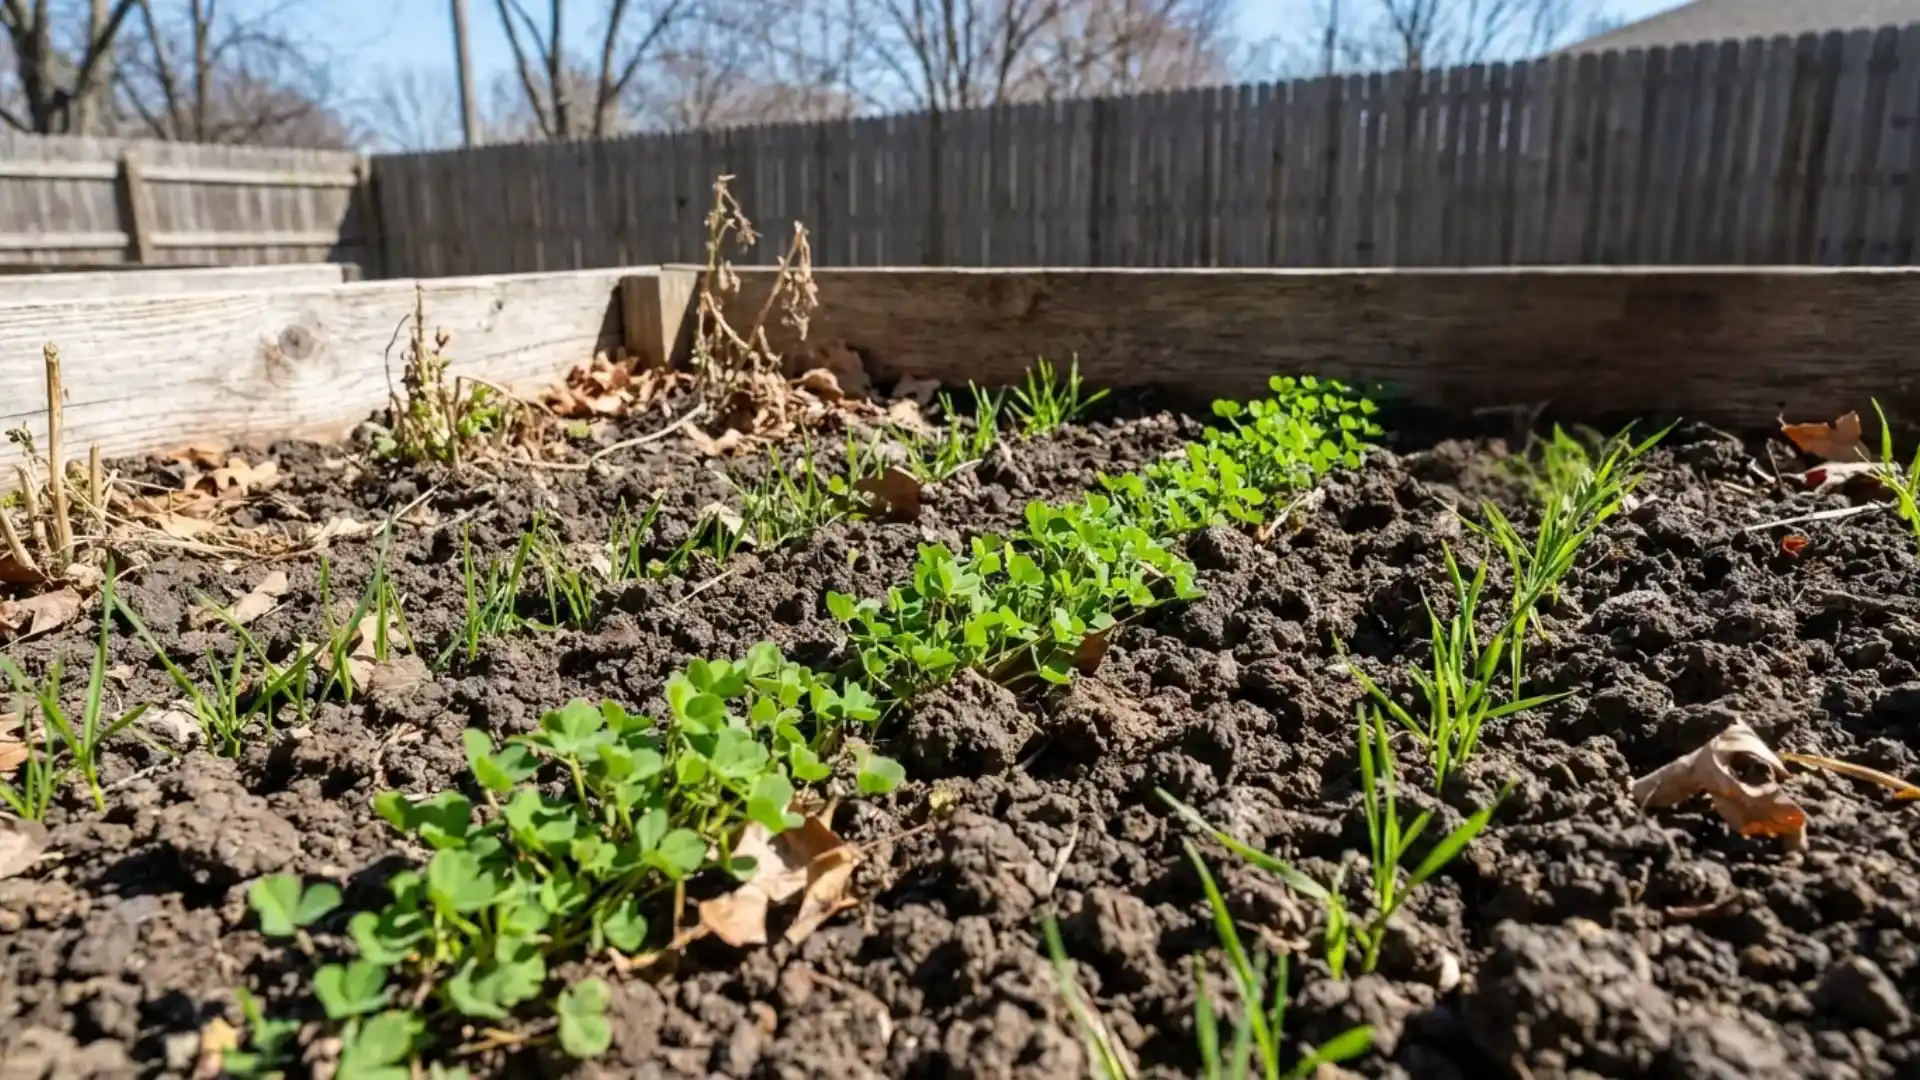
- Best for: Empty beds during off-season months
- How it helps: Roots break up compaction naturally while adding organic matter
Cover crops like clover or winter rye use their root systems to physically break through compacted clay while they grow, then add organic matter back into the soil once tilled under.
This method works especially well for beds that sit empty over the fall or winter rather than being left bare.
Steps:
- Choose a cover crop suited to your climate and season.
- Sow seeds directly into the bed after the main harvest.
- Let the crop grow through the off-season.
- Cut it down before it sets seed.
- Till the plant material into the soil 2–3 weeks before planting.
6. Mulch Topdressing
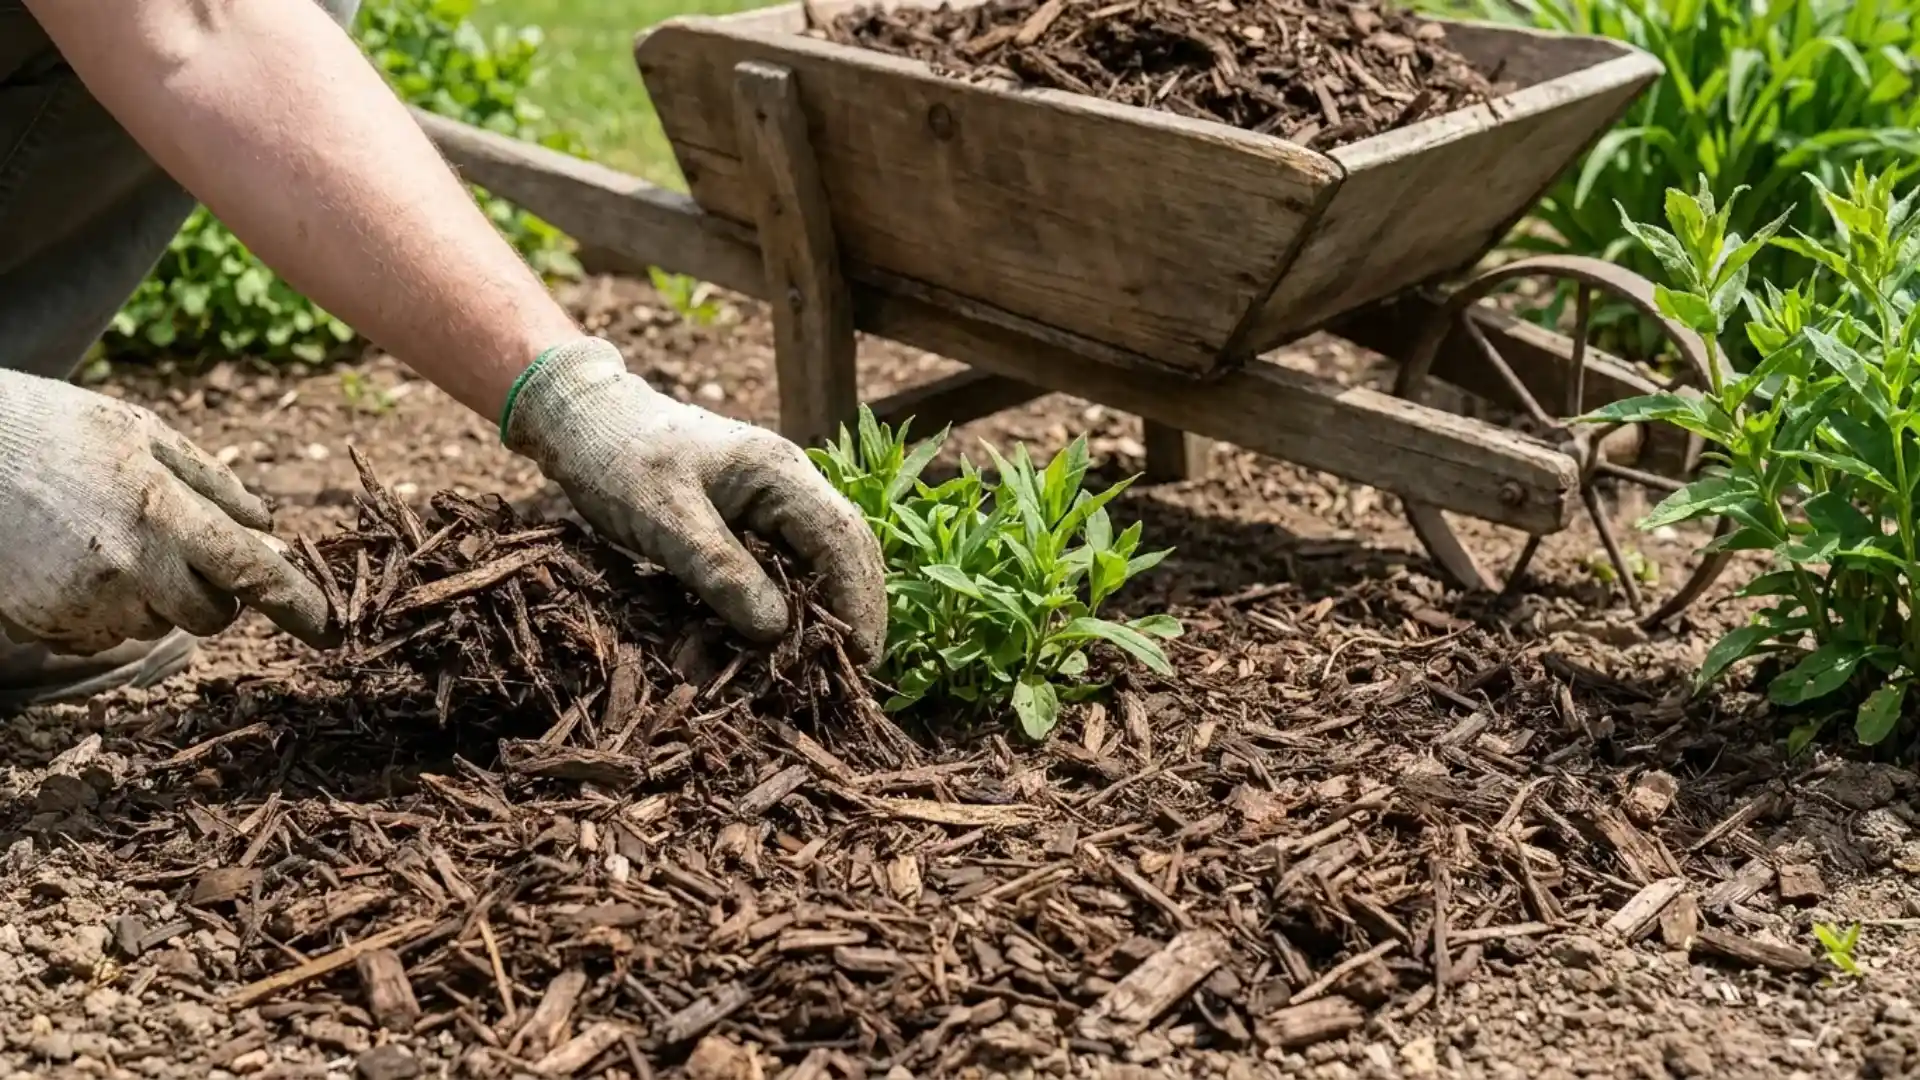
- Best for: Ongoing maintenance after initial amending
- How it helps: Slowly improves soil as it decomposes on the surface
Unlike the methods above, mulch topdressing works gradually from the surface down, making it ideal for maintaining soil you’ve already amended rather than fixing heavily compacted clay from scratch.
It also helps retain moisture and suppress weeds while it slowly breaks down into the topsoil.
Steps:
- Spread 1–2 inches of organic mulch over the bed surface.
- Keep mulch a few inches away from plant stems.
- Let it decompose naturally over the season.
- Top up with a fresh layer as it breaks down.
7. No-Till Layering
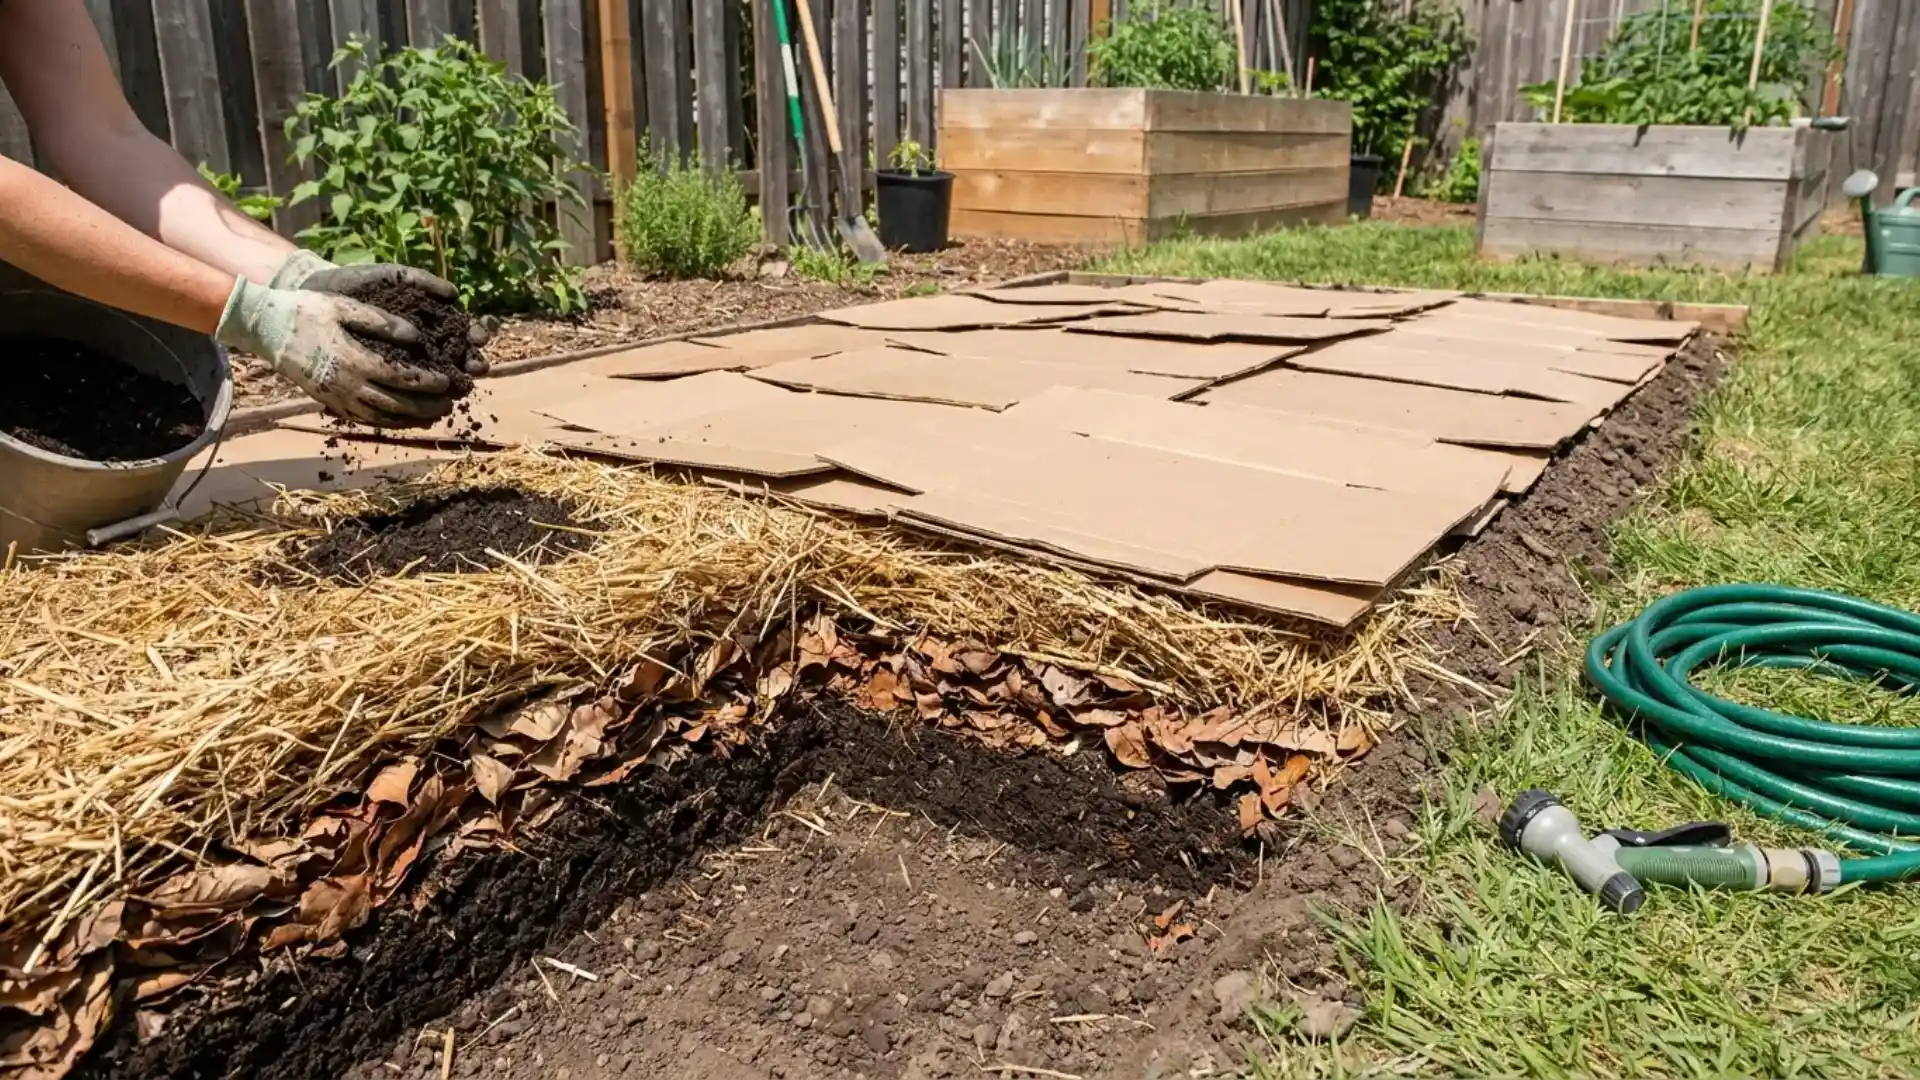
- Best for: Gardeners wanting to avoid heavy tilling equipment
- How it helps: Builds soil structure gradually without disturbing existing layers
No-till layering, sometimes called lasagna gardening, builds improved soil on top of existing clay rather than digging into it.
Alternating layers of organic material decompose over time, feeding soil life below without the disruption tilling causes.
It takes longer to show results but avoids damaging soil structure in the process.
Steps:
- Layer cardboard or newspaper directly over the clay bed.
- Add alternating layers of compost, leaves, and straw on top.
- Water each layer as you build it up.
- Let the layers decompose over several months before planting.
- Plant directly into the finished, broken-down layer once ready.
Tips for Amending Clay Soil Successfully
Small habits make a big difference when working with clay soil. These practical adjustments help your efforts actually stick:
- Work in small sections rather than tackling an entire yard at once, so each area gets amended thoroughly.
- Use stepping stones or boards to avoid walking directly on amended soil, which quickly re-compacts it.
- Choose a garden fork or broadfork for small beds, since they loosen soil without overturning it.
- Use a tiller only for larger areas, and avoid over-tilling, which can damage soil structure over time.
- Amend beds you’ll actually plant in first, rather than spreading effort thin across unused areas.
- Keep foot traffic to designated paths permanently, not just during the amending process.
Consistent habits protect your progress just as much as the amendments themselves; the next step is choosing plants that thrive while your soil keeps improving.
Annual Calendar for Clay Soil Maintenance
Improving clay soil works best as a repeated yearly rhythm rather than a one-time fix. The table below shows how to spread your efforts across the seasons:
| Season | Task | Result |
|---|---|---|
| Early Spring | Test soil pH and nutrients | Clear view of soil needs |
| Spring | Work in 2–4 inches of compost | Looser, richer soil |
| Late Spring | Plant clay-tolerant vegetables and flowers | Stronger root establishment |
| Summer | Apply mulch topdressing | Steadier moisture levels |
| Late Summer | Monitor drainage after rainfall | Spot remaining compaction |
| Early Fall | Sow cover crops in empty beds | Roots break up compaction |
| Late Fall | Add leaf mold or aged manure | Better structure and fertility |
| Winter | Avoid walking on or working wet beds | Less compaction comes in spring |
Following this rhythm turns amending from a one-time chore into steady, manageable progress. Soil improvement continues even during months you’re not actively planting.
Frequently Asked Questions (FAQs)
How Long Does It Take to Fix Clay Soil?
Noticeable improvement takes one to two growing seasons, with full structural change often taking two to three years of consistent yearly amending.
Is Gypsum Necessary for Amending Clay Soil?
Not always. Gypsum helps mainly in soils with high salt or sodium content, not as a universal fix for all clay soil types.
What Is the Fastest Way to Improve Clay Soil for Planting?
Working in compost or aged manure at the right moisture level gives the quickest short-term improvement in texture and drainage.
The Bottom Line
These simple methods make clay soil easier to work with. Compost, manure, and mulch each add richness to heavy ground. Cover crops and layering build structure without heavy digging.
Testing soil first keeps every amendment choice smart and targeted. Small habits, like staying off wet beds, protect your progress.
Patience matters more than perfection when working with heavy soil. Season after season, tired soil turns into a thriving garden bed.
Knowing how to amend clay soil for gardening puts you in control. A little effort can reshape any backyard over time. Drop a comment below and share your own clay soil story!