
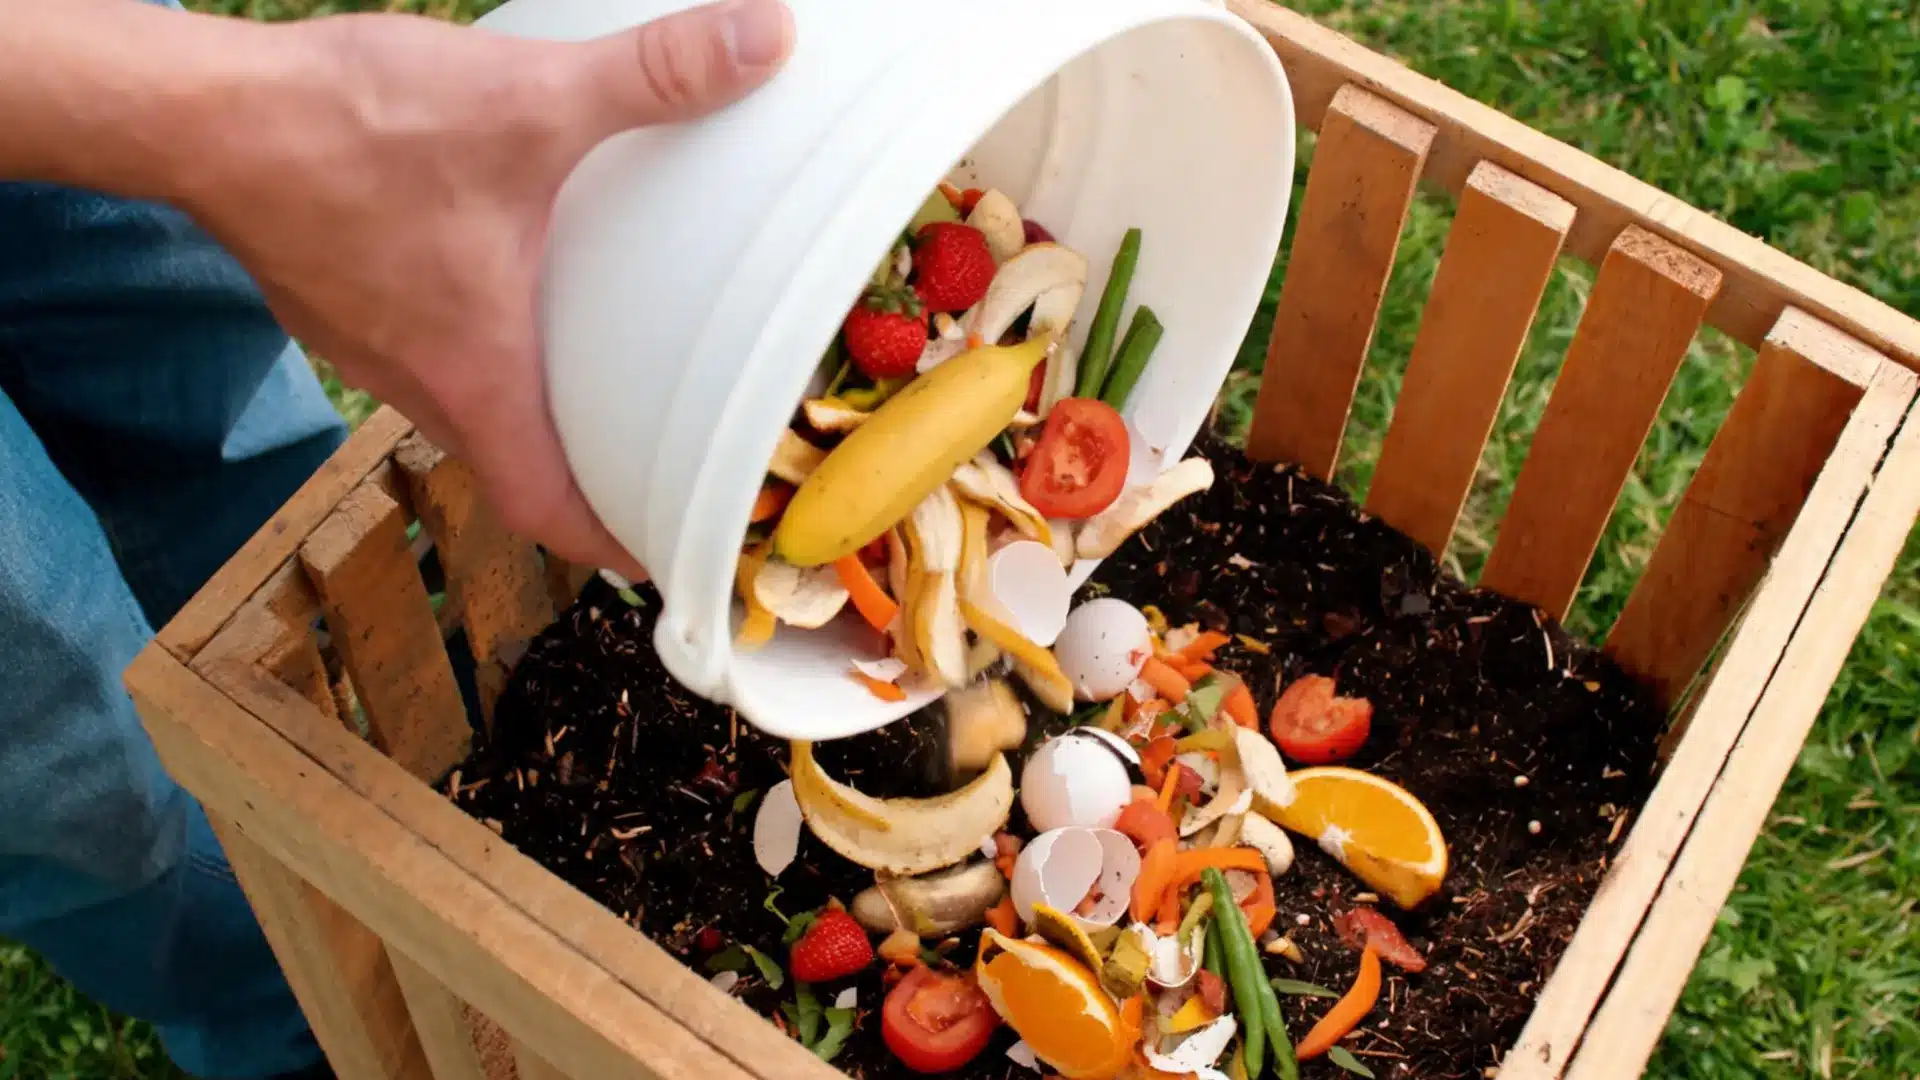
Like many beginners, I assumed composting at home would be messy, complicated, and require plenty of space or special equipment.
Turns out that it requires only fruit peels, vegetable scraps, and dry leaves to turn into nutrient-rich compost instead of becoming everyday household waste.
Learning helped me see my kitchen scraps differently.
What once went straight into the trash could now support healthier soil and plants.
This blog mentions why you should start composting and how to start composting at home with everyday materials.
Why Should You Start Composting at Home?
Composting is the natural process of breaking down organic waste, such as fruit peels, vegetable scraps, dry leaves, and coffee grounds, into nutrient-rich compost.
Microorganisms, oxygen, and moisture transform everyday waste into a valuable soil amendment for plants and gardens.
Benefits of Composting:
- Reduces Household Waste: Composting diverts organic waste from landfills, helping reduce the amount of household garbage you throw away.
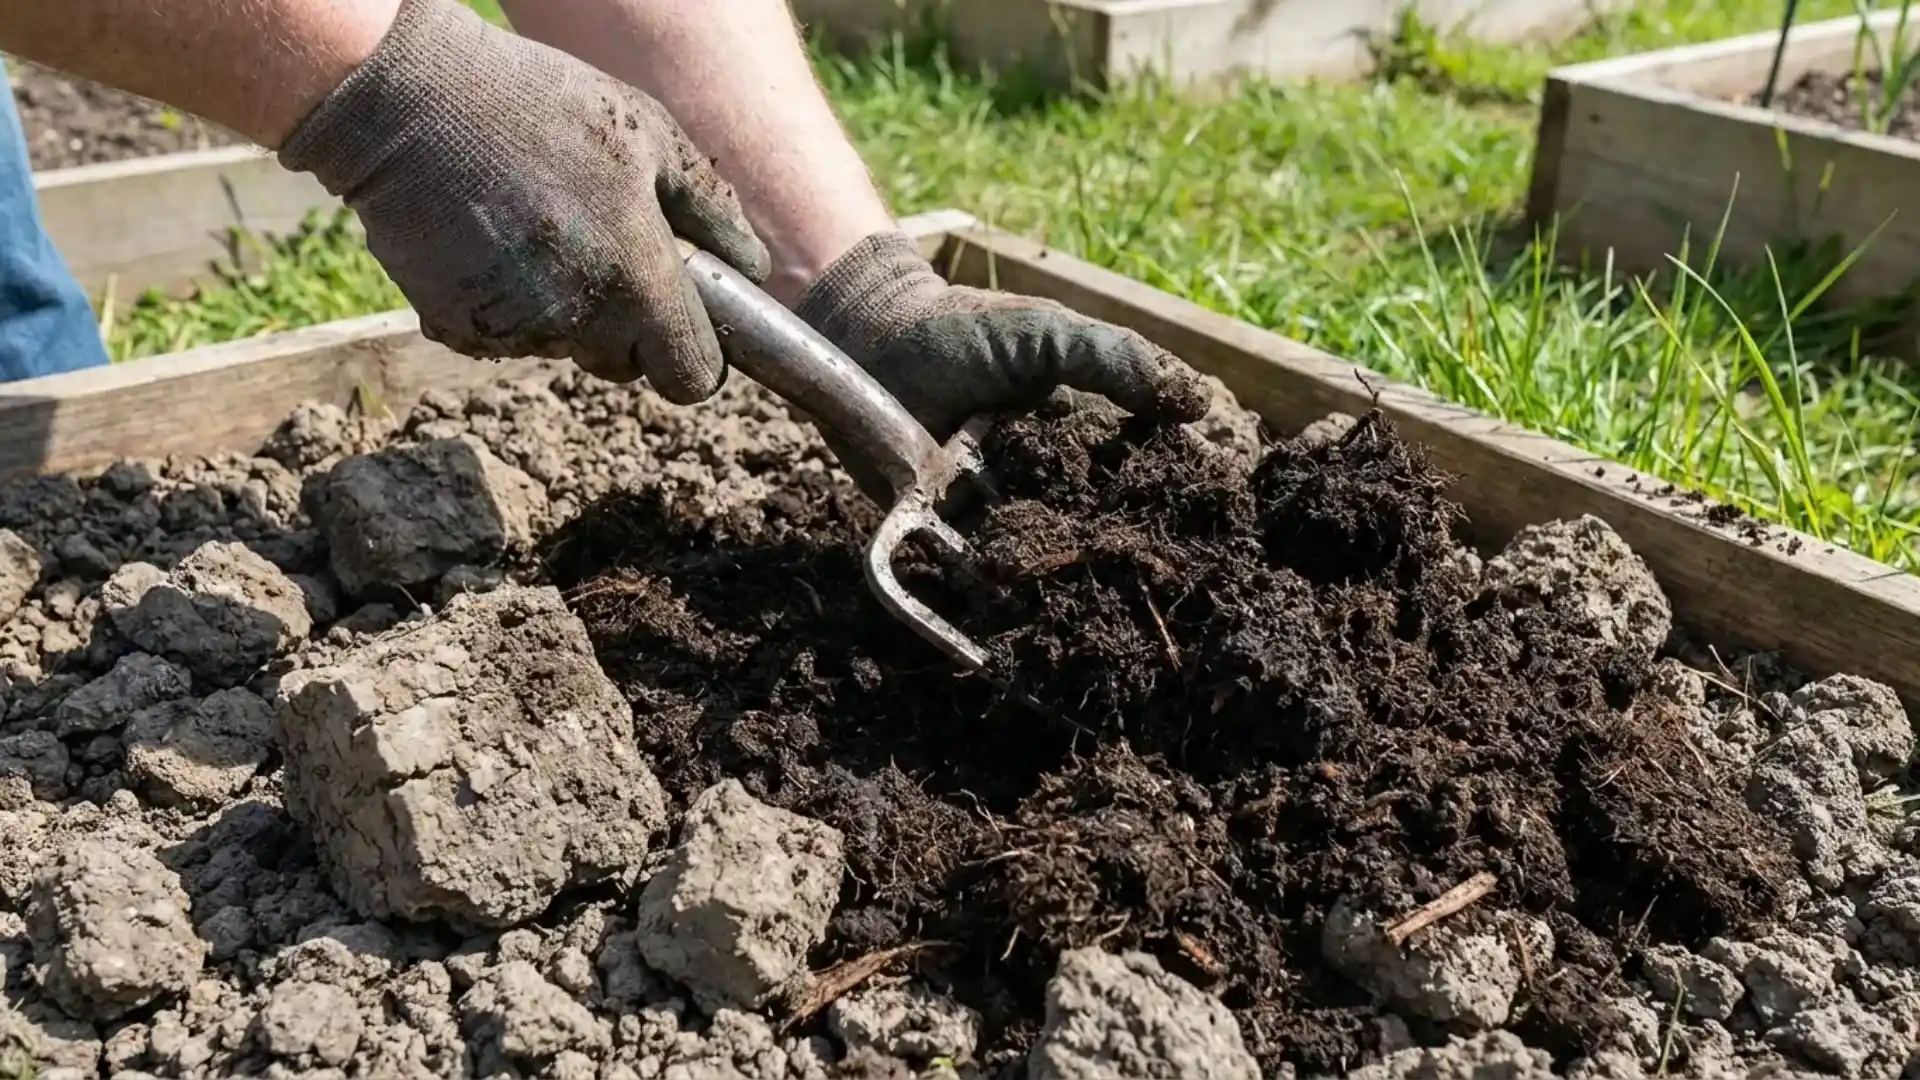
- Improves Soil Health: Compost adds organic matter and nutrients to soil, helping improve its structure, moisture retention, and overall quality.
- Supports Plant Growth: Nutrient-rich compost provides plants with beneficial organic matter that can support healthier and more productive growth.
- Promotes Sustainable Living: Composting turns everyday kitchen and yard waste into something useful.
Finished compost also pairs well with a few easy soil fertility tips when beds need more than nutrients.
Together, these practices improve soil structure, encourage stronger roots, and create healthier growing conditions throughout your garden season year-round.
Types Of Composting
Not all composting looks the same, and the method you pick depends on your space and how much effort you want to put in. Here is a quick breakdown of the most common types.
| Type | What It Is |
|---|---|
| Home Composting | Kitchen and yard scraps collected in a bin or heap on your property |
| Backyard Composting | Open pile of scraps and yard waste, turned occasionally, ready in a few months |
| Vermicomposting | Worms break down scraps in a small indoor bin |
| Bokashi Composting | Food waste ferments in a sealed bucket with bran mix, handles meat and dairy |
| Trench Composting | Scraps buried directly in the ground, no bin needed |
| Tumbler Composting | Rotating drum bin speeds up decomposition |
Tools and Supplies You Need to Compost at Home
You only need a few simple tools and everyday materials to turn kitchen waste into useful, nutrient-rich compost at home.
Here’s everything you will need to get started:
- Two 20-liter buckets
- Drill for making drainage holes
- Kitchen waste, including vegetable scraps and fruit waste, crushed or broken eggshells
- Finished compost for covering fresh kitchen waste
- PSB mix
- 1.5 liters of water for preparing the PSB solution
- Mixing tool for turning the compost every 2–3 days
How to Start Composting at Home: Step-by-Step Process
With the right bin, a balanced mix of green and brown materials, proper moisture, and regular airflow, you can turn everyday organic waste into nutrient-rich compost. Follow these simple steps to get started.
Step 1: Get Your Bucket Ready
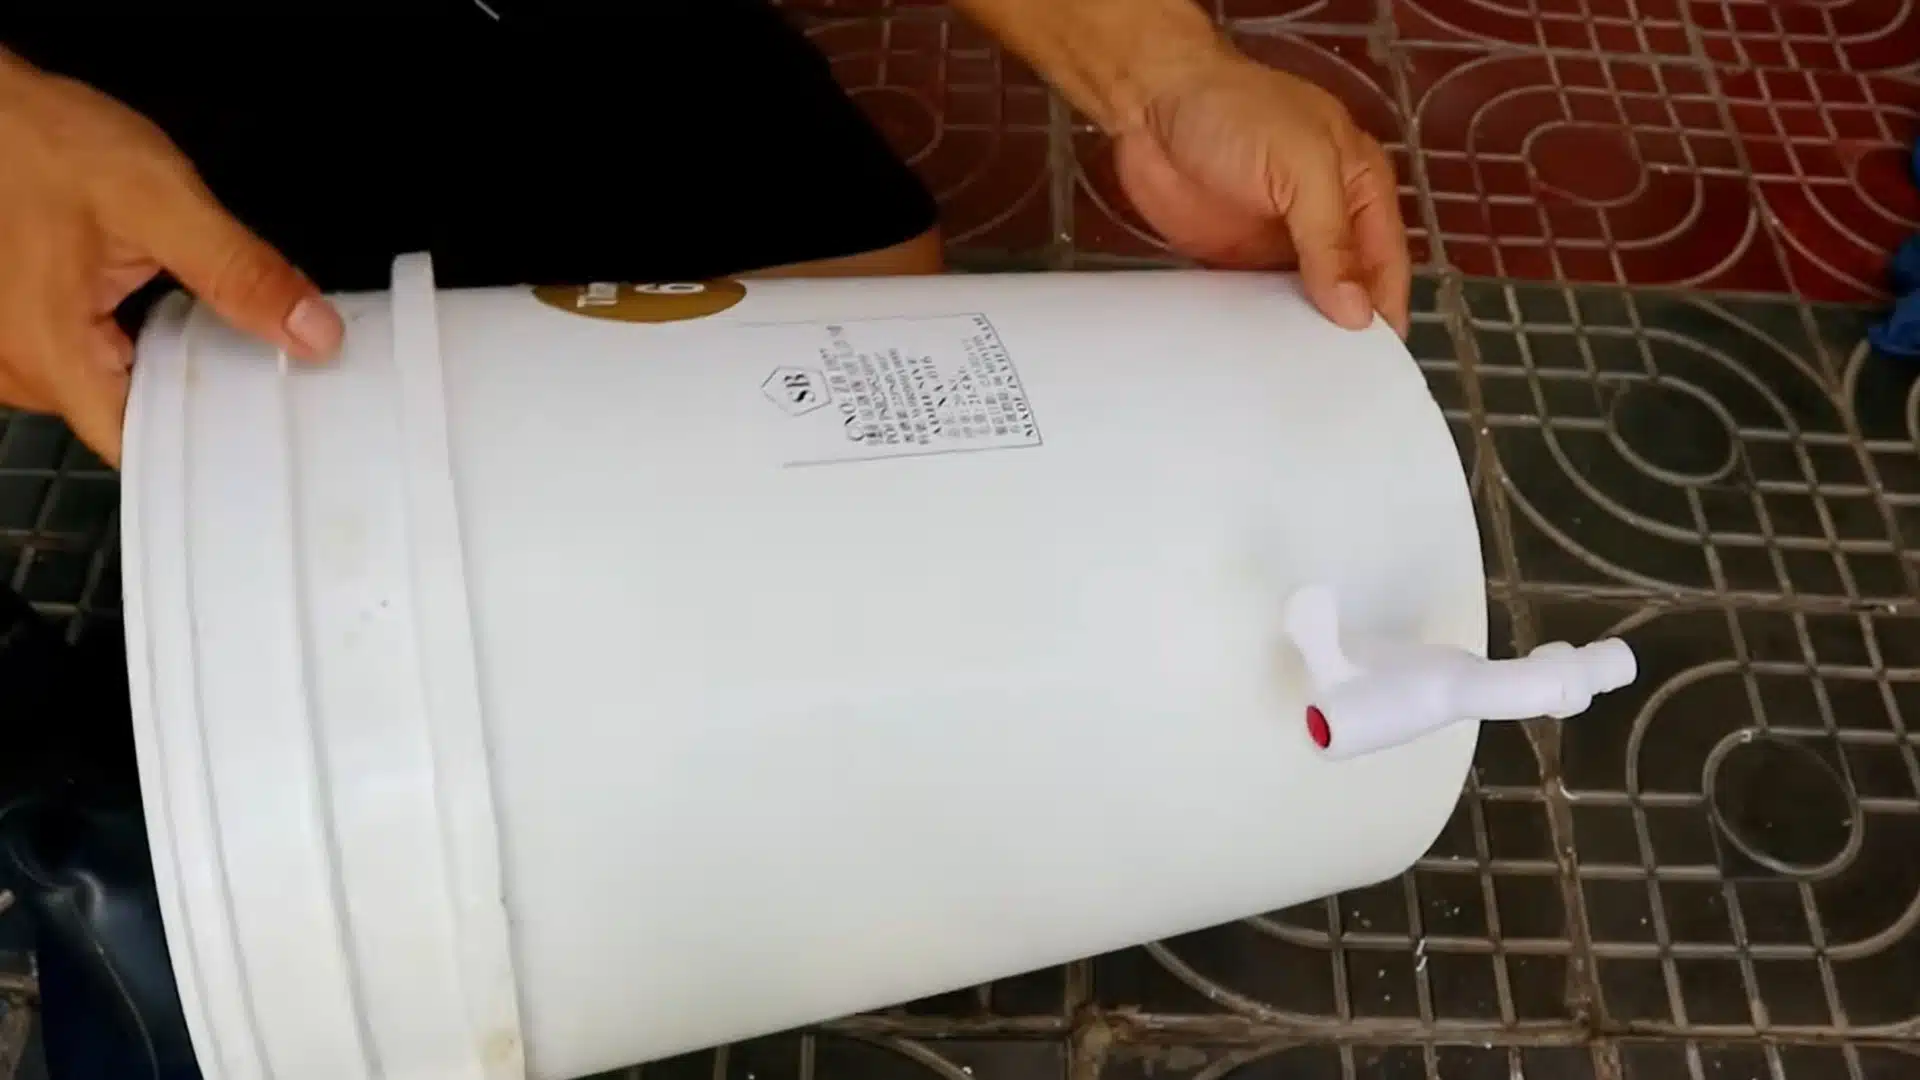
Grab two 20-liter buckets and drill several holes into the bottom of one for proper drainage.
This lets excess moisture escape while keeping solids inside. Before adding any waste, run a quick water test to confirm nothing leaks out from unwanted spots.
A secure lid and stable placement also help prevent pests, spills, and accidental tipping while your composting system develops naturally over time.
Step 2: Start Tossing in Kitchen Scraps
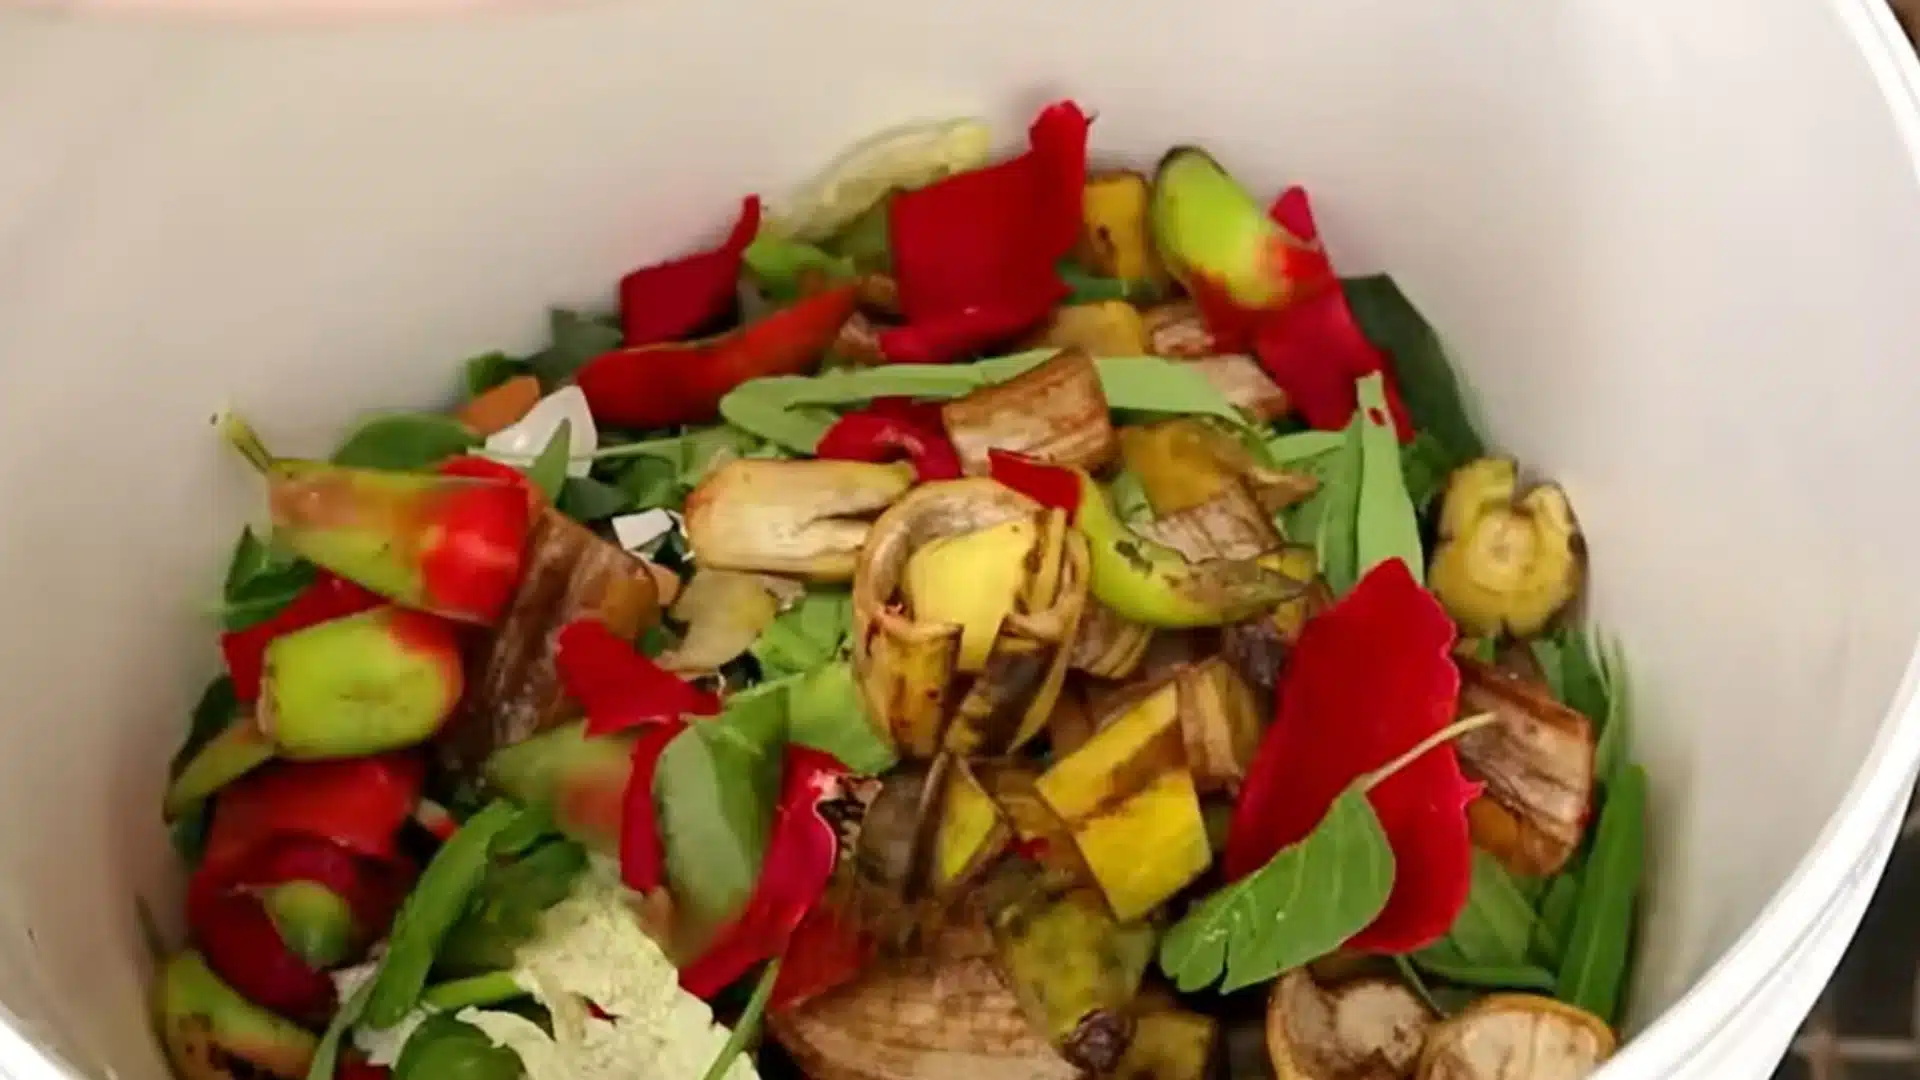
Use whatever kitchen waste you have got on hand, like veggie peels, eggshells, fruit scraps, and coffee grounds; it all works fine here.
There’s no need to overthink what goes in. After each addition, sprinkle a thin layer of compost on top.
This keeps the breakdown process moving steadily and helps control smell as you add new scraps over time.
Step 3: Whip Up a Quick PSB Mix
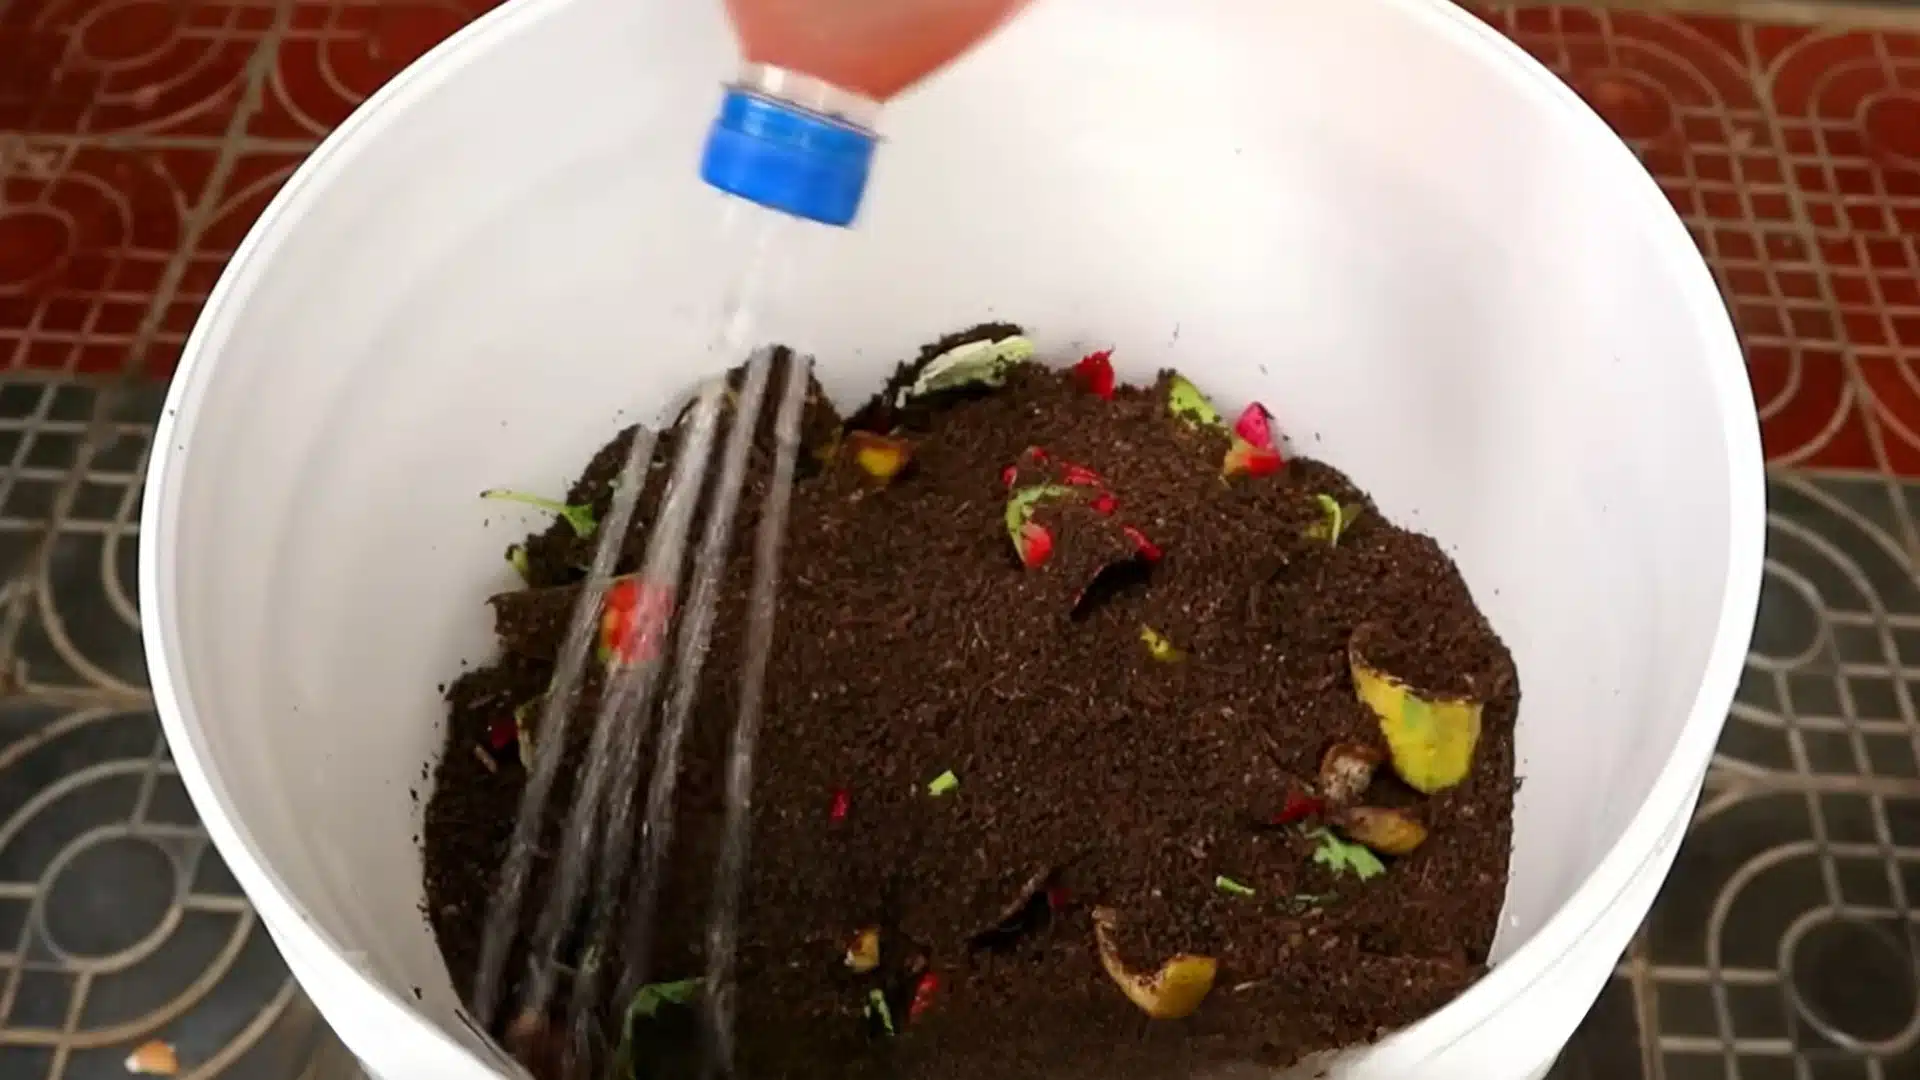
Mix three bottle caps of PSB (photosynthetic bacteria) into 1.5 liters of water and pour it over your pile.
This simple addition works wonders for controlling odor while significantly speeding up decomposition.
PSB introduces beneficial microbes that accelerate the breakdown process, meaning your kitchen scraps turn into usable compost faster and with far less unpleasant smell along the way.
Step 4: Let the Sun Do Its Job
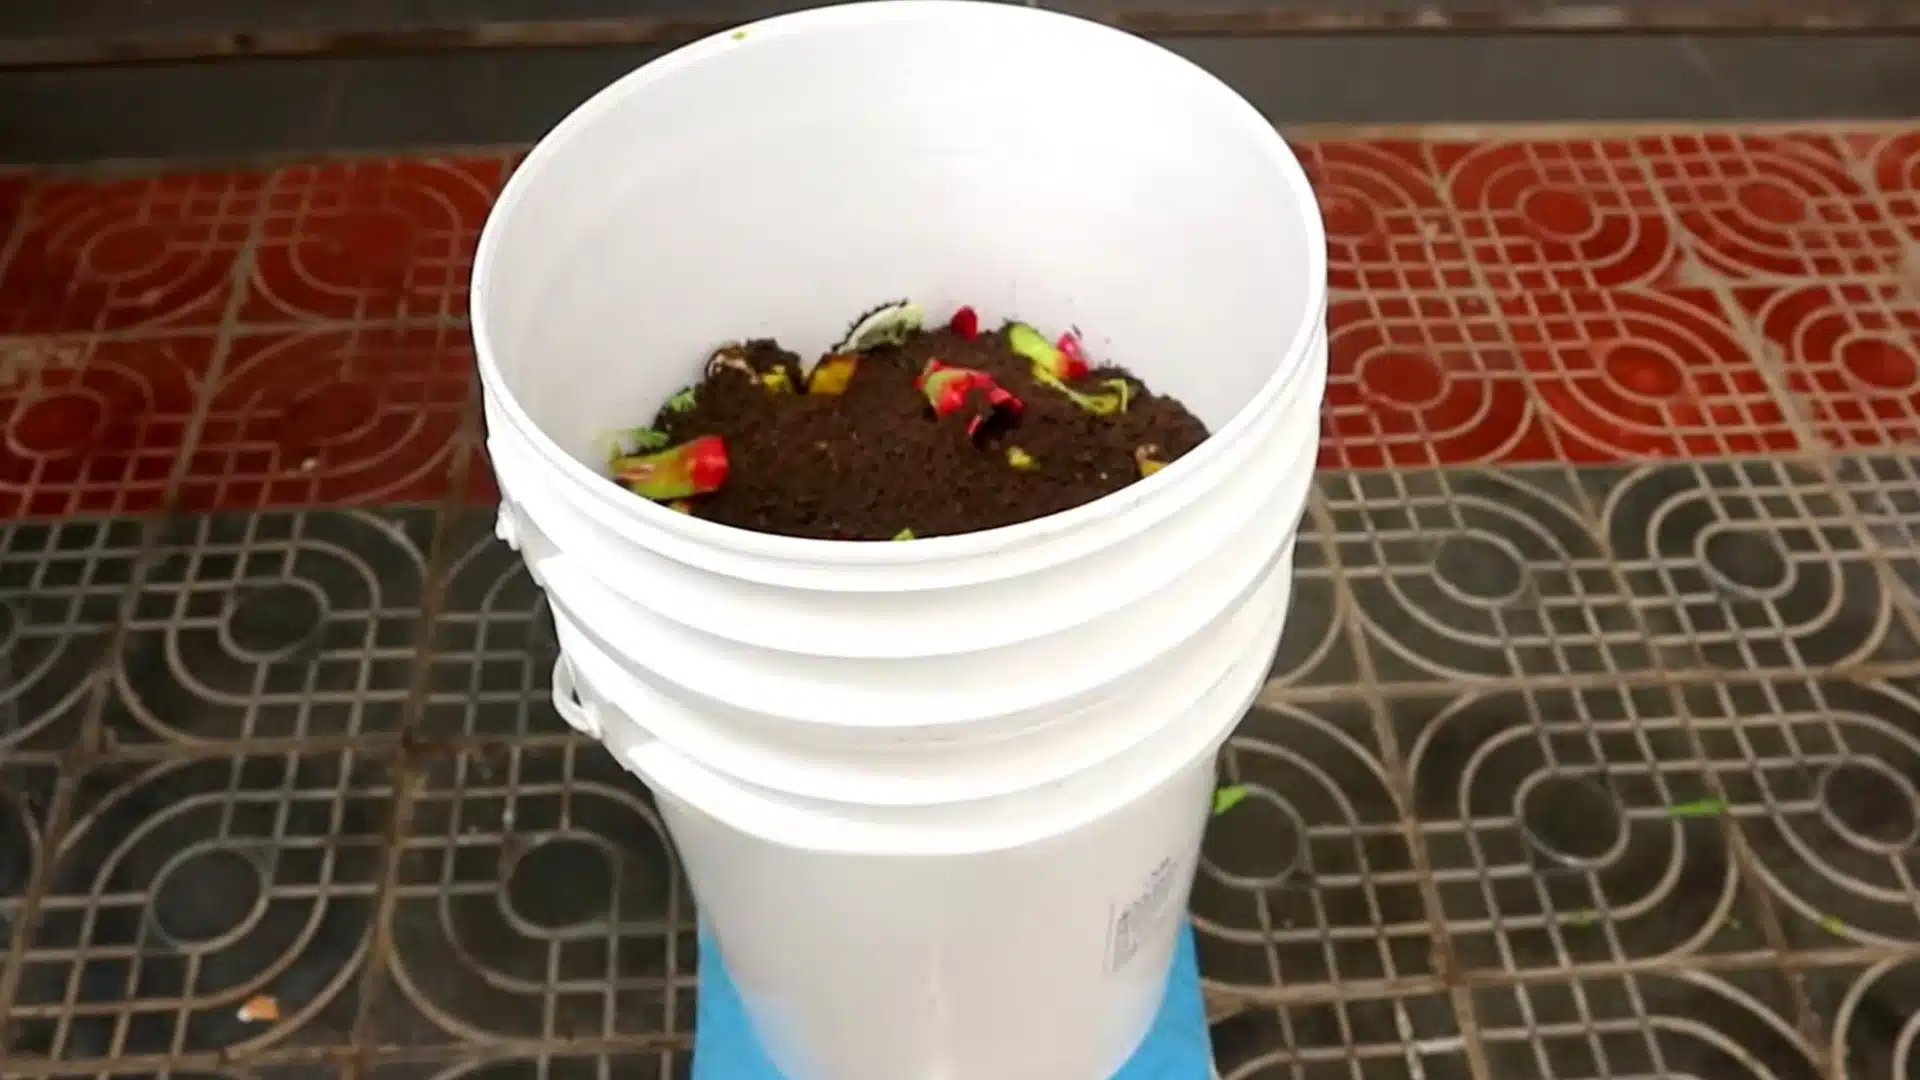
Position your bin somewhere it receives consistent full sun throughout the day. Heat plays a major role in speeding up microbial activity inside the pile.
Over the following days, you will notice the contents breaking down more visibly as warmth accelerates the natural process.
A sunny spot essentially does half the work for you, with no extra effort required.
Step 5: Keep the Routine Going
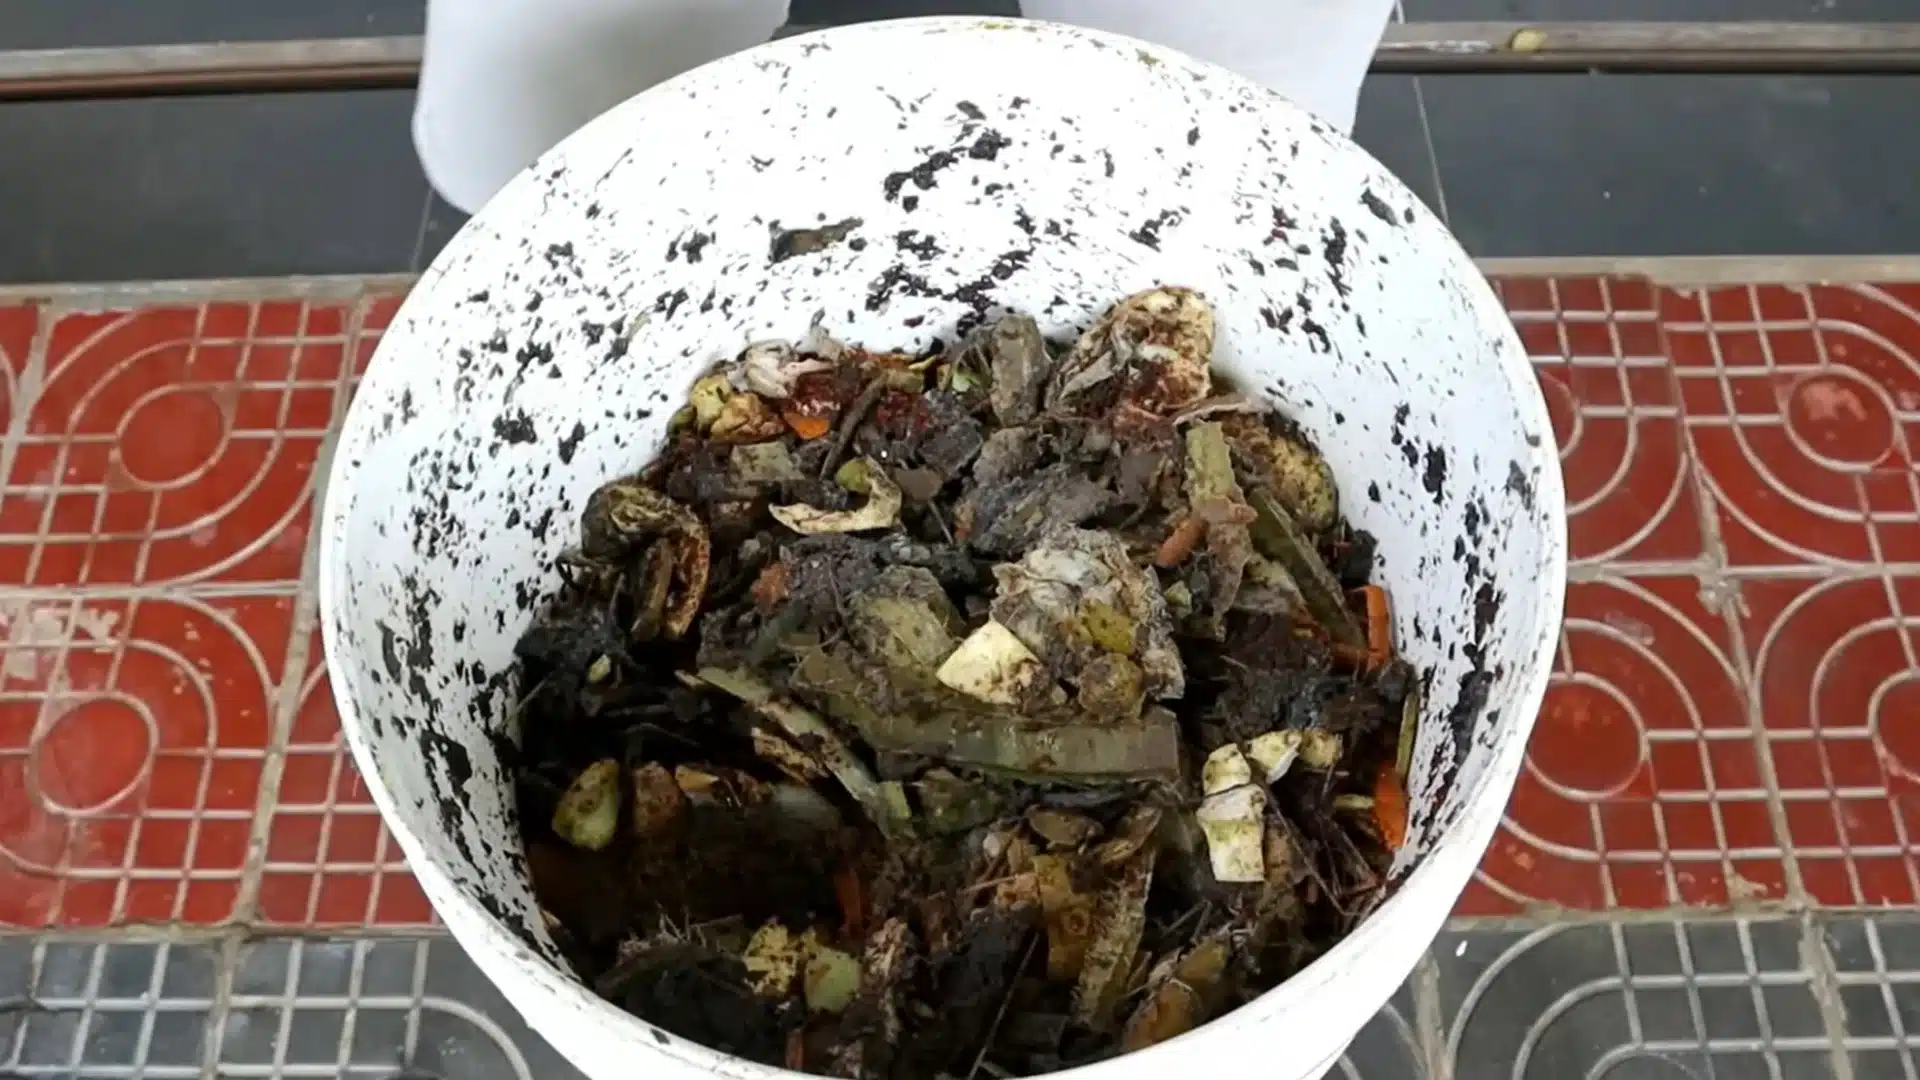
Every few days, add fresh scraps and cover them with a layer of compost to maintain balance.
Mix the entire pile every 2-3 days to introduce air and prevent it from turning soggy or compacted.
This regular routine keeps decomposition happening evenly throughout, rather than leaving parts of the pile stuck while others break down unevenly.
Step 6: Collect Your Fertilizer
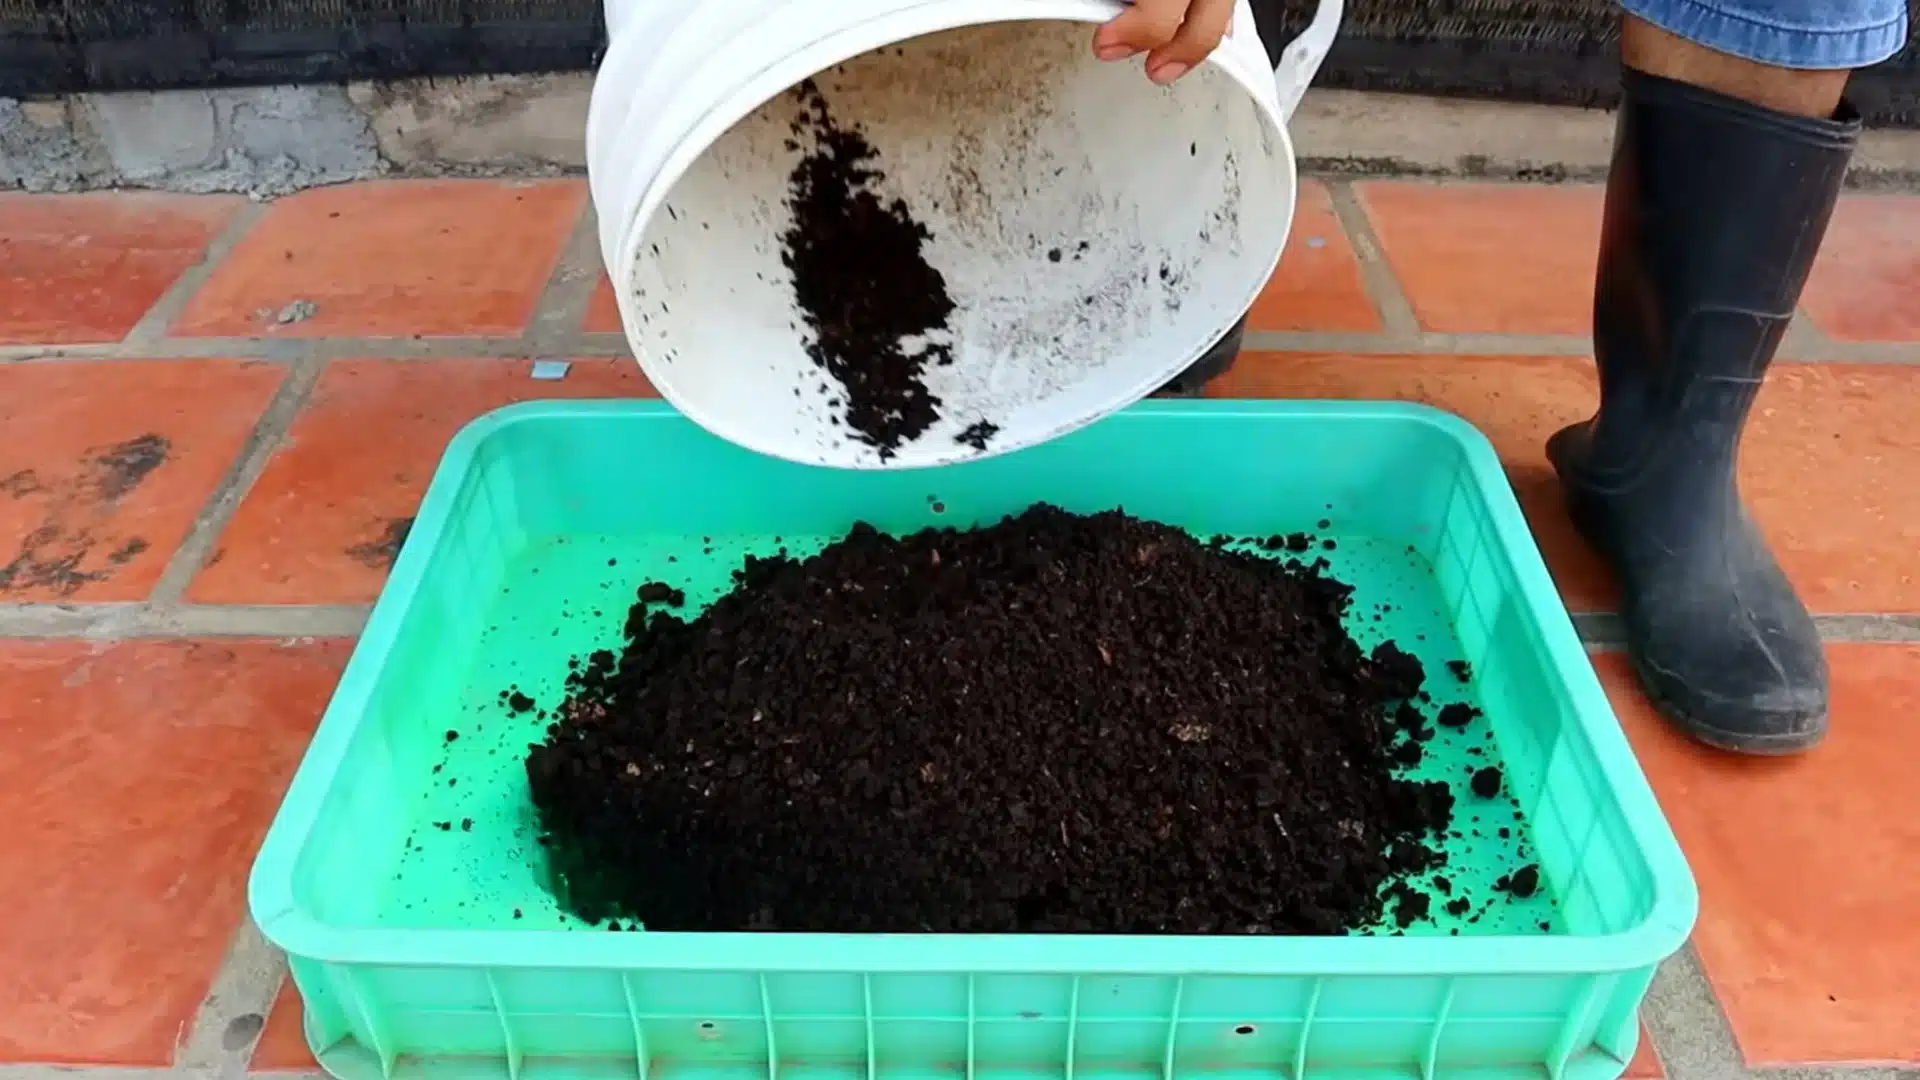
After roughly a month, liquid fertilizer starts collecting at the bottom and becomes ready to use.
Dilute it at a 1:500 ratio before applying to any plants around your home.
Give the full process 60 days, and the solid compost will be completely broken down, dark, and crumbly, ready to enrich soil for whatever you are growing.
This tutorial is based on a helpful video by V87 Garden. You can check out the original video on their YouTube channel here or watch it below.
What You Can and Cannot Put in a Compost Bin
Knowing what belongs in your compost bin helps maintain healthy decomposition and prevents bad odors, pests, and contamination.
As a general rule, add natural, biodegradable materials, and avoid meat, dairy, oils, and other materials that can disrupt the composting process.
| Can Put in Compost | Cannot Put in Compost |
|---|---|
| Fruit and vegetable scraps | Meat and fish |
| Coffee grounds and filters | Dairy products |
| Tea leaves and paper tea bags | Oily or greasy foods |
| Dry leaves and grass clippings | Pet waste |
| Shredded plain cardboard | Diseased plants |
| Plain, uncoated paper | Plastic and synthetic materials |
| Eggshells | Chemically treated materials |
Tips for Successful Composting at Home
Successful home composting is all about maintaining the right balance of organic materials, moisture, and airflow.
- Balance Greens and Browns: Combine nitrogen-rich green materials with carbon-rich brown materials to support proper decomposition.
- Maintain Proper Moisture: Keep your compost damp like a wrung-out sponge, but avoid making it overly wet.
- Ensure Good Airflow: Turn or mix the compost regularly to introduce oxygen and encourage faster decomposition.
- Cut Scraps into Smaller Pieces: Smaller food scraps break down more quickly and help create a more consistent compost pile.
- Keep the Compost Covered: Cover fresh food scraps with brown materials to reduce odors and discourage flies and pests.
Conclusion
Composting at home really comes down to balance, mixing your greens and browns, keeping the pile moist, and giving it enough air to work its magic.
Stick to the timeline, watch for that dark, crumbly texture, and you will know your compost is ready to feed your garden.
A little patience and regular care can turn everyday kitchen scraps into valuable compost for your garden.
Ready to start composting at home? Share what you’re planning to compost or any questions you have in the comments below.
FrequentlyAsked Questions
Do I Need a Backyard to Start Composting?
Not at all. Vermicomposting and bokashi bins work well indoors, making composting possible even in apartments.
How Do I Know When Compost is Ready to Use?
Finished compost is dark, crumbly, and smells earthy rather than like rotting food. It should no longer look like the original scraps.
Can I Compost in Winter?
Yes, though decomposition slows down in colder temperatures. Insulating the bin or keeping it in a sheltered spot helps keep things moving.