
Yellowing leaves and stubborn blooms on azaleas or blueberries usually point to one thing. The problem may not be your care; rather, it could be the soil.
When pH rises too high, acid-loving plants may miss vital nutrients even when the ground contains plenty.
Learning how to make soil acidic changed the way I take care of the plants.
Also, I quickly observed that adding random household ingredients can create new problems.
You’ll find testing tips, safe methods, and mistakes to skip below, so your acid-loving plants get the growing environment they deserve.
Why Soil Acidity Matters for Your Plants
Every plant grows best within a specific soil pH range, and that single number affects almost everything happening underground.
It determines if roots can actually absorb the nutrients already present in the soil.
When pH sits too high, plants can’t pull in iron, manganese, and other nutrients properly, even with regular feeding.
That’s why some gardens struggle no matter how much fertilizer goes into them.
Acid-loving plants like blueberries, azaleas, camellias, and hydrangeas evolved in naturally low-pH environments, so they function best when soil stays on the acidic side.
Most residential soil leans neutral to alkaline instead, especially near concrete foundations or in limestone-rich regions, which explains why these plants often struggle to settle in.
Test Your Soil Before You Start
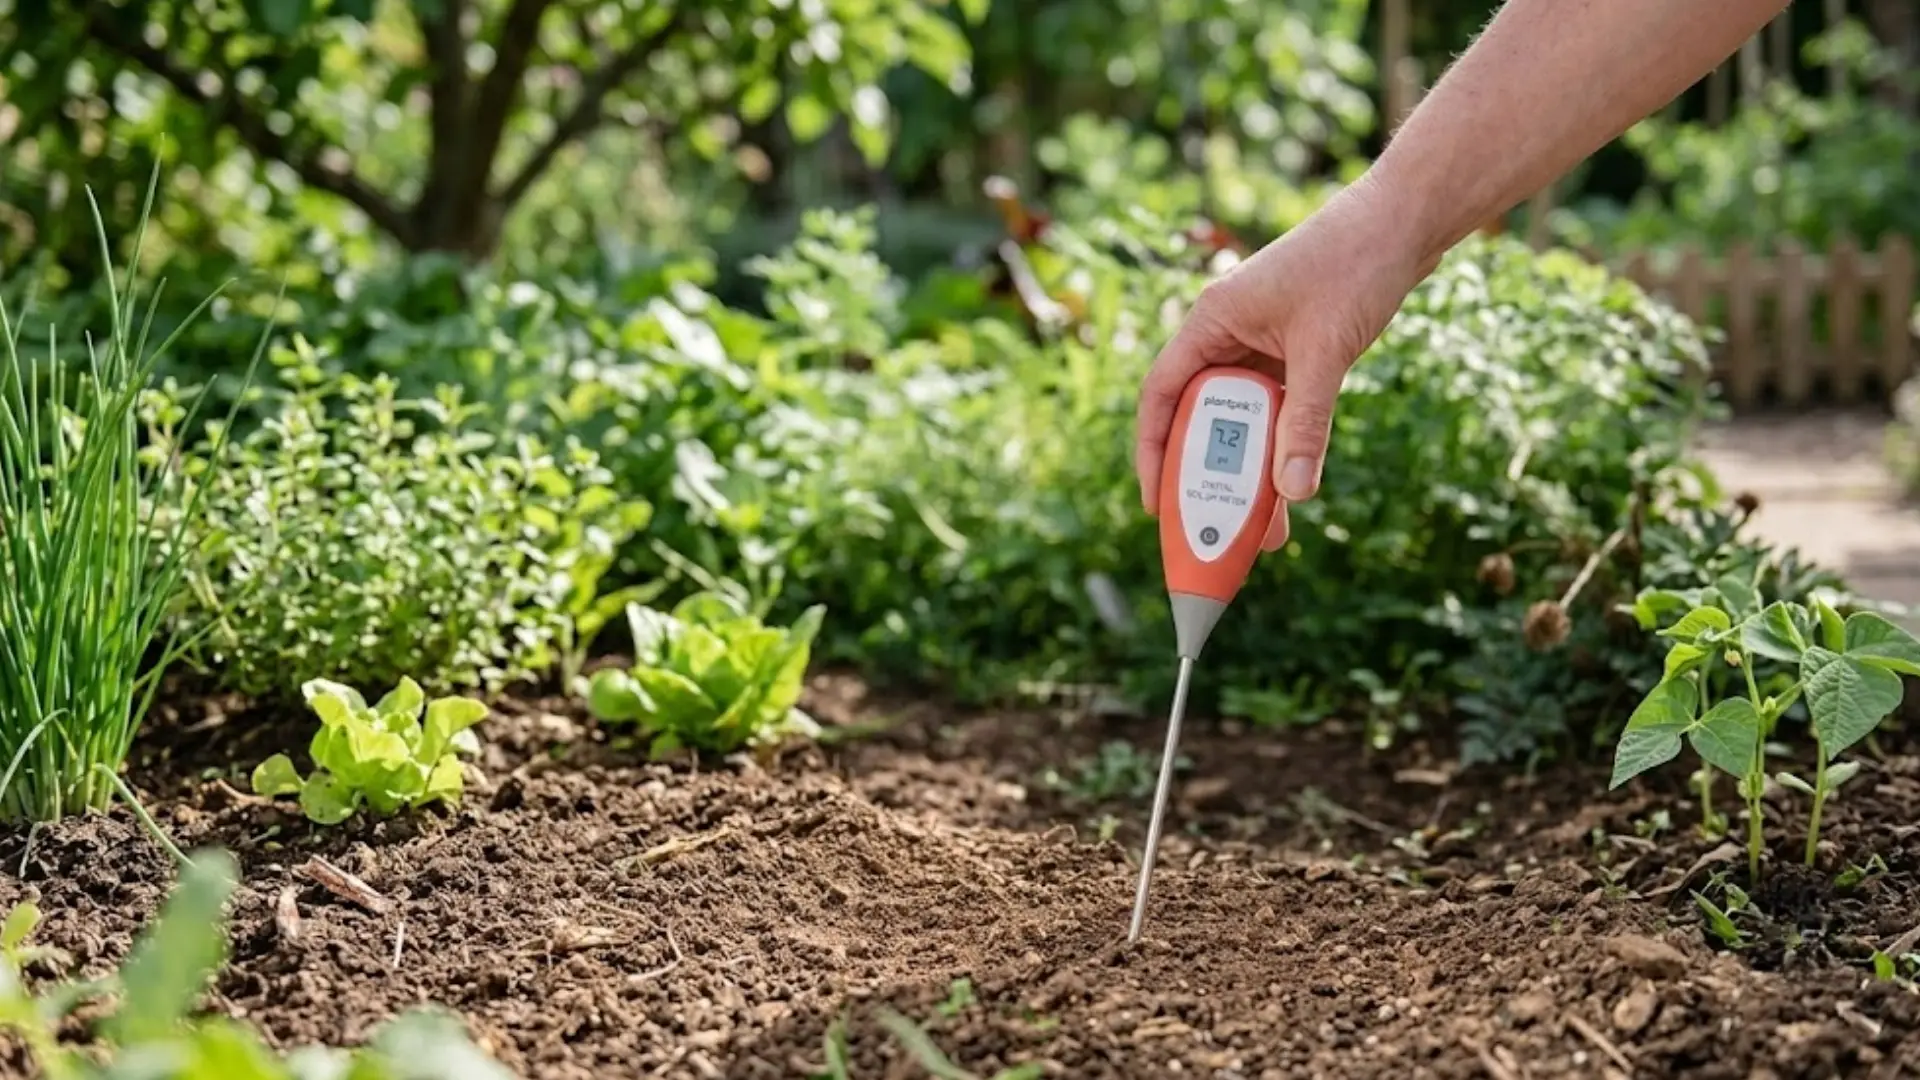
Guessing at soil pH almost always backfires, so testing first saves you time, money, and unnecessary amendments.
A simple kit from any garden center gives you a reliable starting point in minutes.
Once you get a reading, you’ll need to know what it actually means for your garden. Here’s how to read the results:
| pH Range | Classification |
|---|---|
| 0–6.9 | Acidic |
| 7.0 | Neutral |
| 7.1–14 | Alkaline |
Once you know where your soil currently sits, you can pick amendments that move it toward the range your plants actually need.
How to Make Soil Acidic?
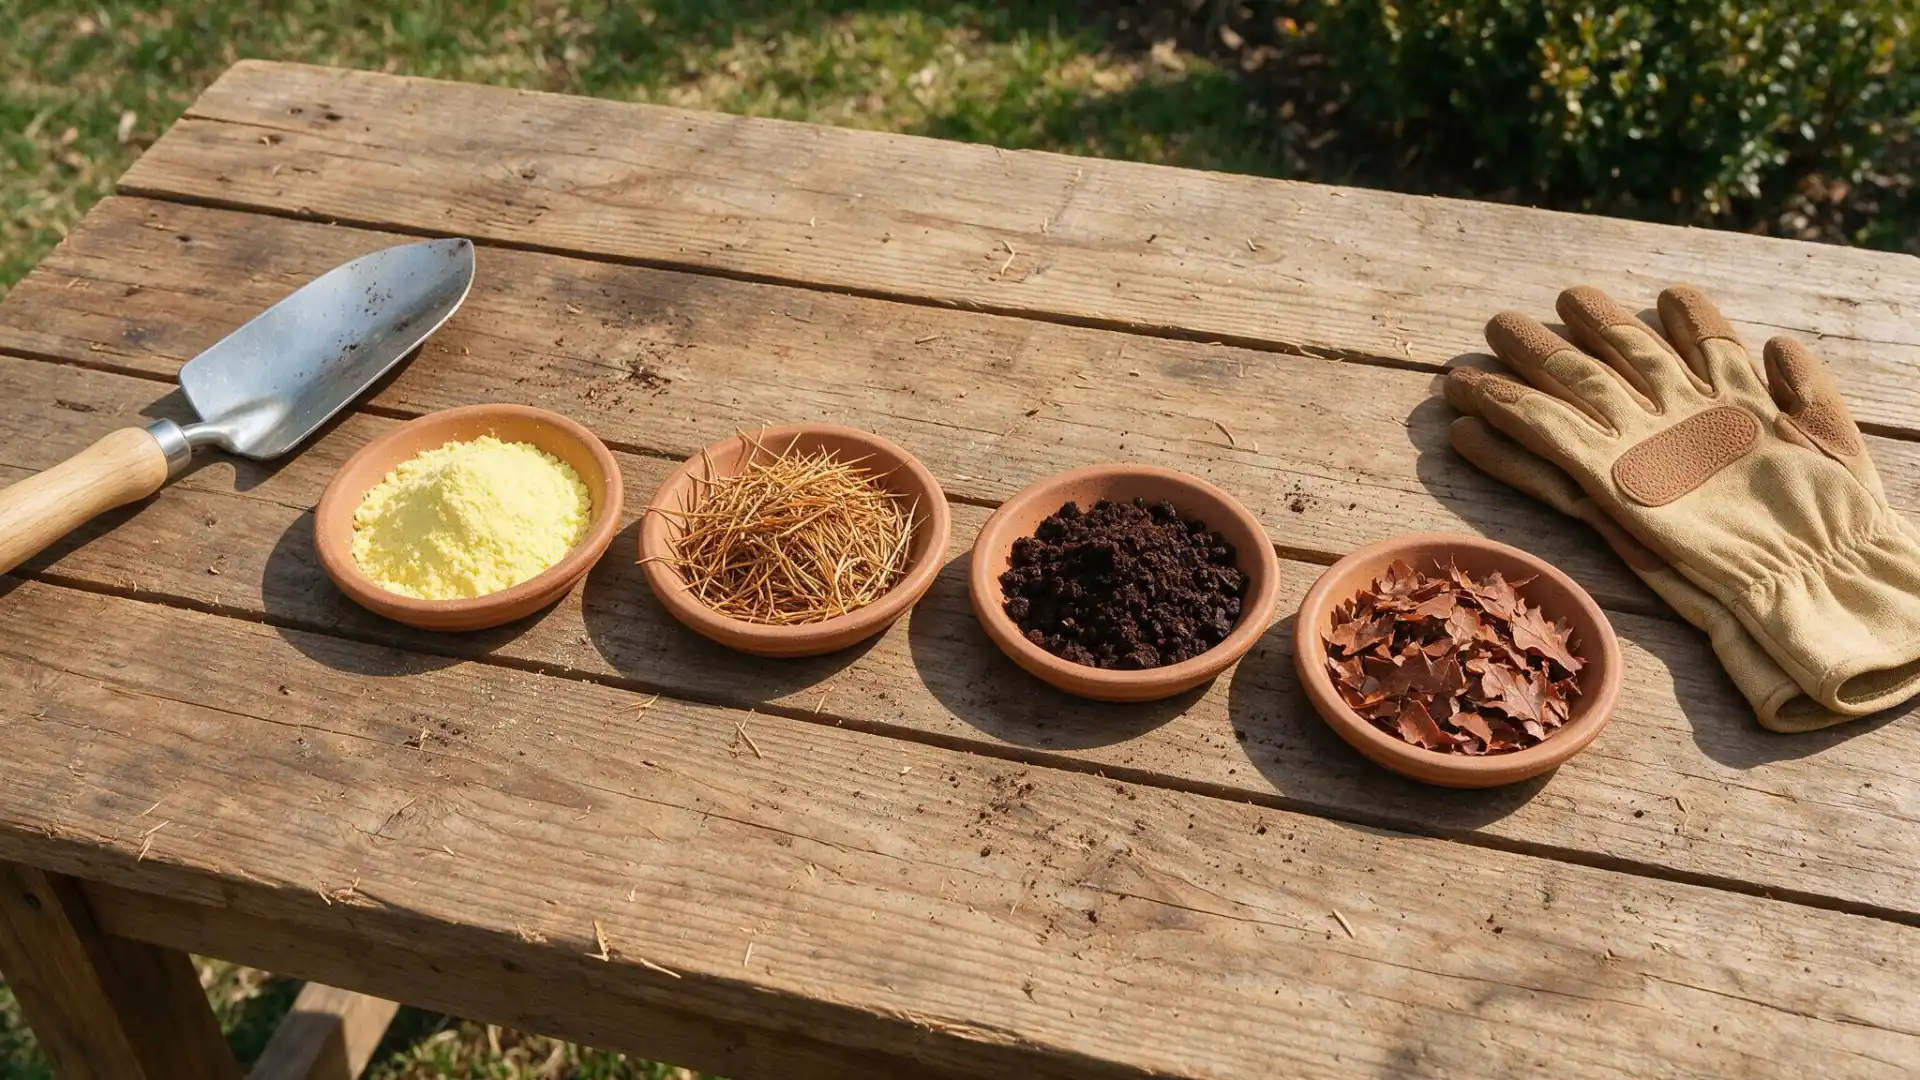
Here are reliable methods you can use, depending on your soil, your plants, and how quickly you want results.
Always apply the selected product in small amounts, follow label directions, and retest the soil before making another adjustment.
1. Add Elemental Sulfur
Sulfur lowers soil pH slowly but reliably. Soil bacteria convert it into sulfuric acid over time, so results usually take several months to fully show.
This makes it a long-term option rather than a quick fix. Work it into the top few inches of soil before planting season starts.
Fall application works best, since it gives the sulfur enough time to act before spring growth begins.
2. Use Iron Sulfate for Faster Results
Iron sulfate works faster than elemental sulfur. It releases acid directly into the soil on contact, giving you quicker correction when plants need it most.
This makes it a solid choice for urgent pH problems. You’ll need larger quantities compared to sulfur, so apply it carefully and water it in well afterward.
Overuse can affect phosphorus levels, so always stick to labeled amounts.
3. Mix in Sphagnum Peat Moss
Peat moss lowers soil pH slightly while also improving moisture retention and overall soil texture.
It works especially well for container plants and small garden beds needing a mild adjustment.
Mix it thoroughly into the topsoil instead of layering it on top of the ground. Keep in mind that peat moss is a non-renewable resource, so use it sparingly whenever possible.
4. Apply Pine Needles as Mulch
Pine needles break down slowly and add mild acidity to the soil underneath as they decompose over time.
This method works best as a long-term maintenance step rather than a quick fix.
Spread a few inches around the base of acid-loving plants like blueberries or azaleas. Replenish the layer each season to keep the acidifying effect going strong year after year.
5. Work in Coffee Grounds
Used coffee grounds add mild acidity while enriching the soil with extra organic matter over time.
They work gradually, so pairing them with other methods gives you faster, more noticeable results overall.
Spread grounds thinly and mix them into the topsoil rather than piling them up in one spot.
6. Add Composted Oak Leaves
Oak leaves are naturally acidic and break down slowly into a nutrient-rich addition for garden beds over time.
Composting them first prevents matting and helps the acidity release more evenly into the soil. Layer composted leaves around the base of plants or mix them well into the topsoil.
This method pairs especially well with mulch-based techniques you’re already using in the garden.
7. Use Ammonium-Based Fertilizer
Ammonium-based fertilizers acidify soil as the ammonium slowly converts to nitrate through natural soil activity.
This process gives plants a nutrient boost while gradually nudging soil pH in the right direction.
Apply it carefully according to label instructions, since overuse can throw off overall nutrient balance.
8. Add Citrus Peels to Compost
Citrus peels add mild acidity as they break down, making them a simple addition to your compost pile.
Orange, lemon, and grapefruit peels work well without introducing any harsh chemicals into the soil. Chop peels into small pieces so they decompose faster and mix evenly.
Add composted citrus to garden beds a little at a time, since fresh peels can attract pests if left exposed.
9. Brew and Apply Compost Tea
Compost tea delivers mild acidity along with fast-acting nutrients plants can absorb almost immediately after each application.
It’s an easy addition to any regular watering routine you already follow in the garden. Steep finished compost in a bucket of water for a day or two, then strain it well and apply.
Treat composted leaves as a soil conditioner rather than a quick acidifier.
When to Retest and Adjust Soil pH?
Soil pH doesn’t stay put once you fix it. Rain, watering, and natural minerals in the ground slowly shift it back over time.
That’s why retesting regularly matters just as much as the initial fix you made earlier.
Test your soil once or twice a year, especially if you’re growing sensitive plants like blueberries or azaleas.
Spring and fall work well, since you can adjust levels before the next growing season begins in earnest.
If levels have drifted, make small corrections rather than large ones all at once. Gradual changes are safer for roots and much easier to manage over time.
Consistency matters more than any single big adjustment, so build retesting into your regular garden routine going forward.
Common Slip-Ups When Acidifying Soil
Acidifying soil requires patience and regular monitoring. Watch for these common mistakes to keep soil conditions stable and plants healthy.
- Adding too much at once: Soil pH needs time to shift gradually, and rushing it often causes more harm than good.
- Using aluminum sulfate carelessly: It works fast but can push pH down too quickly and cause aluminum buildup that harms roots.
- Skipping retests: Soil pH drifts back over time, so skipping checks means problems go unnoticed.
- Ignoring your water source: Hard water carries minerals that slowly raise pH again, undoing your progress.
Conclusion
Making soil acidic does not require drastic changes. It starts with a reliable pH test, followed by the right amendment for your soil and plants.
Retesting once or twice a year helps you catch changes caused by rain, irrigation, and natural minerals before plants begin to struggle.
Small, steady adjustments protect your roots and keep results lasting longer than any quick fix ever could.
Test your soil regularly, watch how your plants respond, and adjust as needed along the way.
Share your soil acidifying results in the comments below; we’d love to hear how it went.
Frequently Asked Questions
Does Vinegar Permanently Lower Soil pH?
No, vinegar only offers a short-term dip. Its effect fades within days, so it works best alongside slower, longer-lasting amendments like sulfur.
How Long Does Sulfur Take to Acidify Soil?
Sulfur usually takes several months to show full results. Soil bacteria need time to convert it into acid, so patience matters here.
Does Watering with Tap Water Undo My Progress?
It can. Hard or well water in limestone areas often carries a pH above 7, and regular watering with it slowly cancels out your progress. Rainwater or filtered water helps hold the acidity.