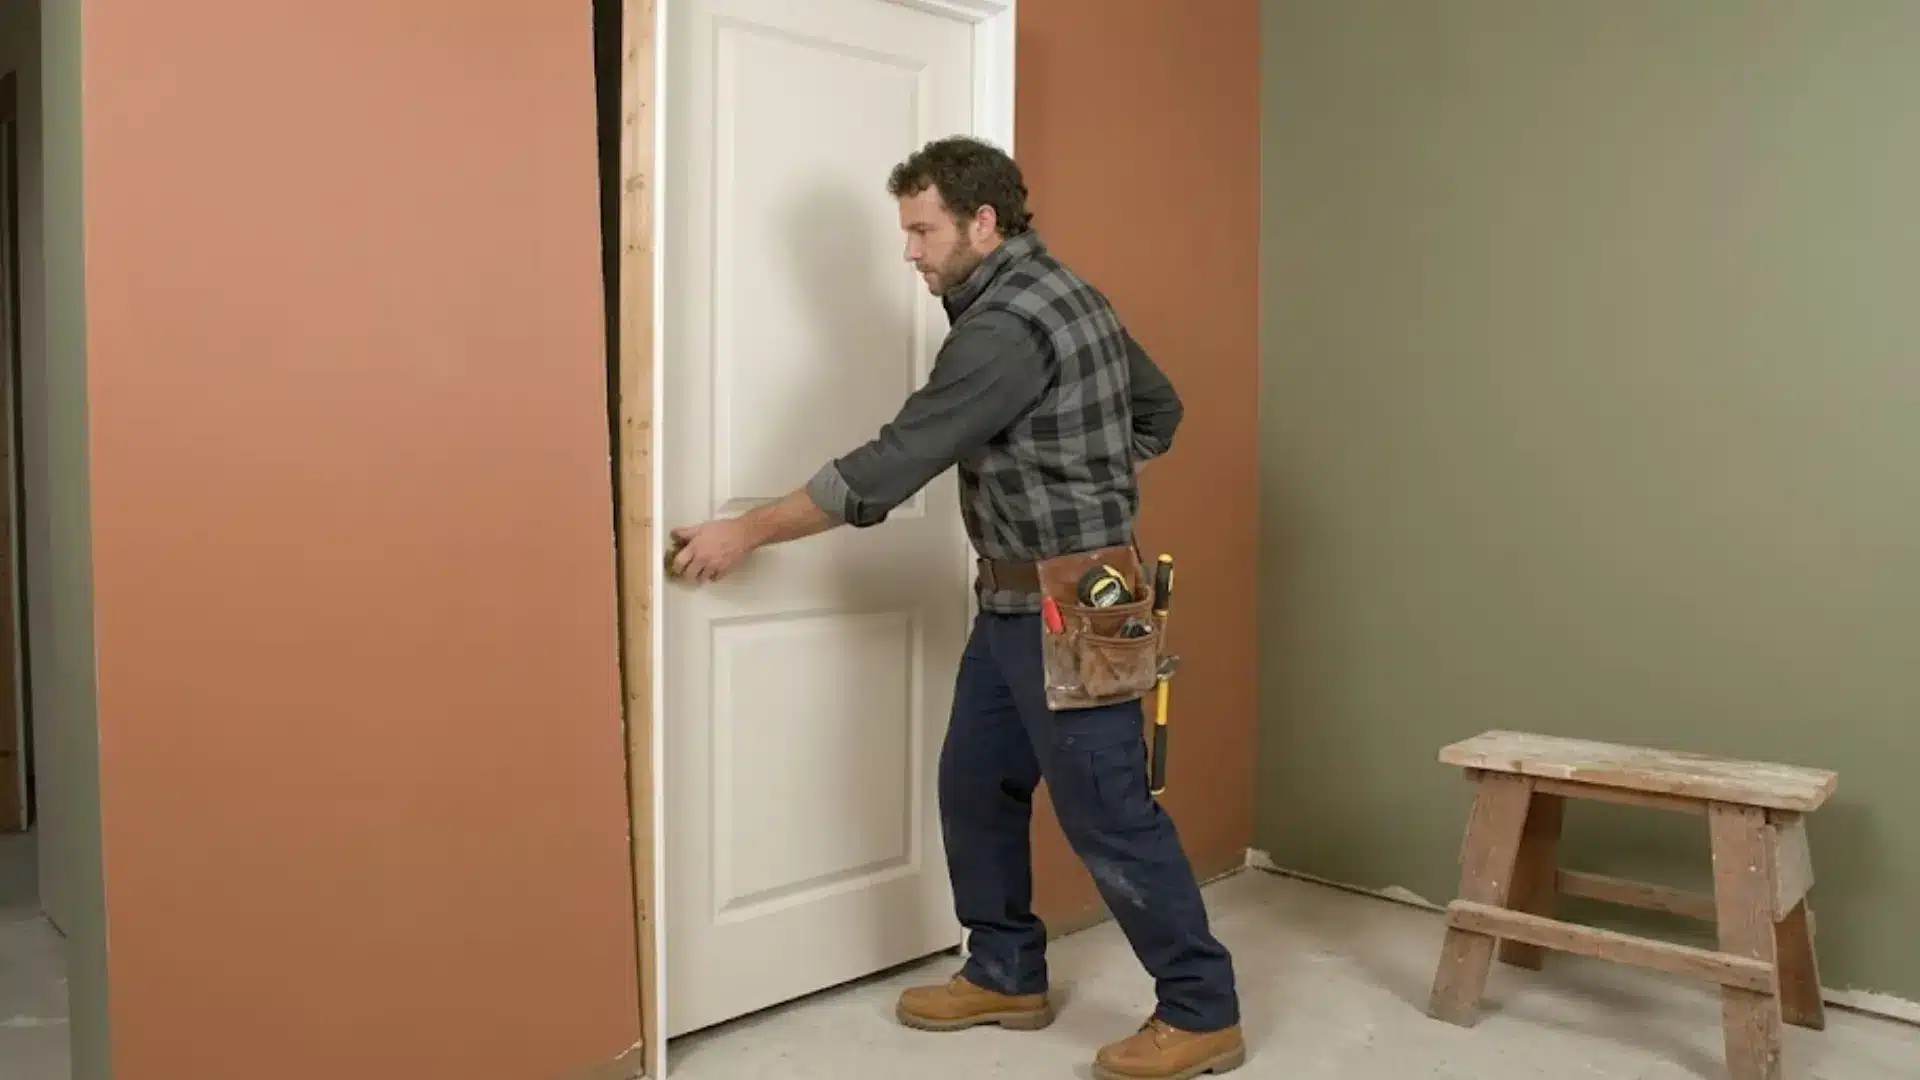
A prehung door can make a doorway give a finished look, but the quality of the installation determines how well it performs over time.
A door that sits slightly out of alignment can rub against the frame, leave uneven gaps, or refuse to latch properly.
That’s why learning how to install a prehung door correctly matters before you pick up your drill.
The process is less about rushing from one step to the next and more about positioning, leveling, and securing the frame with care.
If you’re replacing an old doorway or finishing a new one, the goal is a door that opens smoothly, closes securely, and looks properly fitted from every angle.
Understanding the Components of a Prehung Door
A prehung door is a complete door assembly that comes already attached to its frame, making installation easier and faster.
The main components typically include:
- Door slab: The actual door that opens and closes.
- Door frame/jambs: The surrounding structure that supports the door.
- Hinges: Connect the door slab to the frame and allow movement.
- Door stop: Prevents the door from swinging beyond its intended position.
- Hardware: Some units include pre-installed or matching hardware for convenience.
A prehung door is a practical choice when replacing an entire door assembly or installing a door in a new opening.
Getting the frame size right matters just as much as the installation, since interior and exterior doors follow different standard door sizes.
Unlike a slab door, which includes only the door itself, a prehung unit provides the components needed to position and operate the door within the opening.
Tools and Materials Required to Install a Prehung Door
Before framing the opening, gather these tools to size the rough opening correctly, build out the studs and header, and account for any unevenness in the floor before the door ever goes in.
| Tool | Purpose |
|---|---|
| Tape measure | Size the rough opening using the 2-and-2 rule |
| Level | Check jack studs for plumb and the floor for level |
| Framing square | Confirm square corners while framing the opening |
| Saw | Cut jack studs, header, sill plate, and jamb legs to length |
| Hammer and nails | Assemble and anchor the framing members |
| Jack studs, header, and sill plate lumber | Build the rough opening frame to support the door |
With the tools on hand, the next step is to measure and size the rough opening so it matches the prehung unit before any framing goes in.
Safety note: Wear eye protection when cutting or nailing, and keep anyone else clear of the door’s swing path while positioning it.
How to Install a Prehung Door: Step-by-Step Process
Once the rough opening is framed and checked, setting the actual prehung unit in place comes down to a few careful steps.
Step 1: Position the Door in the Opening

Have a second person hold the door steady by the handle while you guide the unit into the rough opening from the top.
Start by setting the top of the frame in place first, since this gives you a stable anchor point to work from as you square up the rest of the jamb before making any permanent adjustments below.
Step 2: Check the Hinge Side for Plumb

Set a level against the hinge-side jamb and check that the bubble sits evenly between the two lines.
This side matters more than the opposite one, since it is what the door actually hangs from once installed.
Getting this side plumb before moving forward affects how smoothly the entire unit swings and closes once everything is nailed into place.
Step 3: Anchor the Hinge Side Solid
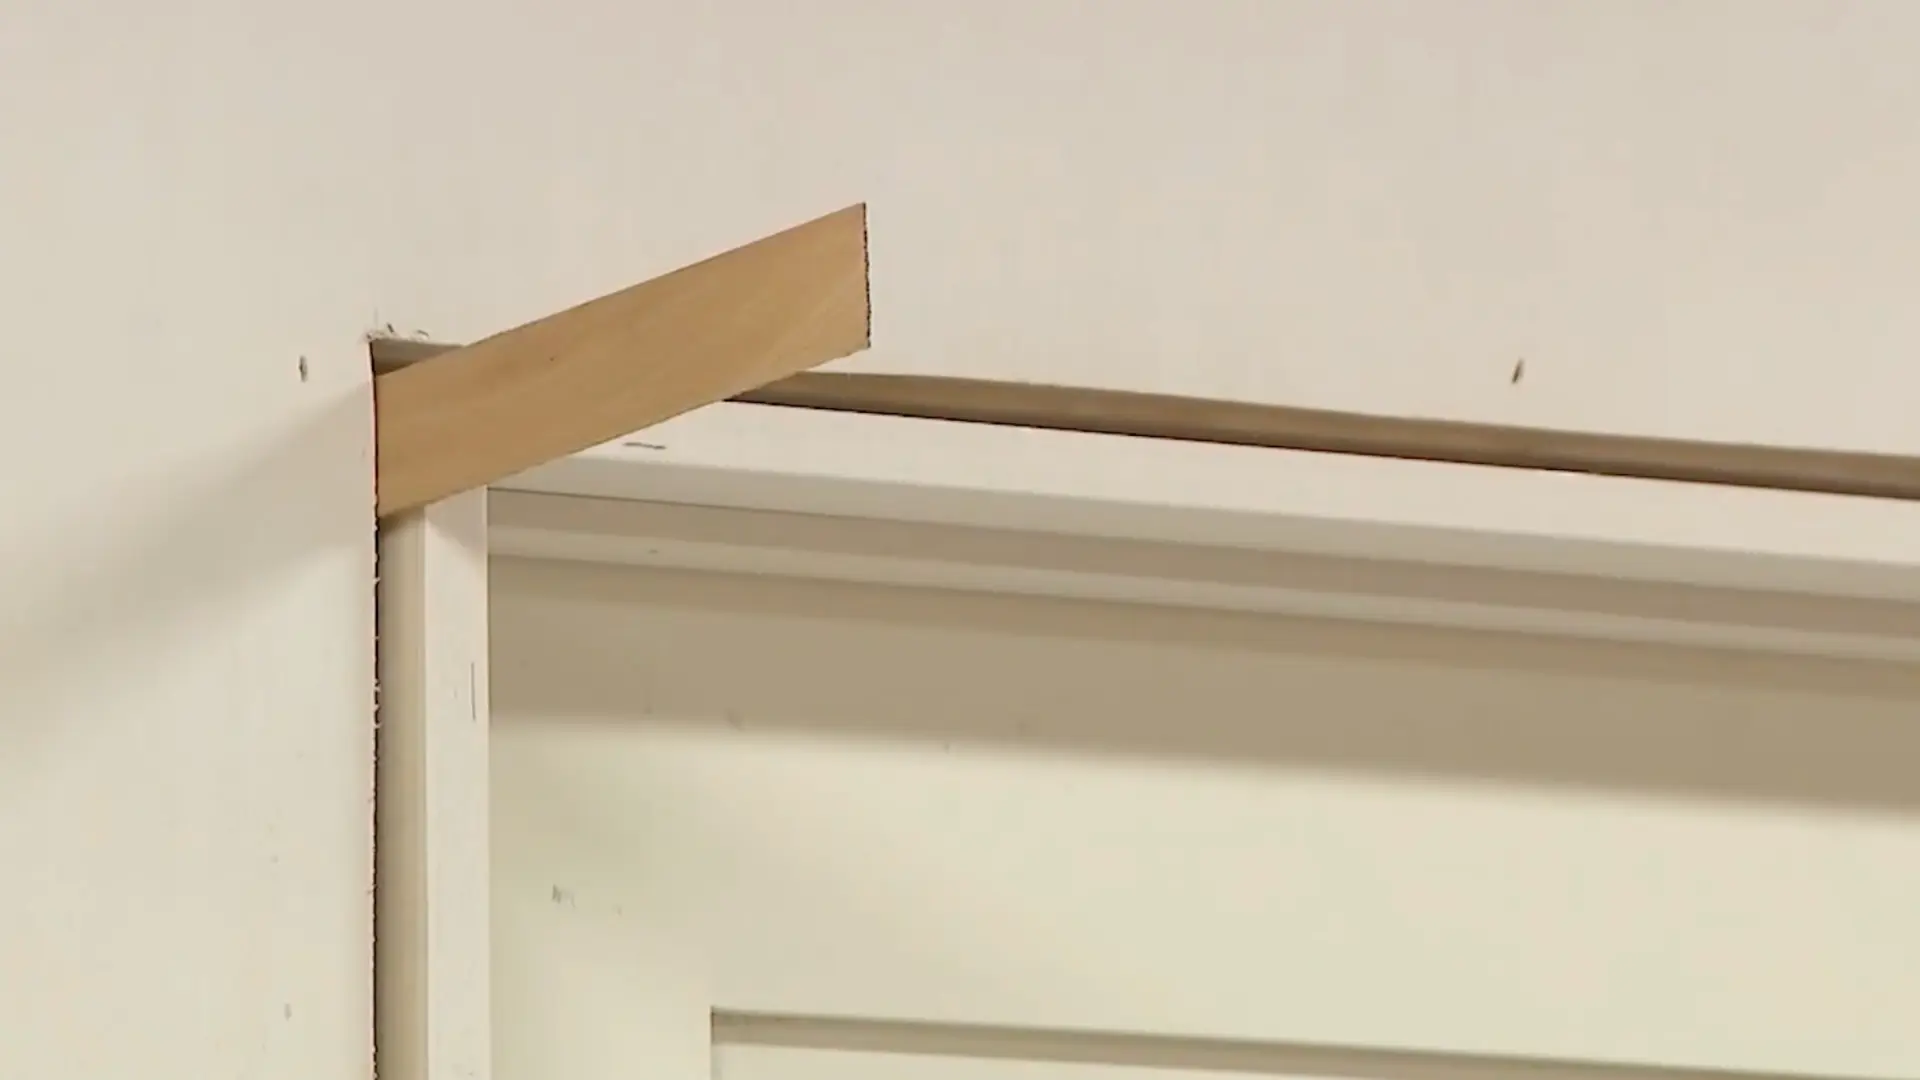
Nail the hinge-side jamb solid against the framing, since this side carries the full weight of the door through its hinges.
The opposite side, the active or latch side, gets shimmed instead of nailed solid right away.
This allows small adjustments later so the casing sits flat and even against the finished wall surface once trim work begins.
Step 4: Square the Jamb to the Finished Wall

Use a small tri-square to check that the jamb lines up correctly against the finished wall surface, not just the rough framing behind it.
This step matters because it confirms the frame will sit properly once casing goes on, rather than only checking the raw opening dimensions before the wall surface is finished.
This also helps maintain consistent trim alignment and prevents visible gaps between the jamb and finished wall.
Step 5: Nail the Jamb Flush and Finish Securing It

Once the jamb reads plumb and square, push it in so it sits fully flush with the finished wall surface, checking that no gap remains along the edge.
Nail it off securely with a nail gun, including a nail at the midpoint of the jamb for extra hold, locking the frame into its final position.
Watch this video tutorial by Baird Brothers Fine Hardwoods for a full walkthrough of the process.
Common Mistakes to Avoid When Installing a Prehung Door
Avoiding common installation mistakes helps ensure your prehung door opens smoothly, closes properly, and remains securely aligned.
- Skipping Measurements: Always measure the rough opening carefully to ensure the prehung door fits correctly.
- Ignoring Leveling: Not leveling the frame can cause uneven gaps and prevent smooth door operation.
- Overtightening Screws: Excessive tightening can pull the door frame out of alignment and cause the door to rub.
- Using Too Few Shims: Insufficient shimming may leave the frame unstable and create alignment problems during operation.
- Skipping Final Checks: Always test the door before installing trim to identify and correct alignment issues.
Conclusion
Installing a prehung door may seem challenging at first, but the process becomes much easier when you work methodically.
From measuring the rough opening and preparing the frame to shimming, leveling, securing, and testing the door, one has to be careful.
Always check the manufacturer’s instructions, especially for fastening and finishing requirements.
Ready for your next DIY project? Use this blog to install a prehung door, and tell us how your installation went in the comments.
Frequently Asked Questions
What is the 2-and-2 Rule for a Rough Opening?
The 2-and-2 rule means allowing roughly 2 inches of extra width and 2 inches of extra height for installation adjustments.
How Much Bigger Should a Rough Opening Be Than The Door?
A prehung unit runs about an inch and a half larger than the door slab, so the opening needs extra room beyond that.
How Many Hours Does it Take to Install a Prehung Door?
Installing a prehung door typically takes 2-4hours, depending on your experience, opening condition, and required adjustments.