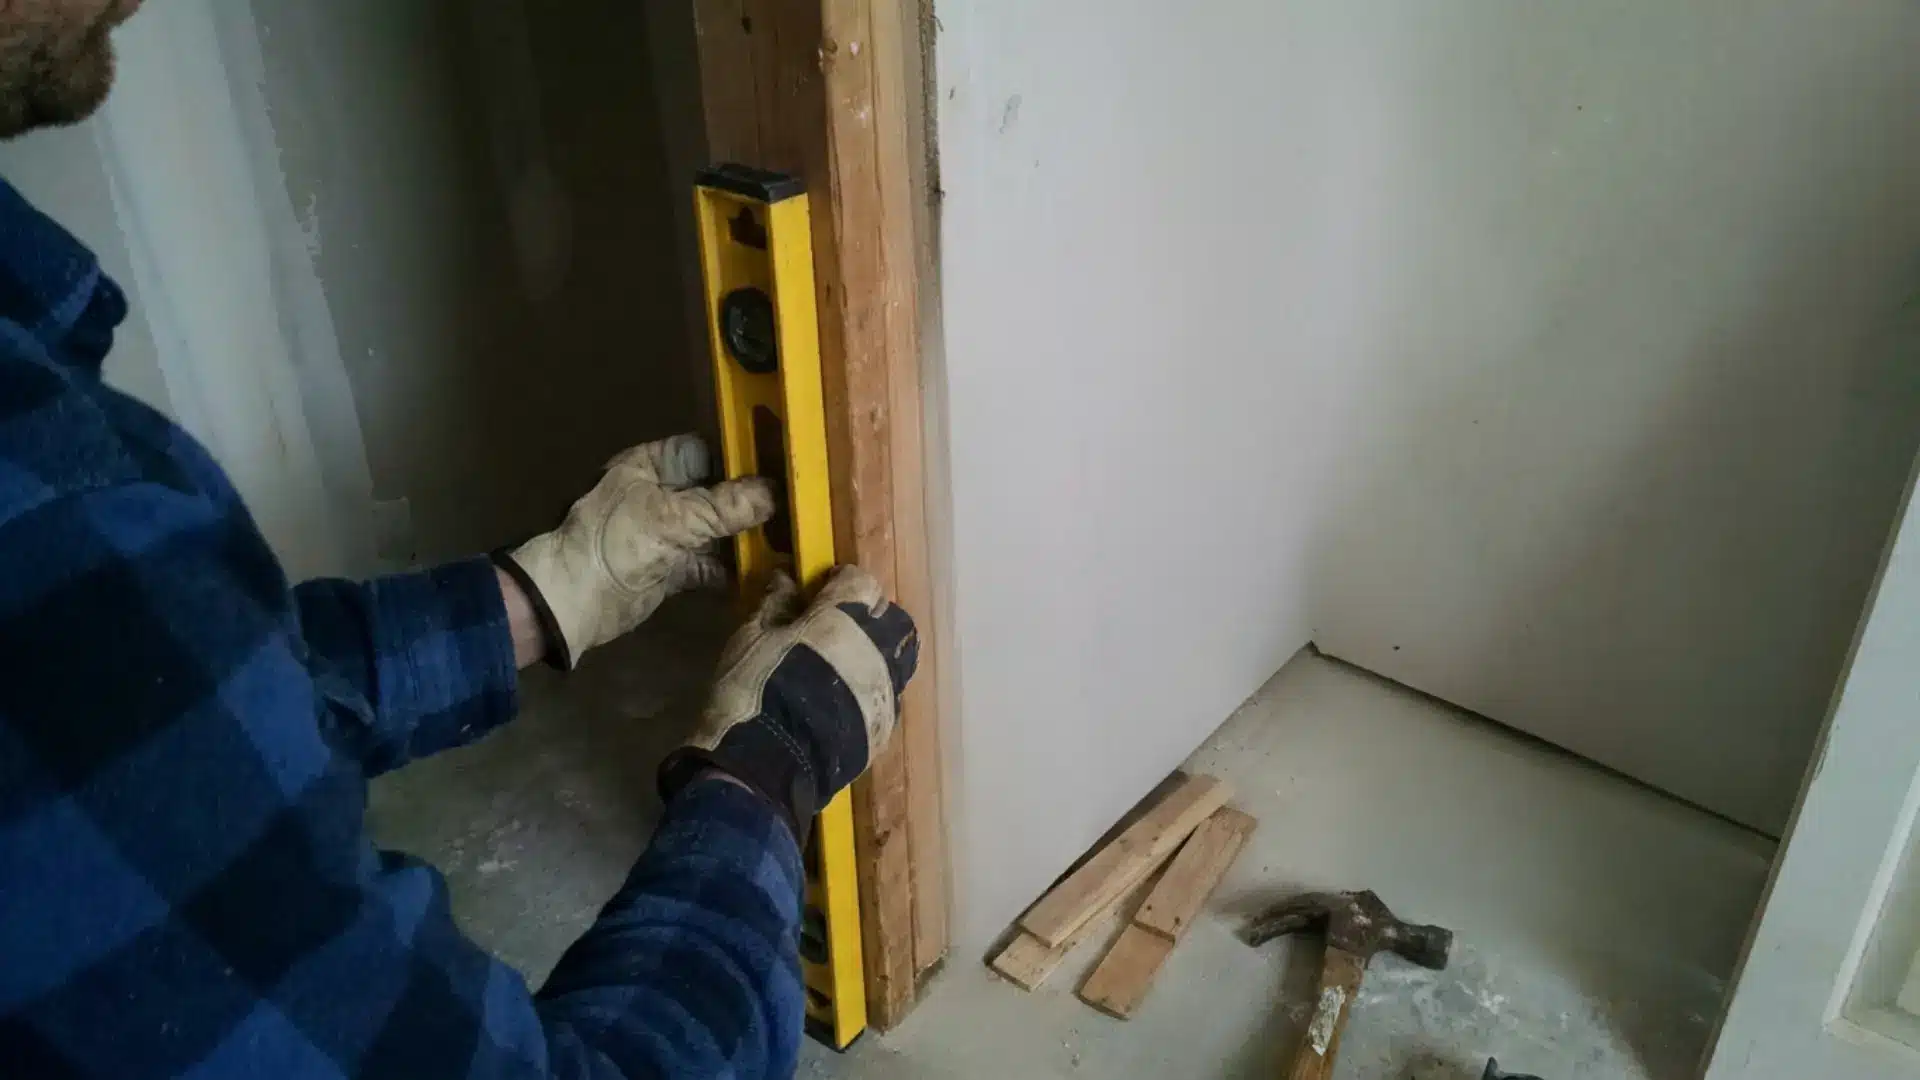
A door should open and close effortlessly, but that smooth experience starts with something most people barely notice, the door frame.
If the frame is uneven, poorly fitted, or out of alignment, even a good-quality door can stick, swing open, or refuse to latch properly.
That is why learning how to install a door frame correctly matters more than you might think.
With the right measurements, a few basic tools, you can create a sturdy frame that makes the entire doorway feel finished and secure.
What to Check Before Installing a Door Frame?
Before installing a door frame, check the doorway and make sure everything is ready for the job.
Start by measuring the rough opening to confirm that it is wide and tall enough for the frame.
Check the wall and surrounding area for cracks, damage, moisture, or loose materials that may affect the installation.
Use a level to see if the sides are straight and the top is level. You should also check that the opening is square by comparing its diagonal measurements.
Make sure you have the correct door frame and door size, fasteners, shims, and tools for the job.
If you are replacing an old frame, remove it carefully and clean the opening before installing the new one.
Taking these checks seriously can help prevent alignment problems and ensure the door operates smoothly.
Tools and Materials Required to Insntall a Door Frame
Before starting, gather these tools to check the opening, set the frame, and get all the jambs straight and flush.
| Tool | Purpose |
|---|---|
| Framing square | Check the rough opening for square before setting the frame |
| Level | Check the frame and jambs for plumb |
| Jamb spreader | Hold consistent spacing between the two jambs while shimming |
| Wood shims | Pack behind the jambs to straighten bows and set spacing |
| Hammer and finish nails | Anchor the jambs to the framing |
| Straightedge board | Check jambs for bowing along their length |
| Utility knife (or handsaw/grinder) | Trim excess shim flush after nailing |
| Primer | Coat the frame to check the finished look before hanging the door |
Safety note: This work involves nails and framing that carries the door’s weight. Wear eye protection when nailing and trimming shims.
How to Install a Door Frame: Step by Step Process
Once the opening has been checked and the tools are ready, the actual installation comes down to six steps, starting with the rough opening itself.
Step 1: Check the Rough Opening for Square and Level
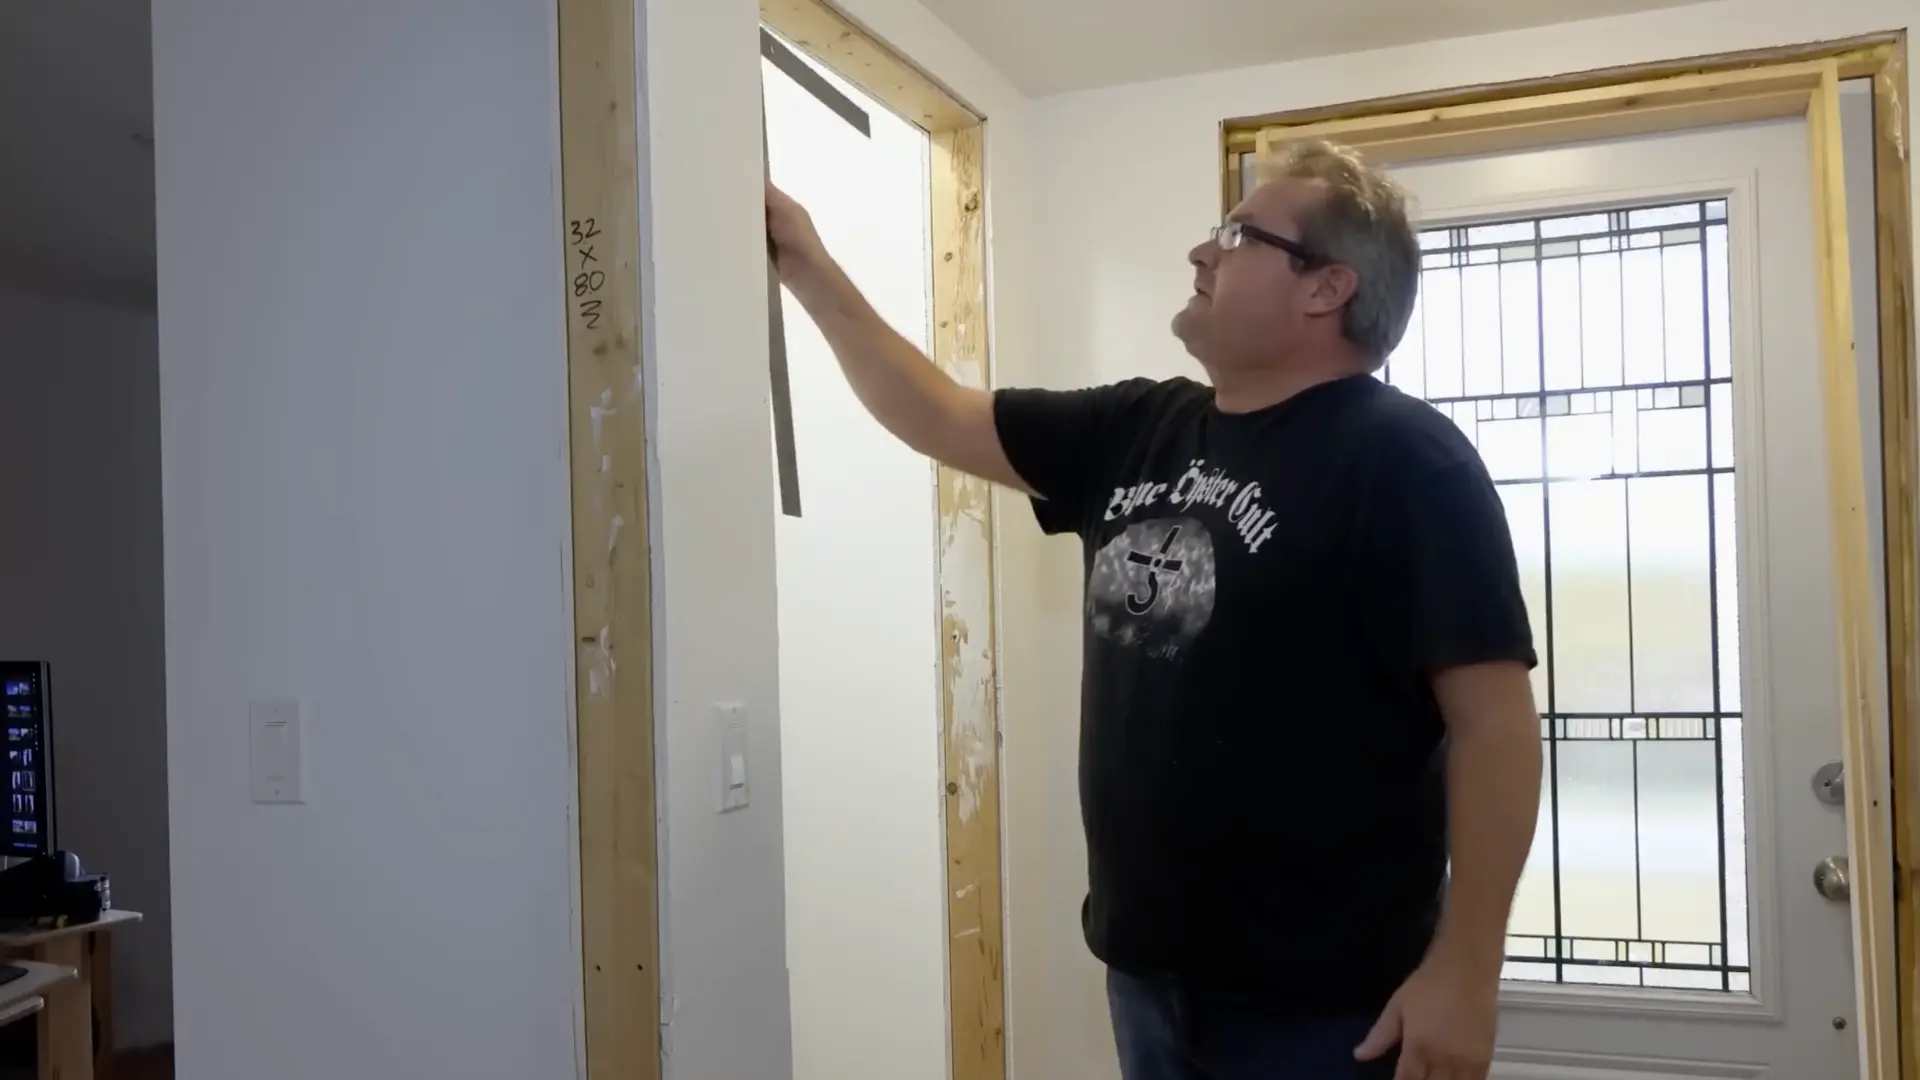
Hold a framing square in the corner of the opening to see how far off a true right angle it actually is.
Measure jamb height on both sides, since an uneven floor often creates a small difference.
Check the ceiling too, especially if it was built after the original structure, and match the frame to its actual line rather than forcing level.
Step 2: Set the Frame and Check for Plumb
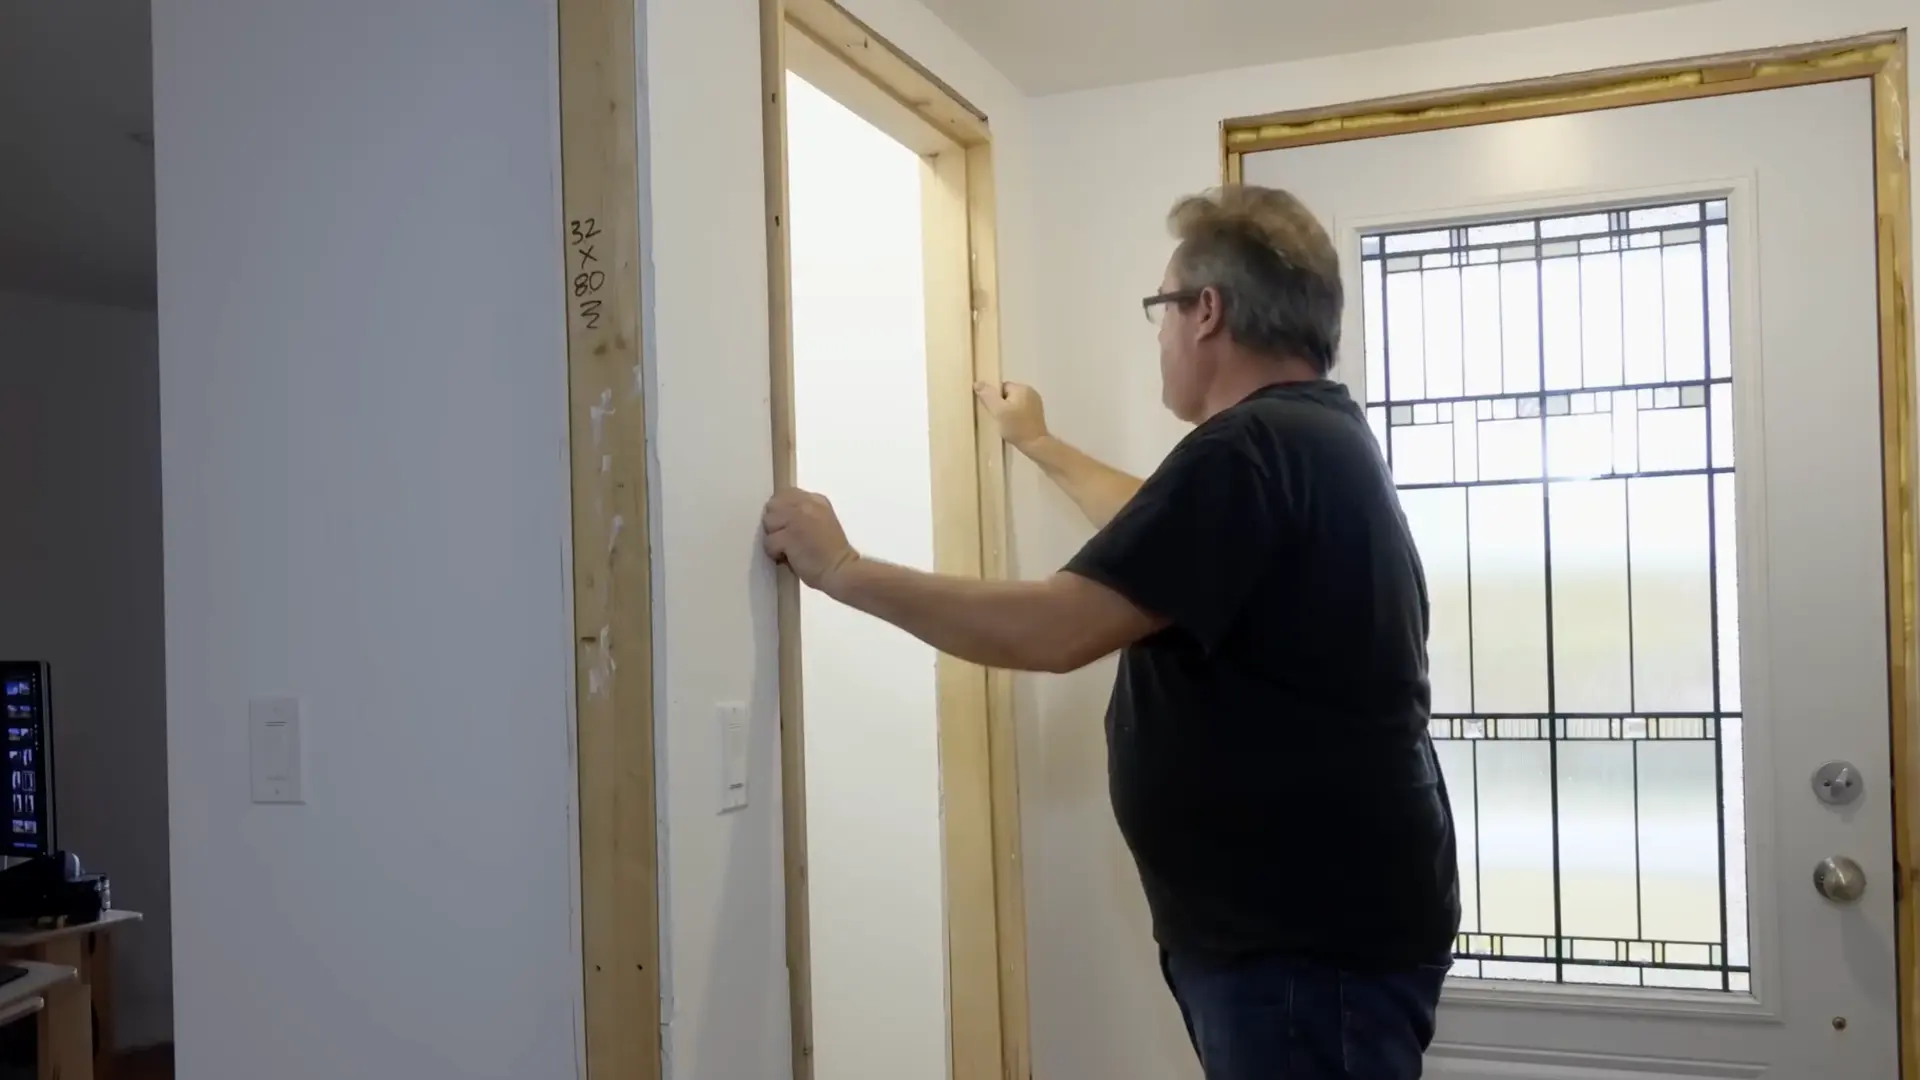
Press the frame into the opening and check the hinge side of the jamb with a level. It does not need to be perfectly plumb; it needs to match the lean of the surrounding wall.
Compare it against the adjacent wall to confirm they align. Forcing true plumb against an out-of-plumb wall will only make the finished frame look crooked.
For jamb-by-jamb installs, use this approach; pre-hung doors require a different setting and shimming sequence.
Step 3: Anchor the Hinge-Side Jamb First

Drive a nail near the top of the hinge-side jamb without a shim behind it, keeping the jamb face flush with the wall.
Check the plumb again before driving a second nail near the bottom.
This side carries the door’s full weight through the hinges, so it needs to be anchored solidly before any other adjustment is made to the rest of the frame.
Step 4: Straighten the Jamb with Shims

Use a straightedge to spot any bowing along the jamb’s length.
Drive a nail to pull an outward bow inward, then pack opposing shims behind an inward dip to push it flush.
Check with the straightedge again after each adjustment, repeating the process at several points until the entire jamb reads straight from top to bottom.
Step 5: Space and Set the Second Jamb

Use a jamb spreader to hold consistent spacing between the two jambs, matching the distance to the top of the frame.
Pack shims behind the second jamb in opposing pairs to create a flat surface, then nail through the shims.
Check that this jamb sits flush with the wall, since the door will need to close evenly against the stop.
Step 6: Trim Shims and Prime the Frame

Once every jamb is nailed and straight, trim the excess shim flush using a utility knife, a handsaw, or a grinder for thicker pieces.
Apply a coat of primer over the frame to check how it looks once the rough edges are covered. This also prepares the frame for finishing before you hang the door.
Watch this video tutorial by Man Cooking His Own Way for a full walkthrough of the process.
When Should You Hire a Professional to Install a Door Frame?
Installing a door frame can be a manageable DIY project, but some situations require professional help to ensure a safe, secure, and proper installation.
You should hire an experienced installer to save time and prevent costly repairs in the following cases:
- The existing doorway is badly damaged or out of square.
- The wall needs structural changes or major repairs.
- You are installing a door frame in a masonry or concrete wall.
- The door is unusually heavy, oversized, or a complex design.
- The frame affects exterior security or weatherproofing.
- You do not have the right tools or experience.
- The door frame remains uneven or misaligned after installation.
Consider professional installation if you are unsure about measurements, tools, or the condition of the wall.
Common Door Frame Installation Mistakes to Avoid
Installing a door frame requires accurate measurements and careful alignment. Even small mistakes can affect how smoothly the door opens, closes, and locks.
Avoid these common errors to ensure a strong, level, and long-lasting installation.
- Skipping measurements: Always measure the rough opening and door frame carefully before cutting or installing anything.
- Ignoring level and plumb: Make sure the jambs are perfectly vertical and the head jamb is level to prevent alignment problems.
- Overtightening screws: Tightening screws too much can bend or twist the frame, making the door difficult to operate.
- Using too much expanding foam: Excess foam can push the frame out of alignment as it expands. Use low-expansion foam and apply it carefully.
- Skipping the final door test: Open and close the door several times before finishing the trim to check for rubbing, uneven gaps, or latch problems.
Conclusion
A well-installed door frame is one of those home improvements you notice most when it is done wrong, and hardly notice at all when it is done right.
If you are planning to take on this project yourself, do not rush simply to get it finished. Give yourself enough time to work carefully, make adjustments, and get the fit right.
A properly fitted frame can also improve the door’s appearance, function, and overall durability.
Once you are ready, gather your tools and start your door frame installation today.
Frequently Asked Questions
Does a Door Frame Need to Be Perfectly Plumb?
Yes. A door frame should be as plumb as possible to ensure proper alignment, smooth operation, and consistent gaps between the door and frame.
How Do You Fix a Bowed Door Jamb?
Use shims behind low spots and secure the jamb carefully with screws. For severe bows, repositioning or replacing the jamb may be necessary.
How Long Does it Take To Install a Door Frame?
Installing a door frame typically takes two to four hours, depending on the doorway condition, frame type, and installer’s experience.
How Much Does it Cost to Install a Door Frame?
A basic interior frame kit, jambs, casing, fasteners, typically runs $30 to $90 in materials, plus $20 to $40 for shims and primer.