Sometimes, the healthiest-looking garden can hide a problem beneath the surface.
I have learned that when plants struggle, yellow leaves appear, or growth suddenly slows, the answer is not always more water or fertilizer.
Often, the soil itself needs attention. That’s where knowing how to test soil pH at home can make it easier to identify and correct underlying soil problems.
If you’ve ever wondered why a plant refuses to thrive despite your best efforts, your soil’s pH could be the clue you’ve been missing.
Understanding the pH Scale in Plant Health
Soil pH controls how well roots absorb nutrients, which means even great fertilizer can go to waste if the pH is off.
Getting a baseline reading is the first real step toward a garden that actually performs.
| pH Level | Classification | Effect on Plants |
|---|---|---|
| Below 7.0 | Acidic | Favors blueberries, azaleas |
| 7.0 | Neutral | Balanced nutrient availability |
| Above 7.0 | Alkaline | Locks up iron and nitrogen |
| 6.0–7.5 | Ideal range | Best for vegetables, lawns |
Garden soil and potting soil differ in composition and drainage, so a reading from a raised bed may not match one from a nearby container.
That context sets up the next step: spotting the warning signs before testing.
When Should You Test Your Soil pH?
The best time to test your soil pH is before planting a new garden, lawn, or flower bed.
Testing at the start of the growing season can help you understand whether your soil is suitable for the plants you want to grow.
You should also test the soil if your plants are growing poorly, showing yellow leaves, or developing signs of nutrient deficiencies despite proper care.
If you have recently added lime, sulfur, compost, or other soil amendments, retest the soil after they have had time to work.
Regular testing every few years can also help you monitor changes and maintain healthy soil.
How to Test Soil pH at Home?
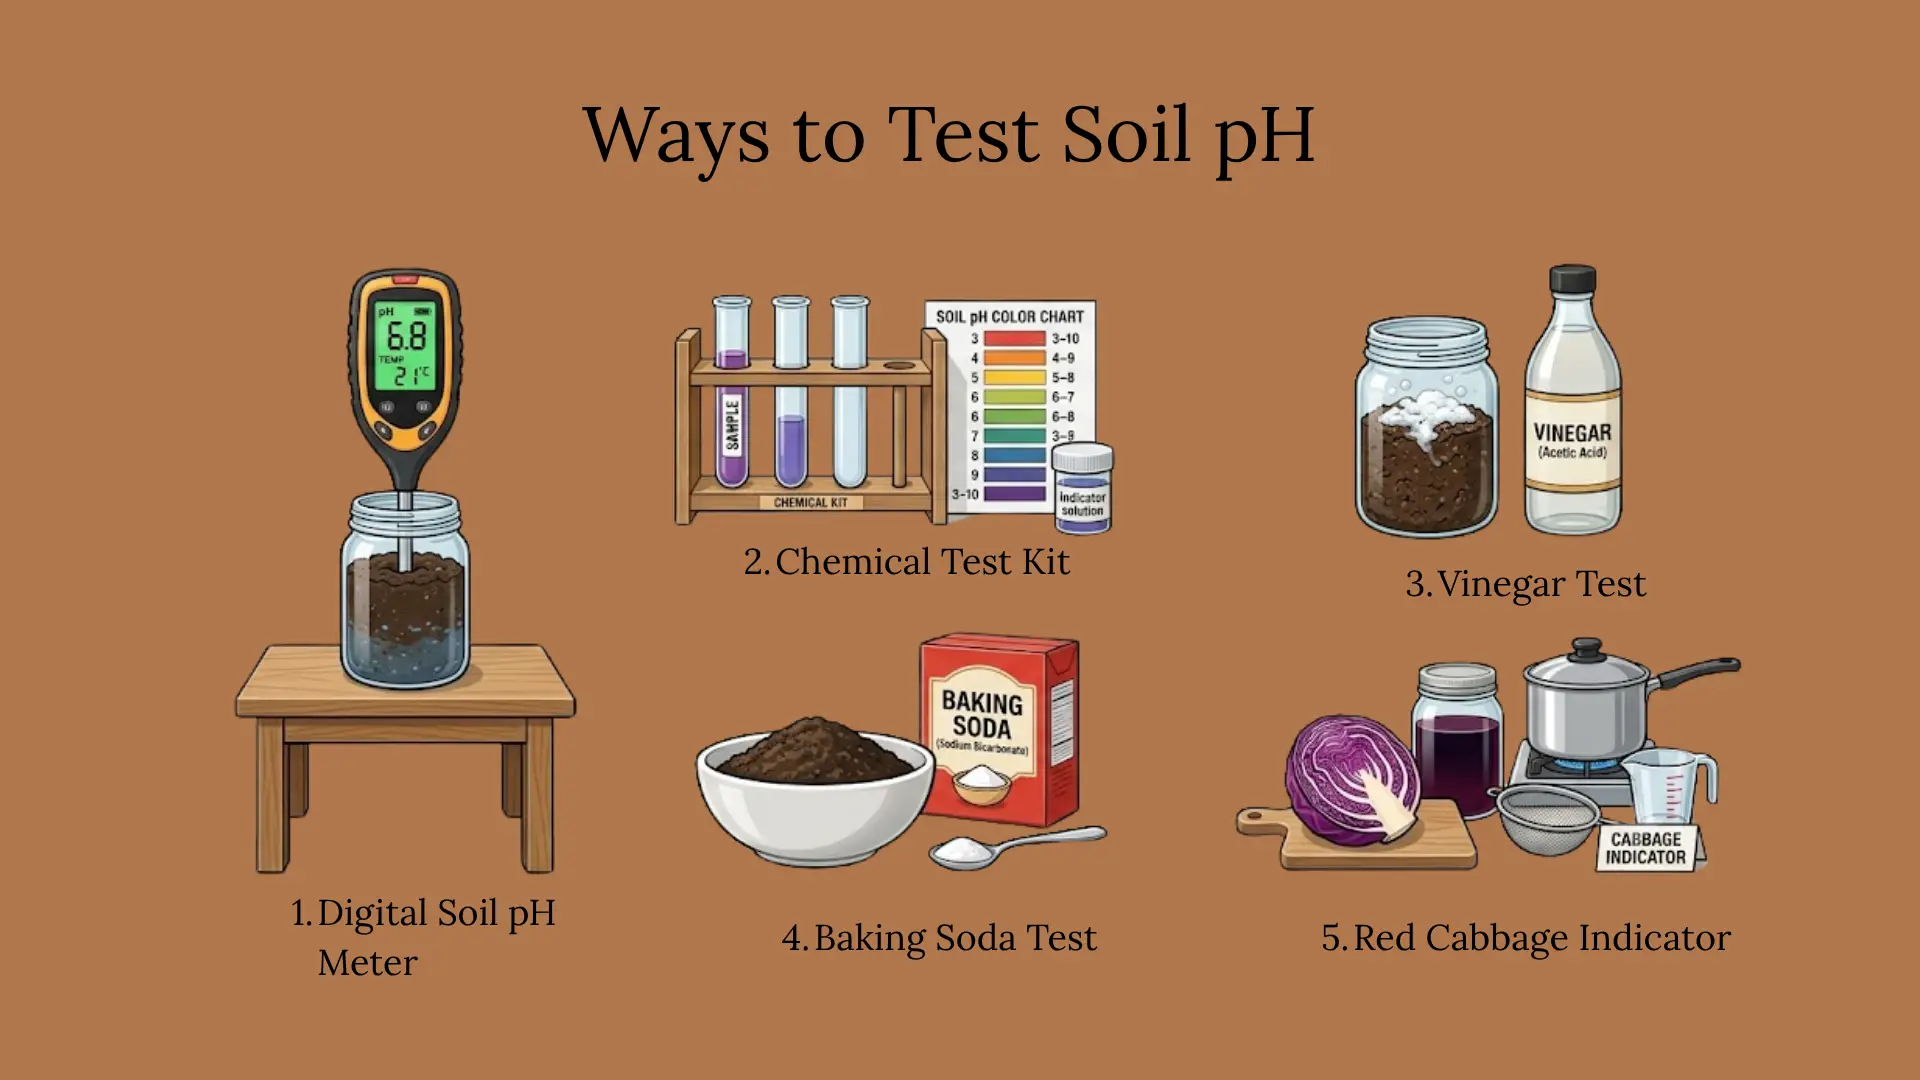
If you want instant digital readings or a budget-friendly color-chart method, there is a testing option suited to every gardener’s needs, tools, and timeline.
Method 1: Use a Digital Soil pH Meter
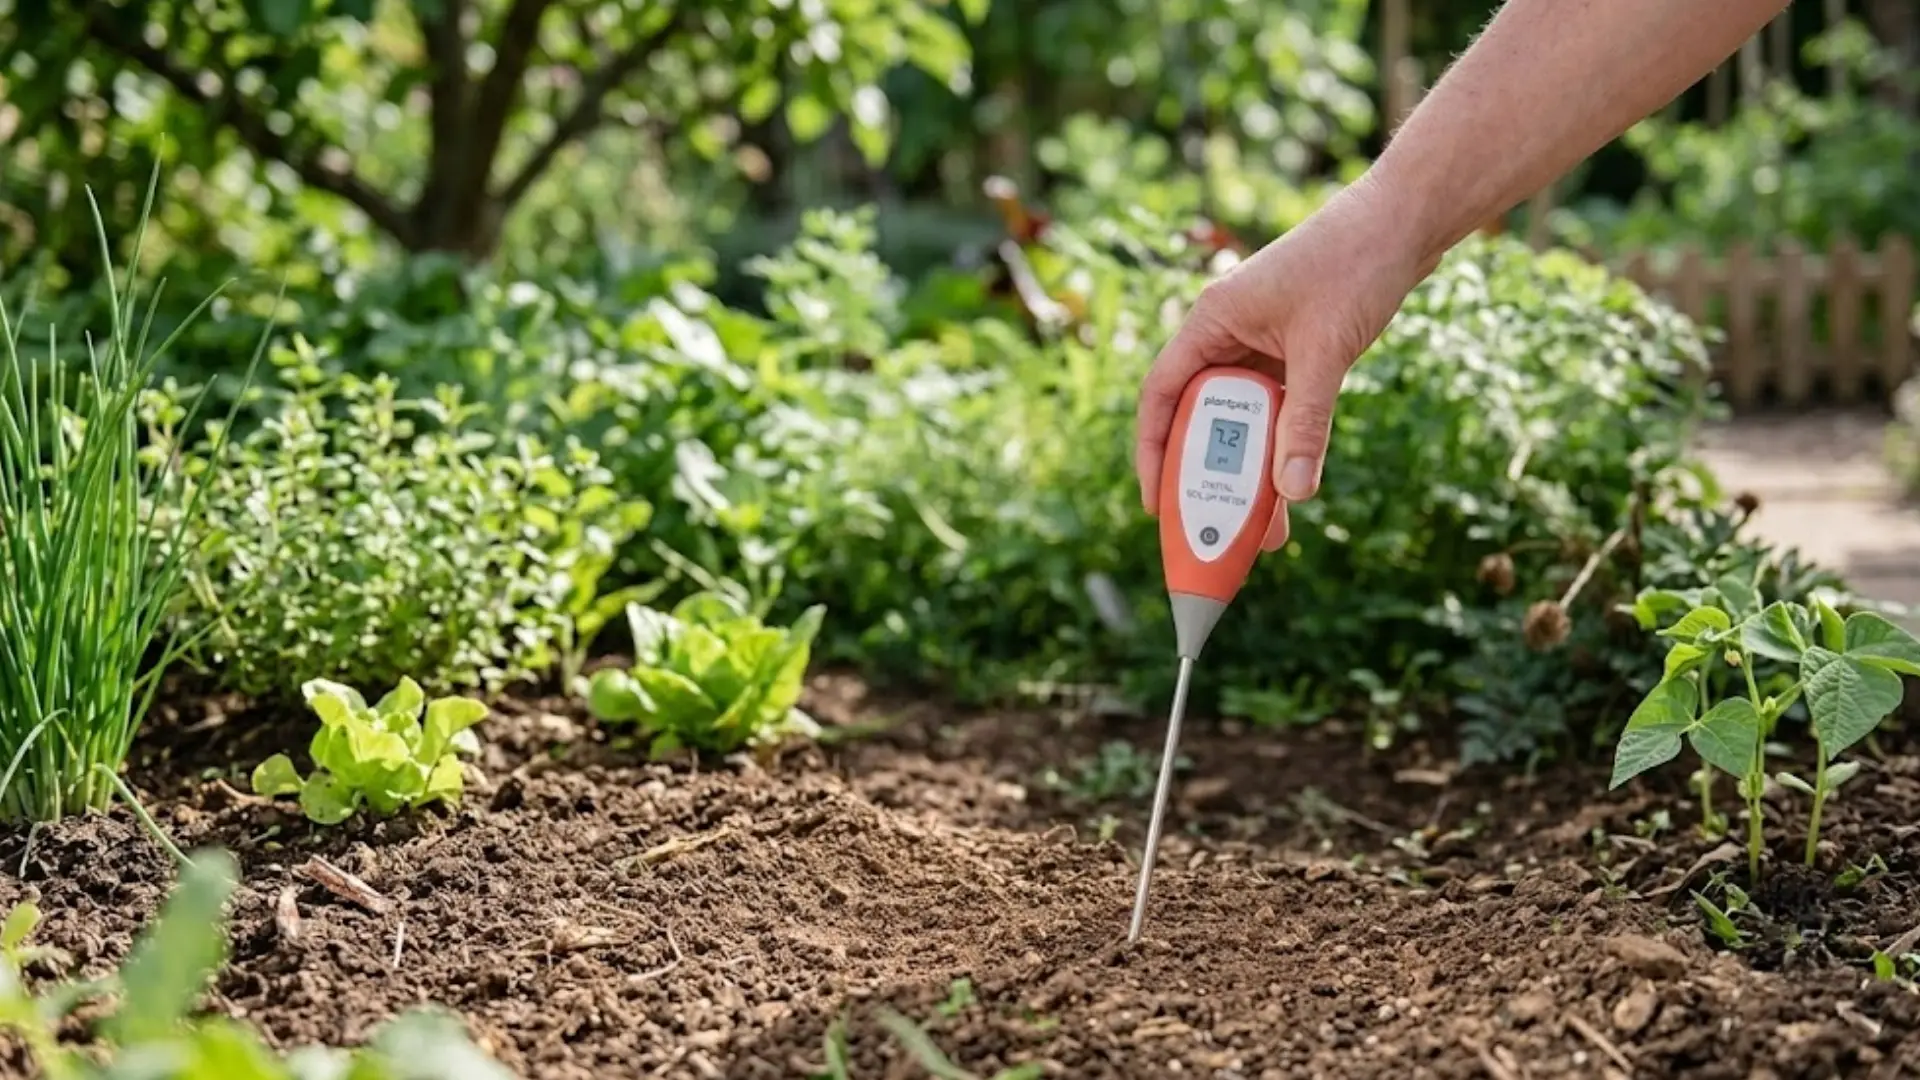
A digital soil pH meter is a quick and convenient way to check your soil’s acidity or alkalinity.
Before testing, make sure the meter is clean and properly calibrated according to the manufacturer’s instructions.
Steps to follow:
- Collect soil from several spots and mix it well.
- Moisten the soil if your meter’s instructions require it.
- Insert the probe into the soil at the recommended depth.
- Wait for the reading to stabilize.
- Record the pH result.
- Clean the probe after testing to prevent residue from affecting future readings.
Recommended products:
- 4-in-1 Soil Moisture, Temperature & Light Meter with Backlight
- Buladeke Digital Soil pH & Moisture Meter with Backlit Display
- Luster Leaf RapiTest 1885 Digital Soil Analyzer
Method 2: Try a Chemical Test Kit with a Color Chart
This option suits gardeners who want more precision than a household test without the wait or cost of lab analysis, using a simple color match instead of a numeric display.
Chemical kits mix a reagent capsule with soil and water, and the resulting color reveals your pH when matched against a printed chart.
Steps to follow:
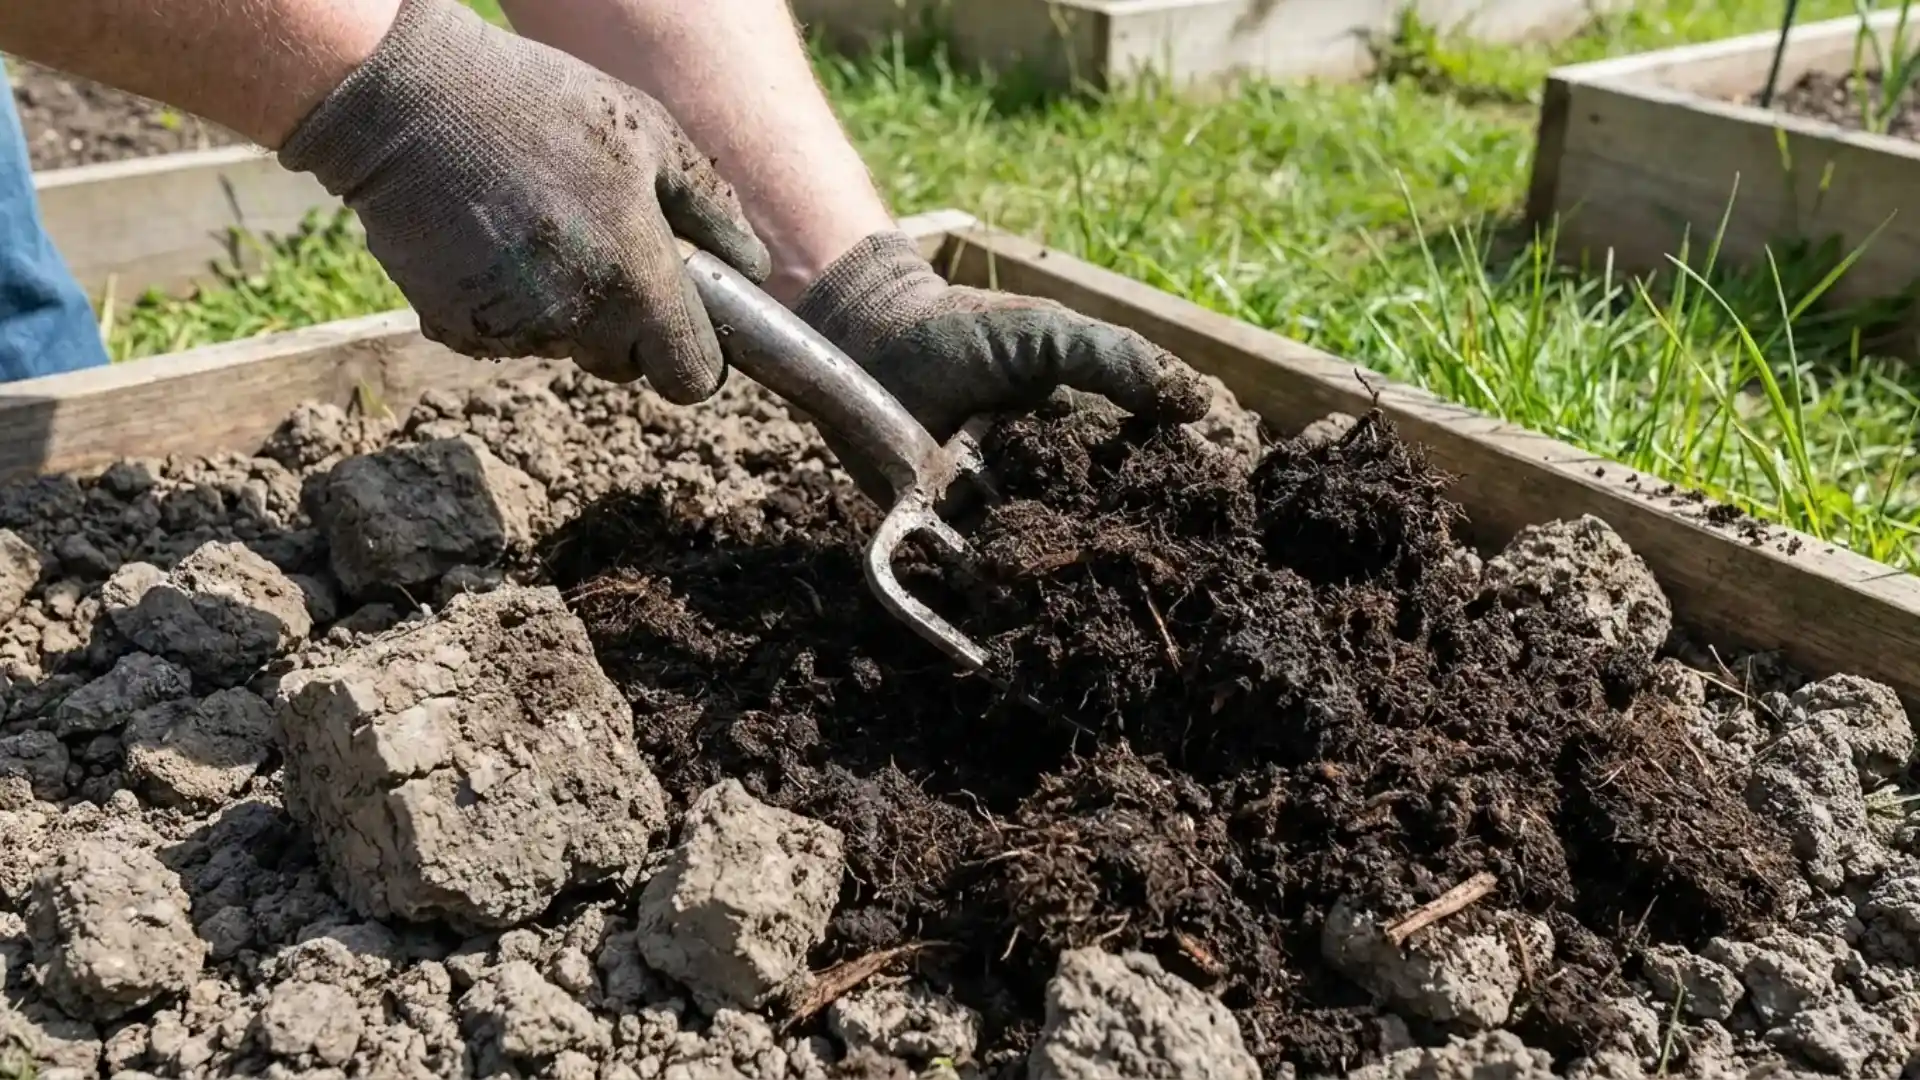
- Collect soil from 4-6 inches deep, from three to five spots.
- Remove debris and mix samples together.
- Add soil to the test tube with reagent.
- Shake and wait 1-5 minutes.
- Match the color to the chart.
Method 3: Vinegar Test for Alkaline Soil
This test relies on a simple chemical reaction between an acid and any alkaline compounds sitting in the soil, giving you an immediate visual answer without needing a color chart.
It provides a quick indication of alkalinity but cannot accurately determine your soil’s exact pH level.
Steps to follow:
- Scoop about a cup of dry soil into a small container or bowl.
- Pour in half a cup of plain white vinegar.
- Watch closely for fizzing or bubbling during the next few seconds.
- Fizzing or bubbling suggests the soil contains alkaline compounds.
- No reaction means the soil is not strongly alkaline, so proceed with the baking soda test.
Method 4: The Baking Soda Test for Acidic Soil
This test picks up where the vinegar test leaves off and covers the opposite end of the pH scale, confirming if your soil sits on the acidic side.
This method will not give you an exact number the way a meter or kit would, but it is a completely free, ten-minute way to figure out which direction your soil leans.
Steps to follow:
- Grab a fresh soil sample rather than reusing the one from the vinegar test.
- Add enough distilled water to form a thick, muddy consistency.
- Stir in half a cup of baking soda.
- Fizzing or bubbling points to acidic soil, typically somewhere in the 5 to 6 range.
- No reaction from either test means your soil is likely close to neutral, around 6.5 to 7.0, which is ideal for most garden plants.
Method 5: Red Cabbage Indicator
This method turns soil testing into a small science experiment using a natural pigment instead of store-bought chemicals.
This method is not laboratory-precise, but it is a genuinely enjoyable way to get kids involved in a hands-on backyard science project.
Steps to follow:
- Simmer chopped red cabbage in distilled water for 10 minutes.
- Strain the liquid and let it cool completely.
- Add one spoonful of soil to the cooled cabbage liquid.
- Stir gently and wait 1–2 minutes for the color to change.
- Pink or red indicates acidic soil; blue or green indicates alkaline soil.
What to Do If Your Soil pH is Too High or Too Low?
If your soil pH falls outside your plants’ preferred range, adjust it gradually with the appropriate soil amendment.
| Too Acidic (Low pH) | Too Alkaline (High pH) |
|---|---|
| Add agricultural lime to gradually raise soil pH. | Add elemental sulfur or a suitable sulfur-based amendment to lower pH. |
| Apply only the amount recommended by your soil test. | Follow soil test recommendations for the correct application rate. |
| Mix lime evenly into the soil for consistent results. | Mix the amendment evenly into the soil where appropriate. |
| Allow time for the soil pH to change before adding more. | Allow sufficient time for the amendment to take effect. |
| Retest the soil before making further adjustments. | Retest the soil before applying additional amendments. |
Always follow soil test recommendations and retest before making additional changes.
Tips for Getting the Most Accurate Results
A few small habits separate a reliable reading from a misleading one, and skipping them is why home tests often come back inconsistent from spot to spot.
- Take multiple samples: Collect soil from several areas within the same bed, as pH can vary from one spot to another.
- Avoid fresh amendments: Wait before testing after adding fertilizer, lime, or compost, as they can temporarily affect the reading.
- Prepare the soil properly: Let overly wet soil dry slightly when your testing method requires a specific soil-to-water ratio.
- Clean your tools: Wash probes, containers, and other equipment between tests to prevent leftover soil or residue from affecting results.
- Retest unusual results: If a reading seems incorrect, test the same area again after a few weeks to confirm the result.
- Follow test instructions: Use the correct amount of soil, water, and testing solution recommended for your kit or meter.
- Test consistently: Use the same method and sampling depth when monitoring changes in soil pH over time.
Getting into this habit takes only a few extra minutes but saves you from chasing a pH problem that was never really there.
Conclusion
Healthy plants often begin with healthy soil, and understanding your soil’s pH can help you give your garden exactly what it needs.
The key is to collect a good soil sample, follow the testing instructions carefully, and avoid making major changes based on a single uncertain reading.
If your soil is too acidic or alkaline, the right amendment can gradually move it toward a more suitable range.
Have you tested your soil pH at home? Share your experience, results, or tips in the comments below.
Frequently Asked Questions
Does Rain or Watering Affect Soil pH Test Results?
Yes, testing right after heavy rain or watering can temporarily dilute results. Wait a day or two after watering and collect samples when the soil is just barely moist, not soggy.
Can Mulch Affect Soil pH?
Yes, mulch can affect soil pH over time, depending on its type, decomposition rate, and the existing soil conditions.
Can Tap Water Affect Soil pH?
Yes. Tap water can contain minerals and compounds that gradually influence soil pH. This can be more noticeable with regular watering over a long period.