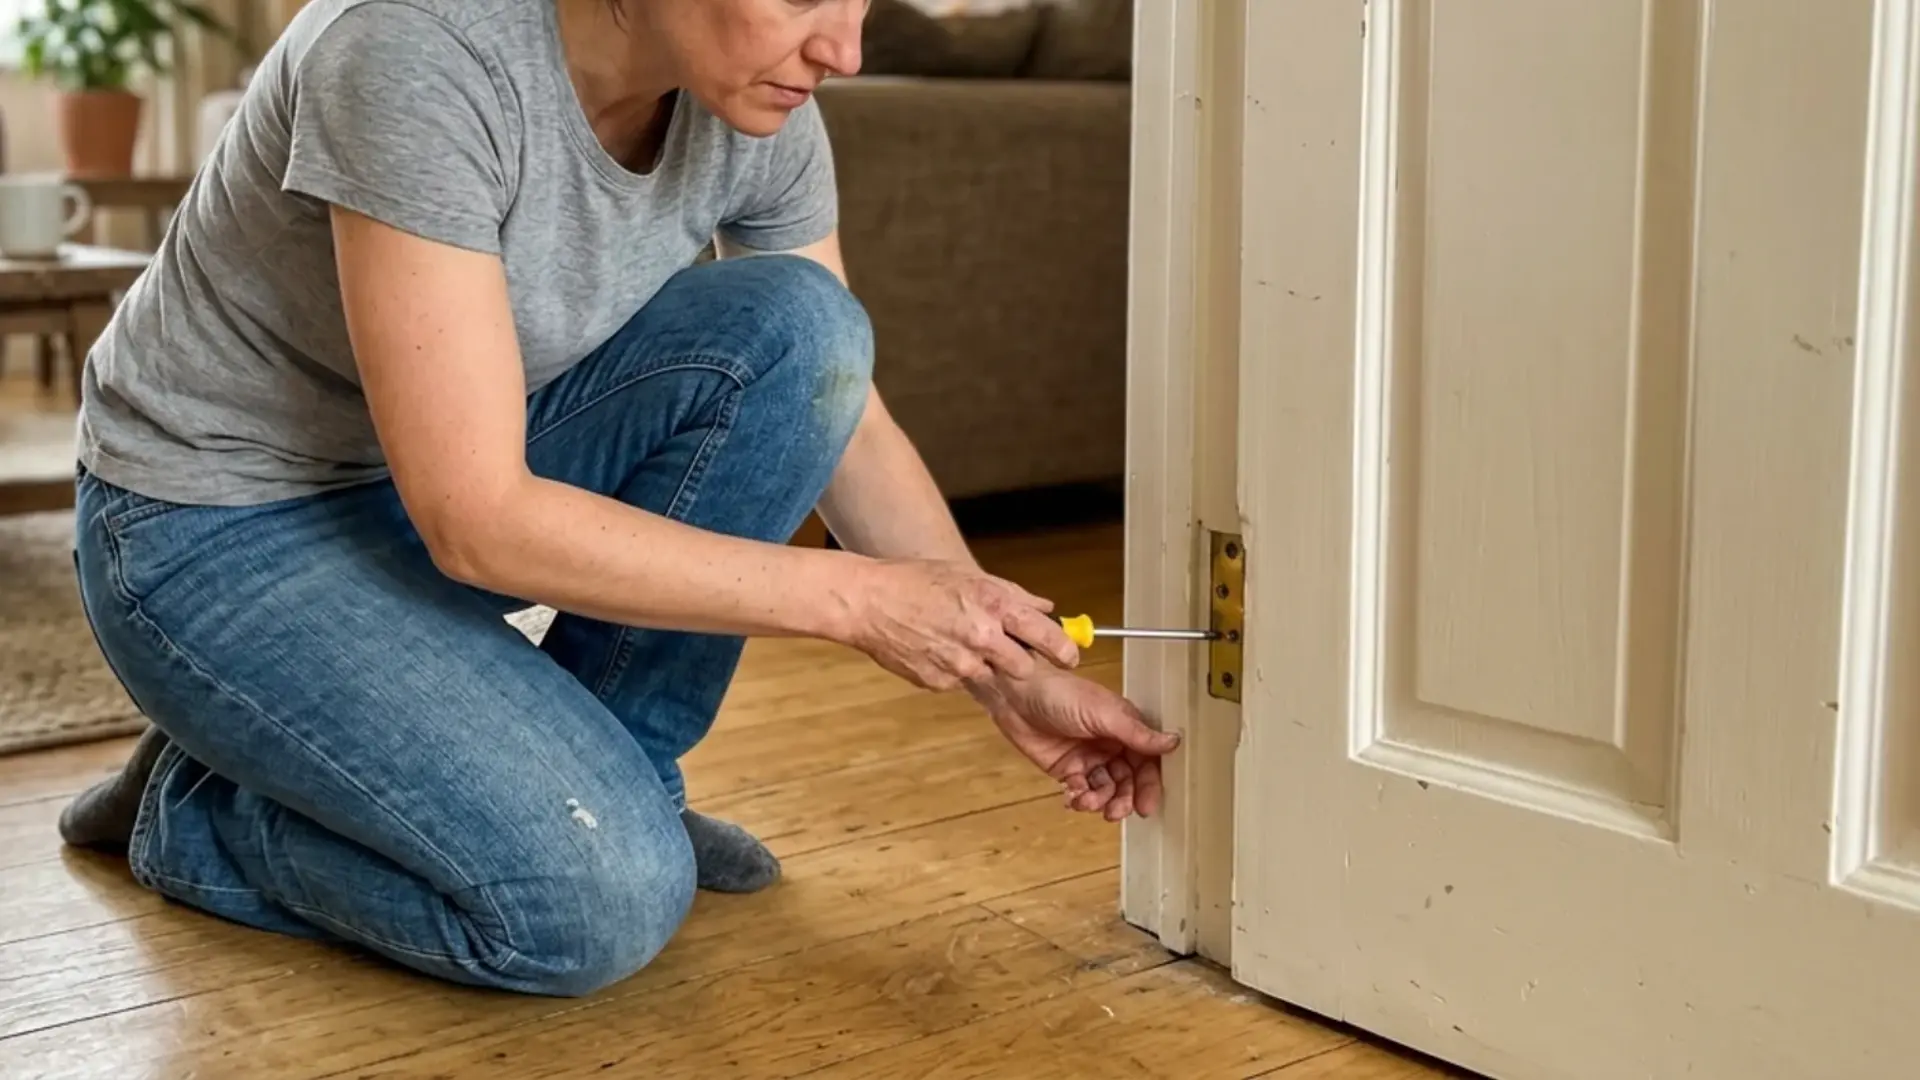

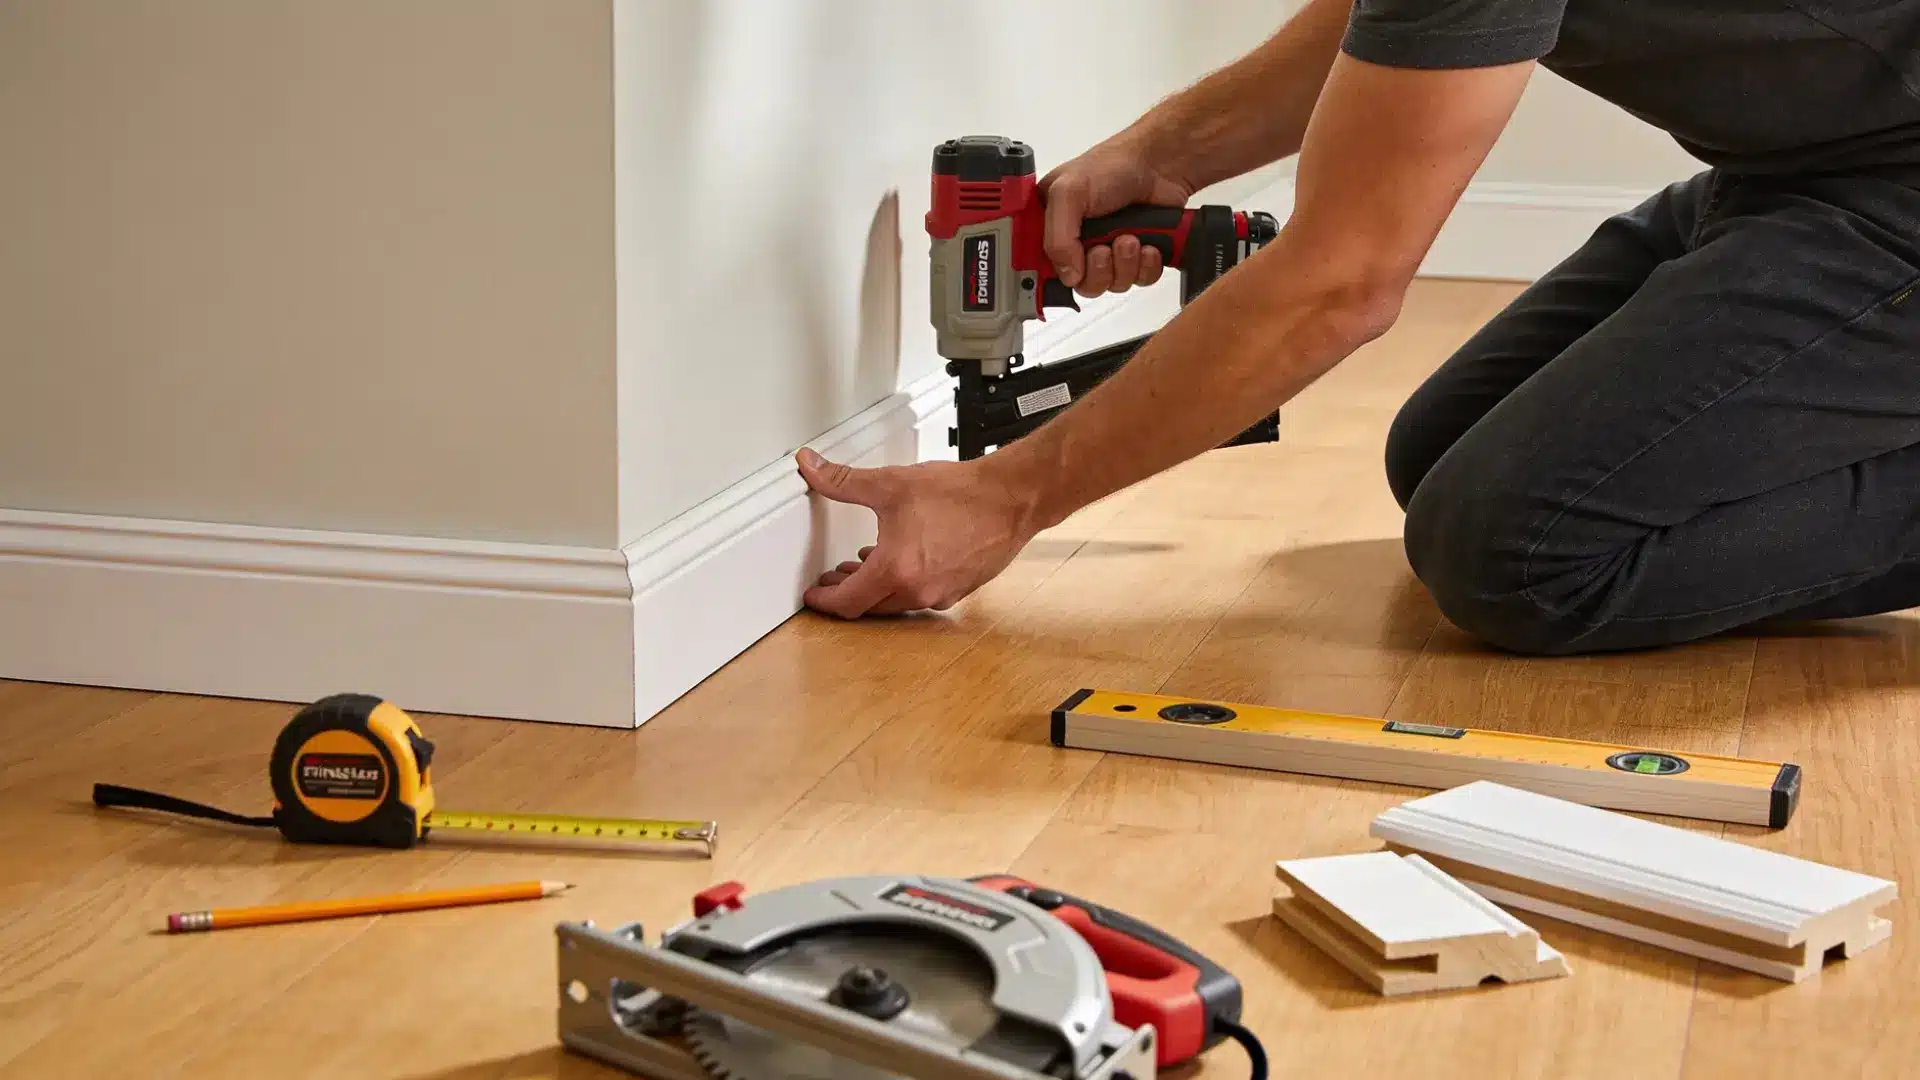
Uneven wall edges, worn-out baseboards, and plain walls can make a room look unfinished even when everything else is in place.
New baseboard and beadboard trim can fix that without turning the project into a full renovation.
The challenge is getting the measurements, cuts, corners, and finishing details right. One wrong cut or poorly fitted joint can leave gaps that are difficult to hide later.
That’s why knowing how to install baseboard before you pick up a saw matters.
You’ll need a few basic tools and accurate measurements. Once those pieces are in place, installing trim becomes much easier to manage.
How Baseboard and Beadboard Trim Transform a Room?
Baseboard is the strip of molding that runs along the bottom of a wall, right where it meets the floor.
Its first job is practical: covering the gap between drywall and flooring, and shielding walls from scuffs, dents, and vacuum bumps that happen during everyday life.
Its second job is visual: a clean baseboard line makes a room feel finished, polished, and intentional rather than left half-done.
Beadboard trim instead of a flat profile, features narrow vertical grooves.
It is often installed as wainscoting or an accent wall, sometimes paired right above the baseboard for extra texture and character.
How to Prepare Before Installing Baseboard?
A little prep work now saves a lot of frustration once cutting and nailing begins. These steps set the foundation for a smooth installation:
- Remove the Old Baseboard: Score along the paint line with a utility knife, then work a flat pry bar behind the board from one end to the other.
- Measure the Walls: Record each wall’s length to the nearest 1/16 inch, along with left and right cut angles for every corner.
- Purchase Your Baseboard Material: Calculate total footage needed, add extra for mistakes, and choose between MDF, solid wood, or other materials.
- Check Walls and Floors for Level: Look for uneven spots or gaps early so you know where scribing or shimming will be needed later.
- Mark Stud Locations: Note where wall studs sit so nailing goes faster and holds more securely during installation.
- Clear the Work Area: Remove furniture, rugs, or clutter along the walls to give yourself room to measure, cut, and fit boards easily.
- Gather Tools and Supplies Nearby: Keep everything within reach so the process stays efficient once cutting and installing begins.
With measurements taken, materials ready, and the space cleared, everything is set for a smooth, uninterrupted installation.
Tools and Supplies You’ll Need to Install Baseboard
Having everything ready before starting keeps the project moving without last-minute store runs.
With the right tools in hand and supplies stocked up, the actual cutting, fitting, and finishing goes a lot smoother from here.
| Item | Purpose |
|---|---|
| Miter saw or coping saw | Cutting baseboard angles and corners |
| Nail gun or hammer | Securing baseboard to the wall |
| Tape measure | Measuring walls and cut lengths |
| Level | Checking for even, straight placement |
| Caulk gun | Applying caulk along seams and joints |
| Baseboard nails | Fastening trim to wall studs |
| Wood putty | Filling nail holes for a smooth finish |
| Caulk | Sealing gaps at joints and corners |
| Sandpaper | Smoothing rough edges and puttied areas |
| Paint or primer | Finishing and protecting the baseboard |
How to Install Baseboard: Step-by-Step Process
Follow these practical steps to measure, cut, position, secure, and finish baseboard for a clean, professional-looking installation.
Step 1: Paint the Baseboard Before Installation
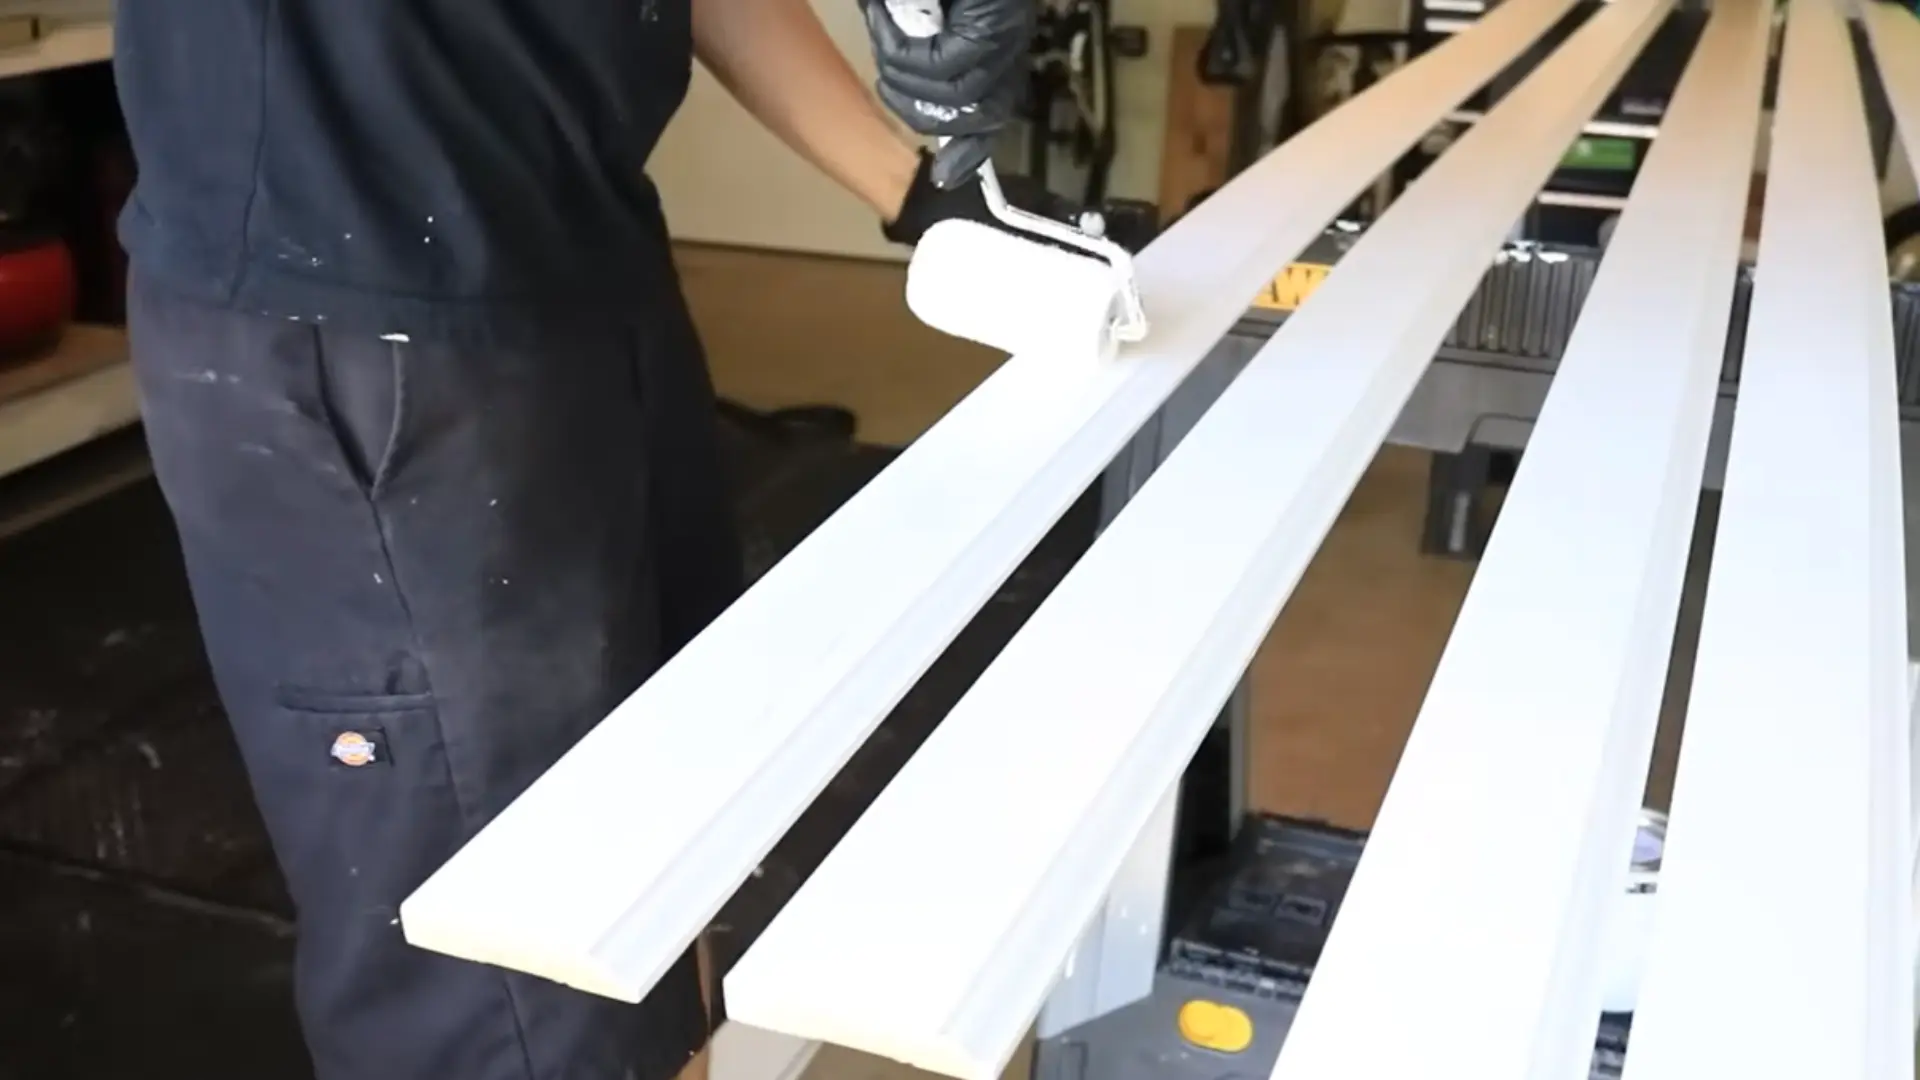
Painting beforehand saves time later since there’s no need to mask the floor.
Use a 4-inch roller with self-leveling semi-gloss trim enamel for the smoothest finish, or standard acrylic if minor texture is acceptable.
Two coats work best, though one is fine on pre-primed boards. Let painted baseboards dry for at least a full day before handling them further.
Step 2: Cut the Baseboard to Size
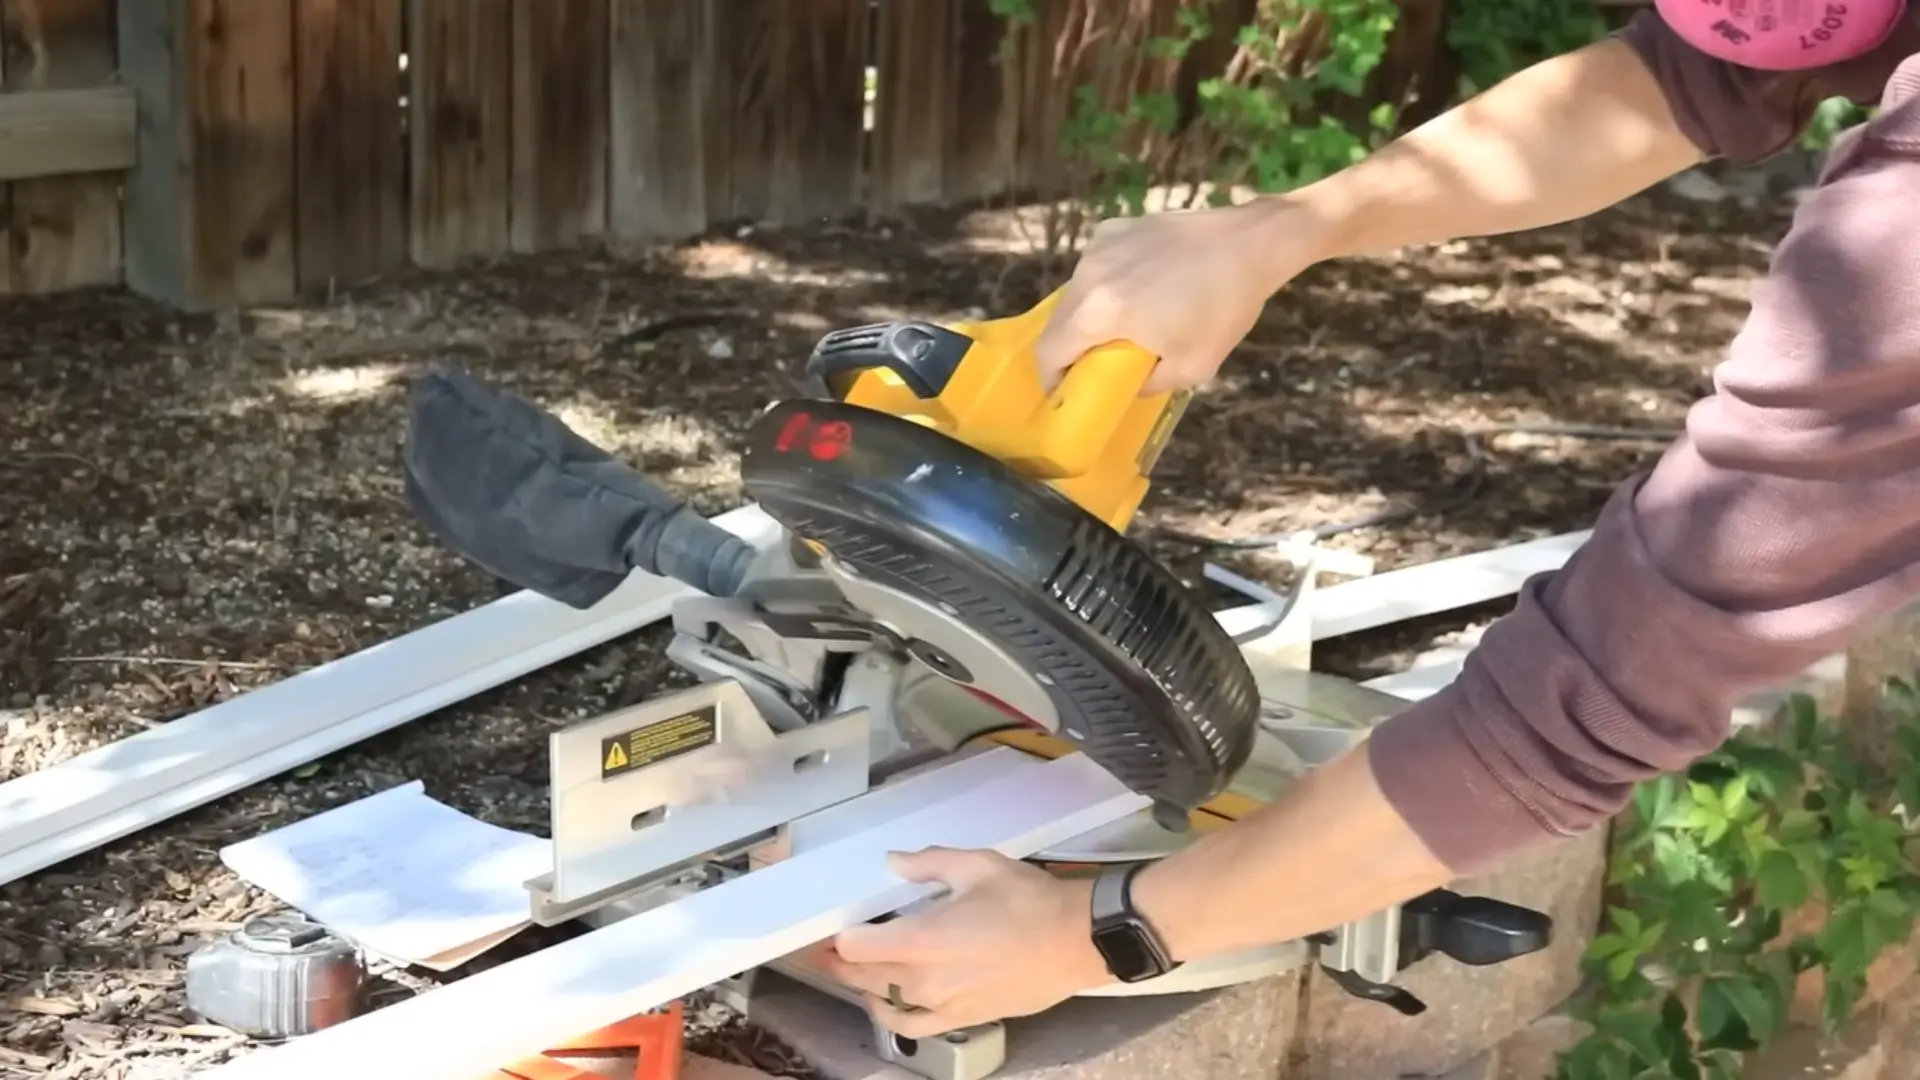
Using your cut list, cut the longest pieces first so offcuts can be reused for shorter sections, labeling each piece by room as you go.
Since walls are rarely a true 90 degrees, cut outside corners at roughly 45.5 degrees and inside corners at about 44.5 degrees.
This small adjustment creates a noticeably tighter, more accurate fit than a standard 45-degree cut.
Step 3: Dry-Fit the Baseboards
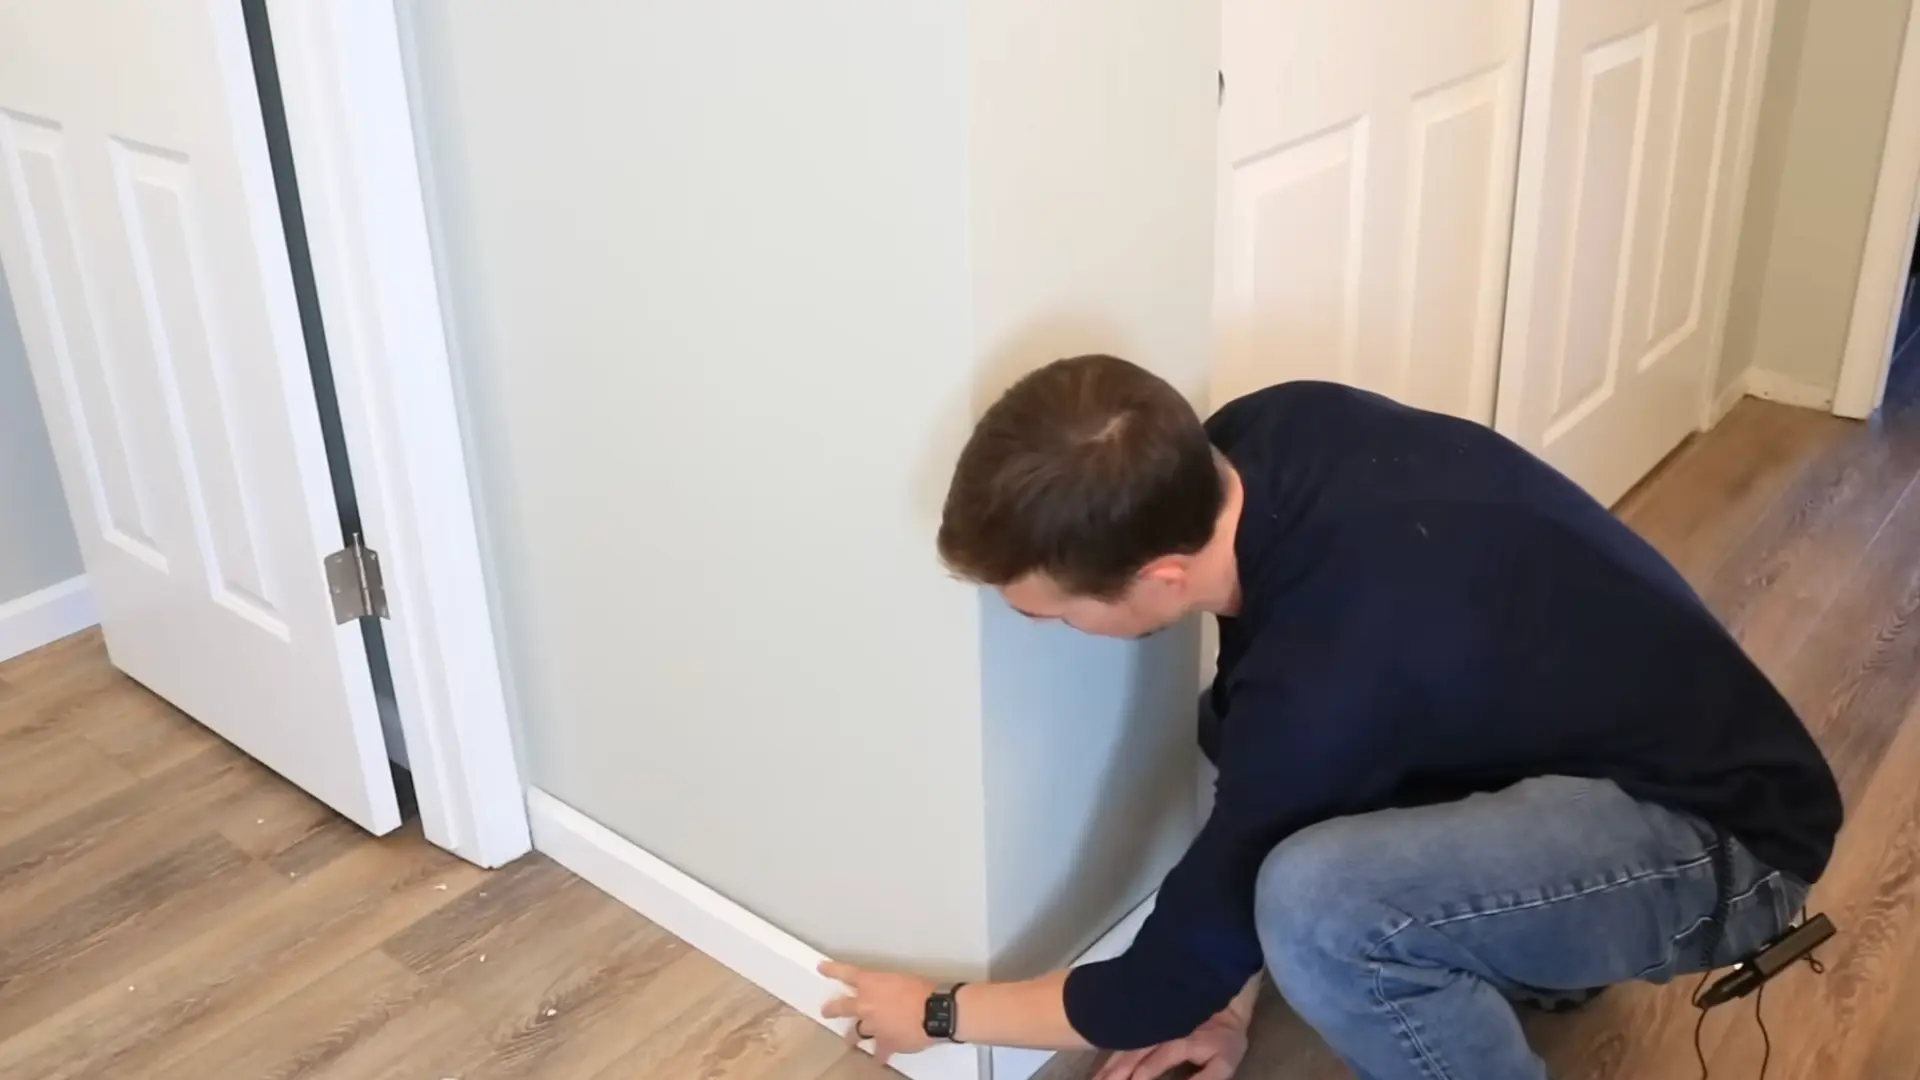
Before nailing anything, place all labeled pieces into position to confirm everything fits correctly.
Keep a scraper or knife handy for adjustments, and use popsicle sticks as thin, consistent shims to fine-tune small gaps.
This is especially useful at inside corners, where boards can shift slightly and leave a visible gap near the floor once permanently nailed in place.
Step 4: Adjust for Uneven Floors
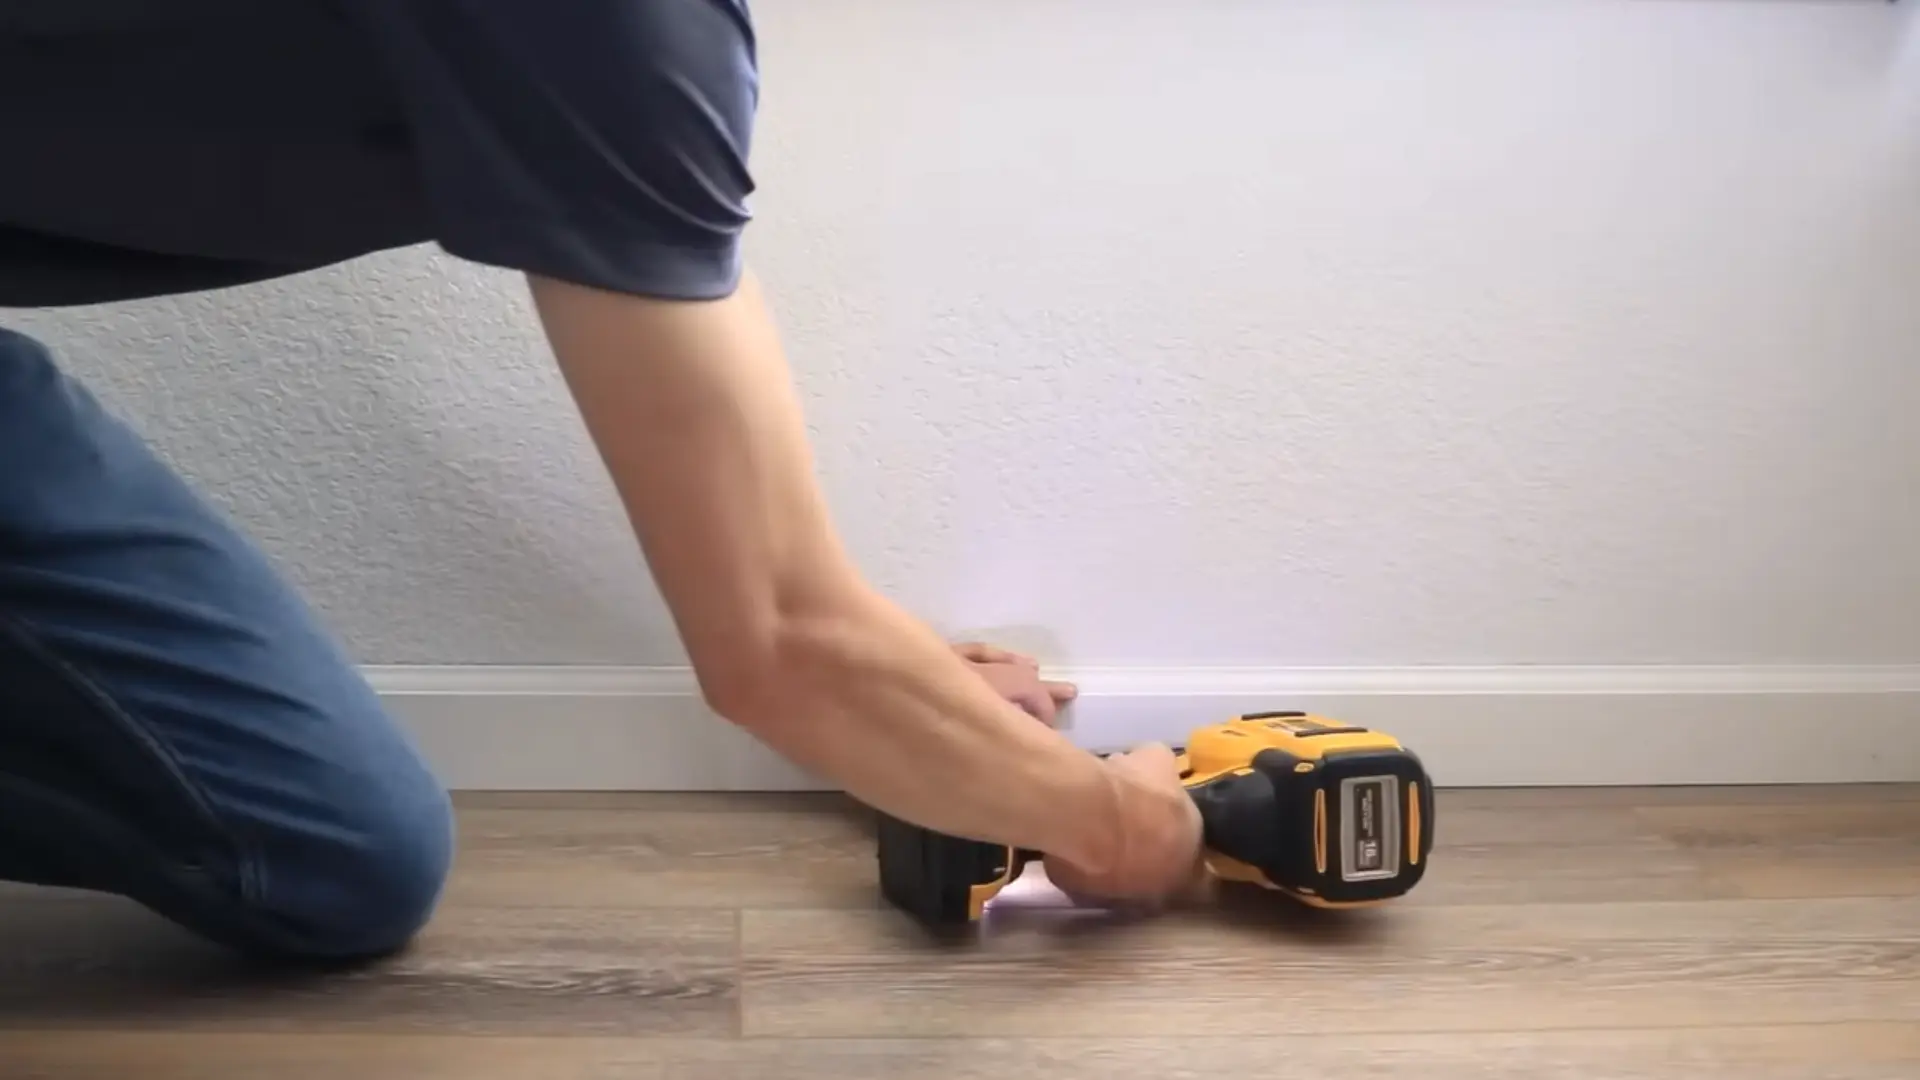
On uneven hard flooring, gently pressing the baseboard down while nailing often closes small gaps naturally.
For larger gaps, use a shim to trace the floor’s contour onto the baseboard, then sand or saw along that line to shave the board so it follows the floor’s shape.
Recheck the fit before securing it permanently to the wall.
Step 5: Nail the Baseboards to the Wall
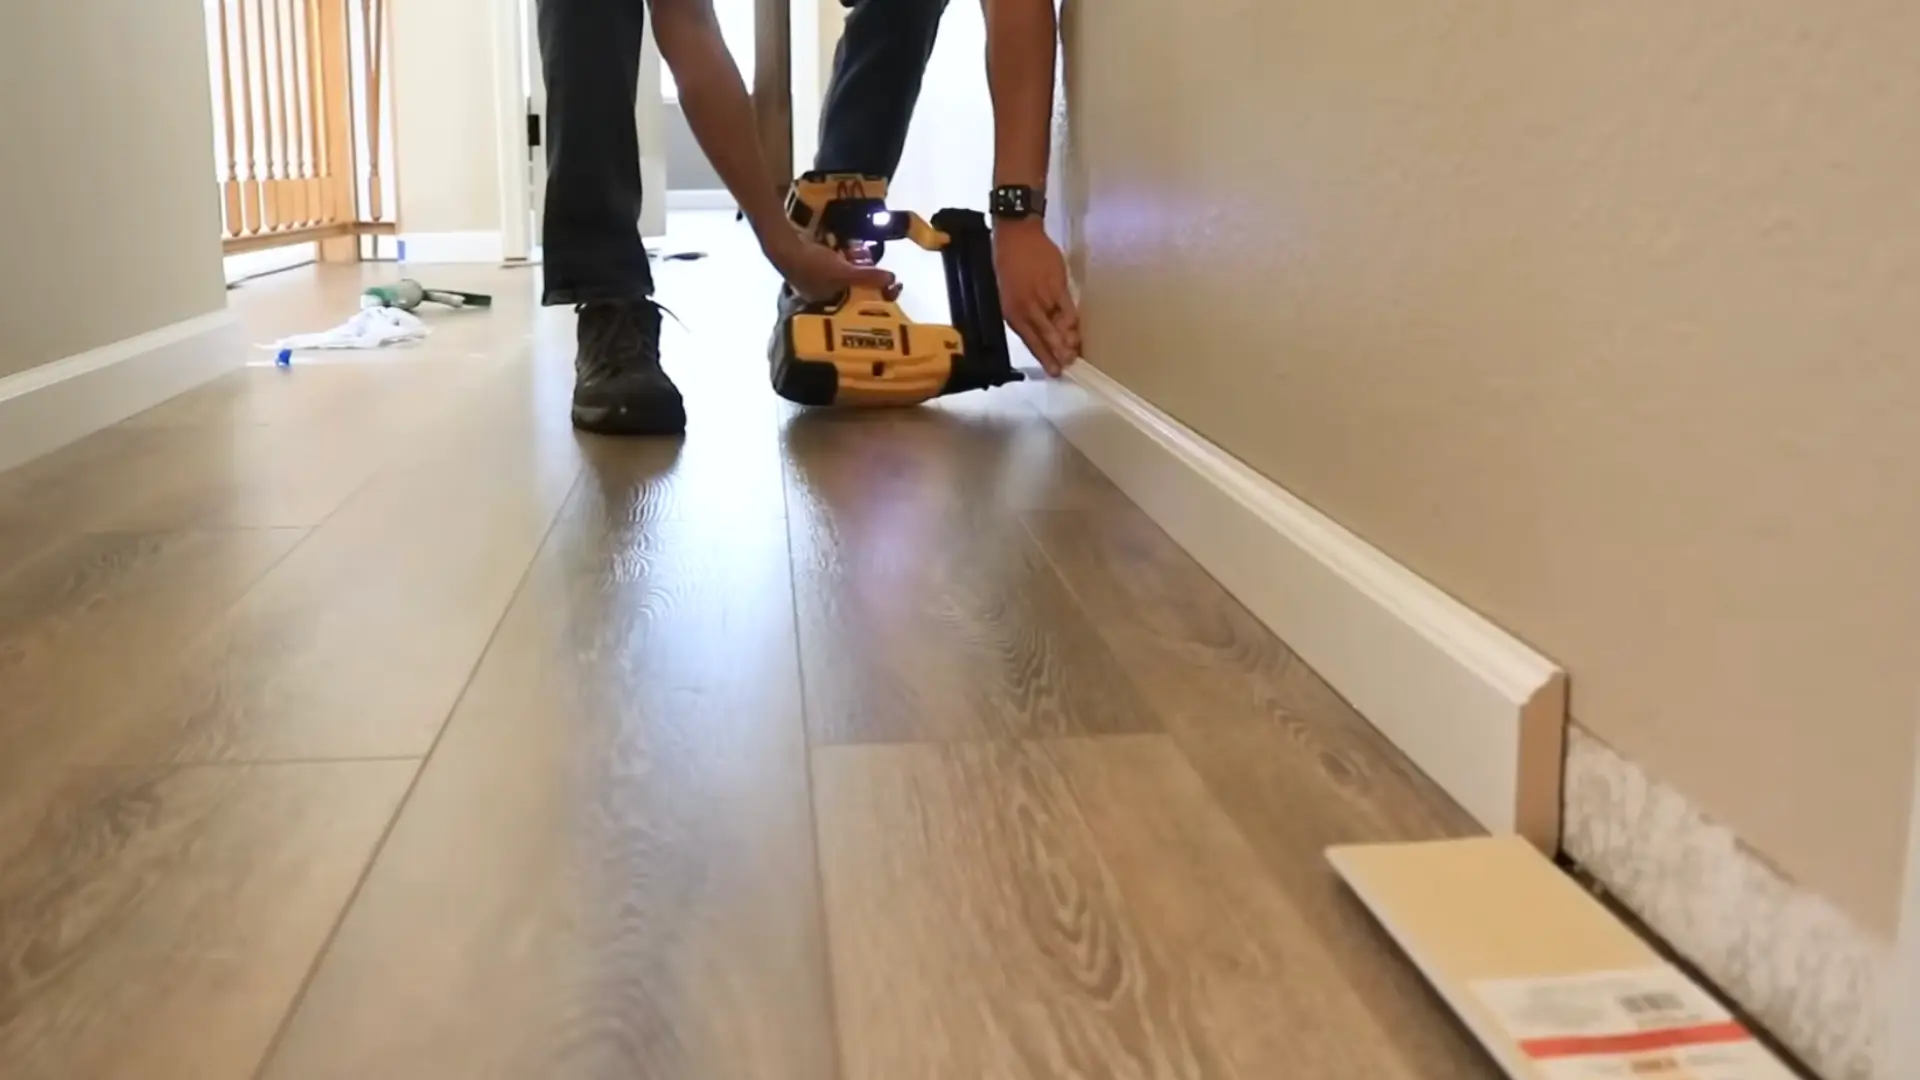
Using an 18-gauge brad nailer with 2-inch nails, secure baseboards every 12 to 16 inches.
Rather than hunting for studs everywhere, nail low near the floor to reliably catch the bottom wall plate, adding extra nails near each board’s ends and at corners for added hold.
This approach is faster and just as secure as stud-by-stud nailing.
Step 6: Seam and Join Longer Runs
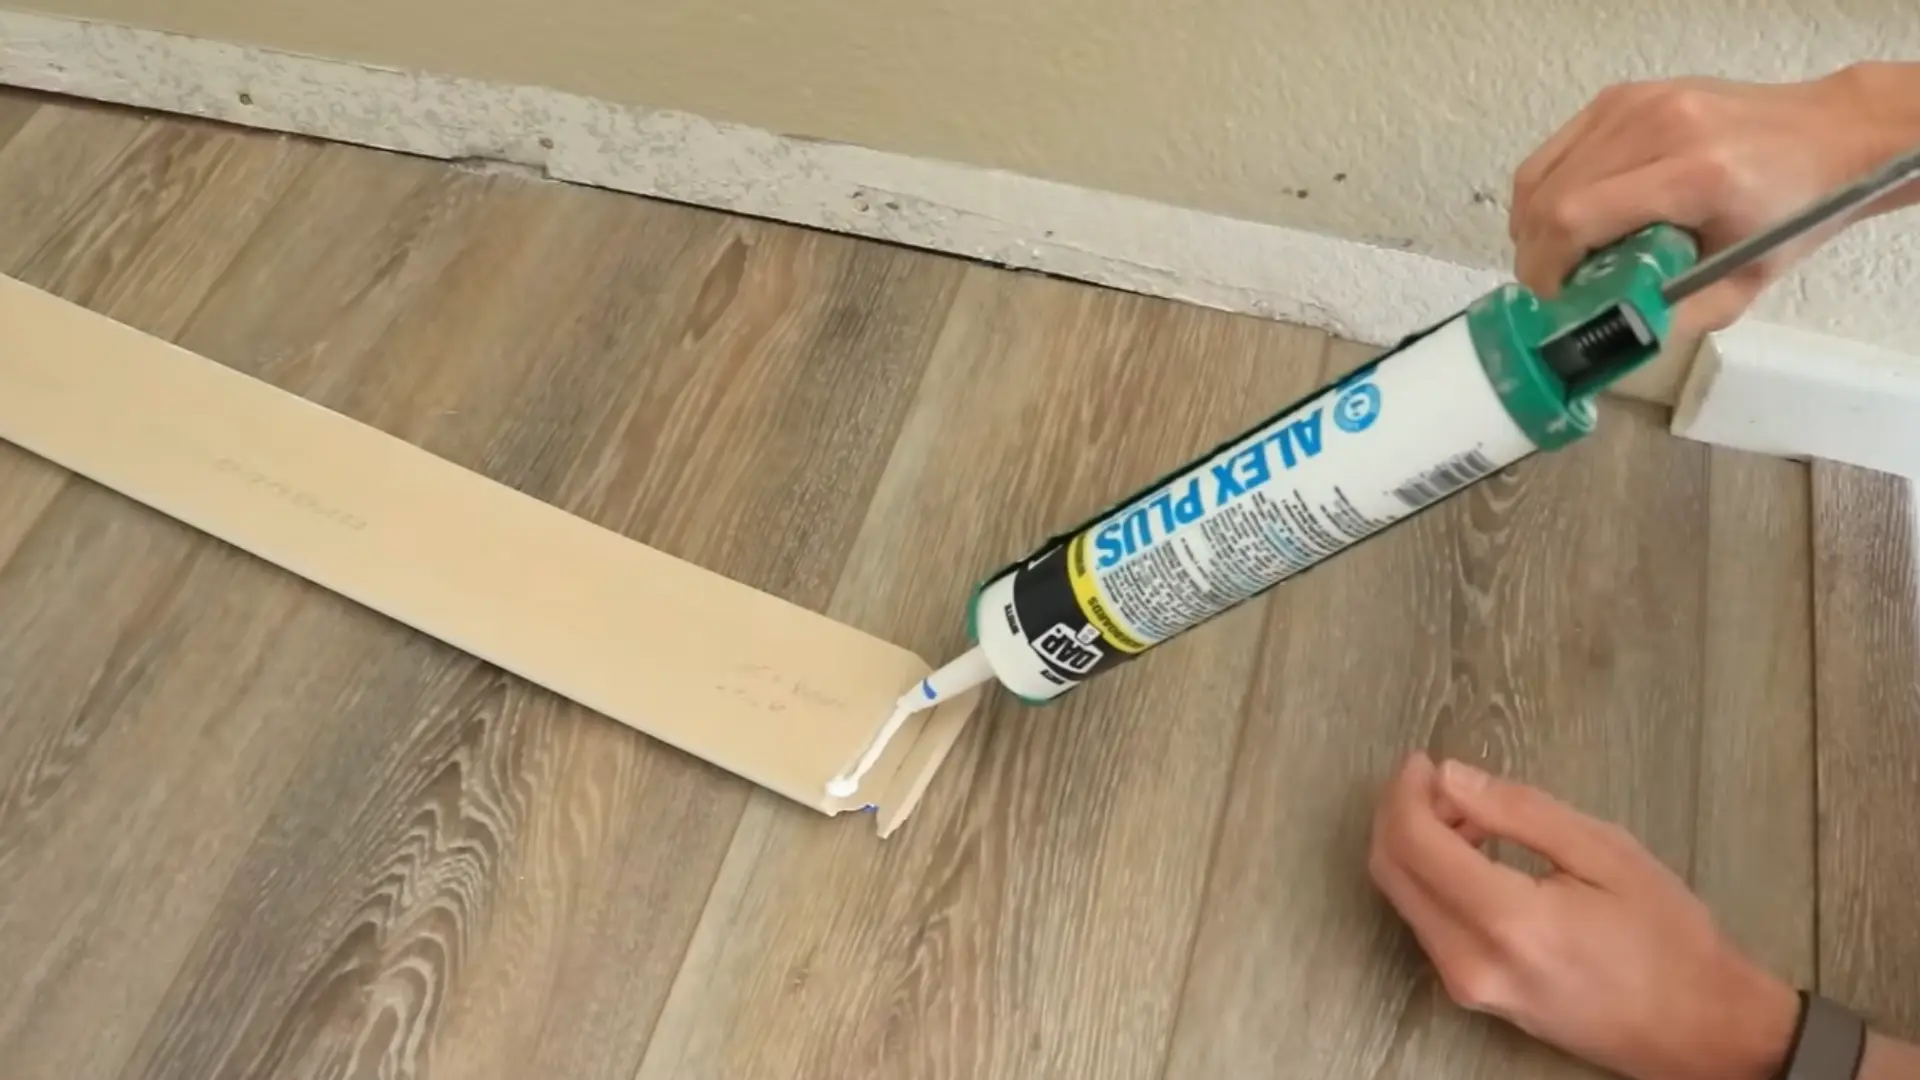
When a wall is longer than a single baseboard piece, cut matching 45-degree angles on two boards and join them at a seam for a clean transition.
If a piece needs to end mid-wall, glue a small end cap in place with caulk or wood glue rather than nailing, using tape temporarily to hold it aligned while it sets.
This approach keeps seams discreet and helps the baseboard maintain a continuous, polished appearance across longer walls.
Step 7: Caulk the Baseboards
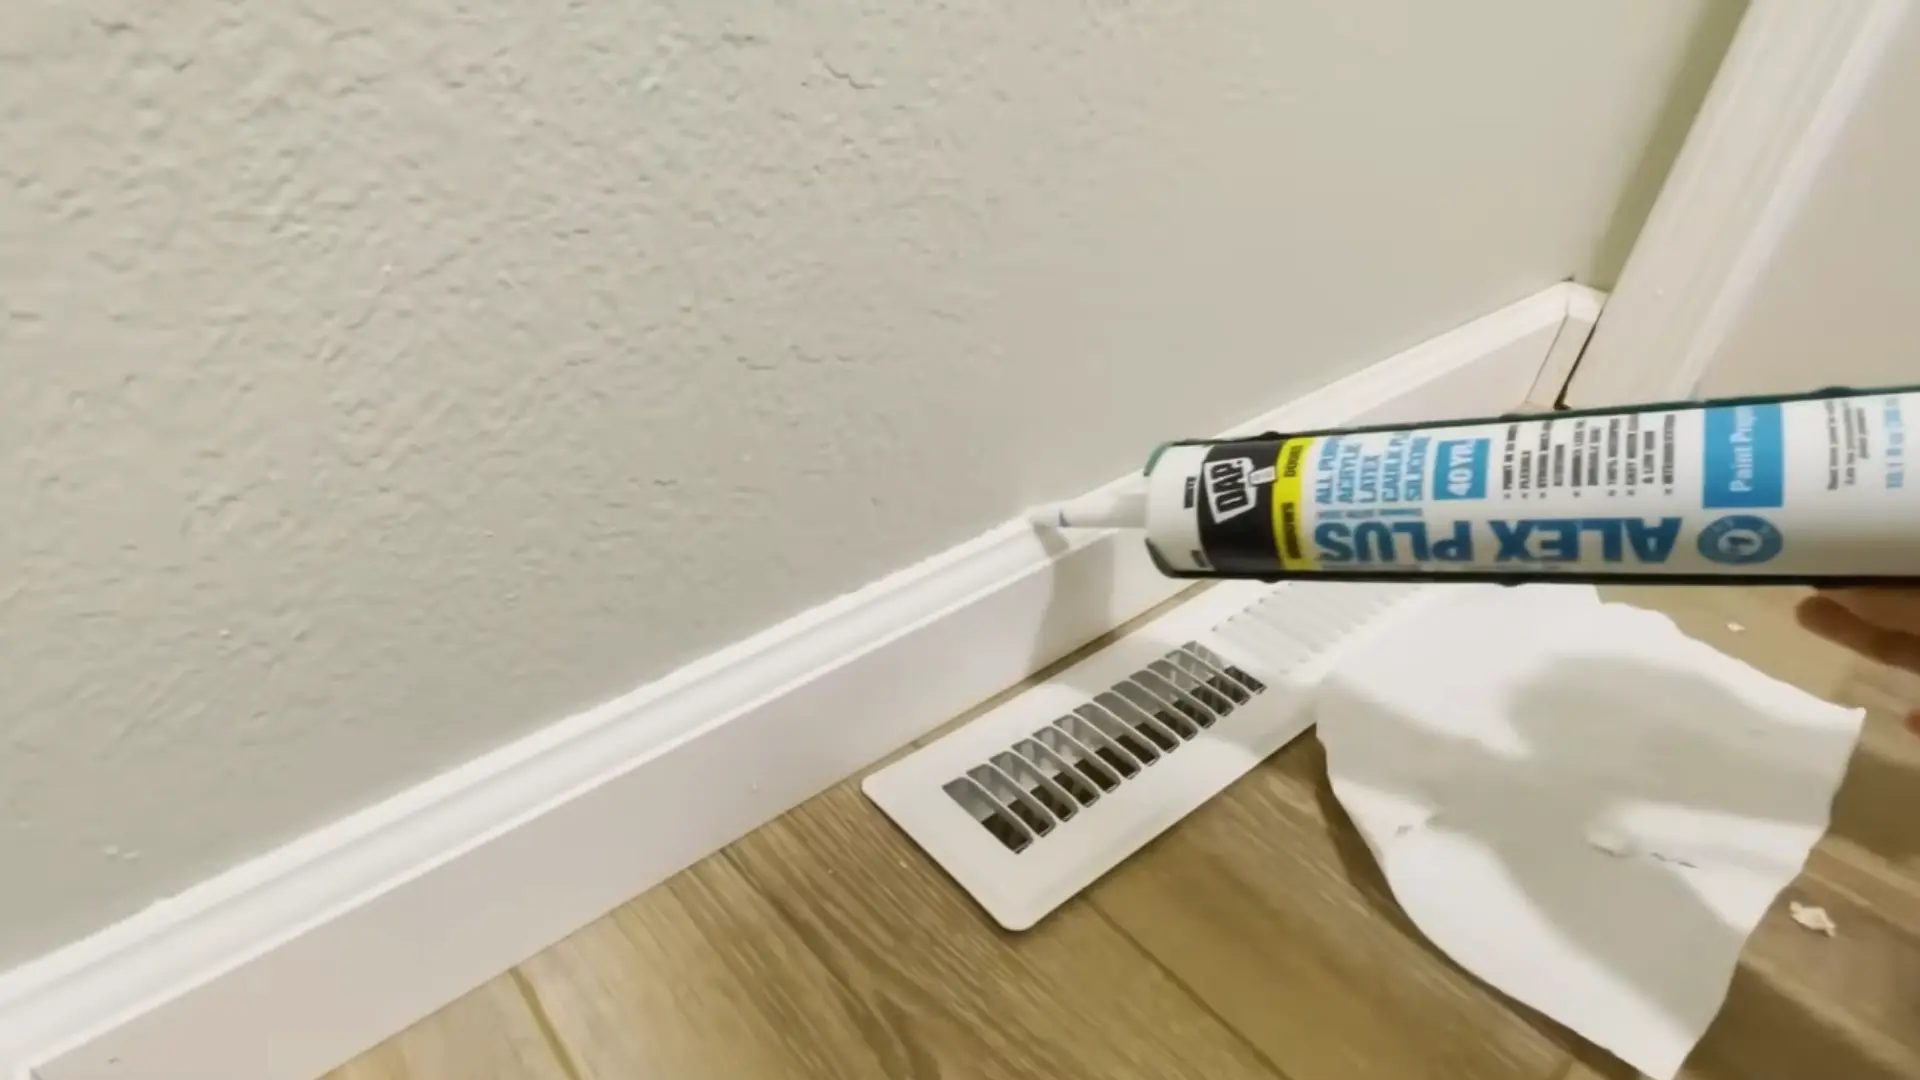
Apply an acrylic latex-plus-silicone caulk along wall-facing joints and between trim pieces, never against the floor.
Cut a small angled opening in the tube for better control, apply in short sections, and smooth each pass with a gloved finger before it starts to dry.
Applying less caulk at a time is easier to manage than cleaning up excess afterward.
Step 8: Fill the Nail Holes
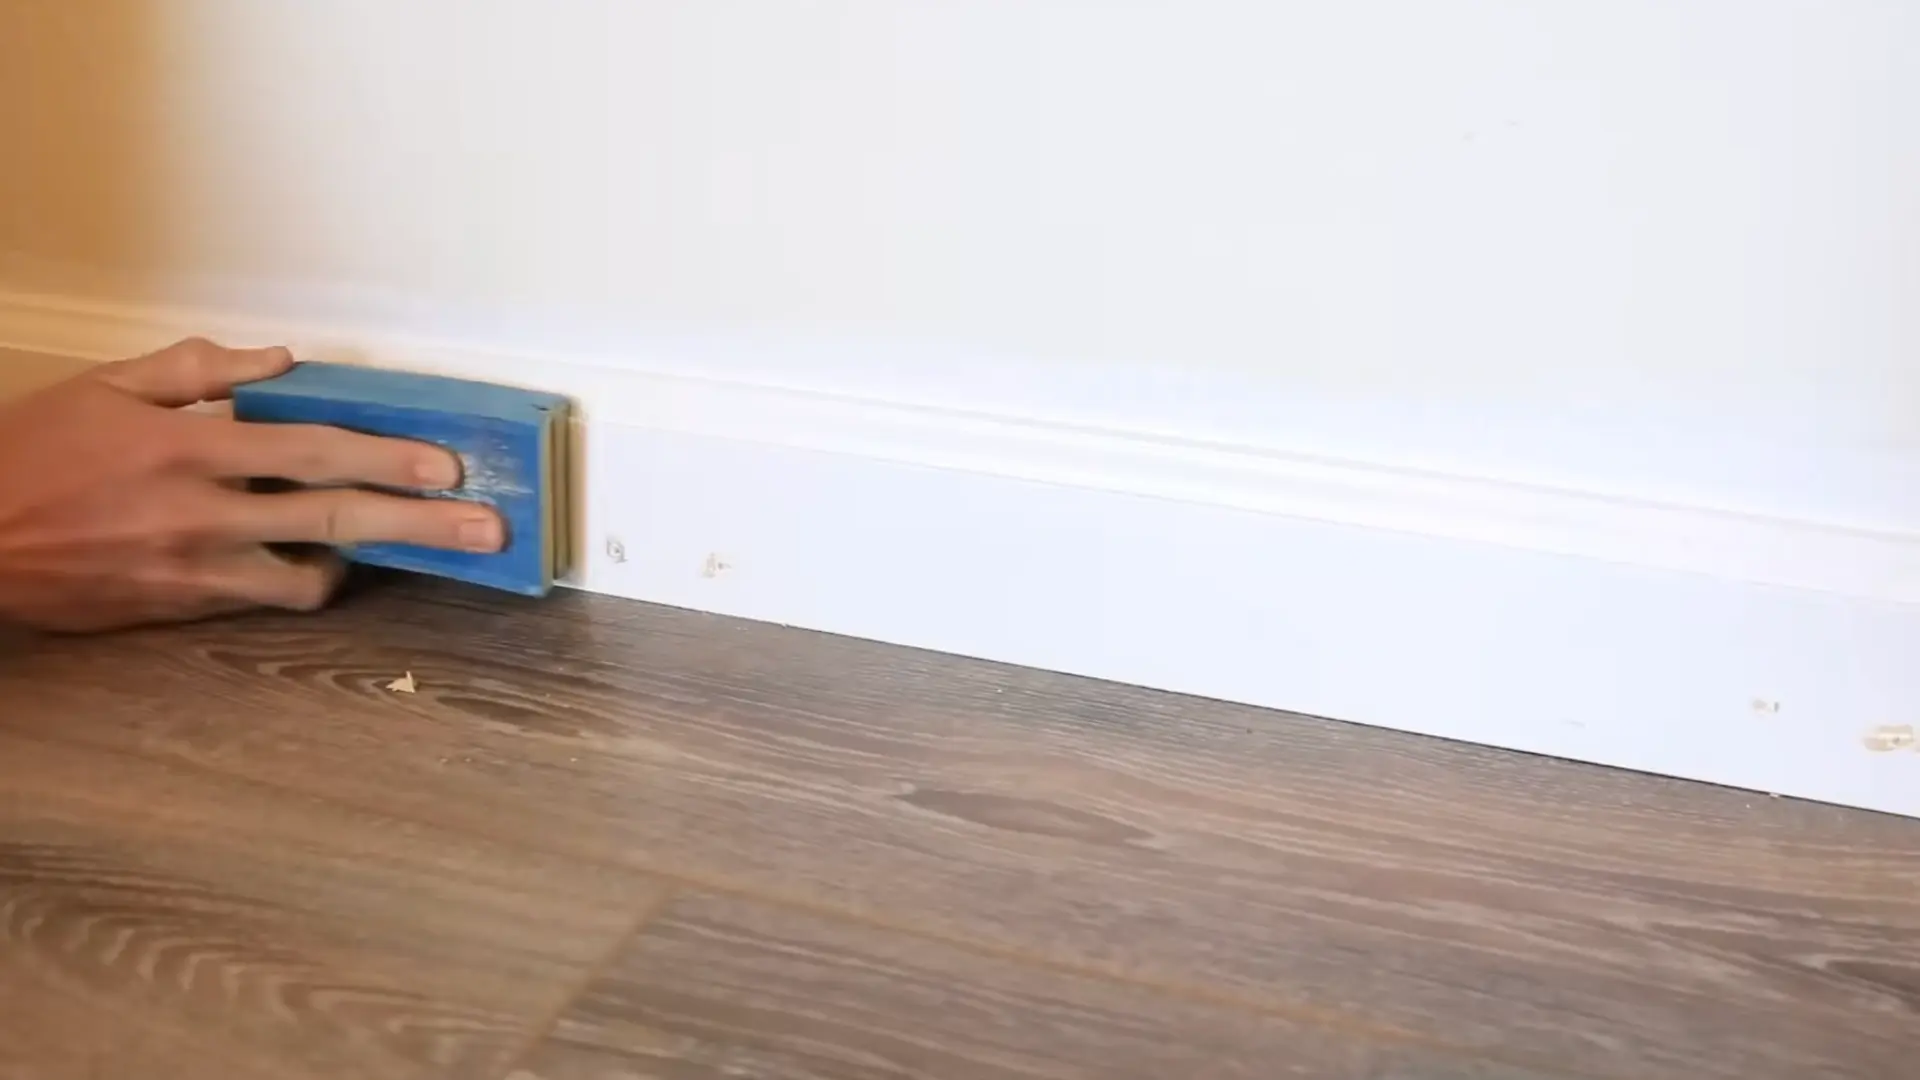
For a flawless, professional-grade finish, use wood filler to cover nail holes before the final paint coat.
For most DIY projects, this step can be skipped entirely, since the holes are barely noticeable once the baseboard is caulked and painted, saving time without meaningfully affecting the final look.
This small finishing step helps create a smoother surface, especially when the trim will be viewed from close range or under bright lighting.
Step 9: Apply the Final Paint Coat
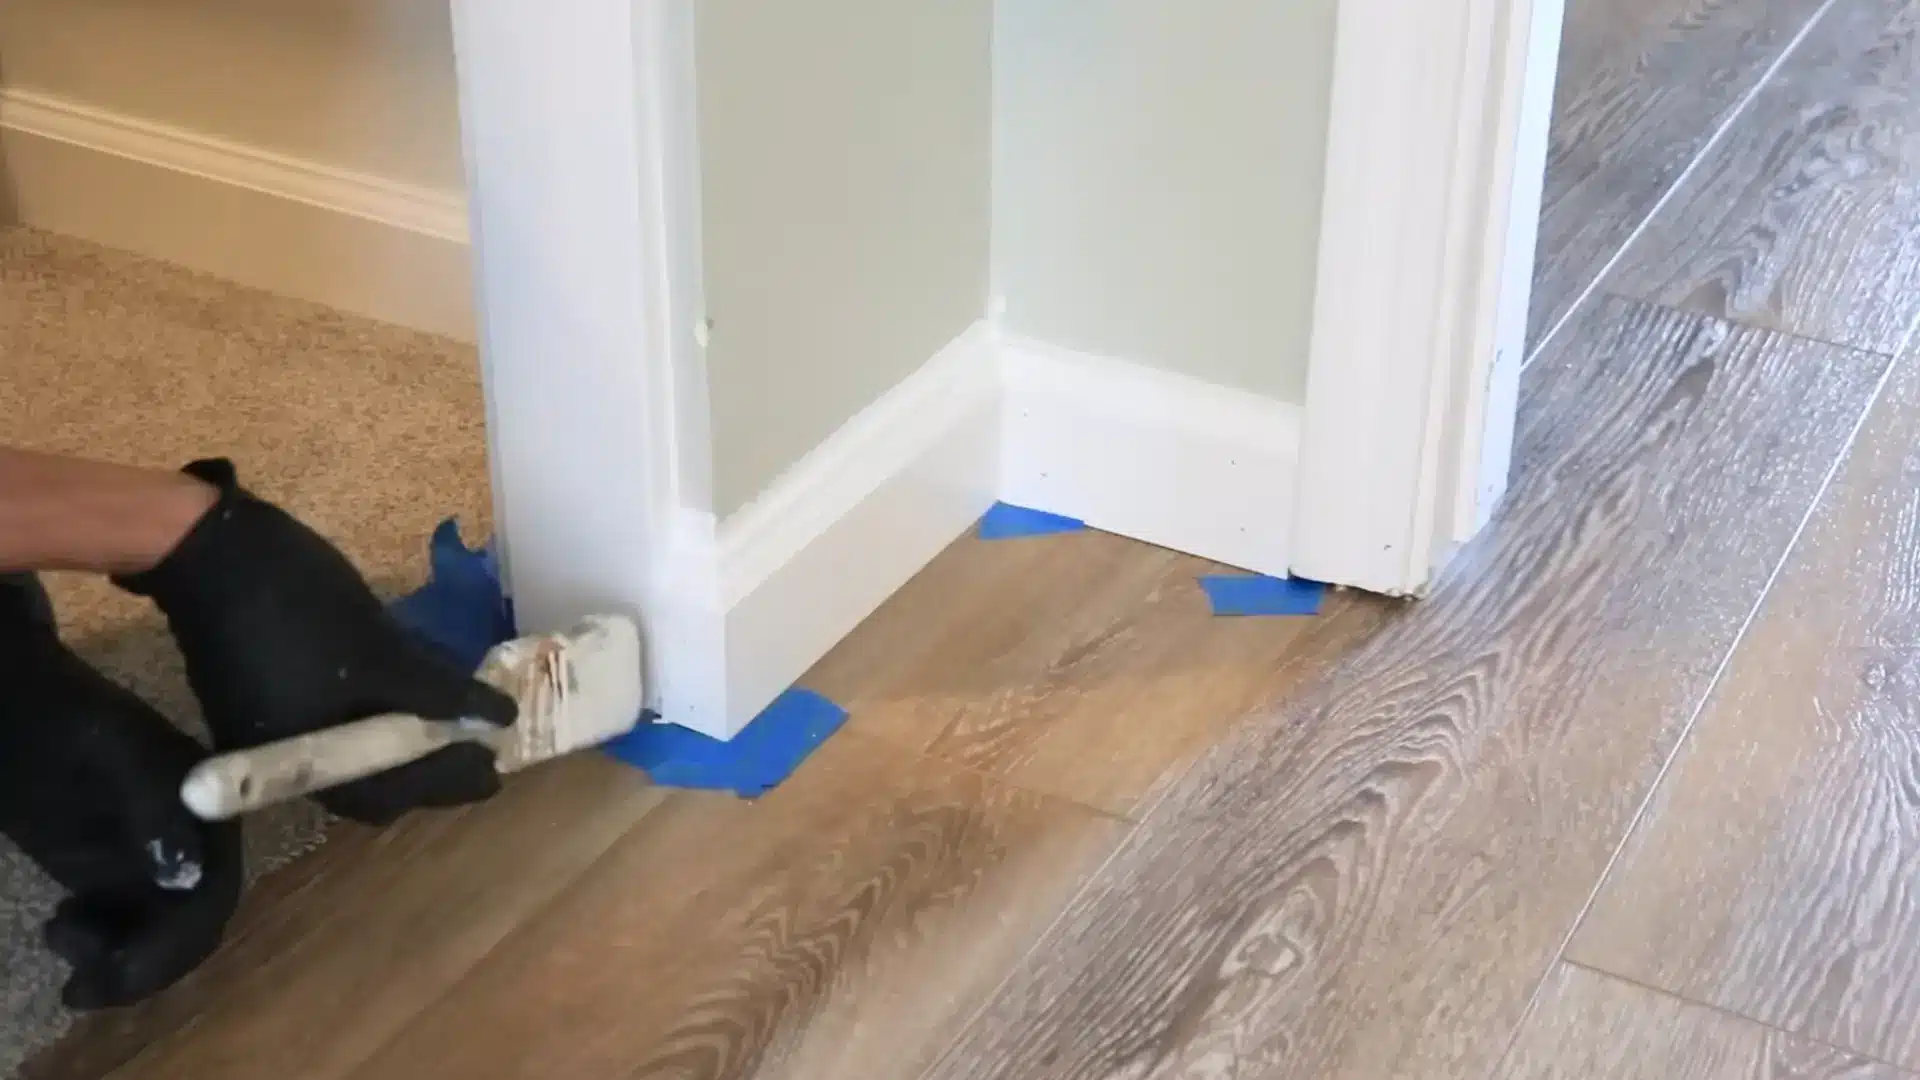
Using a small quality brush, paint over the caulked seams and dab paint into any nail holes to blend them in.
Let this coat dry fully, then mask off the baseboard with tape before painting the wall above it.
Remove the tape at a sharp angle once dry for a crisp, clean line where the wall meets the trim.
Watch this video tutorial by Handyman Startup for a full walkthrough of the process.
Picking the Right Baseboard Style and Material
Baseboard comes in several profiles, each suited to a different look. The right choice depends on matching existing trim, door casings, and the overall style already present in the room.
Colonial and craftsman styles bring traditional curves and detail.
Modern flat profiles suit minimalist spaces, and beadboard-style trim adds texture with vertical grooves for a cottage or farmhouse feel.
Material matters just as much as shape. Solid wood offers durability and a premium finish but costs more.
MDF is affordable and easy to cut, making it popular for painted trim.
PVC and vinyl flooring resist moisture, making them ideal for bathrooms and kitchens. Finger-jointed pine sits in between, budget-friendly and paintable.
How Tall Should Your Baseboard Be?
Baseboard height typically ranges from 3 to 8 inches or more, and choosing the right size depends largely on ceiling height.
- Standard 8-foot ceilings usually pair well with 3–5-inch baseboards
- Taller ceilings can handle 6–8-inch or larger options without looking out of proportion.
Room size matters too: smaller rooms often look better with slimmer baseboards, while larger, open spaces can support bolder, taller trim.
A helpful rule of thumb: baseboard height should roughly match or stay slightly under the width of nearby door casings , so the two elements feel intentional together rather than mismatched.
When in doubt, scale up with ceiling height, not down.
Material Costs: DIY vs Professional Installation
Cost is often the deciding factor between a DIY weekend project and calling in a professional.
Here’s a general breakdown to help set expectations before you commit either way:
| Material | Cost per Linear Foot (Material Only) | Professional Installation (Per Linear Foot) |
|---|---|---|
| MDF | $1-$3 | $4-$8 |
| Finger-Jointed Pine | $1.50-$3.50 | $4-$8 |
| Solid Wood | $3-$8+ | $6-$12+ |
| PVC/Vinyl | $2-$5 | $5-$10 |
| Beadboard-Style Trim | $2-$6 | $6-$12 |
DIY installation saves the most on straightforward rooms with mostly straight walls and standard corners, since labor typically makes up the bulk of professional costs.
Hiring a pro pays off in larger rooms, spaces with multiple complex corners, or curved and uneven walls.
Note: Prices are general estimates and can vary by region, trim profile, and supplier: check local pricing before budgeting your project.
Baseboard Installation Mistakes to Watch For
Even a carefully planned installation can go wrong in small ways that show up later. Watch out for these common missteps:
- No Expansion Gap At Miters: Cutting corners too tight leaves no room for natural material movement, causing gaps to open over time.
- Skipping Scribe Cuts On Uneven Floors: Ignoring floor irregularities leads to visible gaps along the bottom edge of the baseboard.
- Nailing Into Drywall Instead Of Studs: Nails placed without hitting solid backing loosen quickly and fail to hold the board securely.
- Caulking Before Filling Nail Holes: Doing this out of order creates an uneven, patchy finish once paint is applied.
- Mismatched Baseboard-To-Beadboard Transitions: Poorly aligned height or profile between the two creates an unfinished, disjointed look.
Avoiding these mistakes upfront saves time, materials, and the frustration of redoing sections after the paint has already dried.
How to Maintain Baseboards and Keep Them Looking New?
A little upkeep goes a long way in keeping freshly installed baseboard looking sharp for years to come.
- Clean Regularly: Wipe baseboards with a damp cloth or vacuum attachment to remove dust, dirt, and everyday scuff marks.
- Check the Seams: Inspect seams periodically and reapply caulk where small gaps appear from seasonal expansion and contraction.
- Inspect for Movement: Watch for boards separating from walls, particularly in humid areas like bathrooms, kitchens, and laundry rooms.
- Touch Up Damage: Cover minor scuffs and scratches with matching paint to maintain a smooth, freshly finished appearance.
Staying on top of these small tasks helps baseboard hold its clean, professional look well beyond the initial installation.
Conclusion
Installing baseboard and beadboard trim may seem like a small home improvement project, but the right approach can change your space looks and feels.
From removing old baseboards to making clean cuts and finishing with caulk and paint, each step helps create a polished result.
Taking time to prepare your walls, and install each piece properly can help you achieve professional-looking results
Ready to get started? Grab your free checklist or shop trim styles now to bring your baseboard project to life.
Frequently Asked Questions
How Do I Know When It’s Time to Replace Old Baseboard?
Warping, visible gaps, water damage, chipped paint, or persistent pest issues are common signs that baseboard needs replacing rather than another round of touch-up repairs.
Should I Install Beadboard or Baseboard First?
Install the baseboard first, then fit beadboard above it for a cleaner transition and easier alignment during installation.
Is It Better to Glue or Nail Baseboard?
Nailing baseboard into wall studs provides secure attachment, while adhesive can add stability and reduce movement or small gaps.