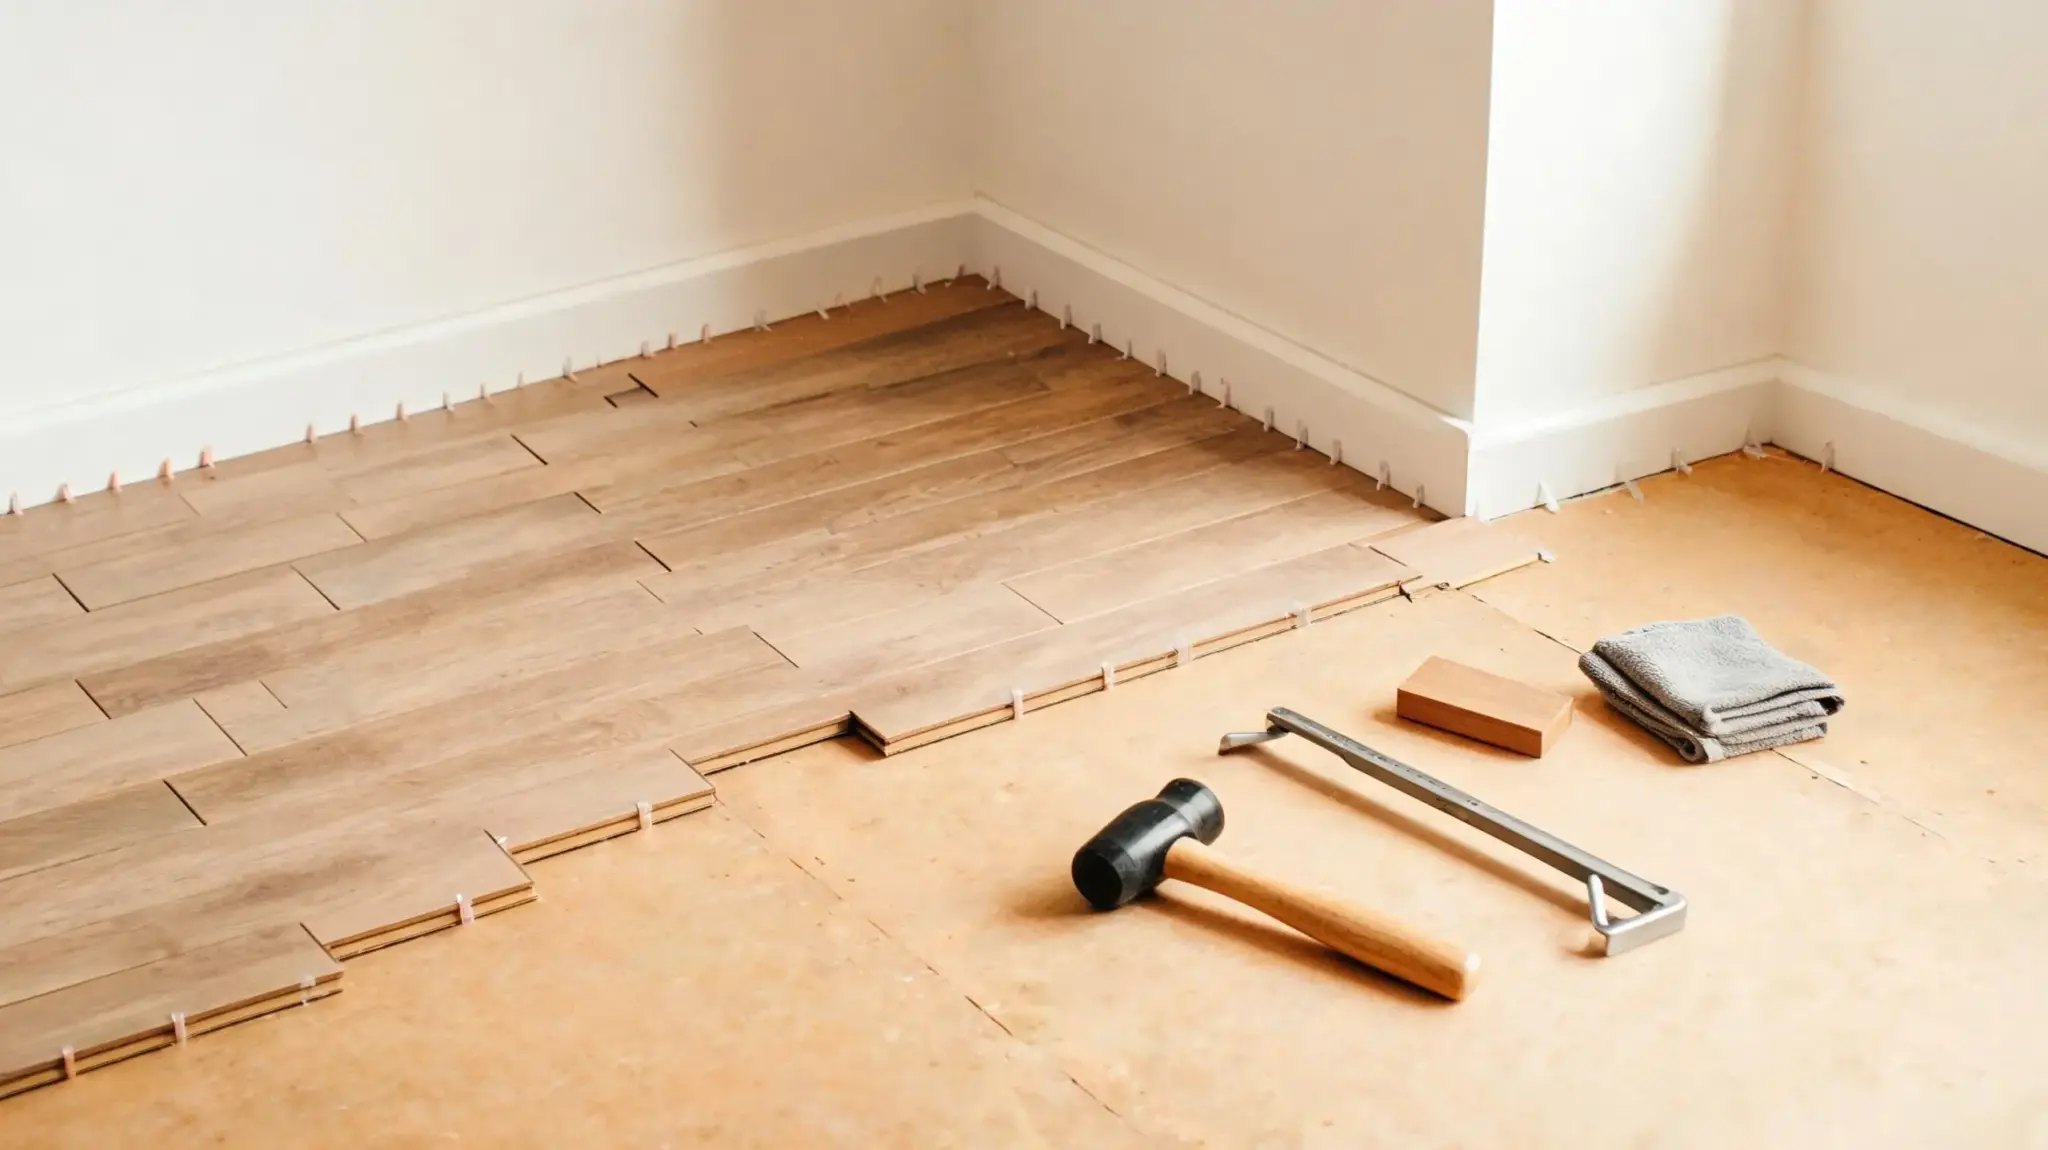
That perfectly smooth floor you keep seeing in home renovation videos? Its vinyl flooring plank, a synthetic, multi-layer material designed to mimic hardwood without the cost or moisture sensitivity.
It has a rigid core, a photographic design layer, and a tough wear layer on top.
Learning how to install vinyl plank flooring doesn’t require a contractor or a week of your life.
A weekend, the right prep, and a clear sequence of steps are genuinely all it takes.
This blog covers the full process, from subfloor prep to final trim, with the kind of detail that keeps you from making expensive, avoidable mistakes
Is Vinyl Plank Flooring the Right Choice for Your Room?
Vinyl plank flooring works well in most rooms, but not in every situation.
It handles moisture better than hardwood or laminate, making it suitable for kitchens, laundry rooms, and basements. It’s comfortable underfoot and quieter than tile.
However, it can’t be refinished like hardwood, so deep scratches mean replacement.
Extreme temperature swings, such as those in unheated garages or sunrooms, cause expansion issues.
If your room stays climate-controlled and sees regular foot traffic, LVP is likely your best match.
Tools and Materials You’ll Actually Need
Gather everything before you start; stopping mid-install to find a tool costs time and risks misaligned rows.
| Tools | Materials |
|---|---|
| Tape measure + chalk line | Underlayment |
| Miter or circular saw | Spacers (1/4″) |
| Utility knife + straightedge | Transition strips |
| Jamb saw / oscillating tool | Moisture barrier |
| Tapping block + pull bar | Flooring adhesive (if glue-down) |
| Rubber mallet | Quarter round/baseboards |
| Moisture meter | Safety glasses + knee pads |
Calculate How Much Flooring to Buy without Running Short
Start with your room’s square footage; multiply length by width.
For irregular rooms, break them into rectangles and add the totals together.
- Always buy more than your measured square footage.
- Add 10% extra for straight layouts, 15% for diagonal patterns.
- Order all boxes from the same dye lot to avoid color variation.
- Account for closets, alcoves, and under-appliance areas.
- Keep leftover planks stored flat for future repairs.
Never round down when ordering. Reordering later risks a dye lot mismatch, which can make patched areas appear visibly different from the rest of your floor.
Prepare the Room and Subfloor for Vinyl Plank Flooring
Clear all furniture and carefully remove the existing baseboards; you’ll reuse them.
Pull out the staples left by the old carpet; they cause lumps under the planks.
Check for squeaky boards and secure them with screws. Fill visible holes or gouges with floor patching compound and let it dry completely. Undercut door casings using a plank as a height guide.
Sweeping thoroughly, even small debris, creates pressure points that crack locking joints over time.
A clean, stable subfloor is what separates a lasting install from one that fails within a year.
Plan the Floor Layout Before Installing the First Plank
Never start installing without a layout plan. Identify your longest, most visible wall.
This sets your plank direction. Measure the opposite wall to check if your final row will be too narrow. If it’s under half a plank wide, shift your starting row accordingly.
Snap a chalk line as your focus. A few minutes of planning prevent costly rework later.
Step-By-Step: How to Install Vinyl Plank Flooring
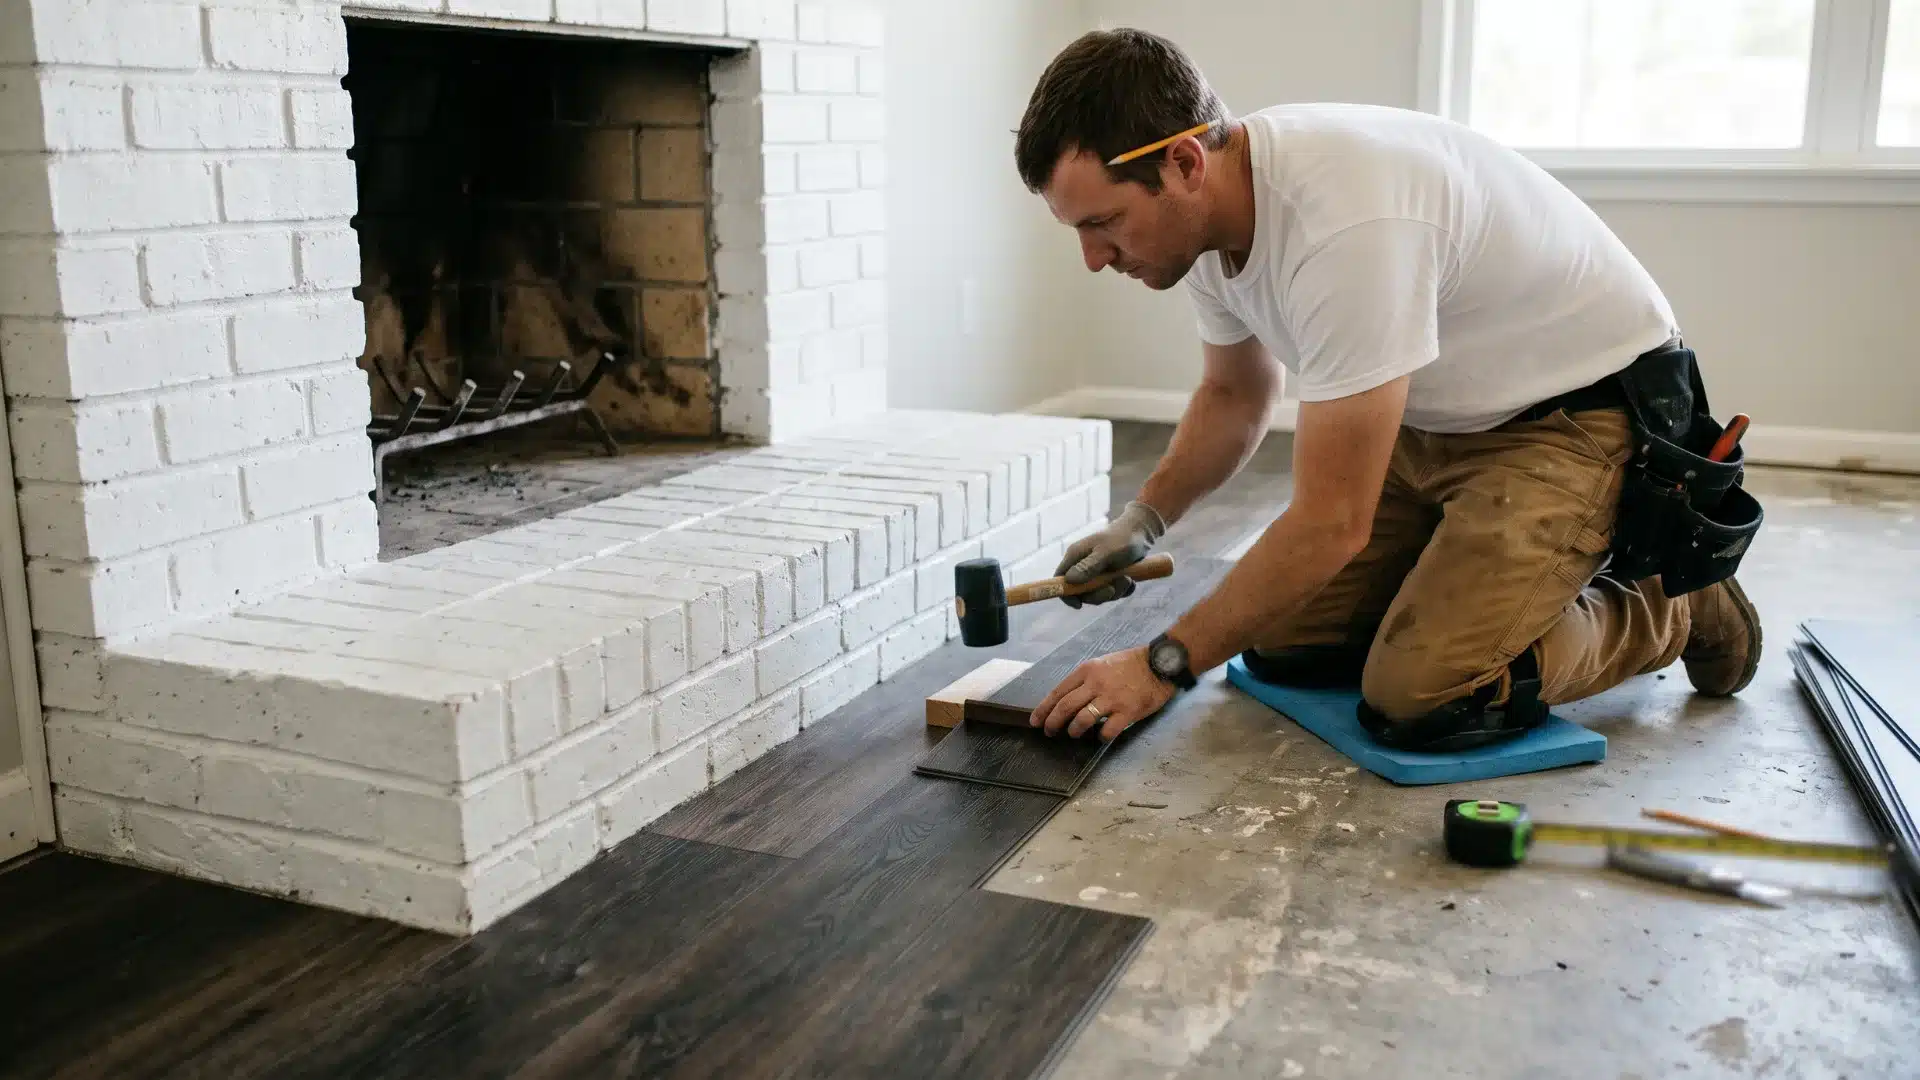
Follow these steps in order; skipping ahead is where most installations go wrong.
Step 1: Lay the Underlayment
Roll out underlayment across the entire subfloor.
Butt edges never overlap, as double layers prevent planks from locking properly. Tape seams securely. If your planks have pre-attached underlayment, skip this step entirely.
Keep it flat and wrinkle-free before moving forward.
Step 2: Place Spacers and Lay the First Row
Set 1/4” spacers along the starting wall and both side walls. Place the first plank groove-side facing the wall.
Connect planks end-to-end using the angle-and-snap method. Tap joints fully closed with a tapping block.
A fully seated joint has zero visible gap. Check each one before proceeding.
Step 3: Stagger and Build Subsequent Rows
Use the offcut from the previous row to start the next row, creating natural staggering. Maintain at least 6 inches between end joints of adjacent rows. Avoid H-joint patterns where four corners meet at one point.
This weakens the floor structurally and is usually a warranty violation.
Step 4: Cut Planks Around Obstacles
Use a cardboard template for irregular shapes, such as pipes or vents.
Move the shape onto the plank and cut carefully. Cut pipe holes 1/2” wider than the pipe for movement.
Precision here prevents visible gaps that no trim piece can hide.
Step 5: Work Through Doorways
Slide planks under the undercut door casings; don’t cut around them.
This gives a clean, professional finish. If two rooms meet at a doorway, decide which room’s flooring runs continuously and which gets a transition strip. Plan this before reaching the doorway, not after.
Step 6: Install the Final Row
Measure each plank individually for the last row; walls are rarely perfectly parallel. Rip cut planks to the correct width. Use a pull bar to click the final row into place since there’s no room to angle or swing.
The last row is the most visible. Take your time.
Step 7: Remove Spacers and Install Baseboards
Once all planks are down, remove every spacer.
Reinstall baseboards or quarter round, nailing only into the wall, not the floor. The floor must float freely beneath.
Nailing into the floor locks the expansion gap and guarantees against buckling when temperatures change.
How to Install Vinyl Plank Flooring around Difficult Areas
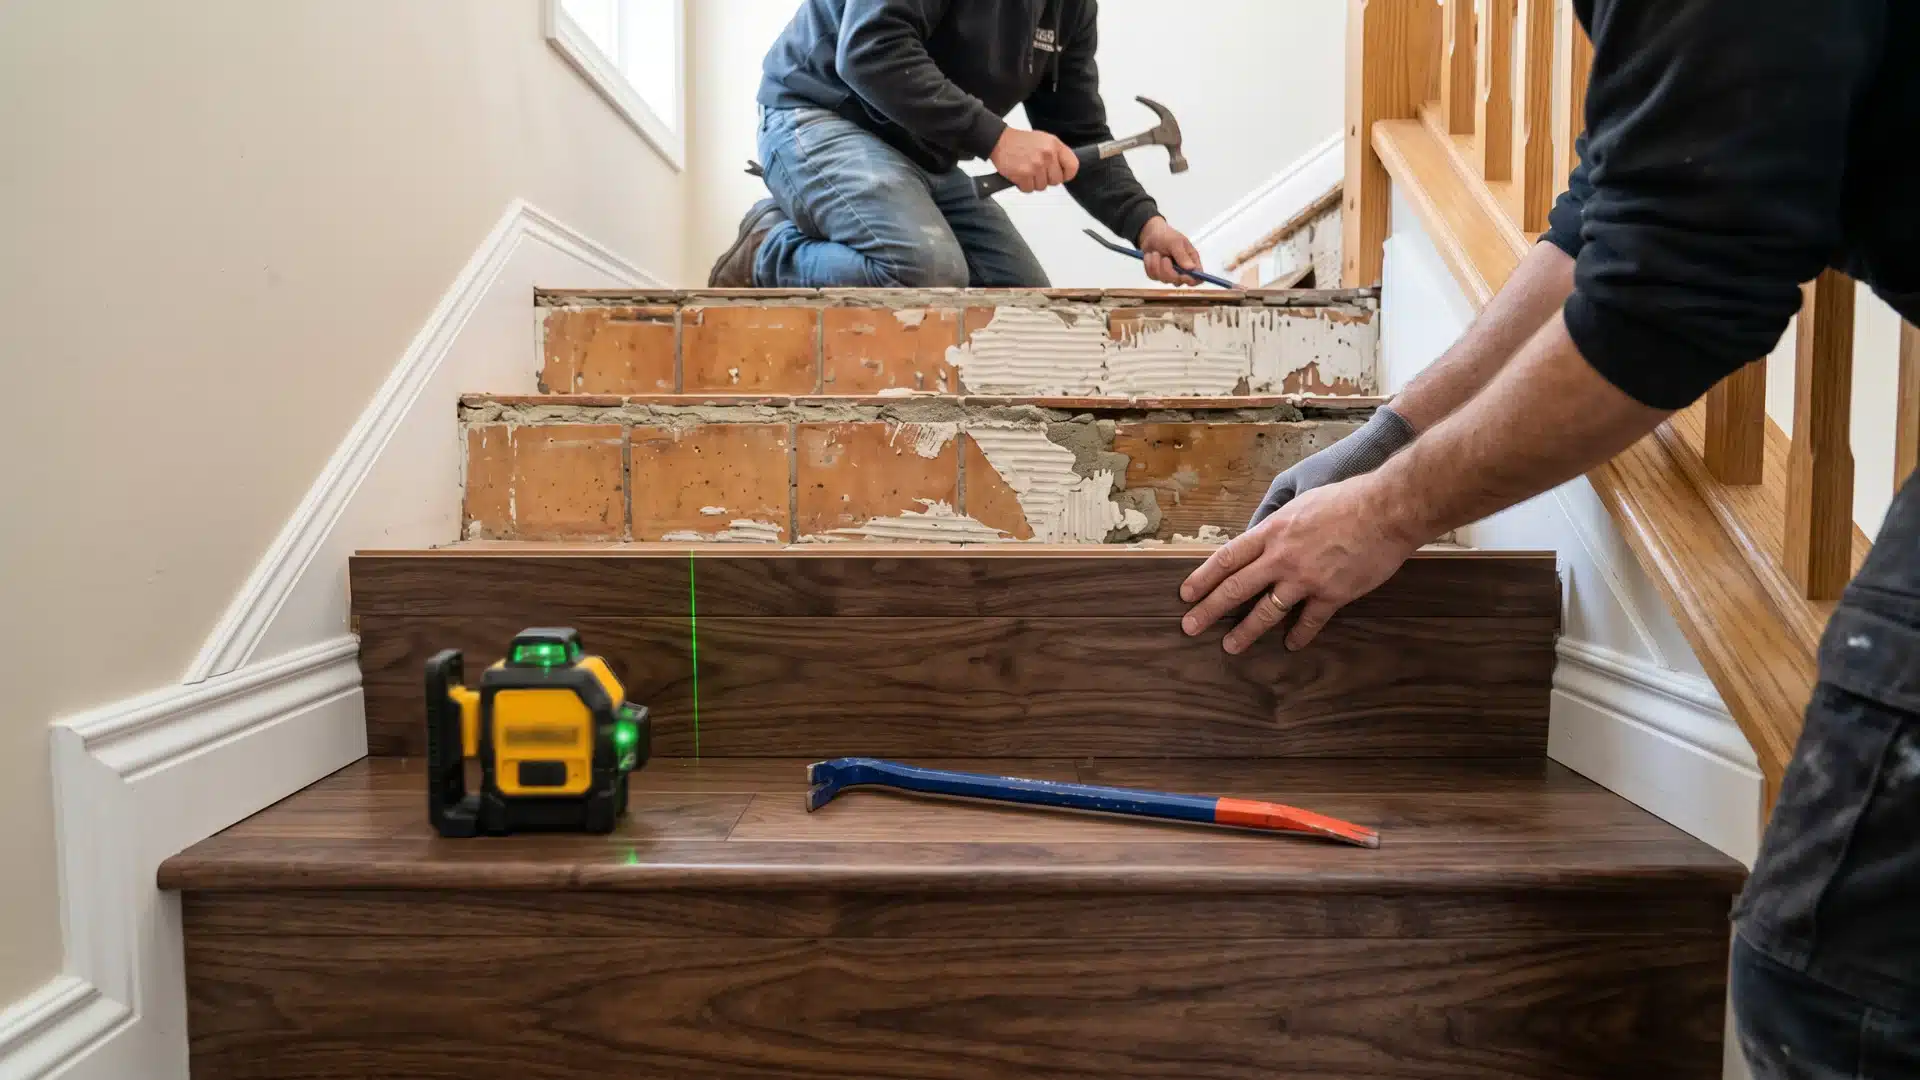
Difficult areas are where amateur installs become obvious. Here’s how to handle each one cleanly.
Toilets and Floor Fixtures
Remove the toilet completely before the flooring reaches that area. Never cut around it.
Shut off the water supply, disconnect, and lift it out. Cut planks to fit around the flange, leaving 1/4” clearance.
Once flooring is done, reinstall with a fresh wax ring every time without exception.
Door Casings and Frames
Hold a scrap plank flat against the casing to mark the exact undercut height. Cut at that height using a jamb saw or oscillating tool. Slide planks cleanly underneath rather than cutting around the casing.
When the cut is precise, no caulk or filler is needed; the plank naturally disappears under the trim.
Stairs
Measure each stair tread and riser individually; dimensions vary even within the same staircase.
Use stair nosing profiles made specifically for LVP thickness.
Glue and nail every nosing piece securely. Floating installation is never acceptable on stairs, as it creates movement underfoot, poses a trip hazard, and immediately voids most manufacturer warranties.
Finish the Installation with Strips, Baseboards, and Final Checks
The final details separate a professional-looking floor from one that clearly needed more attention.
- T-molding connects two floors at the same height; a reducer strip bridges floors of different heights.
- Secure the transition track into the subfloor, never through the plank itself.
- Press firmly across every row; hollow sounds indicate an unseated joint.
- Confirm all expansion gaps are clear before the trim goes on permanently.
- Check every doorway transition for clean, flush alignment.
- Vacuum thoroughly before replacing furniture, as sawdust scratches the wear layer.
- Avoid wet mopping for the first 24 hours while joints fully settle.
How to Install Laminate Flooring
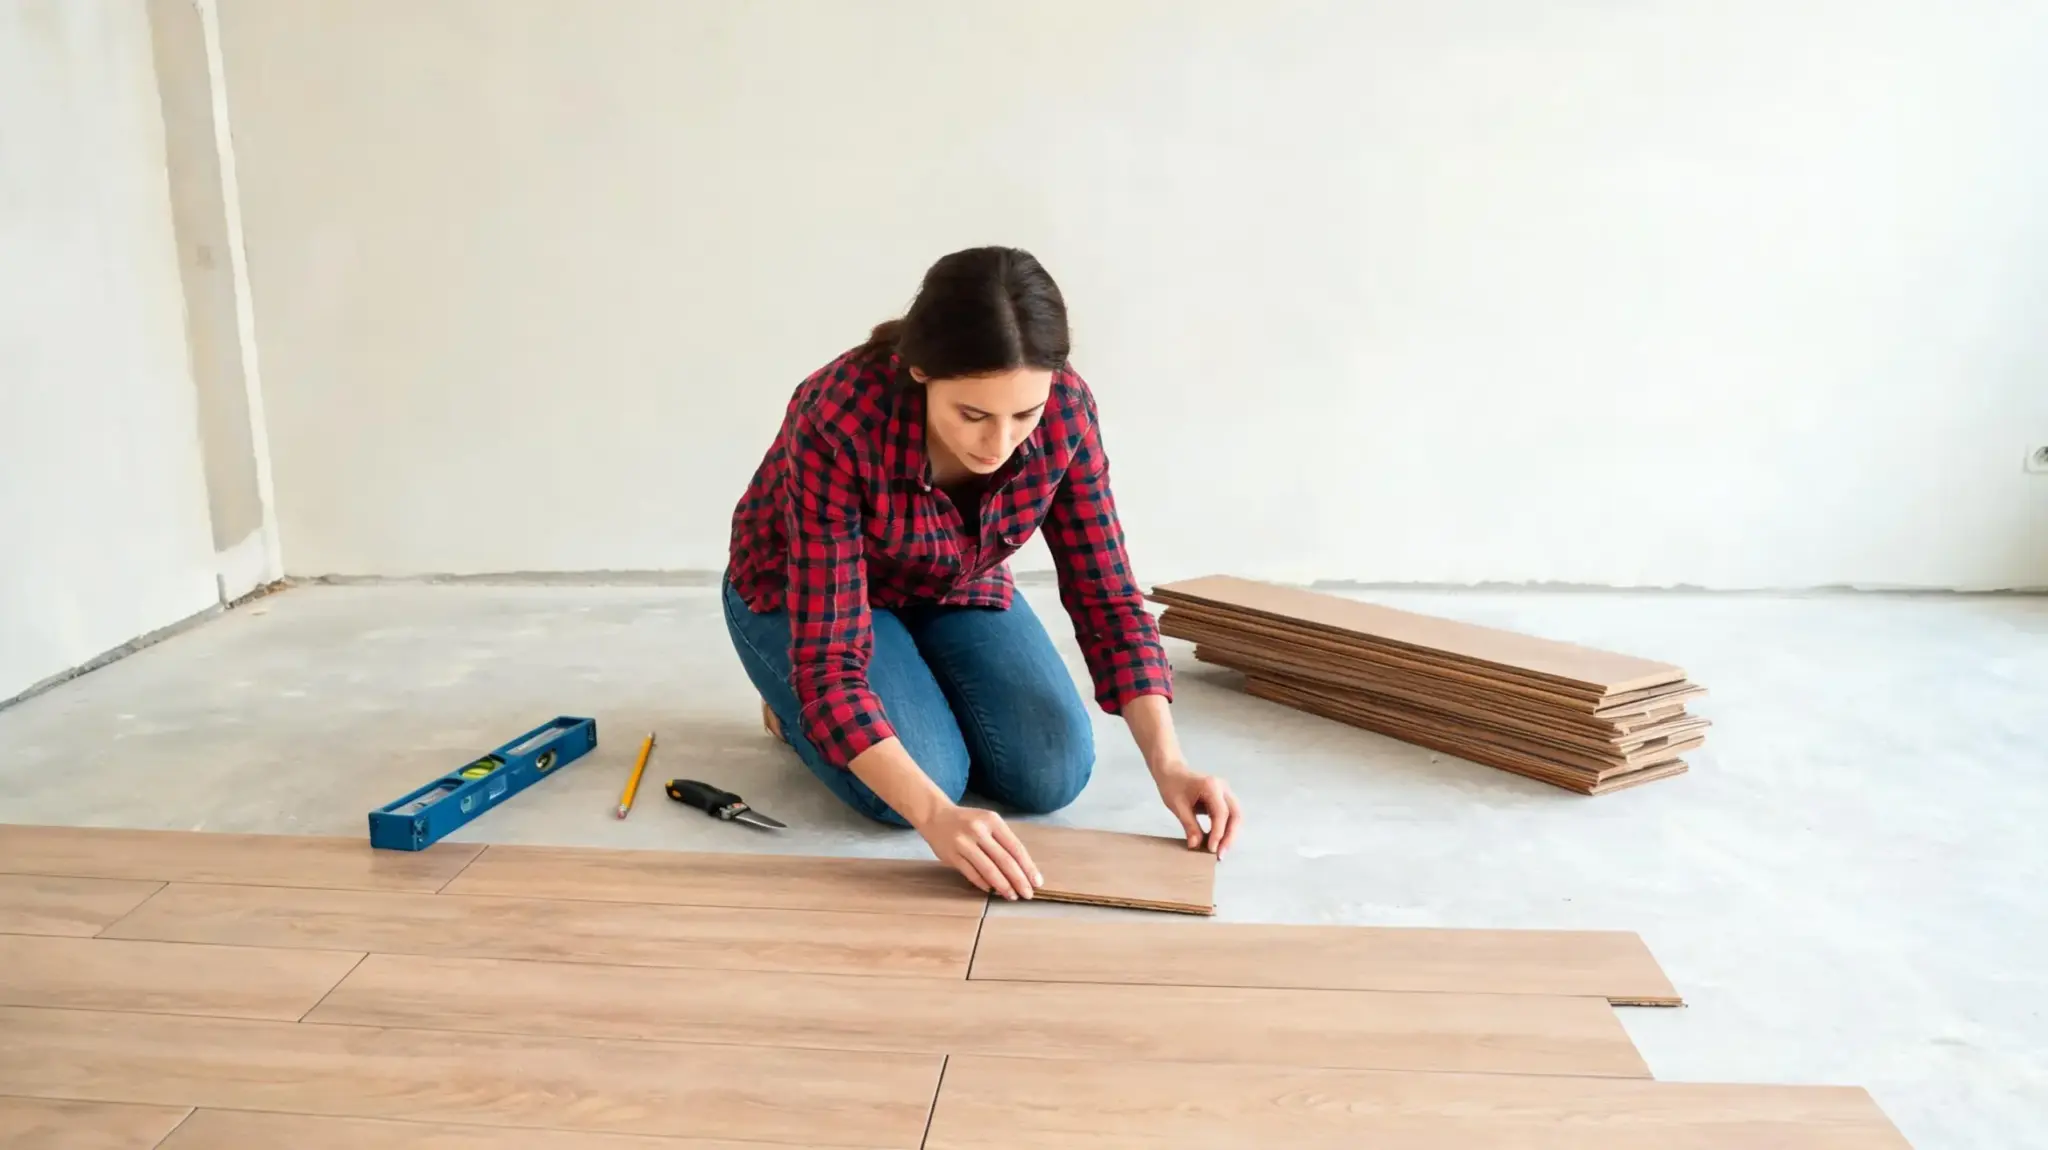
Laminate installs as a floating floor, no glue, no nails. Start by laying separate underlayment since laminate rarely comes with one pre-attached. Place the first row groove-side toward the wall with 1/4” spacers on all sides.
Connect planks using the angle-and-snap method.
Laminate clicks more firmly than LVP, so use a tapping block consistently.
Stagger end joints by at least 6 inches between rows. Cut planks with a fine-tooth saw blade to prevent chipping.
Finish by installing baseboards nailed into the wall only, never the floor
LVP Flooring Installation vs. Other Flooring
Before choosing LVP, compare it with other popular flooring options on key factors.
| Factor | LVP | Laminate | Hardwood | Tile |
|---|---|---|---|---|
| Waterproof | Yes | No | No | Yes |
| DIY Friendly | High | High | Moderate | Low |
| Subfloor Tolerance | Moderate | Strict | Strict | Strict |
| Refinishable | No | No | Yes | No |
| Comfort Underfoot | Good | Moderate | Good | Poor |
| Best Room Fit | Any room | Dry areas only | Living areas | Wet areas |
| Lifespan | 15–25 years | 10–20 years | 25–100 years | 20–50 years |
Common Mistakes that Can Ruin Your Floor and Their Fix
Even DIYers make these errors; knowing them in advance saves you from pulling up planks and starting over.
1. Skipping the flatness check: High and low spots cause joints to pop open over time.
Grind down high spots and fill lows with patching compound before laying a single plank.
2. Overlapping underlayment sheets: Double layers compress unevenly, preventing locking joints from fully engaging. Always butt edges together and tape seams flat.
3. Ignoring dye lot numbers: Boxes from different lots have subtle color differences invisible in store lighting.
Mix planks from all boxes during installation to blend variations naturally.
4. Nailing baseboards into the floor: Pins through the plank lock the floating system completely.
Always nail into the wall; only the floor beneath needs to move independently.
5. Cutting joints too close together: End joints under 6 inches apart create structural weak points.
The floor flexes differently at short joints, leading to cracking and clicking sounds underfoot.
Can You Install Vinyl Plank Flooring Over Existing Floors?
Yes, but only under the right conditions.
Existing tile is acceptable if grout lines are under 1/8” deep; deeper lines telegraph through LVP over time.
Hardwood is suitable only if it’s firmly secured with no soft spots. Never install over carpet, existing vinyl with heavy cushion backing, or any floor showing moisture damage.
Each additional layer also raises floor height, affecting door clearance and transition strips.
How Long Does Vinyl Plank Flooring Installation Take?
Timeline and cost vary based on room size, subfloor condition, and whether you DIY or hire a professional.
| Factor | Flooring Type | DIY | Professional |
|---|---|---|---|
| Small room (up to 200 sq ft) | LVP / Laminate | 4–6 hours | 2–3 hours |
| Medium room (200–500 sq ft) | LVP / SPC | 1–2 days | 4–6 hours |
| Large room (500+ sq ft) | LVP / WPC / Laminate | 2–3 days | 1–2 days |
| Material cost (per sq ft) | LVP | $2–$5 | $2–$5 |
| Material cost (per sq ft) | SPC | $3–$7 | $3–$7 |
| Material cost (per sq ft) | Laminate | $1–$4 | $1–$4 |
| Labor cost (per sq ft) | All types | None | $1.50–$4 |
| Subfloor repair cost | All types | $30–$80 | $100–$300 |
| Underlayment cost | All types | $0.25–$0.50/sq ft | Included in labor |
| Total estimated cost (200 sq ft) | LVP | $150–$400 | $400–$900 |
Maintenance Tips that Keep Vinyl Plank Floors Looking New
- Sweep or dry mop daily in high-traffic areas; grit acts like sandpaper on the wear layer.
- Clean spills immediately; liquid left sitting seeps into joints over time. Use only pH-neutral cleaners made for LVP. Avoid wax, polish, or oil-based products, as they leave a permanent residue that dulls the surface.
- Place doormats at every entry point to trap dirt before it reaches the floor.
- Avoid dragging furniture; lift and place it every time.
- Direct sunlight causes gradual discoloration; use blinds or UV-protective window film in sun-facing rooms.
End Note!
Installing vinyl plank flooring is a skill you build plank by plank. The subfloor work feels tedious.
The layout math feels excessive. The final row feels impossible. Every step exists for a reason. Skip one, and it shows up later in buckling, clicking, or gaps you can’t explain. Take your time on prep.
Follow the sequence. Trust the process.
A correctly installed floor lasts decades, and DIY satisfaction makes every square foot worth it.
Frequently Asked Questions (FAQ’s)
1. Can You Install Vinyl Plank Flooring Over Concrete?
Yes, if the concrete is flat, dry, and free of moisture issues.
2. Do I Need Underlayment if my LVP Already Has One Attached?
No, never double-layer underlayment; it prevents locking joints from engaging properly.
3. How Long Should Vinyl Plank Flooring Acclimate Before Installation?
Minimum 48 hours in the room where it will be installed.
4. Can Vinyl Plank Flooring Be Installed in Bathrooms?
Yes, LVP is fully waterproof, making it ideal for wet areas.
5. What Happens if You Don’t Leave an Expansion Gap?
The floor buckles and lifts as temperature and humidity cause it to expand naturally.