Most bathroom faucets don’t fail all at once.
They drip, wobble, or stain the basin slowly, until one day it’s just too much to ignore. Replacing one sounds like a plumber’s job, but it’s really just a few nuts and a few connections, done in the right order.
Changing a bathroom faucet takes one afternoon, basic tools, and zero plumbing experience.
What trips people up isn’t the difficulty; it’s not knowing what comes next.
This blog covers exactly how to replace a bathroom faucet, with nothing left to guesswork.
Understanding Bathroom Faucet and Its Types
A bathroom faucet controls water flow and temperature at your sink.
It connects supply lines under the counter to the spout above. Though it looks simple, an internal valve mechanism does the real work, starting, stopping, and mixing hot and cold water.
Bathroom faucets depend on their internal mechanisms, which influence longevity and eventual failure.
- Compression faucets: oldest design, use rubber washers, prone to dripping over time
- Cartridge faucets: most common today, smooth single-lever control, easy cartridge swaps when worn
- Ball-type faucets: single handle sits on a rotating ball, durable but can wear unevenly
- Ceramic disc faucets: premium option, virtually leak-proof, handles run smoothly for years
Knowing your faucet’s mechanism helps later if it ever just needs a part replaced instead of a full swap.
Tools, Materials, and Replacement Parts You Will Need
Beyond the basics, a few extras help the job go smoothly and avoid return trips to the store.
| Item | Purpose |
|---|---|
| Bucket or shallow pan | Catches residual water from disconnected lines |
| Old towel/rags | Cushions sink surface, soaks up drips |
| Bowl or container | Holds small screws/nuts so nothing rolls away |
| Silicone grease | Lubricates O-rings for smoother handle action |
| Drain plug/strainer (if replacing) | Needed only if the old one is damaged during removal |
| Braided steel hose (upgrade option) | More durable than standard plastic supply lines |
| Mounting hardware kit | Some faucets need separate brackets for thick counters |
| Headlamp or clip-on light | Frees both hands in dark cabinet spaces |
How to Shut Off the Water Supply and Drain the Faucet System
Locate the two shutoff valves directly beneath the sink, usually with small oval handles.
Turn each one clockwise until fully closed. Open the faucet handle to release any trapped pressure, then let the remaining water drain into your bucket. Hold the position a few seconds; older lines sometimes trickle slowly.
Once the flow stops completely, the system is safe to disconnect.
However, skipping this step risks a surprise spray when you loosen the first fitting.
Step-by-Step: How to Replace a Bathroom Faucet
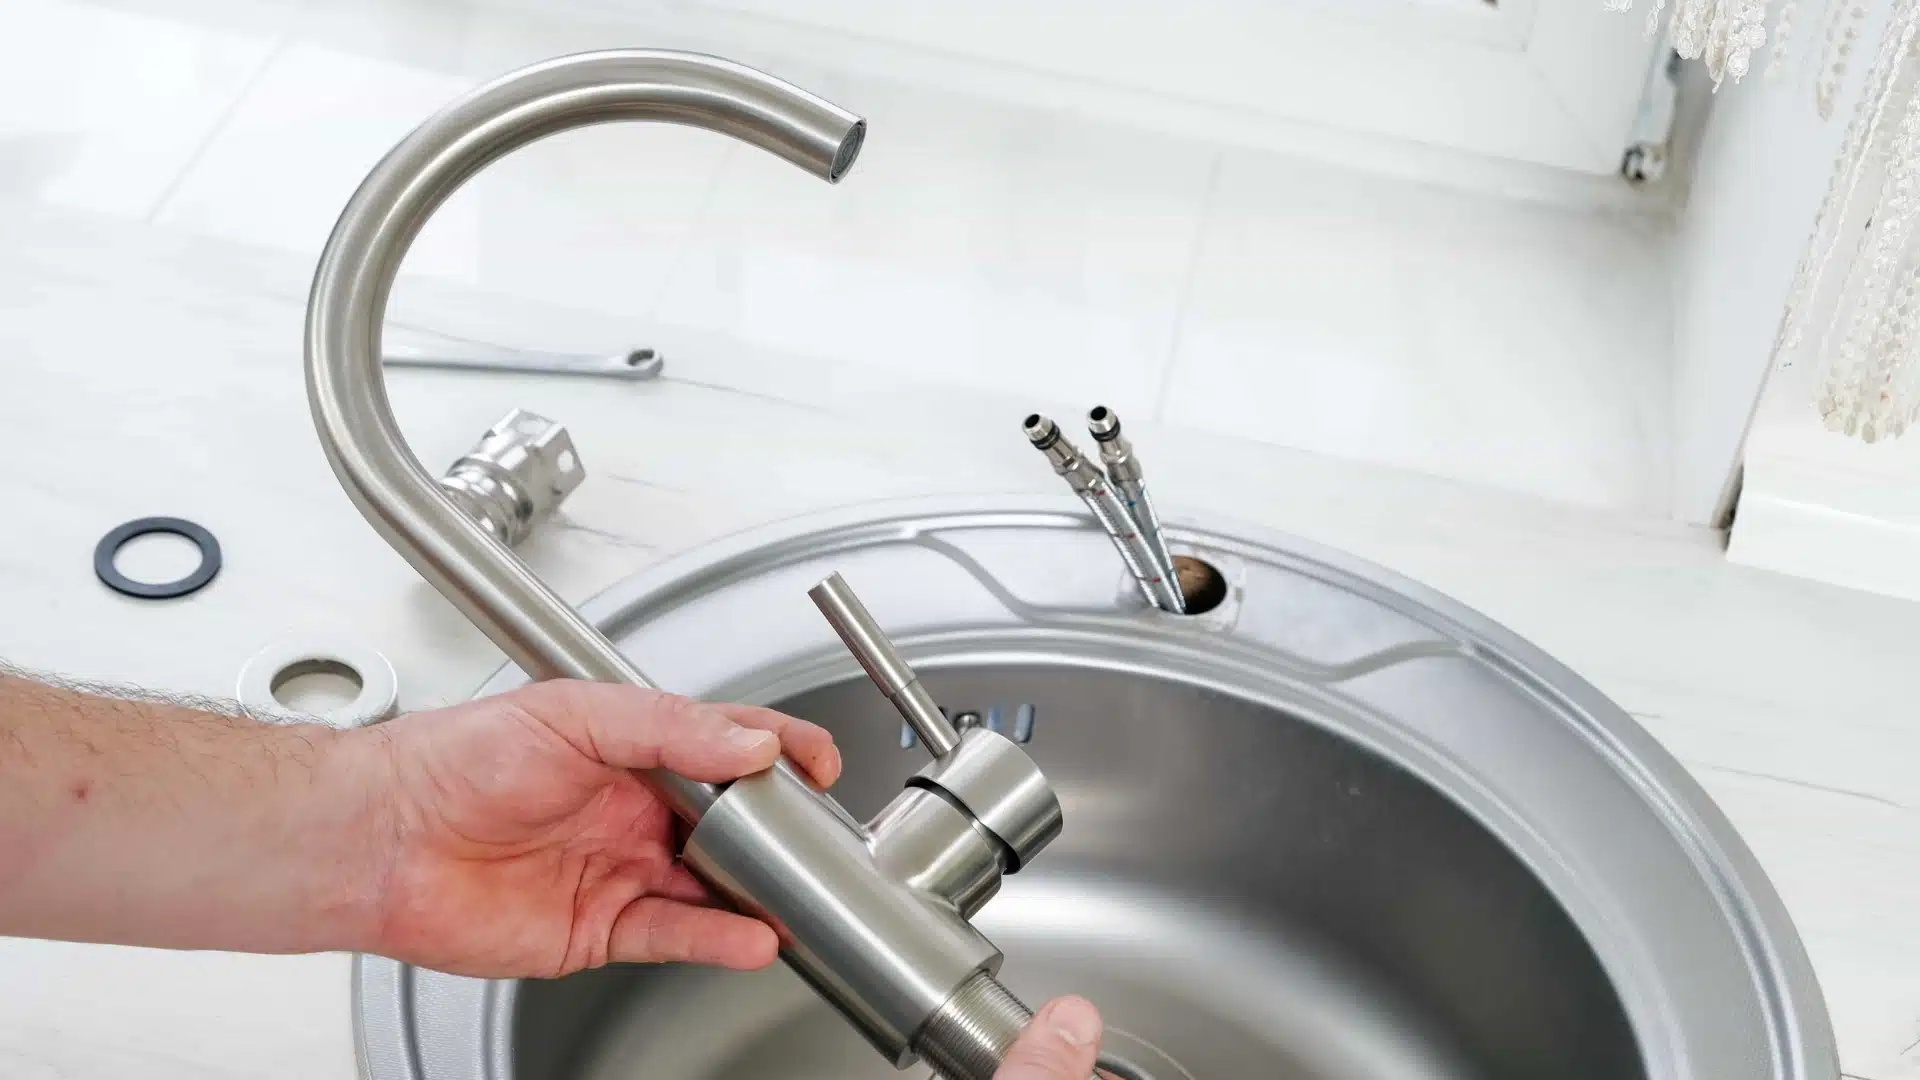
Here’s the sequence from removing the old faucet to connecting the new one, once the tools are ready and the water is off.
Step 1: Clear the Cabinet and Protect the Sink
Empty everything from under the sink for full visibility and movement.
Lay an old towel across the sink basin to prevent scratches from tools or dropped hardware.
Place your bucket nearby for quick access. Then, set your flashlight or headlamp within reach now, since cabinet lighting is rarely enough once you’re working underneath.
This small prep step saves repeated trips and protects surfaces during the messier parts ahead.
Step 2: Disconnect the Supply Lines
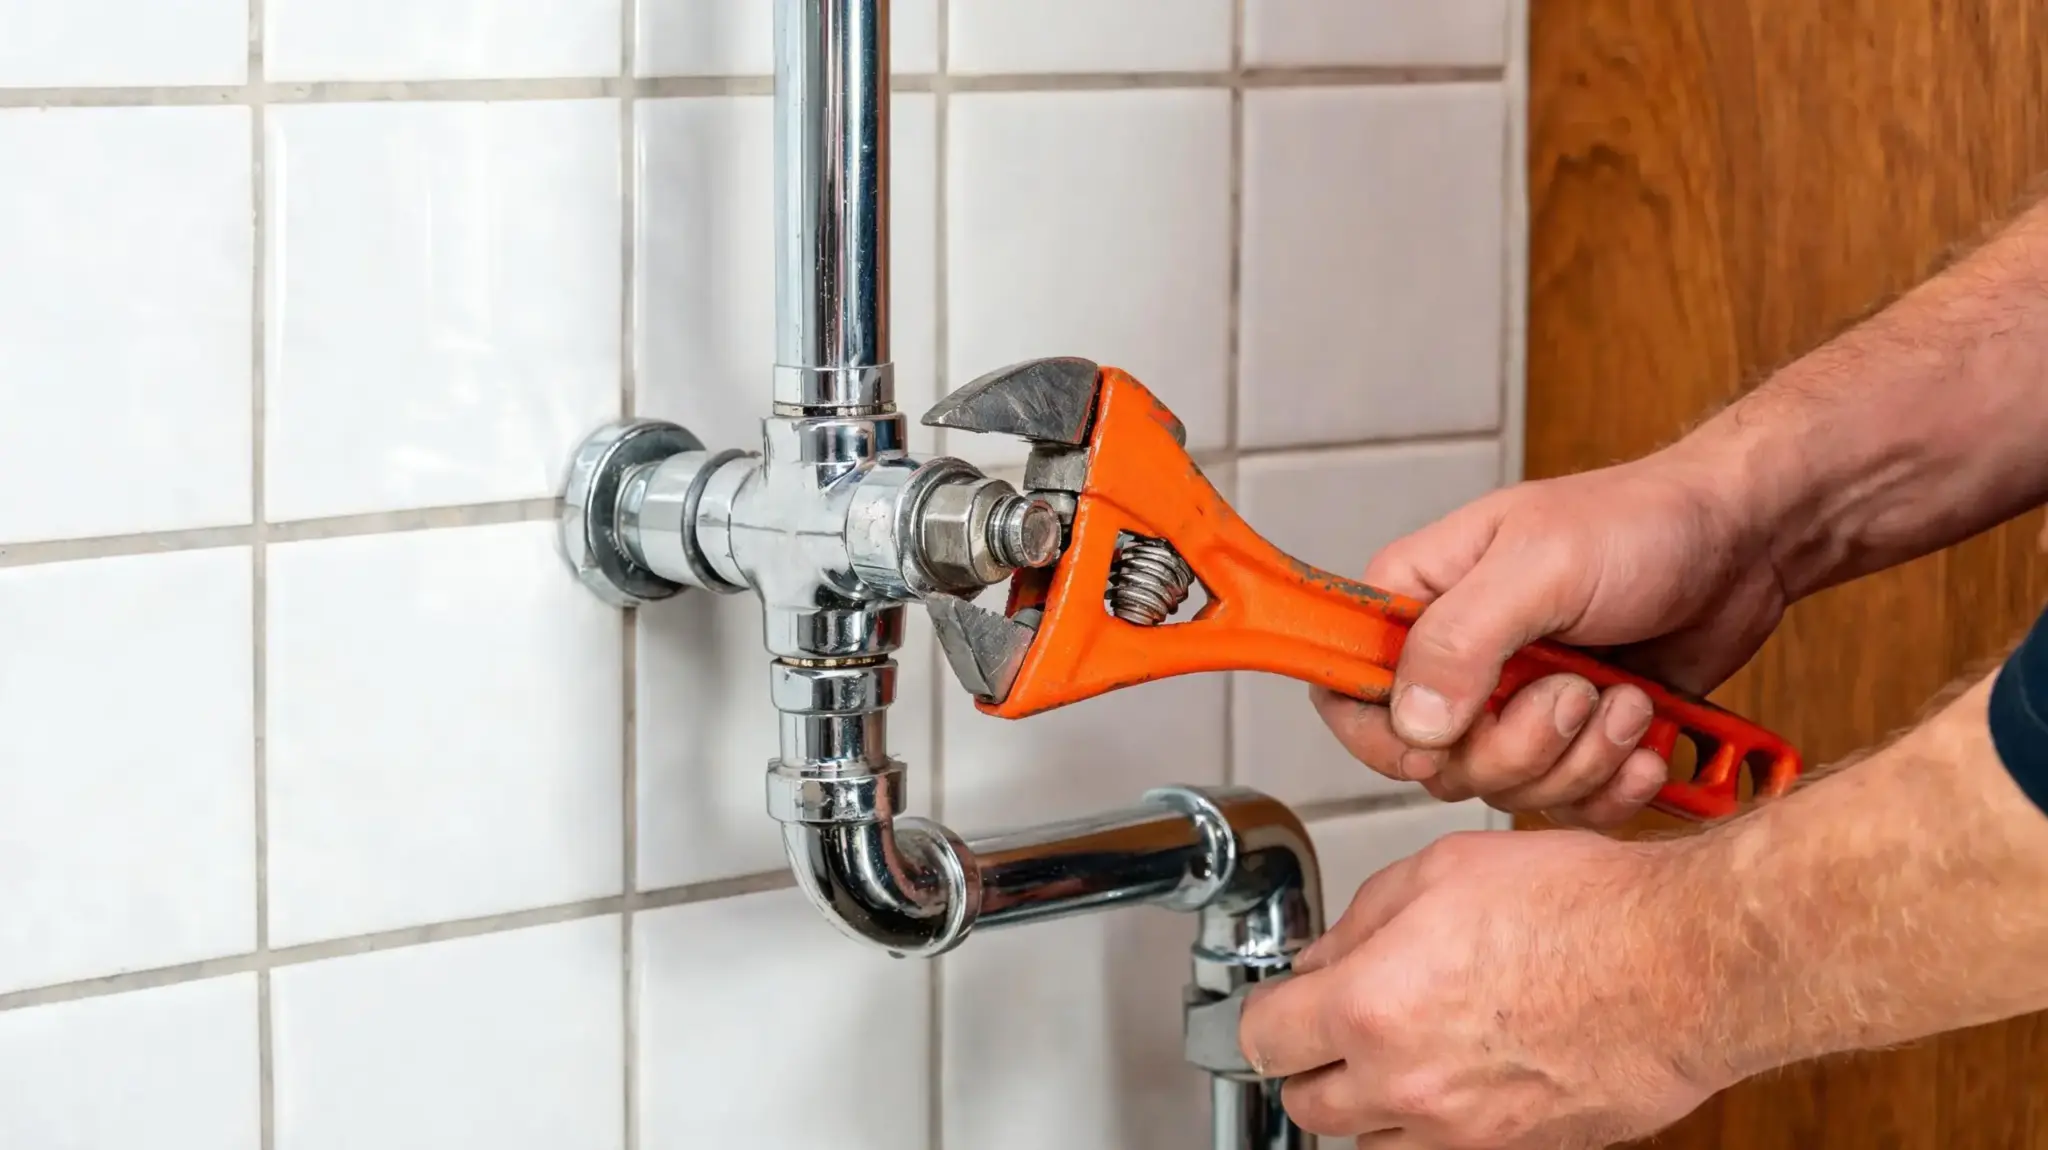
Using slip-joint pliers, loosen the coupling nuts connecting supply lines to the faucet tailpieces.
Turn counterclockwise, holding the tailpiece steady so it doesn’t twist.
Let any residual water drip into the bucket. If a nut won’t budge, a few drops of penetrating oil and a short wait usually loosen it without force. Set aside old lines if reusing, or discard them if replacing.
Step 3: Disconnect the Drain Linkage
If your faucet has a connected pop-up assembly, unhook the clip linking the lift rod to the drain stopper.
Note its position; with a quick photo reassembly, it is easier when you remember the original setup. The clip is usually a small spring or pivot pin; keep it in your bowl of small parts so it doesn’t get lost.
You can also skip this step if your faucet doesn’t control the drain.
Step 4: Loosen and Remove Mounting Nuts
Reach the basin wrench up to the mounting nuts holding the faucet to the sink deck. Turn counterclockwise to loosen, then fully unscrew by hand once loose.
Awkward angles are normal here; work slowly rather than forcing the wrench.
If space is too tight to see, work by feel and double-check direction before applying real pressure.
Step 5: Lift Out the Old Faucet and Clean the Deck
Pull the faucet upward from above; old sealant may resist slightly.
Scrape away hardened residue with a plastic putty knife to avoid scratching the sink surface.
A bit of mineral spirits on a rag helps lift stubborn putty residue without damaging the finish. Wipe the area clean and dry completely before moving forward.
Step 6: Position and Secure the New Faucet
Apply sealant per manufacturer instructions, then lower the new faucet into the mounting holes from above.
Reach underneath to thread washers and nuts, tightening by hand, then with a basin wrench. Ensure the faucet is straight and flush before tightening fully, as sealant makes adjustments harder later.
Step 7: Reconnect Lines and Restore Water
Attach the supply lines to the new tailpieces, tighten by hand, then tighten by a quarter turn with a wrench.
Reconnect the drain linkage if applicable. Turn the shutoff valves slowly counterclockwise to restore flow, watching the connections closely as pressure returns.
Keep a dry towel handy underneath each joint so even a faint drip shows up immediately.
Cleaning the Sink and Mounting Area Before Installation
A spotless, dry mounting surface is what actually makes a sealant work.
Skipping this step is the hidden cause of most “new faucet still leaks” complaints.
- Check the underside of the sink deck for old gasket fragments, not just the top.
- Run a fingertip around the holes to feel for grit before sealing.
- Let the area air-dry fully rather than wiping it dry enough.
- Inspect for hairline cracks around mounting holes that the old faucet may have hidden.
- Avoid harsh abrasives on cultured marble or acrylic sinks; they scratch easily.
Installing the New Bathroom Faucet Step-by-Step
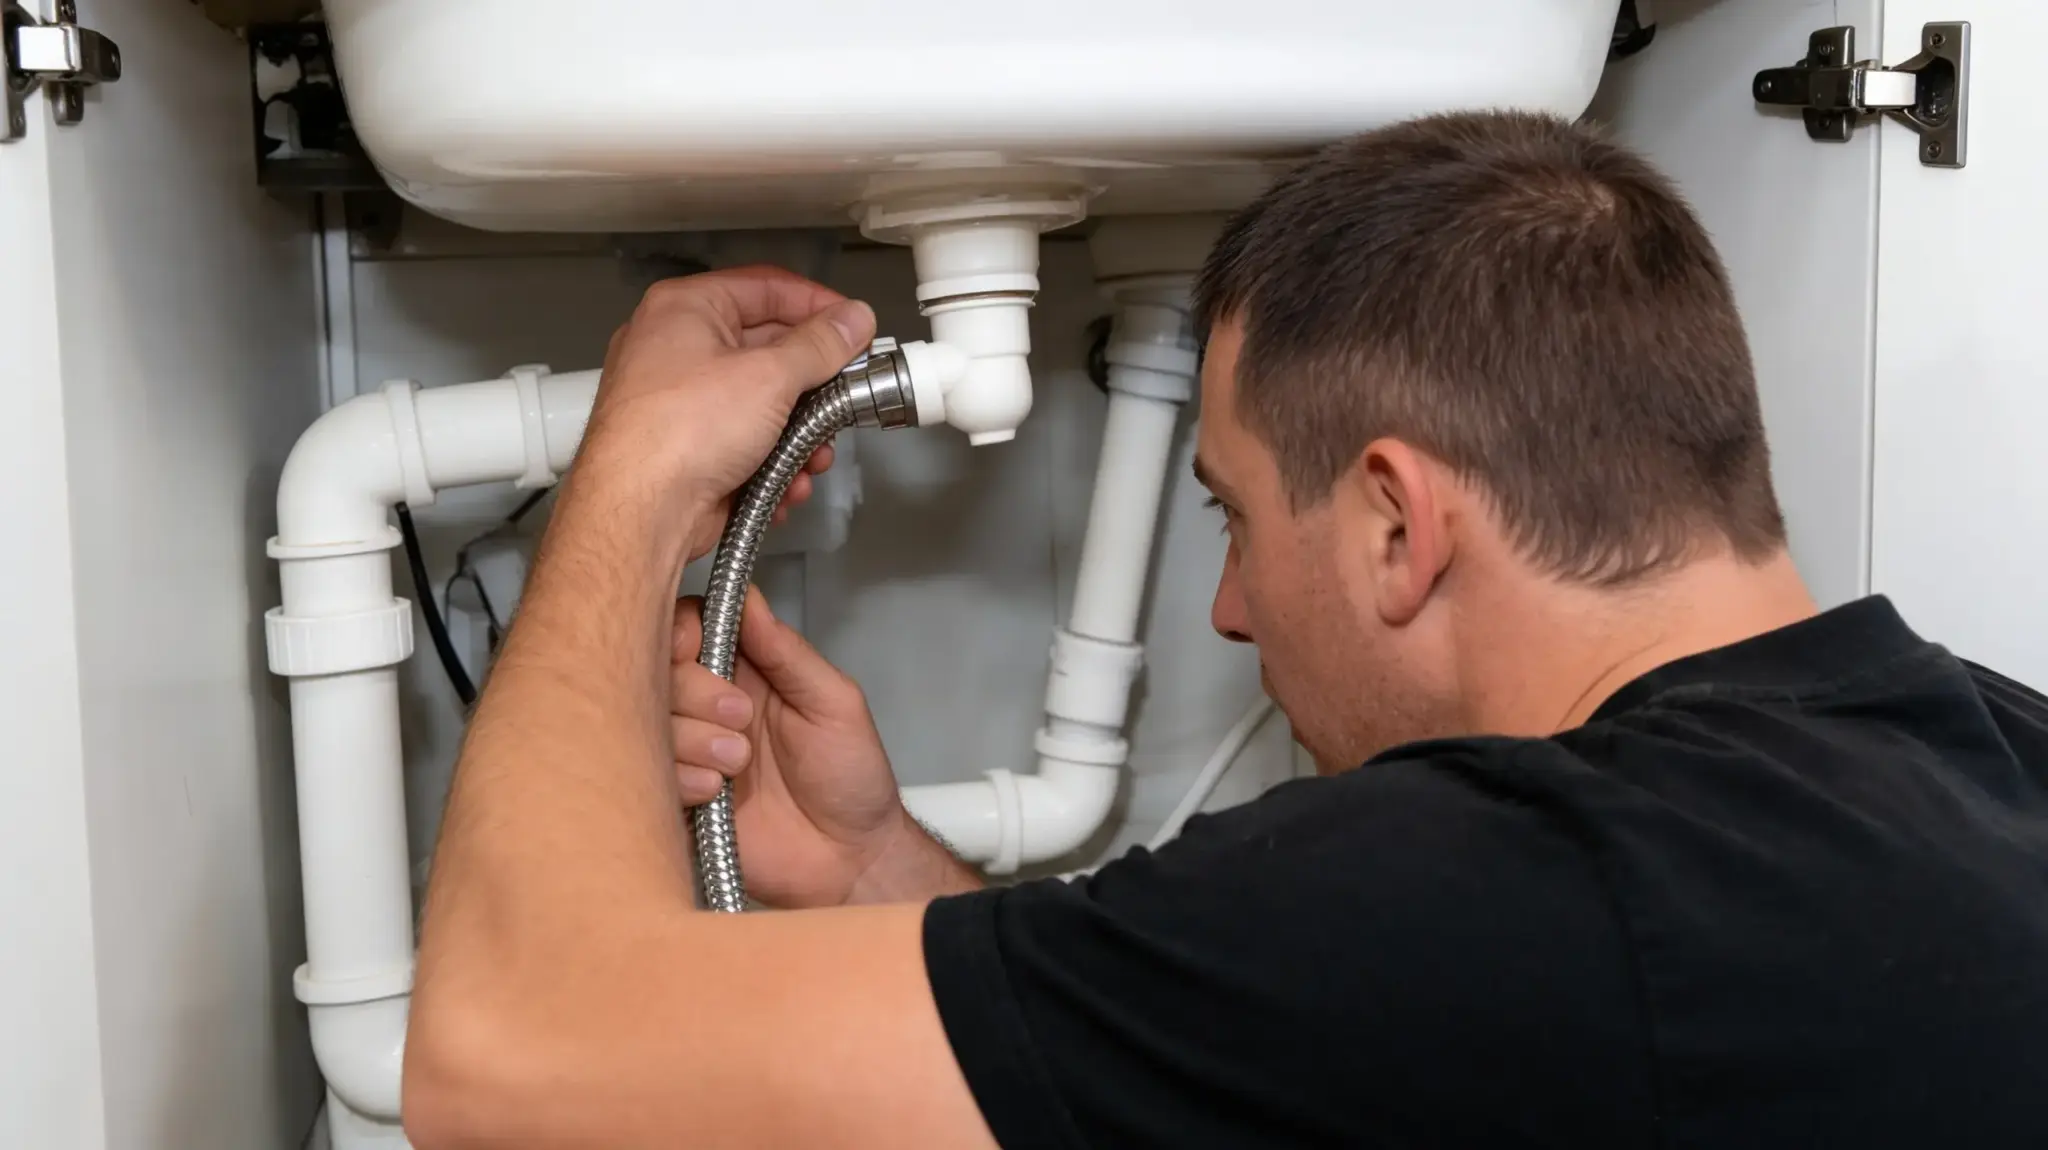
With the old faucet out and the deck cleaned, here’s how to get the new one seated the first time correctly.
Step 1: Inspect and Prepare the New Faucet Components
Unbox everything and lay parts in order of use.
Check that rubber gaskets are seated correctly on the faucet base, not twisted or folded.
Confirm the cartridge or valve is oriented per the included diagram, since some manufacturers ship them pre-rotated for shipping protection.
Step 2: Feed Lines Through and Seat the Faucet Base
Guide the flexible supply tubes through sink holes, keeping them untangled and straight to prevent kinks.
If using an escutcheon plate, slide it down the lines before the faucet body, then press the whole assembly flush against the sink, checking it sits level.
Step 3: Attach the Handle and Spout Assembly
If the handle ships separately, slide it onto the cartridge stem and secure it with the small Allen screw or set screw.
Confirm the handle moves freely through its range before final tightening, as a stiff handle indicates misalignment.
Step 4: Install the Drain Linkage and Faucet Accessories
Thread the pop-up rod through the faucet body if it’s a connected system, aligning the linkage so the stopper seals evenly when closed. Screw the aerator into the spout tip by hand, snugging gently with cloth-wrapped pliers.
For pull-down faucets, clip the spray head’s weight onto the hose so it retracts smoothly.
Step 5: Final Tightening and Alignment Check
Once all components are connected, recheck the faucet base for level positioning.
Snug all mounting nuts evenly in a crisscross pattern rather than fully tightening one side first, which prevents the faucet from shifting off-center before the final connections are made.
Connecting Water Supply Lines without Leaks
Thread each supply line onto its matching tailpiece by hand first, ensuring the washer inside sits flat rather than folded. Tighten clockwise until snug, then add a quarter turn with a wrench, no more.
Overtightening crushes washers and causes leaks rather than preventing them.
Check that lines aren’t twisted or stretched tight, since strain on the connection weakens the seal over time
How to Test the New Faucet for Leaks and Flow Issues

Testing isn’t just turning the tap on; leaks and flow problems often reveal themselves only under sustained use.
So give the system a real workout before calling the job done.
- Run water at full blast for a full 60 seconds, both hot and cold
- Switch between temperatures rapidly to test the cartridge under stress
- Press down firmly on the spout to check for base movement or wobble
- Flush the drain stopper open and closed several times to confirm smooth action
- Check the cabinet floor for moisture, not just the pipes themselves
Revisit connections after an hour of use; temperature changes can reveal hidden leaks.
Common Mistakes to Look for When Changing a Bathroom Faucet
Mixing up hot and cold supply lines, reversing the connections entirely.
Forgetting to check the new faucet’s weight limit against thin or fiberglass sink decks. Using too much sealant, which oozes out and traps debris around the base.
Ignoring manufacturer torque specs and overtightening plastic fittings, which crack under pressure over time.
Rushing the leak test instead of monitoring connections over several hours of real use.
Reusing old, brittle supply lines just to save a small cost, only to face a failure weeks later
Replace Shut-Off Valves vs. Supply Lines During Installation
While you’re working underneath, decide which parts deserve an upgrade now rather than later.
| Situation | Replace Shut-Off Valve | Replace Supply Line |
|---|---|---|
| The valve handle is loose or spins freely | Yes | Not required |
| The valve won’t fully stop the water flow | Yes | Not required |
| Visible corrosion or mineral buildup on the valve body | Yes | Optional |
| Line feels stiff or shows discoloration | Not required | Yes |
| Line is the original compression-style, not braided | Optional | Recommended |
| Both parts are less than 3 years old | No | No |
| Valve type doesn’t match the new faucet’s connector size | Yes | Check fit first |
Final Checks for Ensuring Long-Term Leak-Free Performance
A faucet passing initial tests may still develop issues; long-term habits separate temporary fixes from lasting ones.
- Mark the install date somewhere accessible, so future maintenance has a clear reference point.
- Re-tighten the mounting nuts lightly after the first month, as the sealant and gaskets settle slightly.
- Keep the cabinet doors slightly open for a day after installation to let any trapped moisture evaporate.
- Note the faucet brand and model number somewhere handy for future replacement-part orders.
- Schedule a seasonal check during routine bathroom cleaning rather than waiting for visible signs of trouble.
Maintenance Tips for Working Smoothly for Years
Clean the aerator every few months by unscrewing and rinsing out mineral deposits.
Wipe down the faucet body regularly with a non-abrasive cloth to prevent water spotting and finish wear.
Avoid hanging wet washcloths directly on the spout, which accelerates corrosion at contact points. In hard-water areas, a monthly vinegar soak of the aerator keeps the flow consistent and extends the cartridge’s service life.
Sum Up!
A leaky, dated faucet can make an entire bathroom feel neglected, even when everything else is spotless.
Swapping it out fixes more than the drip; it changes how the whole space feels every time you turn on the tap.
Now that you’ve seen exactly how to replace a bathroom faucet, from shutting off the valves to that final leak check an hour later, there’s no real reason to put it off or pay someone else to do twenty minutes of wrench work.
Grab your tools, set aside an afternoon, and get it done right the first time.
Frequently Asked Questions (FAQ’s)
1. How Long Does It Take to Replace a Bathroom Faucet?
Most installations take 1-2 hours, depending on corrosion and cabinet space underneath the sink.
2. Do I Need to Turn Off the Main Water Valve?
No, just the two shutoff valves under the sink are enough.
3. Can Any Faucet Fit My Existing Sink?
No, hole spacing and configuration must match before buying a new faucet.
4. Is Plumber’s Putty or Silicone Better for Sealing?
Depends on the faucet; check the manufacturer’s instructions, since both vary by base material.
5. Why Does My New Faucet Still Leak After Installation?
Usually loose mounting nuts, a folded washer, or incomplete sealant coverage underneath.