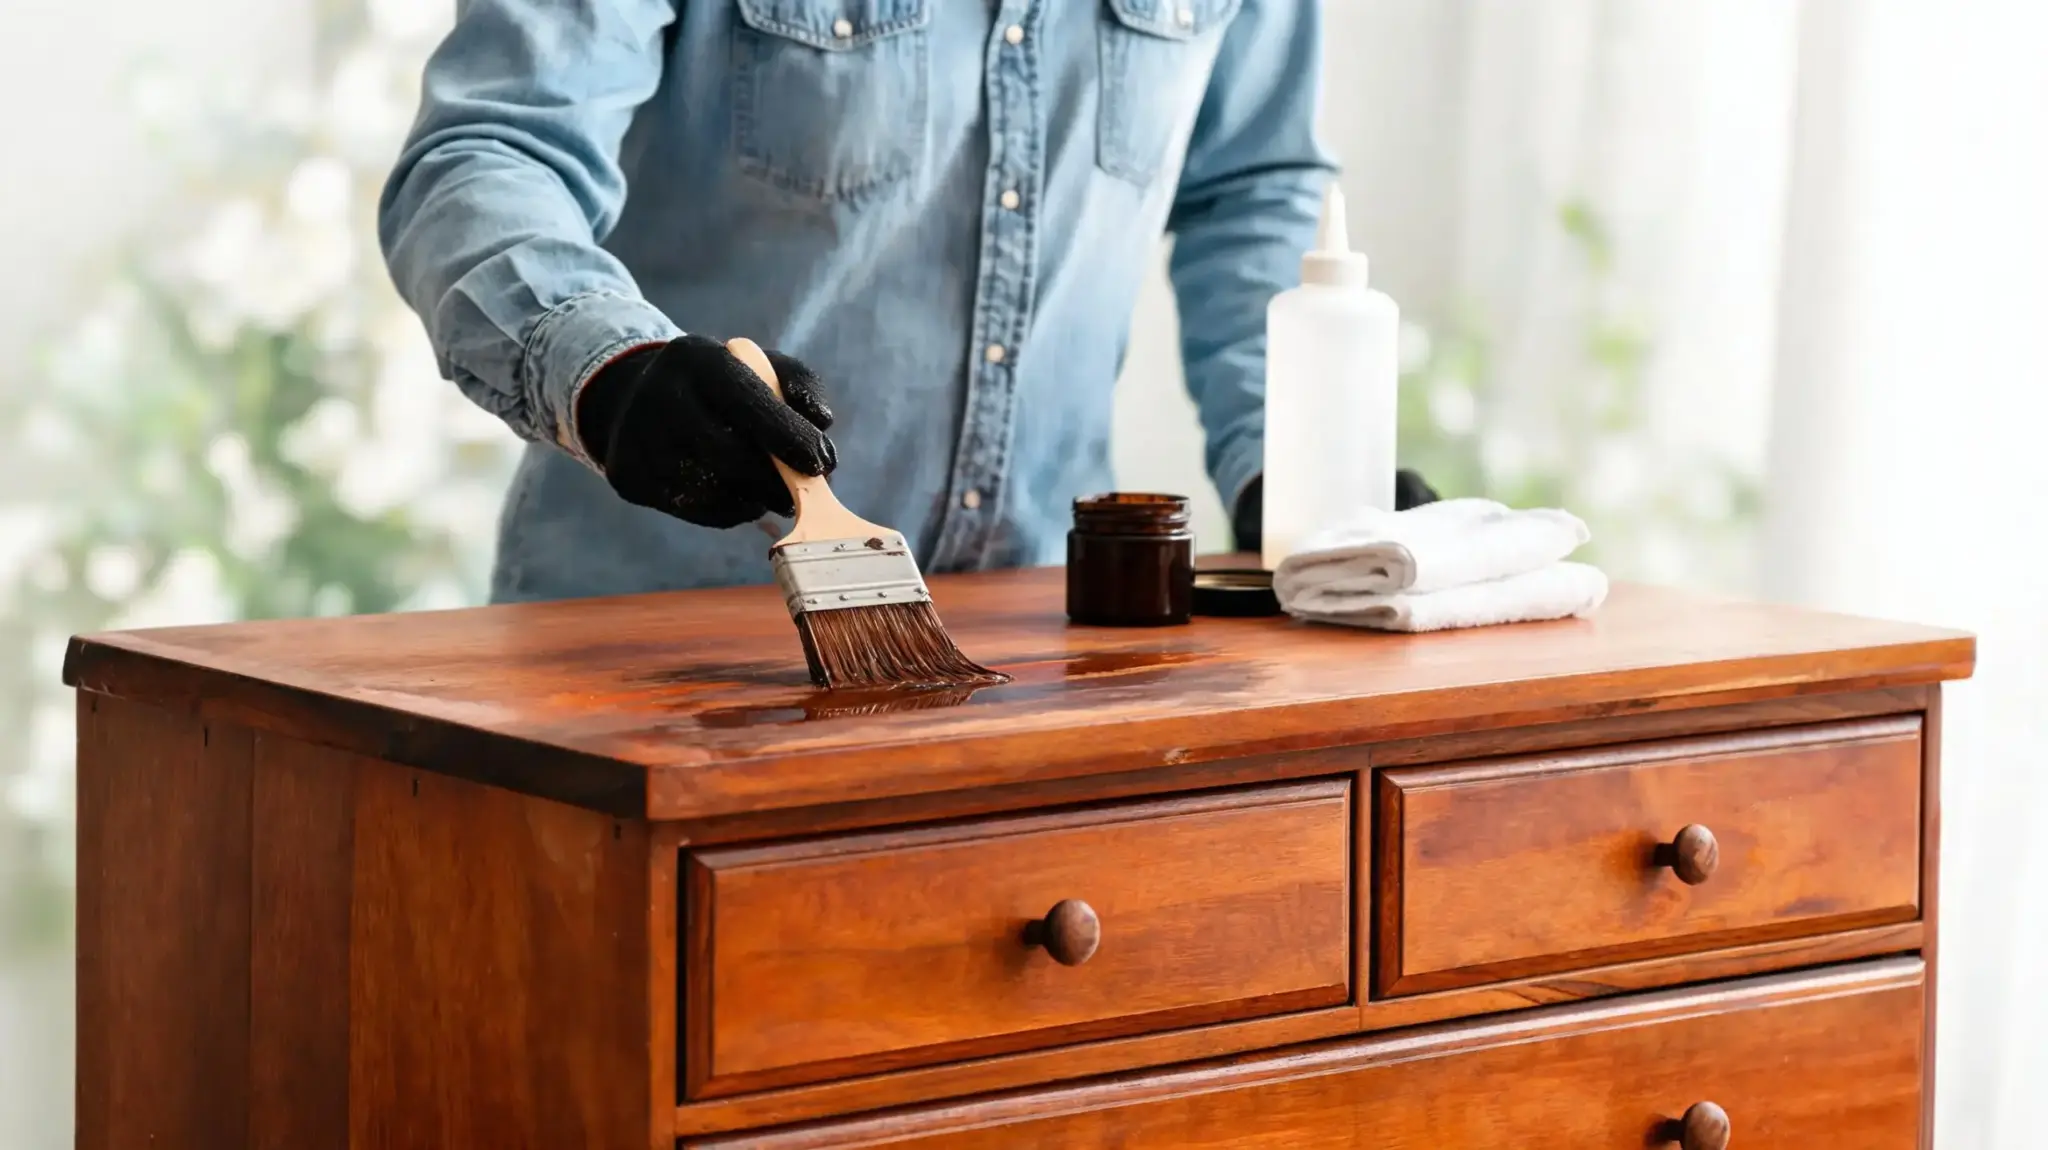
The dresser in your garage isn’t trash; it’s one weekend away from being the best piece in your house.
Maybe it’s scratched, faded, or buried under three coats of old varnish nobody loved anymore.
Bringing it back doesn’t take experienced tricks or tools; it takes cleaning, sanding, color work, and sealing, done in the right order. Skip a step, and you’ll see it later, usually as a blotchy color or a tacky top coat that won’t cure.
Stick with this blog, learn how to refinish wood furniture, and that “maybe someday” piece becomes the spotlight.
Is Your Wood Furniture a Good Prospect for Refinishing?
Solid wood holds up to sanding and stripping; veneer often doesn’t, and a few aggressive passes can wear straight through to the plywood underneath. Check the joints, too.
Loose legs or wobbly drawers signal structural issues no amount of staining will fix.
Look at the wood itself: deep gouges, water damage, or rot are deal-breakers; surface scratches and dullness aren’t.
If it’s sentimental, solidly built, and structurally sound, it’s worth the time.
If it’s falling apart at the frame, replacing it might save you the headache.
Decide Your Path: Most People Skip This Decision Entirely
Before grabbing sandpaper, figure out what you’re actually dealing with.
The finish on top determines whether you need heavy tools or a light touch.
- Shellac finish: often revivable with a denatured alcohol wipe, no stripping required.
- Lacquer or varnish with light wear usually just needs sanding.
- Polyurethane or multiple old coats typically require full stripping.
- Carved legs, moldings, or detailed trim: stripping beats sanding here, since sandpaper can’t reach into grooves.
Test a hidden spot with alcohol first. If the finish softens and wipes away, you’ve likely got shellac, and you just saved yourself a weekend.
Practical Advice from People Who Have Already Refinished Wood Furniture

Real refinishers say don’t rush this.
One Reddit user’s dad put it best: people refinish furniture for the process, not to save money.
Expect three to four straight days of work, not counting drying time.
Disassemble the pieces first, then pull the hardware, drawers, and removable parts. Work in small sections with the stripper, not the whole piece at once. Leftover finish after stripping isn’t a failure; light sanding takes care of it.
Never use water-based stain after steel wool, since it’ll rust on the wood.
Use an orbital sander on flat surfaces, sanding sponges for curves, and sandpaper blocks for tight corners.
Step-By-Step Process: How to Refinish Wood Furniture
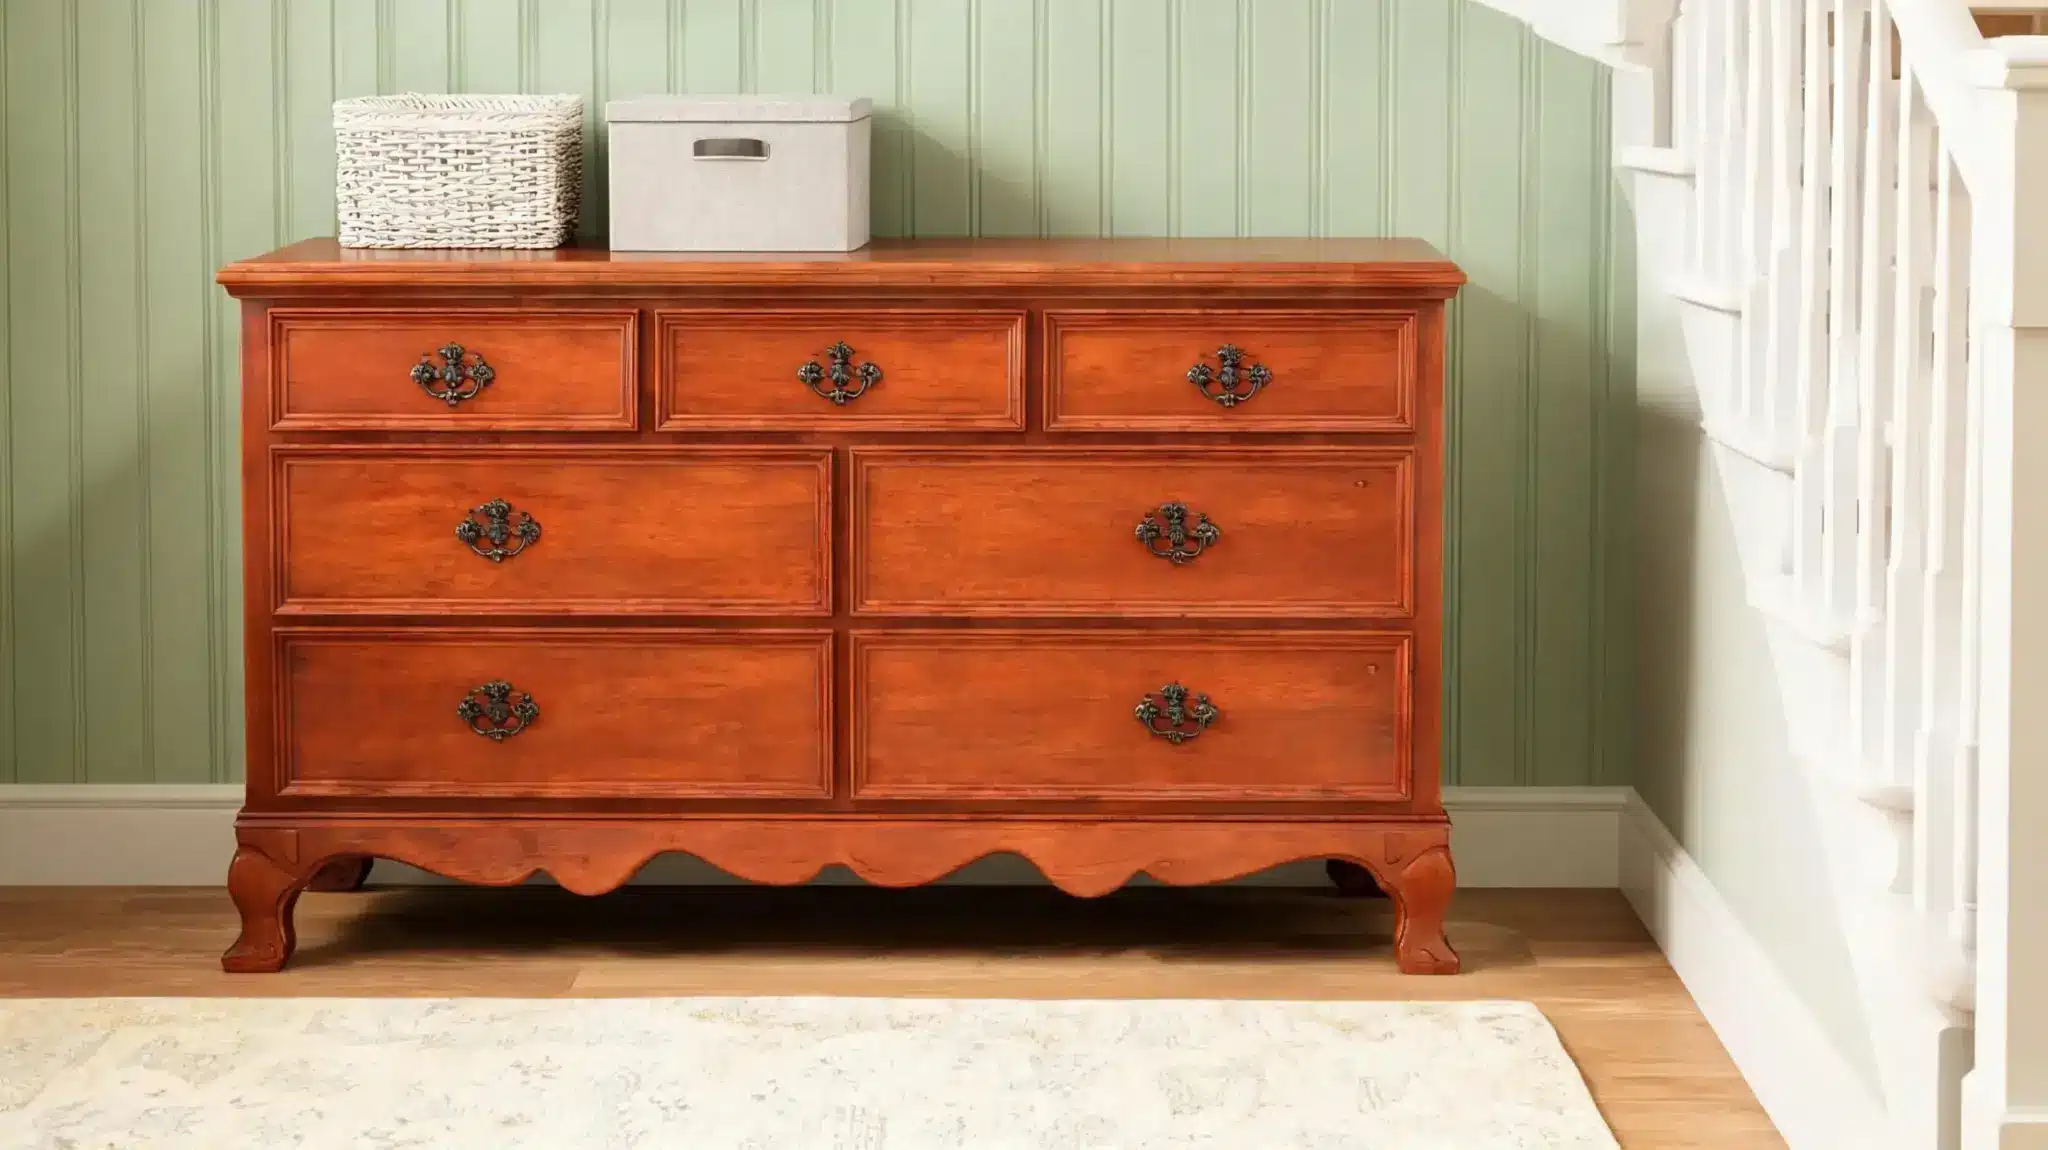
Here’s the full step-by-step process, broken into a few manageable stages from cleaning to final seal.
Step 1: Clean the Furniture Thoroughly Before Sanding
Grease, wax, and grime sit on top of the old finish, and sanding over them just clogs your paper.
Wipe everything down with a degreaser or mild soap-water mix, then dry completely.
Pay attention to grooves and joints where dust collects. Skipping this step means dirt gets pressed into the wood during sanding, leaving faint marks that show up after staining.
Step 2: Remove the Old Finish (Sand or Strip?)
Apply your chosen method based on the finish type you identified earlier.
For stripping, brush on remover, let it sit until it bubbles, then scrape gently with a plastic tool. For sanding, start with coarser paper and work the entire surface evenly.
Either way, work in one section at a time so the product doesn’t dry out before you’re done.
Step 3: Repair Imperfections Before Refinishing
Fill scratches, gouges, and nail holes with wood filler, pressing it in firmly to avoid air pockets beneath the surface.
Let it cure fully before sanding flush.
Tighten loose joints with wood glue and clamp them as they dry. Doing repairs now means the stain absorbs evenly later, rather than pooling unevenly across patched and unpatched areas.
Step 4: Sand the Surface Smooth Without Damaging the Wood
Move through grits in order, never skipping ahead, finishing around 220-grit for a smooth surface.
Always sand with the grain on tabletops to avoid cross-grain scratches that are visible under stain.
Apply light, even pressure; pressing too hard creates uneven low spots that catch light differently once finished.
Step 5: Prepare the Wood for an Even Finish
Wipe the entire surface with a tack cloth or slightly damp rag to lift remaining dust.
For blotch-prone woods, apply a pre-stain conditioner as directed. It helps control stain absorption, preventing patchy, uneven results that spoil a careful sanding job.
Step 6: How to Stain Wood for a Beautiful, Even Color
Apply stain with a brush or rag, working with the grain in manageable sections.
Wipe off excess after a few minutes rather than letting it sit, unless you want a deeper tone. Let each coat dry fully before deciding if you need another. Patience here determines whether the color looks rich or muddy.
Step 7: Seal and Protect the New Finish
Apply a thin, even topcoat once the stain has fully dried, brushing in long, smooth strokes without going back over wet areas. Let it cure, then lightly scuff-sand between coats for better adhesion.
Two to three coats typically give lasting protection. Let the final coat cure fully before using the piece daily.
How Different Types of Wood Affect the Refinishing Process
Wood species behave differently under stain and finish. Here’s what to expect from common types.
| Wood Type | Refinishing Behavior |
|---|---|
| Oak | Open grain holds stain well; pores can show texture |
| Pine | Soft and blotch-prone; needs conditioner before staining |
| Maple | Dense and smooth; resists stain absorption, looks blotchy without prep |
| Cherry | Darkens naturally with age; stain shifts tone over time |
| Walnut | Naturally rich color; often needs little to no stain |
| Birch | Tight grain similar to maple; prone to uneven blotching |
| Mahogany | Takes stain evenly; classic choice for deep, dark finishes |
Quick Fixes for Common Refinishing Problems
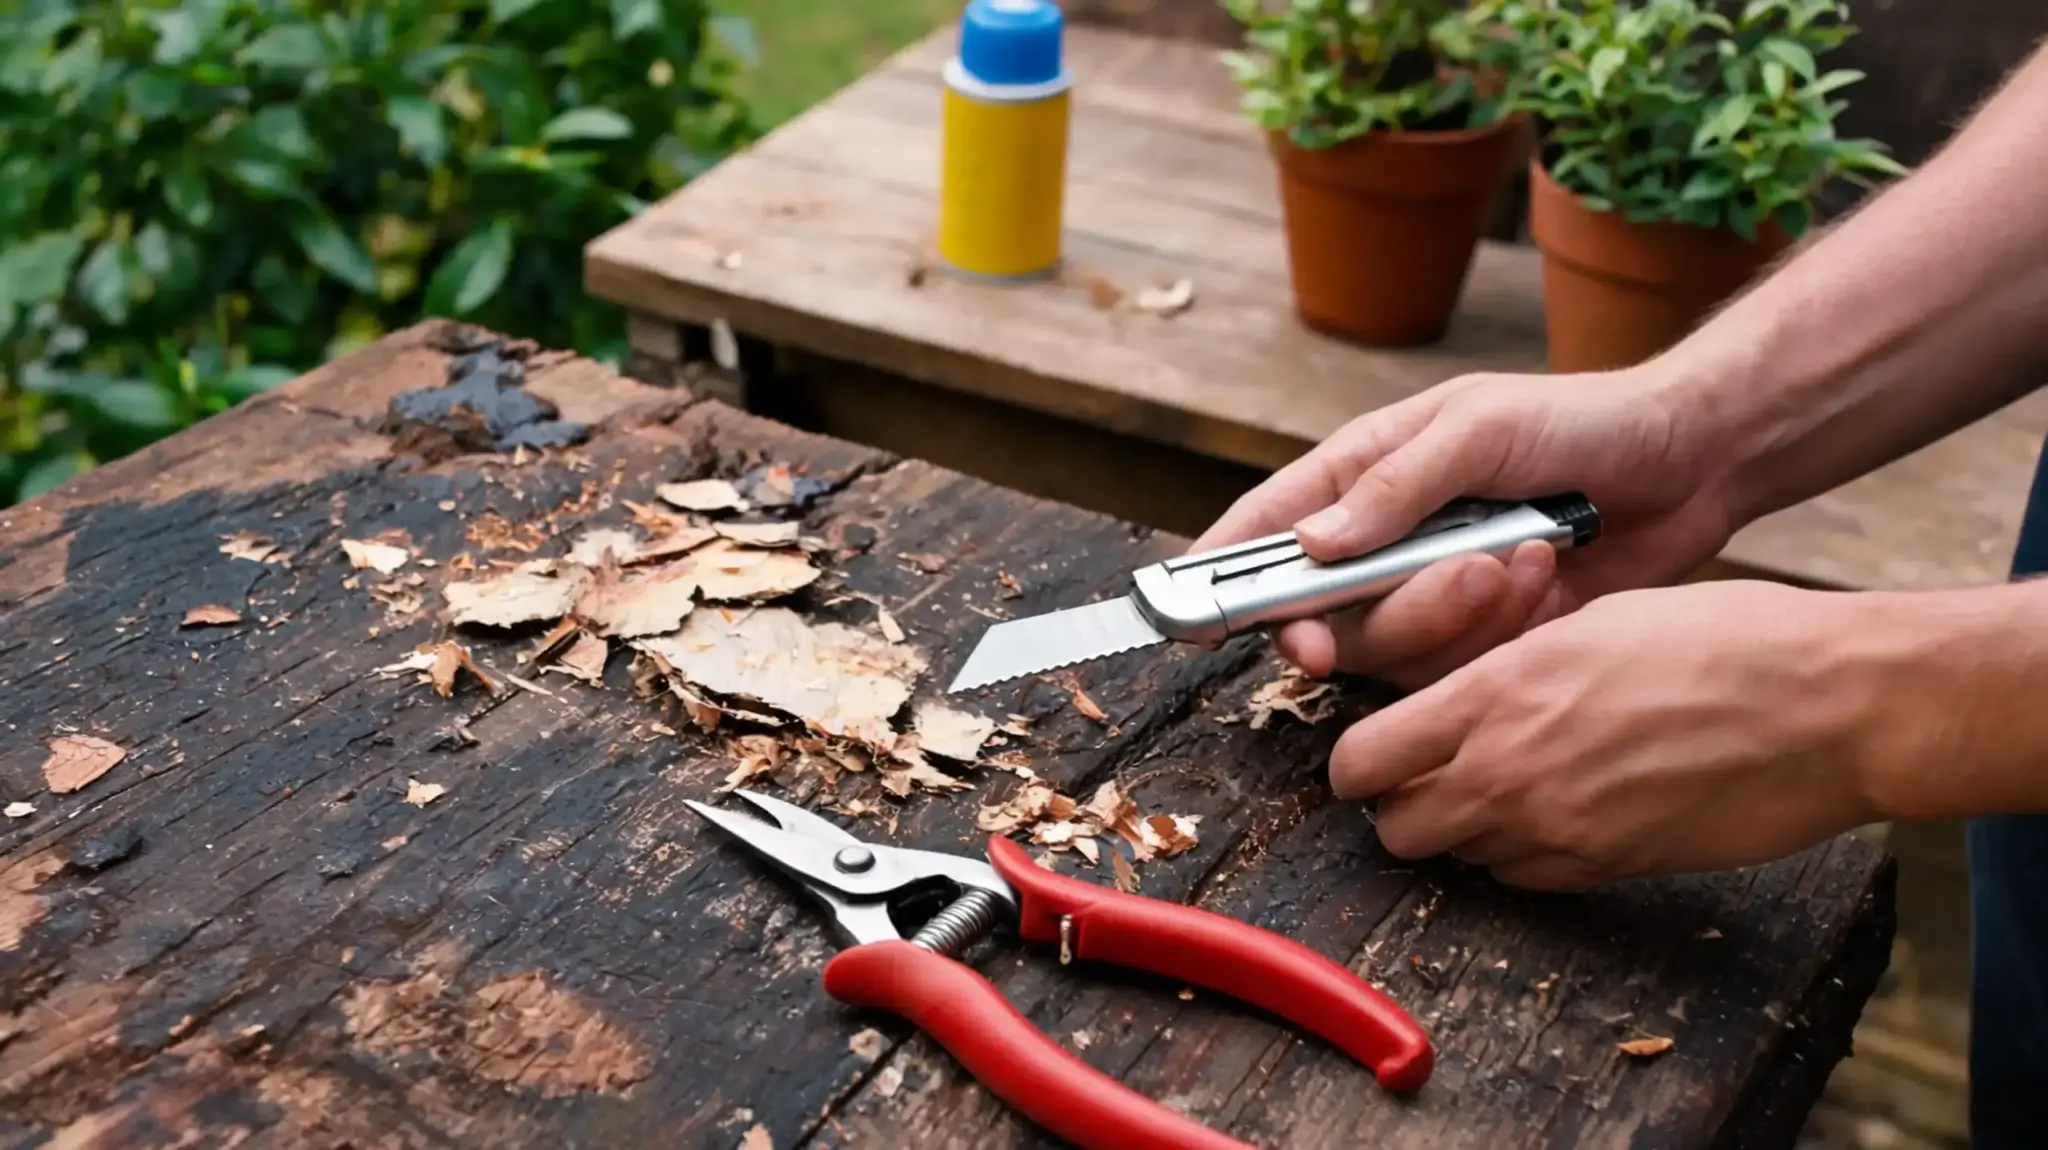
Even careful work hits snags mid-project; here are fast fixes for the most common ones.
1. Blotchy or patchy stain color: This usually means the wood absorbed unevenly. Sand lightly, wipe clean, and apply a thin stain coat over the patchy spots to blend them before the final coat goes on.
2. Finish stays tacky for days: High humidity or rushing between coats traps moisture underneath.
Move the piece to a drier spot, wait longer, and resist touching it until it firms up completely.
4. Visible brush strokes in topcoat: Over-brushing or a too-thick coat causes this.
Lightly sand the dried surface with fine-grit paper, then reapply a thinner coat using long, even strokes.
5. Stain color looks lighter than expected: The wood may have absorbed less than anticipated, or excess was wiped too soon. Add another thin coat, letting it sit a few extra minutes before wiping.
How to Refinish Wood Furniture without Stripping the Existing Finish
Sometimes the existing finish just needs reviving, not removing. Here’s how to skip stripping entirely.
- Clean thoroughly with mineral spirits to remove buildup that is hiding beneath the dullness.
- Test a hidden spot with denatured alcohol to confirm the finish will respond.
- Apply a wipe-on revival product or thinned shellac in light, even coats.
- Buff gently with a soft cloth once it’s tacky, not fully dry.
- Add a fresh coat of wax or polish to lock in the restored shine.
- Skip this method on deeply cracked, peeling, or alligatored finishes; they need full removal.
Timeline and Cost to Refinish Wood Furniture: DIY vs. Professional?
Here’s how DIY and professional refinishing compare in terms of time, cost, and effort.
| Factor | DIY | Professional |
|---|---|---|
| Time | 3-5 days | 1-2 weeks |
| Cost (small piece) | $30-$60 | $150-$300 |
| Cost (large piece) | $50-$100 | $300-$600+ |
| Skill needed | Beginner-friendly | None—done for you |
| Control | Full creative control | Limited input |
| Best for | Hobbyists, budget projects | Antiques, time-strapped owners |
Maintaining Your Finished Piece so You Don’t Have to Redo This
A fresh finish needs a break-in period. Avoid heavy use for the first week, since the topcoat is still hardening underneath the surface. Use coasters and placemats early on, even after it feels dry to the touch.
Dust regularly with a soft, dry cloth rather than letting grime build up.
Skip ammonia-based or harsh chemical cleaners, as they can dull or strip certain finishes over time.
Reapply furniture wax or polish every few months and wipe spills immediately to prevent seepage.
Wrap Up!
Refinishing isn’t about rushing; it’s about giving an old piece the patience it needs.
Clean surfaces, careful repairs, even sanding, and properly cured coats separate a piece that lasts decades from one that needs redoing next year. You now know how to refinish wood furniture from start to finish.
Troubleshoot the messy parts and decide when a piece deserves the effort.
Grab your tools, pick a piece, and start small if you’re nervous. The results speak louder than any blog ever could.
Frequently Asked Questions (FAQ’s)
1. How Long Does it take to Refinish a Piece of Furniture?
Three to five days for most projects, plus drying and curing time between coats.
2. Do I Need to Strip Old Finish Before Staining?
Not always, shellac often revives with alcohol, but polyurethane usually needs full stripping.
3. Why Did My Stain Come out Blotchy?
Uneven absorption, usually from skipping a pre-stain conditioner on blotch-prone wood like pine.
4. Can I Refinish Veneer Furniture the Same Way as Solid Wood?
Carefully aggressive sanding wears through veneer fast, exposing the plywood underneath.
5. How Soon Can I Use Furniture After Refinishing?
Wait at least a week; the topcoat needs time to fully cure, not just dry.