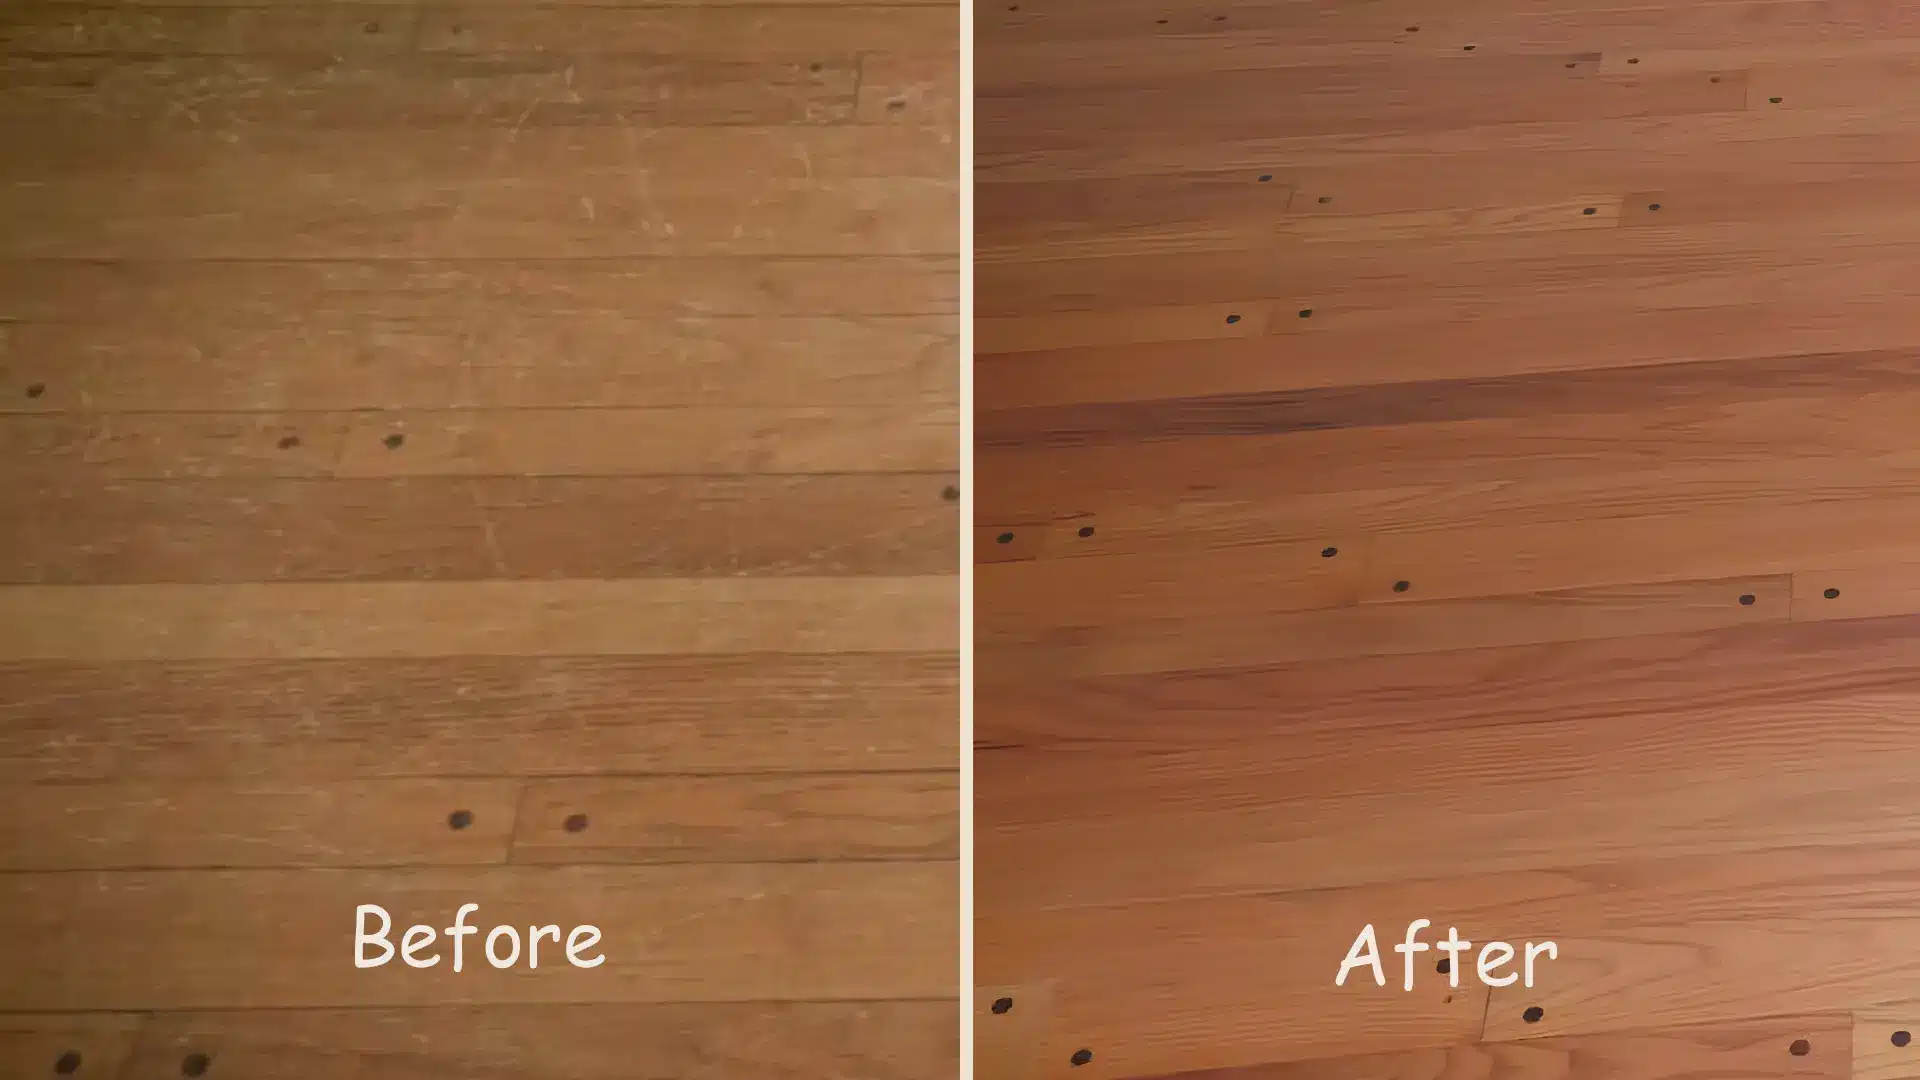
Your hardwood floors have seen scuffs, spills, and years of foot traffic. That shine will not fix itself.
Knowing how to refinish hardwood floors can bring those tired boards back to life. It costs less than ripping everything out and starting fresh.
The process sounds tricky, but it breaks down into simple steps. You sand off the old layer, then seal it with a fresh finish. Your tools matter. Your timing matters. Patience matters most of all.
Skip a step, and the results will show fast. This walks you through prep, sanding, and the final coat, start to finish.
What Happens to Hardwood Floors as They Age
Hardwood floors change a lot over the years, even with regular care. Sunlight slowly fades, shifting the color of the wood across different areas.
Furniture and daily foot traffic wear down the finish faster in high-traffic spots. Moisture and temperature swings cause the wood to expand and contract throughout the seasons.
These changes are not damage, just signs of a floor that has lived through real life. Older floors often need a different care routine than newer ones do.
The finish wears thinner, the wood grows more sensitive, and quick fixes stop working as well. Understanding these shifts helps you care for aging hardwood the right way going forward.
Refinishing vs. Recoating vs. Resurfacing
Not all floor treatments are the same, and choosing the wrong one can cost you time and money.
| Treatment | What It Does | Best For | Sanding Required | Average Cost | Time to Complete |
|---|---|---|---|---|---|
| Recoating | Adds a fresh layer of finish over the existing one | Dull floors with no visible damage | No | $1–$3 per sq ft | 1 day |
| Resurfacing | Light sanding to remove the top finish layer only | Minor surface scratches and uneven sheen | Light | $3–$5 per sq ft | 1–2 days |
| Refinishing | Sands down to bare wood and applies a completely new finish | Deep scratches, stains, gouges, or heavy wear | Full sand-down | $3–$8 per sq ft | 3–5 days |
If your floors look dull but the wood is intact, a recoat may be all you need. Deep scratches, pet stains, or a worn-through finish are clear signs that a full refinish is the right call.
Tools and Materials You’ll Need for Refinishing
You can rent the heavy equipment from most home centers or hardwood flooring specialty stores. Here is everything you need before you start.
- Drum Sander
- Edging Sander
- Floor Maintainer with Sanding Screen
- Random Orbit Sander
- Carbide Scraper
- Sandpaper (36, 60, 100, 220 grit)
- Wood Putty
- Polyurethane Finish
- Brush and Pad Applicator
- Tack Cloth and Plastic Sheeting
Most rental shops will advise on how many sander belts to grab based on your square footage.
How to Refinish Hardwood Floors: Step-by-Step Process
Refinishing hardwood floors is a weekend project you can handle yourself with the right rental equipment. Most home centers and hardwood flooring specialty stores carry everything you need.
Here is exactly how to do it.
Step 1: Prepare the Room

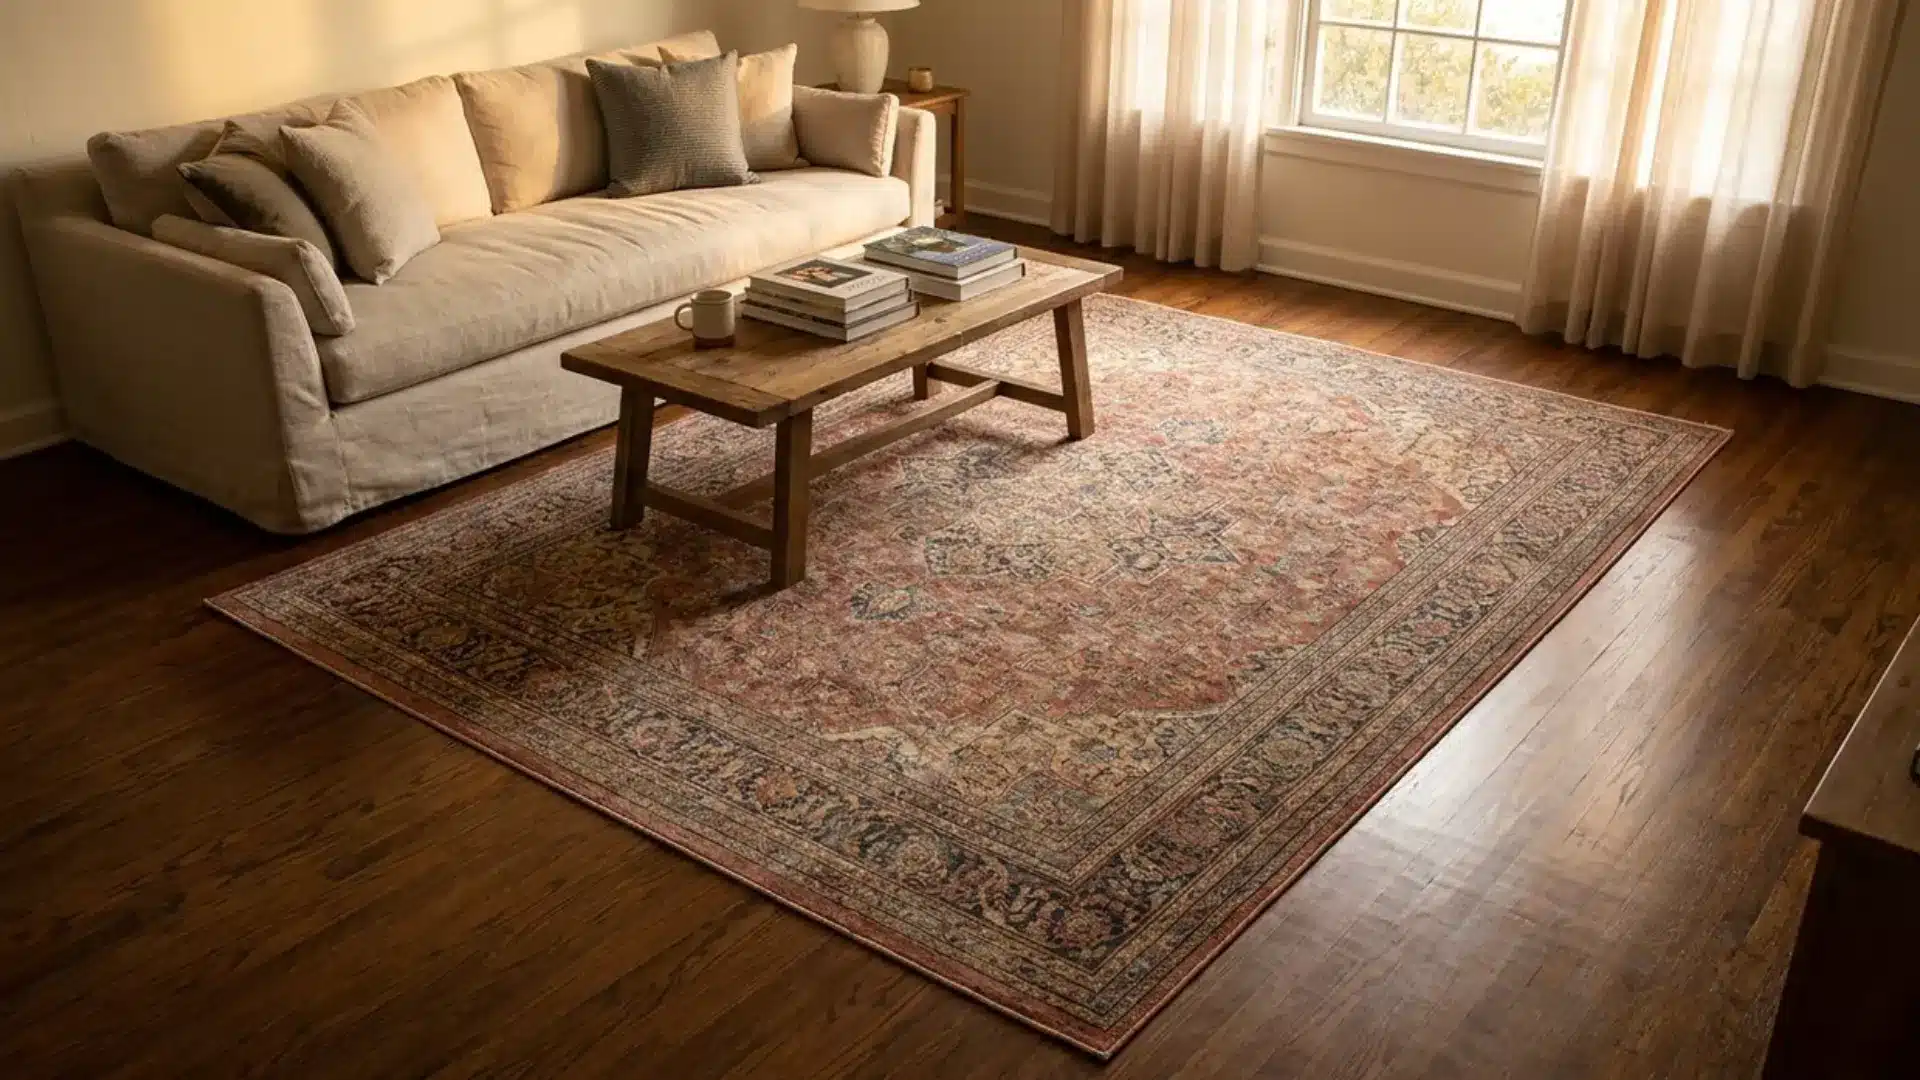
Before any sanding begins, clear the room completely. Remove all furniture, rugs, and anything else on the floor.
Pull off the shoe molding or quarter round along the baseboards so the sander can get as close to the wall as possible.
Put up plastic sheeting to seal the room off from the rest of the house, and set up a box fan in a window blowing outward to push dust out. Cover air vents with plastic once you are ready to apply the finish.
Step 2: Scuff the Floor for a Fresh Coat

If your floor is in decent shape but just looks dull, you can skip the drum sander entirely.
Run a floor maintainer with a sanding screen over the surface to lightly rough up the existing finish. This gives the new coat something to bond to without cutting down into the wood.
If your floor has deep scratches, heavy wear, or a peeling finish, skip this step and go straight to the drum sander in Step 3.
Step 3: Sand the Main Floor Area

Start with a 36-grit belt on the drum sander for the first pass. Work from the center of the room in the direction of the wood grain, then turn around and come back the other way.
Overlap each pass by about 50 percent so you do not leave uneven lines. Once the first pass is done, move up to 60-grit, then finish with 100-grit for a smooth, even surface.
Step 4: Sand the Edges and Corners

Switch to an edging sander to work along the baseboards where the drum sander cannot reach.
Run it around the full perimeter of the room, moving through the same grit progression: 36, 60, then 100.
For the corners where even the edging disc cannot fit, use a carbide scraper to hand-scrape any remaining finish down to bare wood.
Step 5: Clean Up Dust
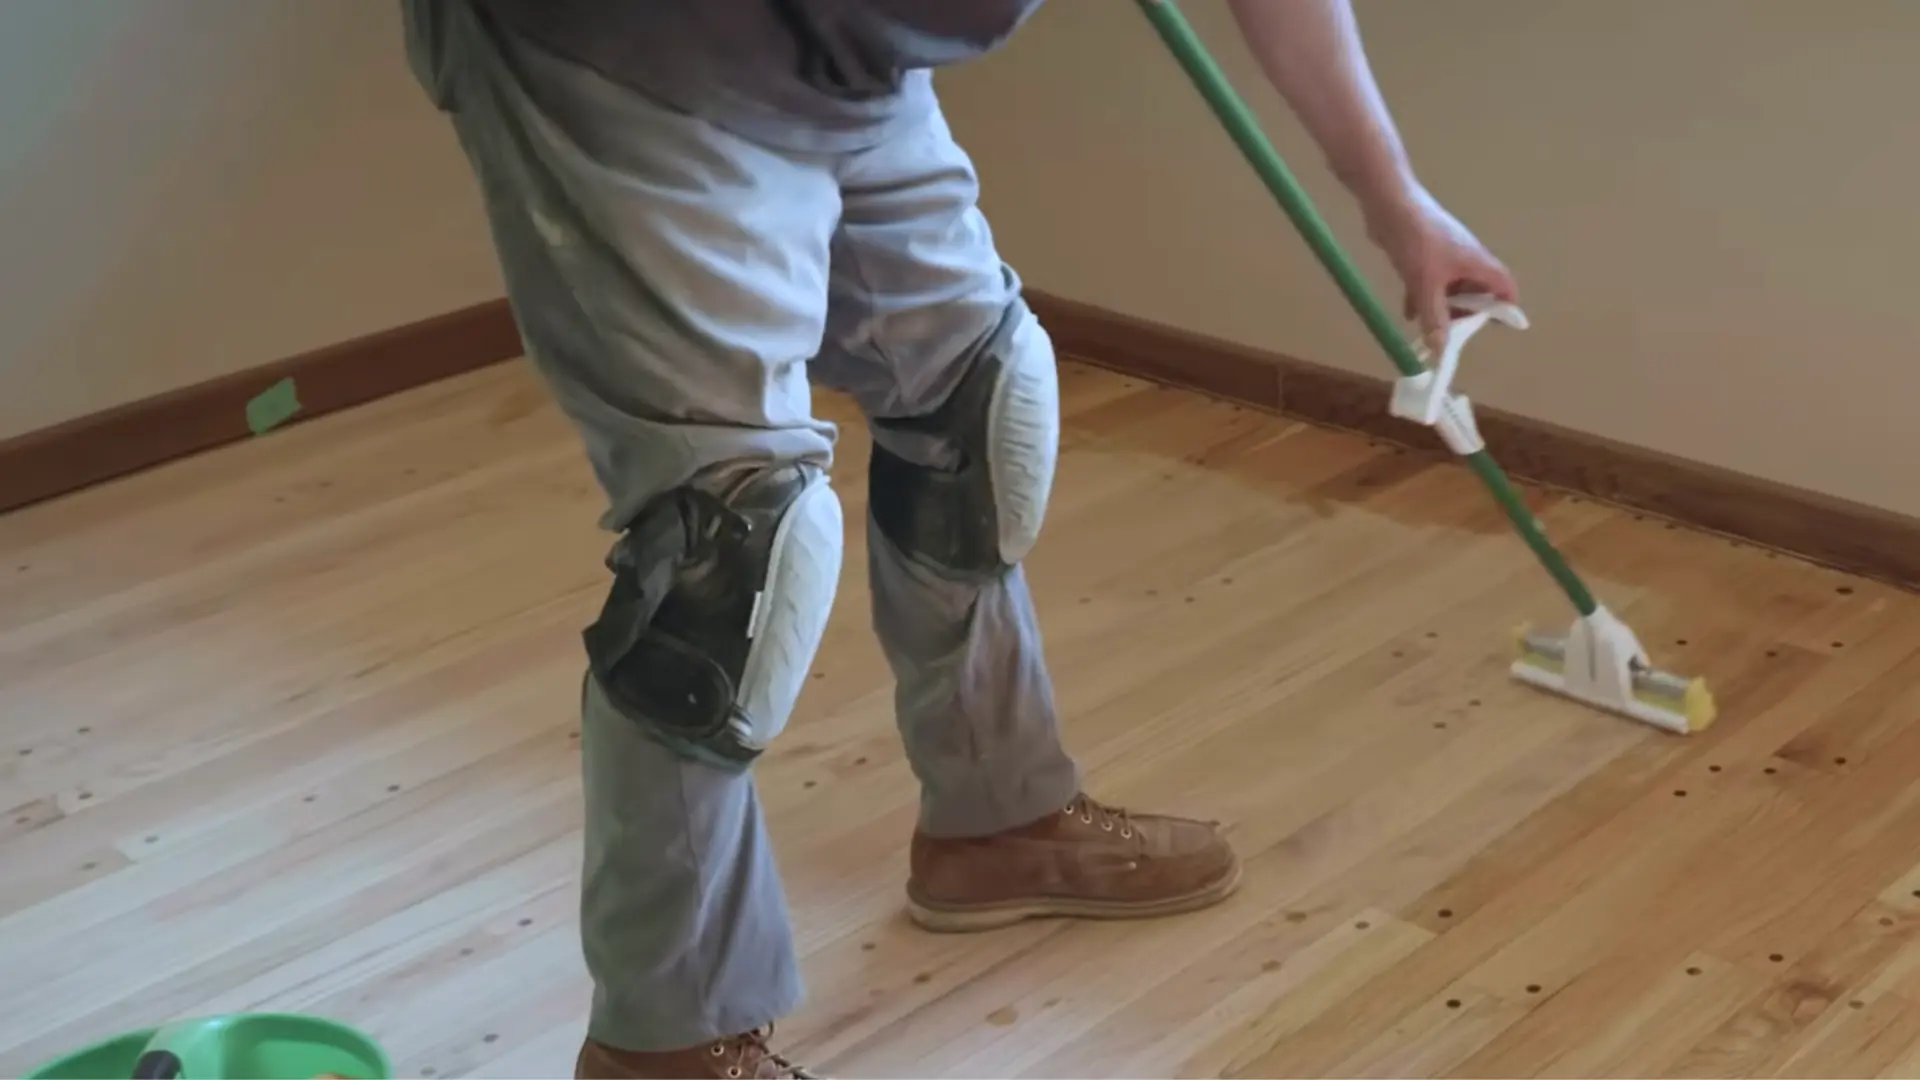
Inspect the floor for larger cracks or gaps between boards. Skip the hairline cracks, but fill any visible gaps with wood putty.
Let it dry completely, then sand the filled areas smooth with a random orbit sander.
Once everything is sanded and filled, damp-mop the entire floor to pick up any remaining dust. Close the windows and cover all air vents before moving on.
Step 6: Apply the First Coat of Polyurethane
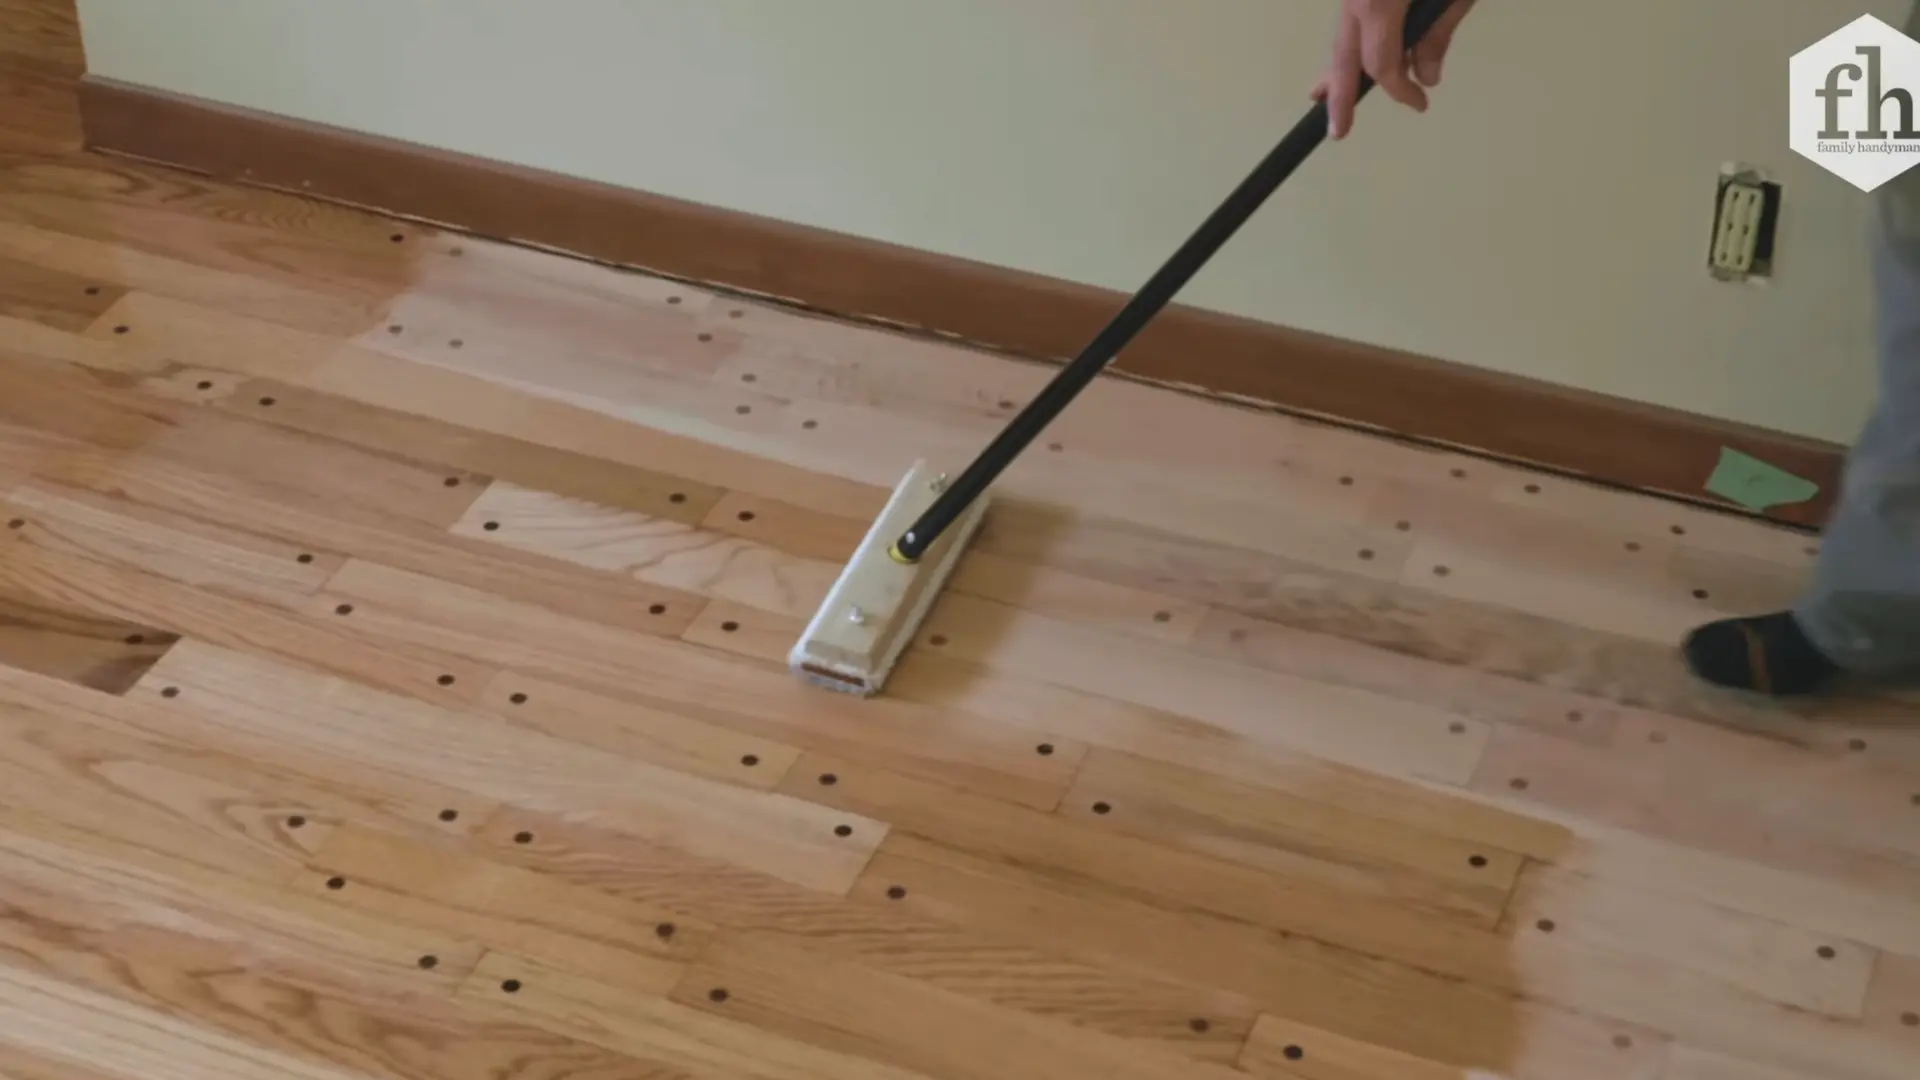
Stir the polyurethane well before opening. Use a brush to cut in along the edges, always moving with the grain.
Then switch to a pad applicator mounted on a pole to quickly cover the rest of the floor.
Work fast and maintain a wet edge as you go so the finish blends smoothly without lap marks. Let the first coat dry overnight.
Step 7: Apply the Final Coats
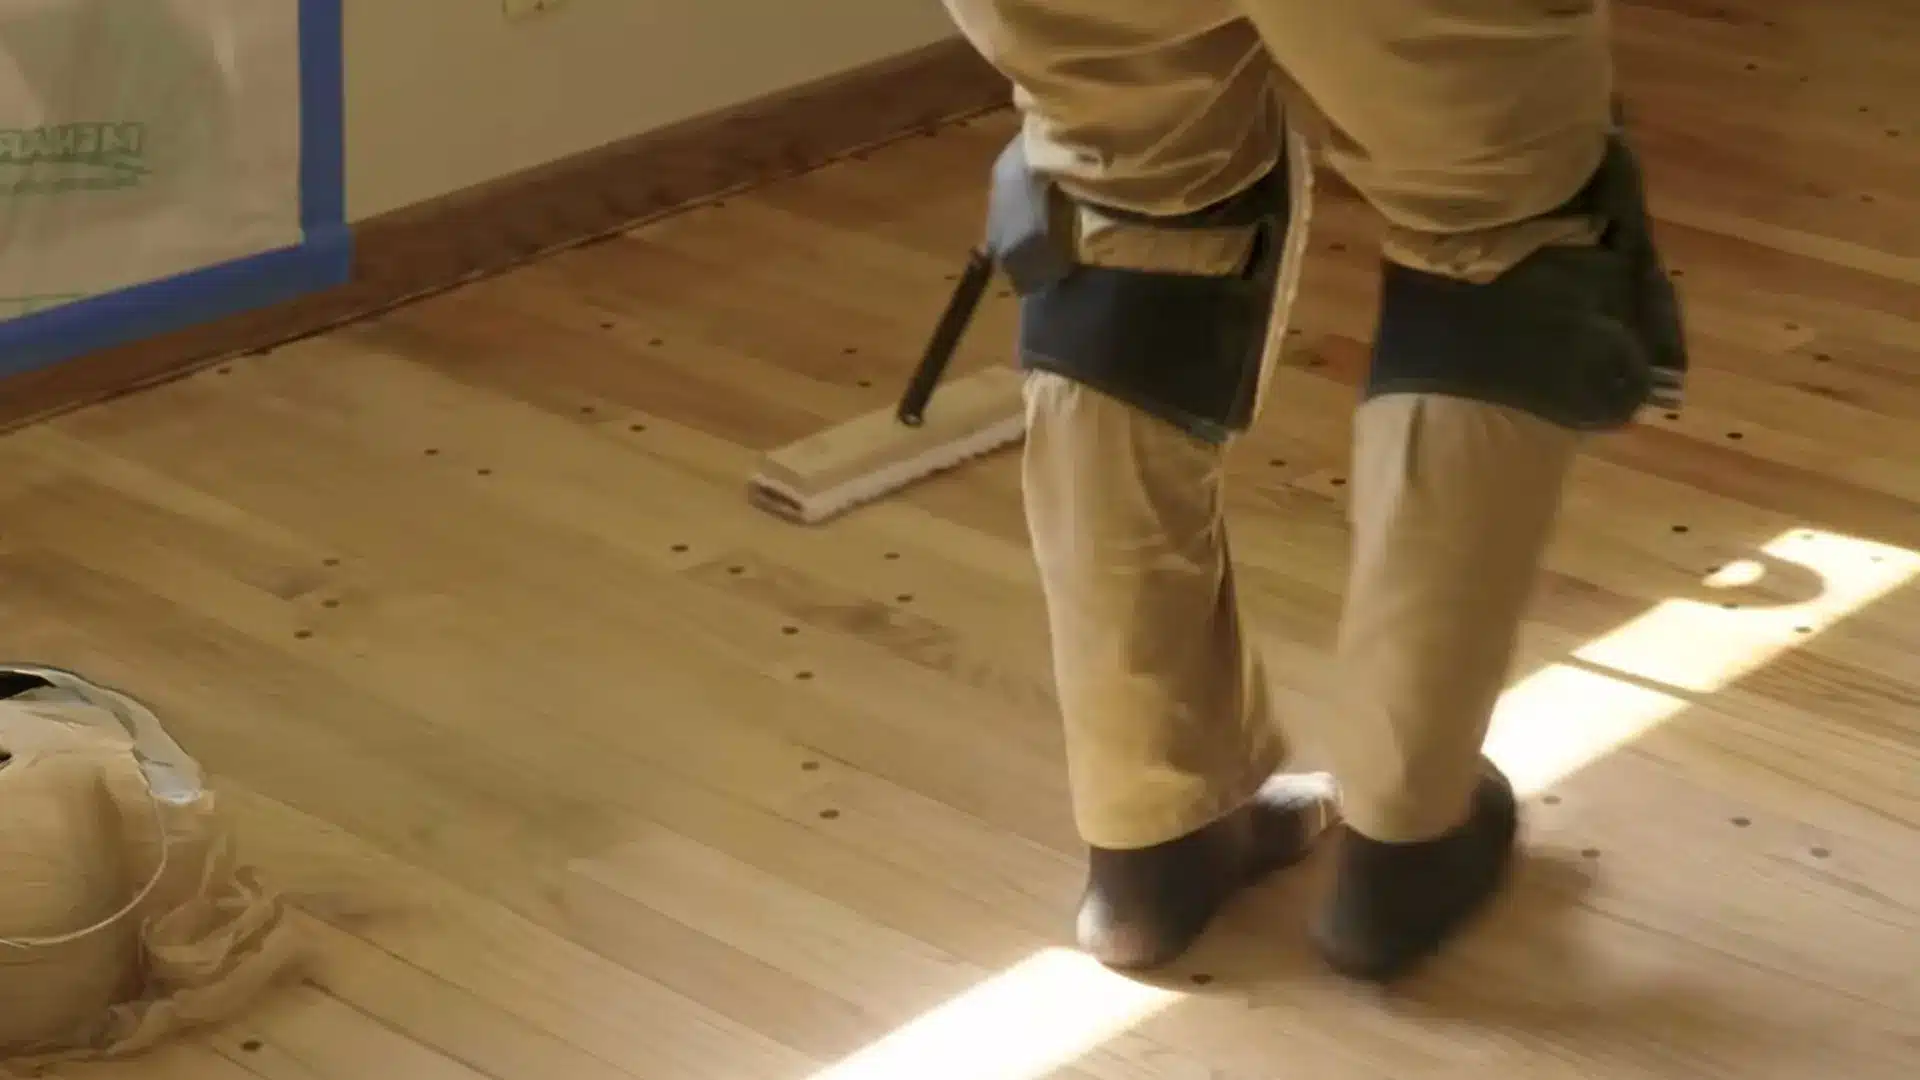
The next morning, lightly scuff the dried first coat with 220-grit sandpaper.
Wipe off all dust with a tack cloth and apply the second coat using the same method. Let that dry overnight, scuff again with 220-grit sandpaper, wipe clean, then apply the third and final coat.
Let the final coat cure for at least two to three days before walking on the floor regularly. Once cured, reattach the quarter round along the baseboards and move furniture back in.
You can watch this video by Family Handyman to better understand the refinishing process.
Choosing the Right Sealing Finish for Hardwood Floors
The finish you choose affects how your floor looks, how durable it is, and how long it takes to dry. The two main options are oil-based and water-based polyurethane.
| Feature | Oil-Based Polyurethane | Water-Based Polyurethane |
|---|---|---|
| Dry Time | 8–12 hours per coat | 2–4 hours per coat |
| Finish Color | Warm amber tone | Clear, no color shift |
| Durability | Very high | High |
| Odor | Strong, needs ventilation | Low odor |
| Coats Needed | 2–3 | 3–4 |
| Cost | Lower | Higher |
In addition to the base type, you will choose a sheen level. Matte and satin are the most popular for homes because they hide everyday scuffs and scratches better than gloss.
Tips for Older or Thinner Floors
Older floors that have already been refinished several times need a more careful approach. Here is what to keep in mind before you start.
- Check Remaining Thickness: Before sanding, inspect the floor’s edge at a vent or stair nosing to see how much wood is left above the tongue. If the gap looks thin, a full sand-down may not be safe.
- Skip the Drum Sander: For floors with very little material left, use a floor maintainer with a sanding screen instead. This scuffs the surface just enough for a new coat to bond without cutting deep into the wood.
- Treat Engineered Hardwood the Same Way: Engineered floors with a thin veneer should never be run through a drum sander. A light scuff with a floor maintainer is the safest approach.
- Consult a Specialist When in Doubt: Oversanding a thin floor can cause irreversible damage. If you are unsure how much wood is left, get a professional opinion before renting any equipment.
Old floors need extra care, but the payoff still beats starting over. The same caution applies if you ever try refinishing wood furniture at home.
Refinishing Hardwood Floors Cost: DIY vs. Professional
The biggest factor in your total cost is whether you do it yourself or hire a pro. Here is how the two options compare.
| Feature | DIY | Professional |
|---|---|---|
| Average Cost | $1–$3 per sq ft | $3–$8 per sq ft |
| Time | 3–5 days | 1–2 days |
| Skill Level | Moderate | N/A |
| Equipment | Rented | Included |
| Finish Quality | Good with care | Consistently high |
| Best For | Budget-conscious homeowners with time | Large areas or floors needing expert repair |
Hiring a pro makes sense when your floors have significant structural damage, you are working with a rare wood species, or you simply do not have the time to commit to a multi-day project.
How to Handle Problem Areas?
Refinishing will address most surface wear, but some problem areas may require extra attention before or during the process.
- Deep Scratches: Fill them with wood putty matching your stain color before the final sanding pass. Wood putty that goes through the finish and into the wood will not fully disappear with sanding alone.
- Pet Stains: Apply wood bleach to the stained board before finishing to lighten the discoloration. Stains that have soaked deep into the wood may leave a dark shadow even after sanding.
- Gaps Between Boards: Fill larger gaps with wood putty, smooth it flush, and sand it down once dry. Do not worry about hairline cracks, as these are normal in older floors.
- Squeaky Boards: Address these before sanding by driving a finish nail or screw through the subfloor into the joist to pull the board tight and stop the movement.
- Uneven Boards: Sand diagonally across problem areas first, then switch back to sanding with the grain. Boards that sit higher or lower than their neighbors can cause the drum sander to skip or leave uneven marks.
Frequently Asked Questions
How Many Times Can Hardwood Floors Be Refinished?
Solid hardwood can typically be refinished five to eight times. Engineered hardwood can only handle one or two sandings due to its thin veneer layer.
Can You Refinish Engineered Hardwood Floors?
Yes, but only if the wear layer is at least 2mm thick. Thinner engineered floors are better suited to recoating rather than a full sand-down.
What Is the Best Finish for Hardwood Floors?
Oil-based polyurethane is the most durable and adds a warm tone. Water-based dries faster and stays clear. Satin sheen is the most practical choice for high-traffic areas.
How Long Should You Stay Off Floors After Refinishing?
Walk on them with socks after 24 hours. Wait 48 to 72 hours before moving furniture back, and avoid rugs for at least two weeks.
Is It Worth Refinishing Old Hardwood Floors?
Yes. Refinishing costs far less than installing new flooring, and solid hardwood can last for generations as long as enough thickness remains for sanding.
Final Words
Refinishing hardwood floors takes effort, but the payoff is worth it. Your floors go from tired and dull to bright and shiny again.
Learning how to refinish hardwood floors gives you a skill you will use for years. Every home with wood floors needs this eventually.
Take your time on each step and skip rushing the drying process. Patience now means fewer headaches later.
Your floors carry the story of your home, scuffs and all. Give them the care they deserve.
Grab your tools, start refinishing, and drop your progress in the comments below.