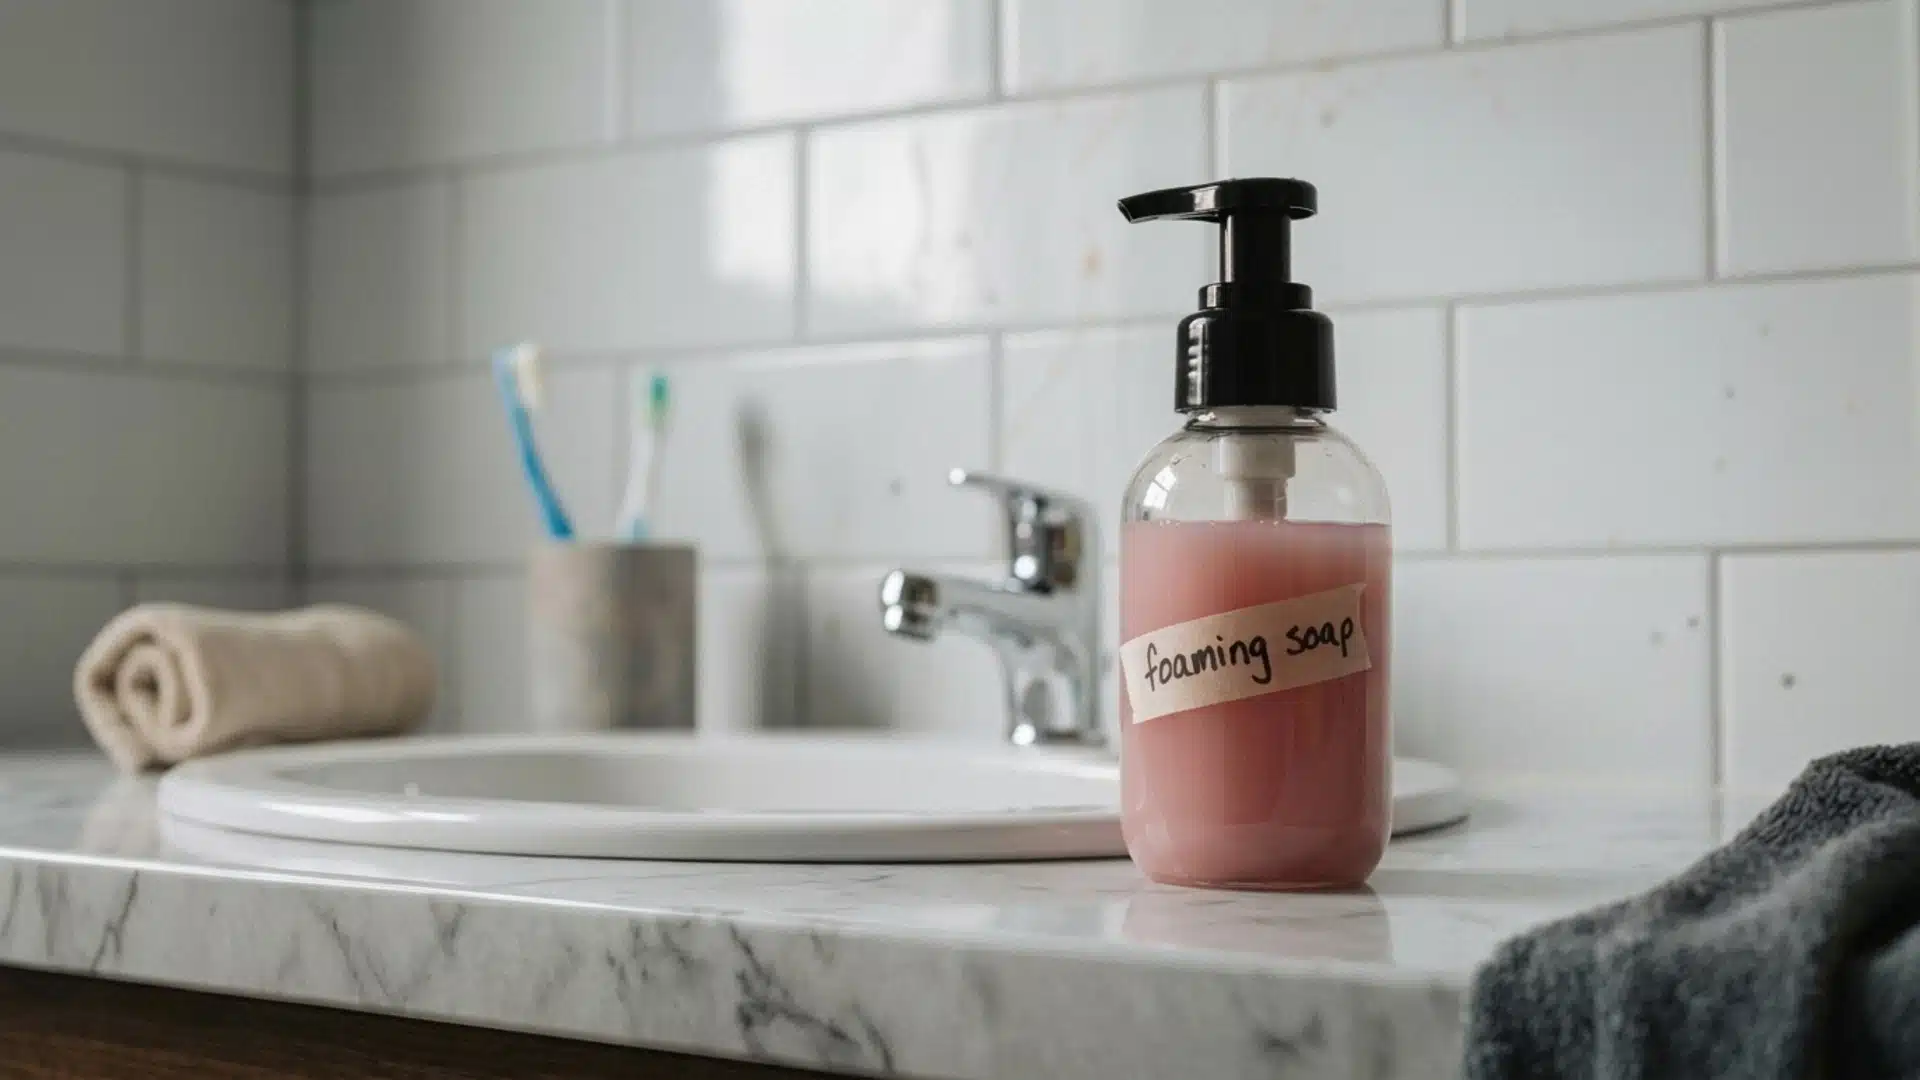
Keeping hand soap stocked at every sink is a small household task that becomes repetitive and costly.
Store-bought foaming soaps often come in disposable bottles, while the ingredients and fragrances may not always match your preferences.
Making your own offers a simple alternative that gives you more control over what goes into each batch. DIY foaming hand soap requires only a few basic supplies and can be prepared in minutes.
Learning how to make foaming hand soap also makes it easy to reuse a foaming dispenser instead of replacing the entire bottle.
Store-Bought vs DIY Foaming Hand Soap
Store-bought foaming soap costs more and limits scent choices.
While a DIY version uses simple ingredients you control, cuts the price by half or more, and lets you reuse the same dispenser instead of buying new bottles repeatedly.
| Factor | Store-Bought | DIY |
|---|---|---|
| Cost per 8 oz bottle | $7-$9 | $2-$3 |
| Soap-to-water content | 20% soap, 80% water | Adjustable, usually 1 part soap to 3-4 parts water |
| Ingredient control | Fixed formula | Fully customizable |
| Scent options | Limited to what’s sold | Any essential oil blend you choose |
| Packaging waste | New bottle with each purchase | Same dispenser reused with each refill |
If you like keeping a stock of homemade products on hand, several cleaning recipes built from pantry staples use the same dilute-and-reuse approach as this foaming soap.
Materials Required for Making DIY Foaming Hand Soap
Before making DIY foaming hand soap, gather a few simple supplies to ensure the process is quick, easy, and mess-free.
- Foaming Hand Soap Dispenser: Use an empty foaming dispenser or reuse a dispenser from a finished bottle.
- Regular Liquid Hand Soap: Choose any regular hand soap and scent you prefer.
- Water: Use warm water to help the soap mix more easily.
- Measuring Guide: No special measuring tools are required; estimate the soap to fill roughly one-quarter to one-third of the dispenser.
How to Make DIY Foaming Hand Soap: Step-by-Step Instructions
With ingredients and ratio settled, the actual process takes only a few minutes for a brand-new dispenser or one you are simply topping off.
Step 1: Prepare the Foaming Soap Dispenser
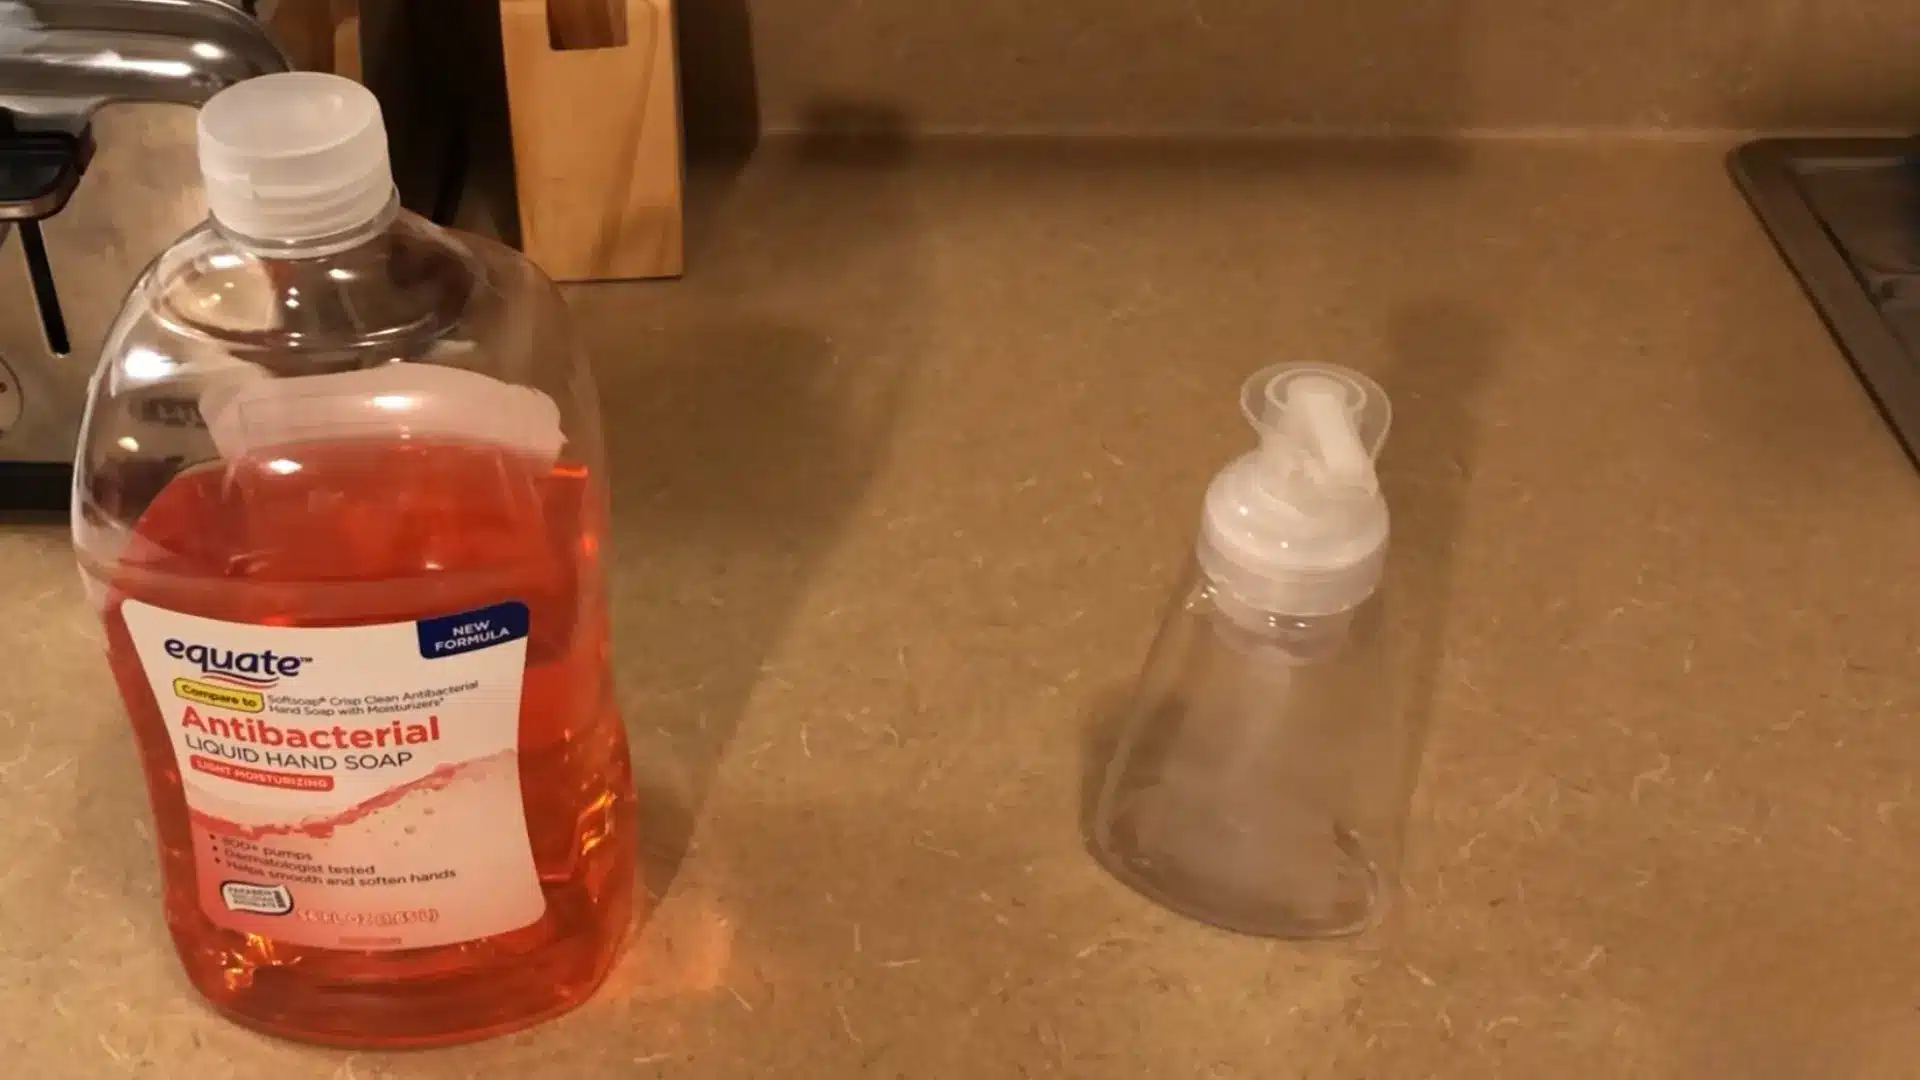
Start with a clean, empty foaming hand soap dispenser. You can reuse a dispenser after finishing its original soap or purchase empty dispensers for this DIY project.
Make sure the bottle is ready for refilling before adding the ingredients.
A foaming dispenser is important because its pump mixes liquid soap with air to produce foam.
Step 2: Add Regular Hand Soap
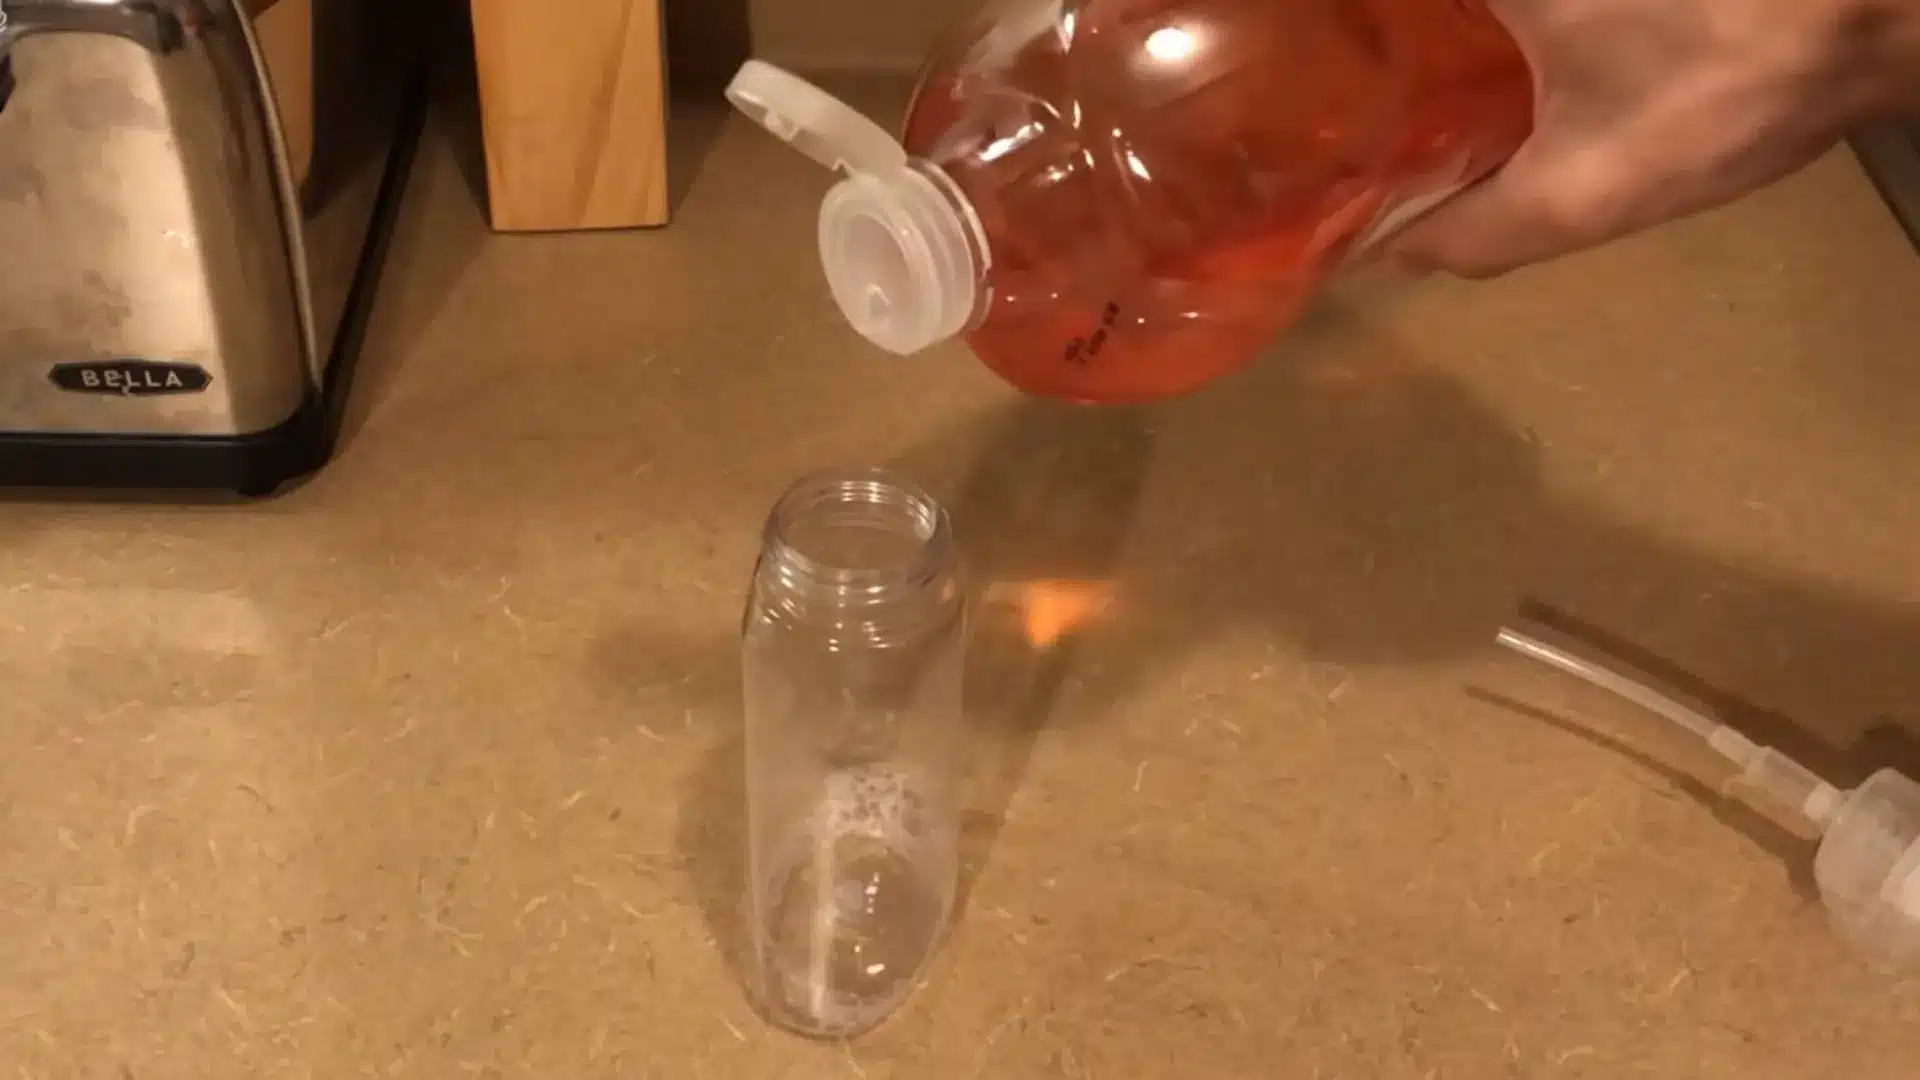
Pour regular liquid hand soap directly into the empty foaming dispenser. Fill the bottle approximately one-quarter to one-third of the way with soap.
You do not need a specific brand or scent, so use whatever regular hand soap you already have.
Avoid filling the bottle completely with soap because the mixture needs plenty of water to create the right consistency for foaming.
Step 3: Add Warm Water & Shake the Mixture
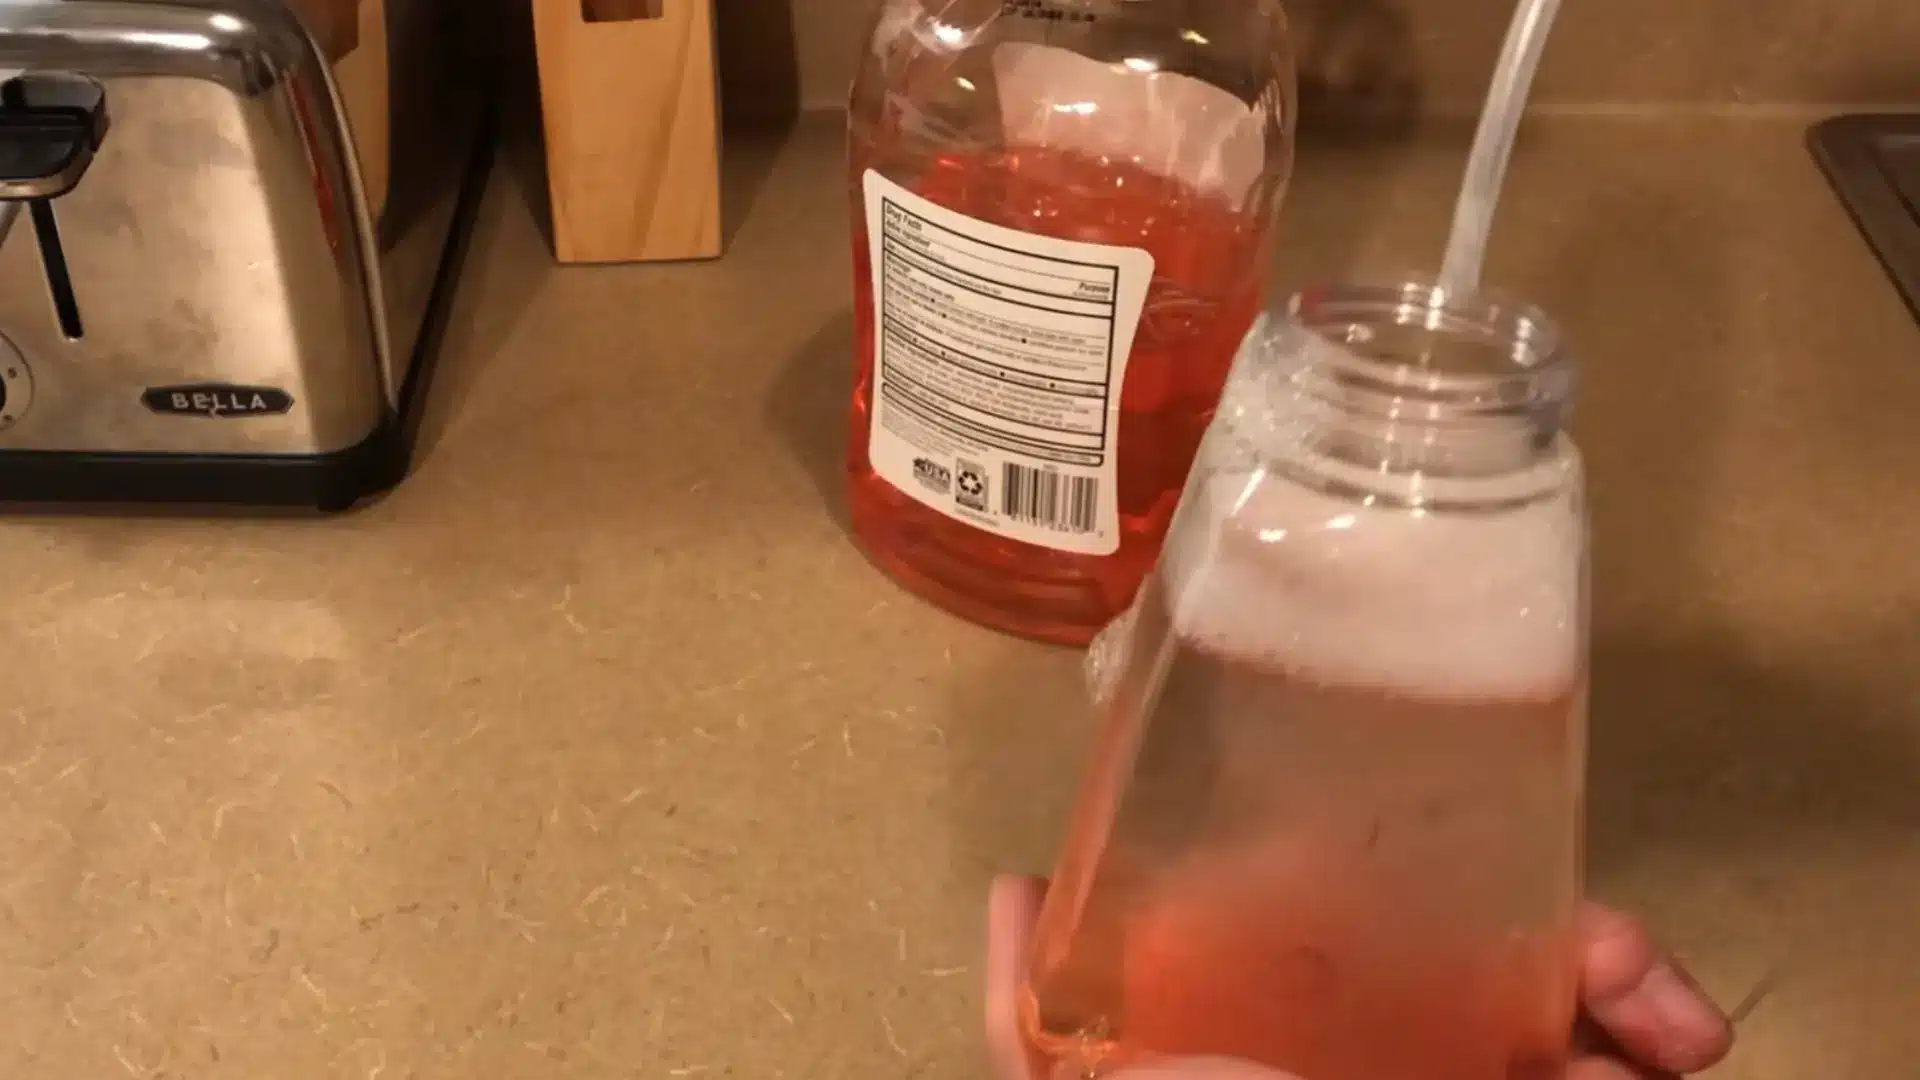
Next, add warm water to the dispenser, leaving a little room at the top. Warm water helps the soap blend more easily and creates a smoother mixture.
You can initially fill the container partway, leaving enough space to shake.
Once the soap and warm water are inside the dispenser, close the bottle securely with its pump. Gently shake the container to combine the ingredients.
Step 4: Test Your Homemade Foaming Soap
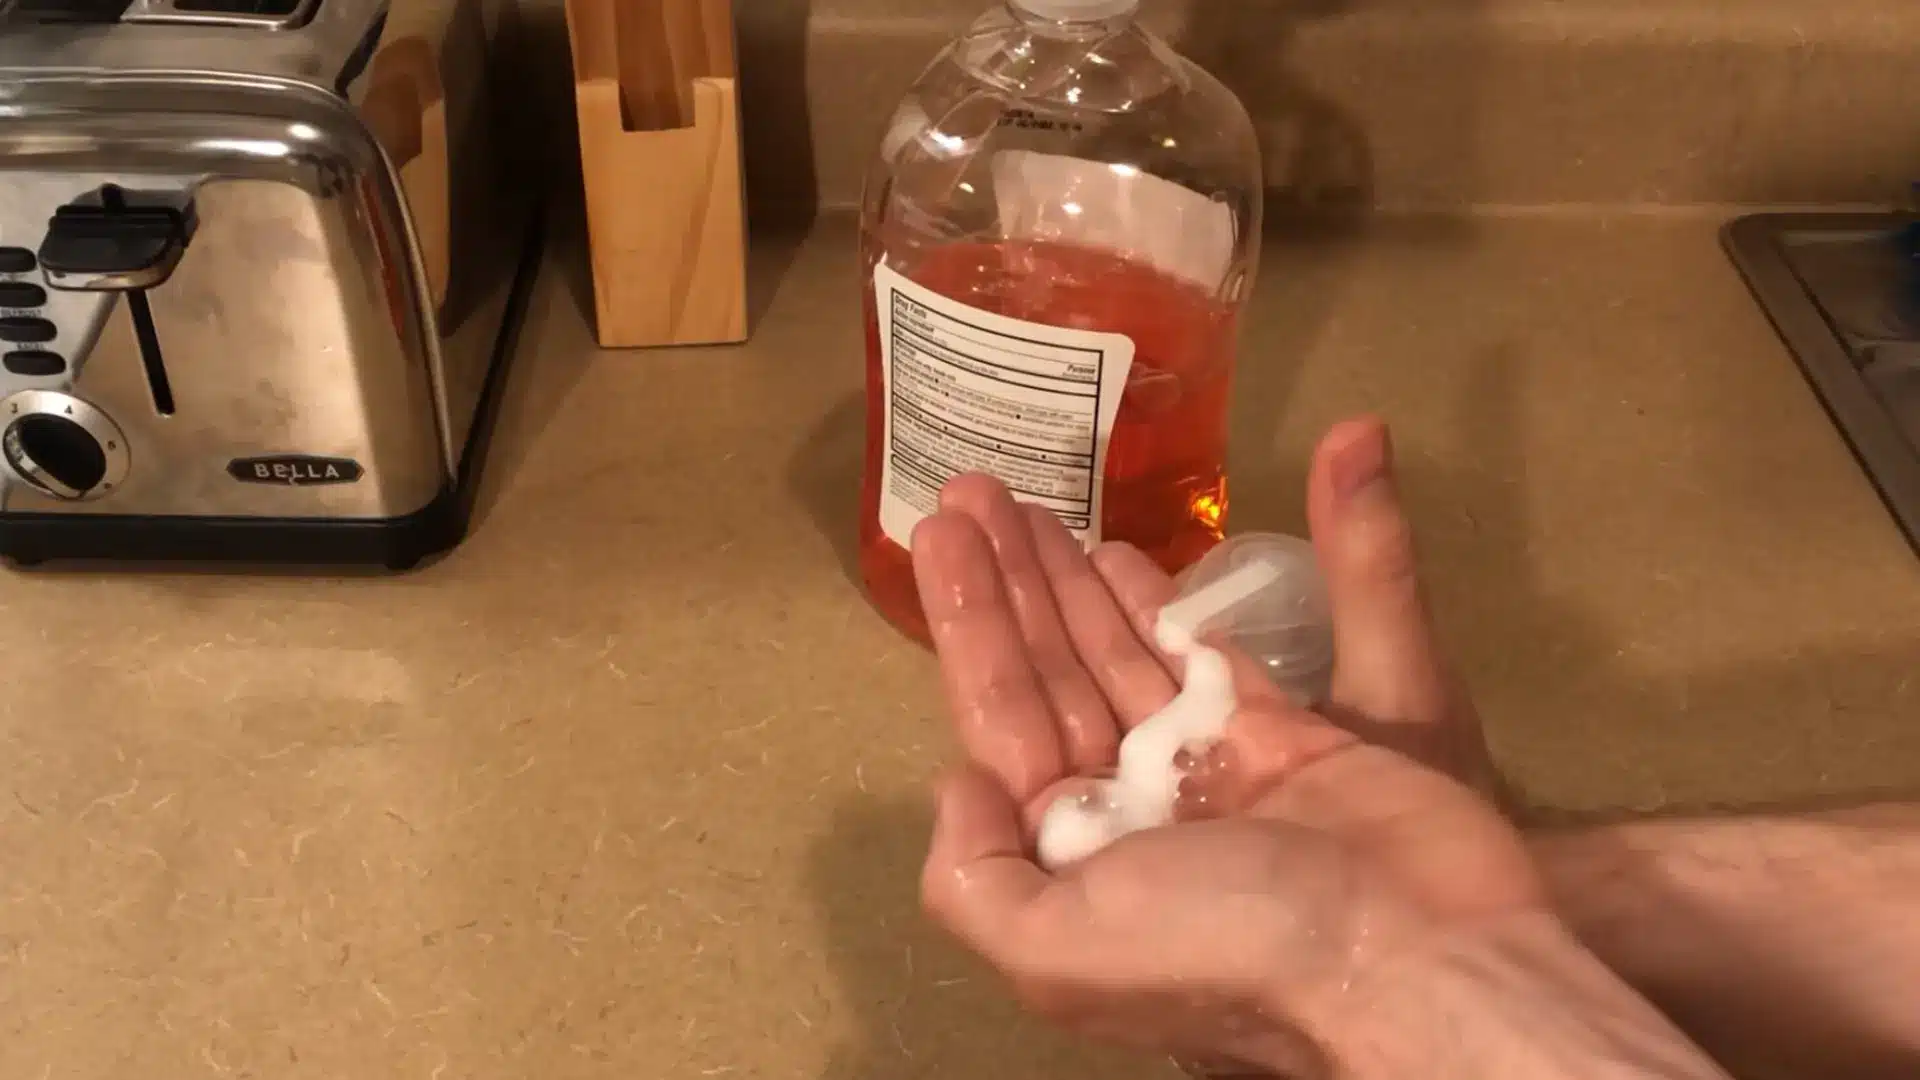
After mixing, place the pump back onto the dispenser and press it several times to test the soap.
The first one or two pumps may not produce foam because the pump needs to fill with the mixture.
Continue pumping a few times, and the diluted soap should begin producing a light, foamy texture. Once the mixture is flowing properly, your homemade foaming hand soap is ready.
This tutorial is based on a helpful video by Rob Some Knowledge. You can check out the original video on their YouTube channel here or watch it below.
How to Adjust the Soap if it’s too Watery or too Thick?
Even with a solid starting ratio, the first batch does not always come out right on the first try.
That is normal, since soap concentration varies by brand, and a small tweak usually solves the problem within one or two refills.
- If the foam comes out thin and drips instead of holding its shape, add a bit more soap to the next refill
- If it feels thick or slow to pump, add a splash more water
- Every brand of castile soap has a slightly different concentration, so your exact ratio may differ from other recipes
- Note the ratio that works for your soap so future refills go faster
Once you land on the right balance for your specific soap, adjusting future batches becomes almost automatic. A quick note on the bottle saves guesswork the next time you refill it.
Essential Oil Scent Combinations to Try
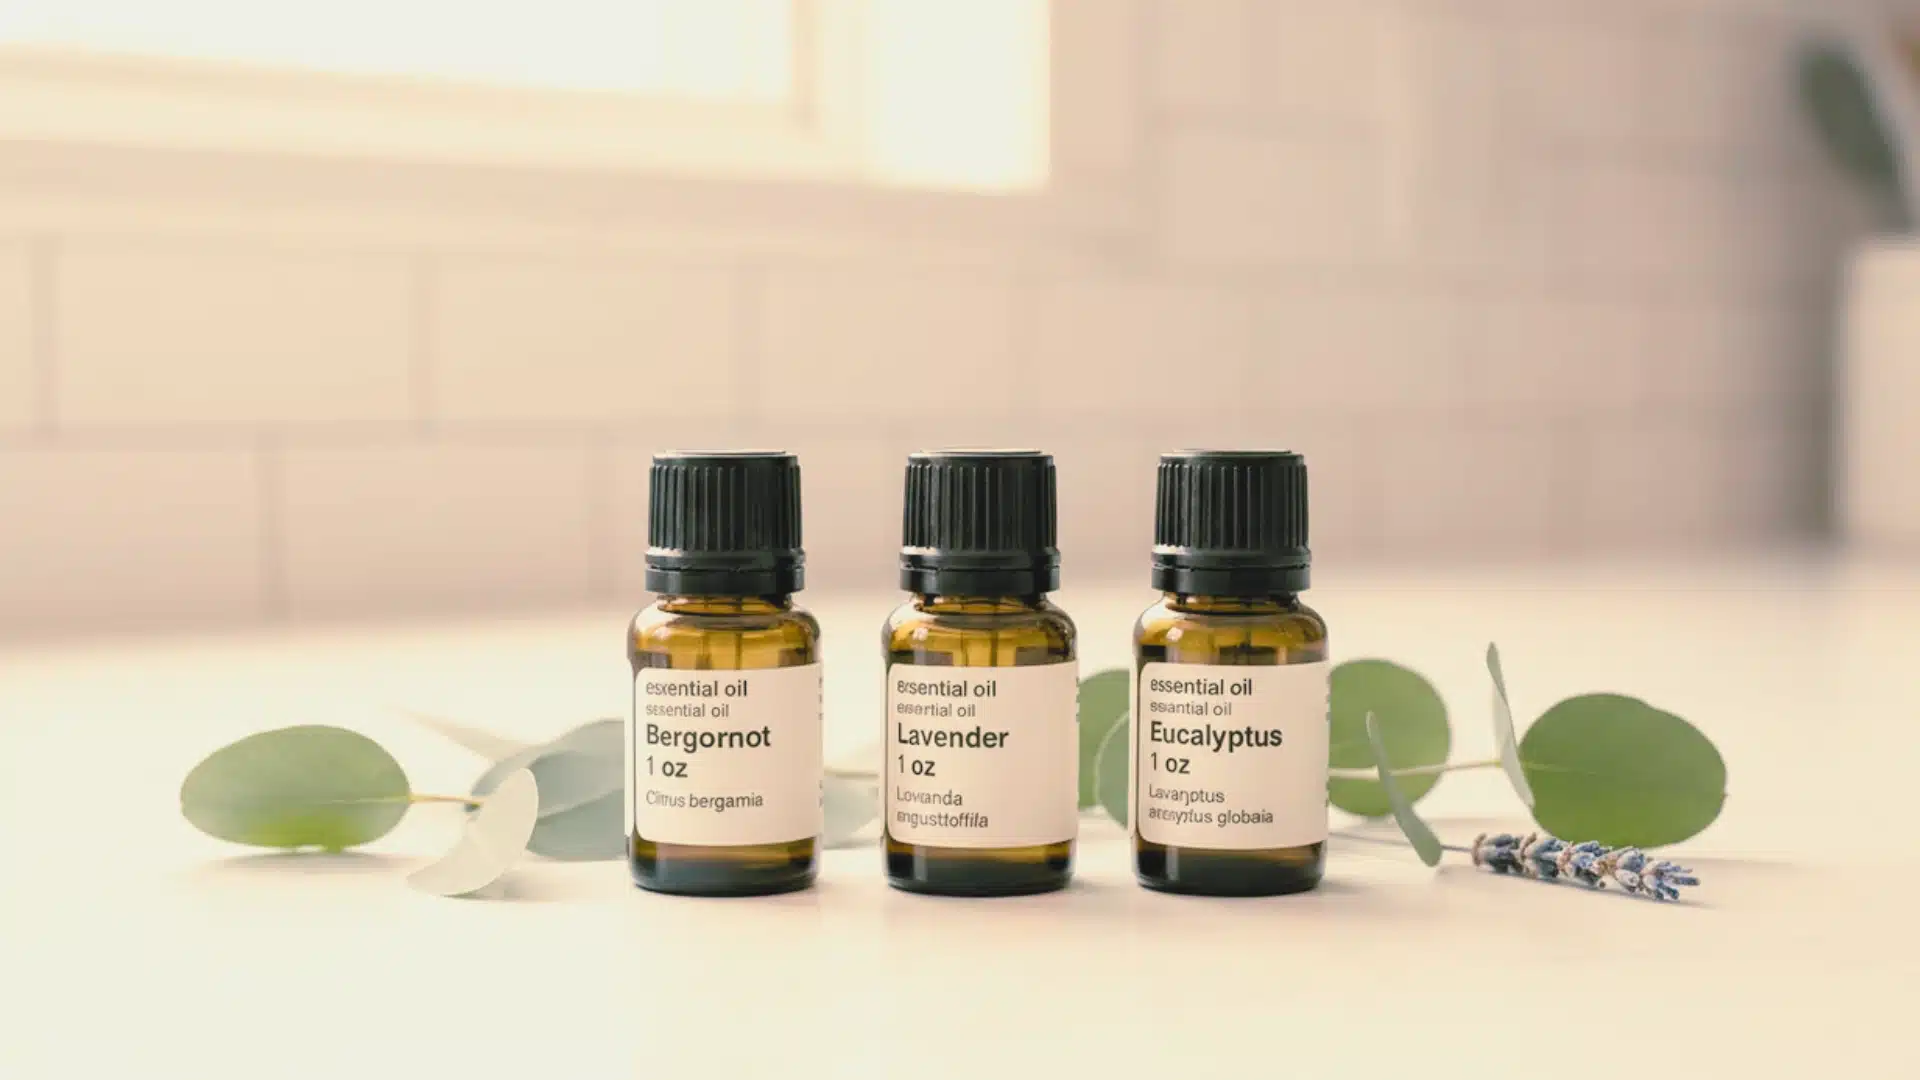
Part of the appeal of making your own foaming soap is choosing exactly how it smells, something a store-bought bottle never offers.
Mixing two or three oils often creates something more interesting than any single oil alone.
1. Citrus Blends
Lemon and orange essential oils together create a bright, energizing scent that works well in kitchens and guest bathrooms.
Grapefruit paired with a touch of bergamot adds a deeper citrus note without leaning too sweet.
Citrus oils also carry a naturally fresh, clean smell that many people associate with cleanliness, which pairs well with a soap’s purpose. A few extra drops in warmer months keep the scent brighter.
2. Floral and Calming Blends
Lavender on its own is a classic choice for bathrooms, especially near bedrooms, since it carries a calming reputation.
Combining lavender with a small amount of geranium or ylang-ylang adds depth without overwhelming the lighter lavender base.
These blends tend to work best in lower drop counts, around eight to ten drops per 8-ounce batch, since floral oils can be strong.
3. Fresh and Herbal Blends
Eucalyptus and spearmint together create a spa-like, invigorating scent that feels appropriate for a main bathroom or kitchen sink.
Rosemary paired with a touch of peppermint offers a sharper, more herbal note that some people prefer over sweeter floral options.
Herbal blends also tend to hide the natural soap smell of castile soap more effectively than lighter citrus oils.
Regular Soap vs. Castile Soap for a Foaming Dispenser
Both regular liquid hand soap and Castile soap can work well in a foaming dispenser. Here’s a quick comparison to help you choose:
| Feature | Regular Liquid Hand Soap | Castile Soap |
|---|---|---|
| Base | Usually contains synthetic detergents | Made from plant-based oils |
| Availability | Easy to find in most homes and stores | Commonly available in health and specialty stores |
| Skin Feel | Depends on the formula and added ingredients | Generally mild when properly diluted |
| Fragrance | Often available in many scents | Available in scented and unscented options |
| Cost | Usually more affordable | Typically costs more upfront |
| Dilution | Works well when properly diluted | Works well when properly diluted |
| Best For | Convenient everyday use | Those preferring plant-oil-based soap |
Both options can be suitable; choose based on your preferred ingredients, budget, and availability.
Other Ways to Use Homemade Foaming Soap
Beyond handwashing, homemade foaming soap can be useful for several gentle cleaning tasks around your home when properly diluted.
- Handwashing: Keep homemade foaming soap beside bathroom or kitchen sinks for convenient, everyday handwashing.
- Kitchen Cleanup: Can be used after cooking, gardening, or household chores. Wiping down the pump when you tidy up kitchen counters and cabinets keeps residue from building up.
- Guest Bathroom: Place a homemade foaming soap dispenser in guest bathrooms for an attractive, personalized touch.
- Travel Use: Fill a small, leak-resistant foaming dispenser with your preferred soap for convenient handwashing while traveling.
- Gift Ideas: Package homemade foaming soap in decorative dispensers as a simple, practical homemade gift for friends and family.
How Long Does Homemade Foaming Hand Soap Last?
When stored in a clean, tightly closed foaming dispenser, a simple homemade mixture can generally be used within 1 to 2 weeks.
If you use it frequently and maintain good hygiene, you may finish it sooner.
Homemade foaming hand soap is best made in small batches because adding water can reduce its shelf life.
Avoid keeping homemade foaming soap for several weeks or months, especially when it contains water without a proper preservative.
Always check the soap before use and discard it if you notice an unusual smell, color change, separation, cloudiness, or other signs of spoilage.
To keep each batch fresh, wash and dry the dispenser thoroughly before refilling it.
Common Issues With Homemade Foaming Soap
Homemade foaming soap is simple to prepare, but a few common issues can affect its texture, performance, and overall effectiveness.
- Too Much Soap: Adding excessive soap can make the mixture thick, preventing the dispenser from producing light, airy foam.
- Poor Foam Production: Using a regular soap dispenser instead of a foaming pump may result in liquid soap rather than foam.
- Incorrect Water Ratio: Too little water creates thick soap, while too much water can produce weak, watery foam.
- Clogged Dispenser: Soap residue can accumulate inside the pump, restricting flow and making the dispenser difficult to use.
- Spoilage or Odor: Homemade diluted soap lacks commercial preservatives, so discard it if the smell, appearance, or texture changes.
Conclusion
Making your own foaming hand soap is a simple way to create a practical, customizable option for your home.
With a foaming soap dispenser, a few basic ingredients, and the right soap-to-water ratio, you can prepare a fresh batch in just a few minutes.
The key is to keep the recipe simple, use a clean dispenser, and make small batches that you can use within a reasonable time.
Try a batch this week with a scent combination, and see how it compares to what you have been buying.
Frequently Asked Questions
Can You Turn Regular Hand Soap Into Foaming?
Yes, regular liquid hand soap can become foaming when diluted with water and used in a foaming dispenser designed to create foam.
Can I Make Foaming Hand Soap With Dawn Dish Soap?
Yes, Dawn can create foam in a suitable dispenser, but it is formulated for dishes and may be too drying for frequent handwashing.
What Ingredient Should Not Be in Hand Soap?
Avoid harsh ingredients such as excessive fragrance, strong detergents, and certain irritants that may dry or sensitize skin with frequent use.