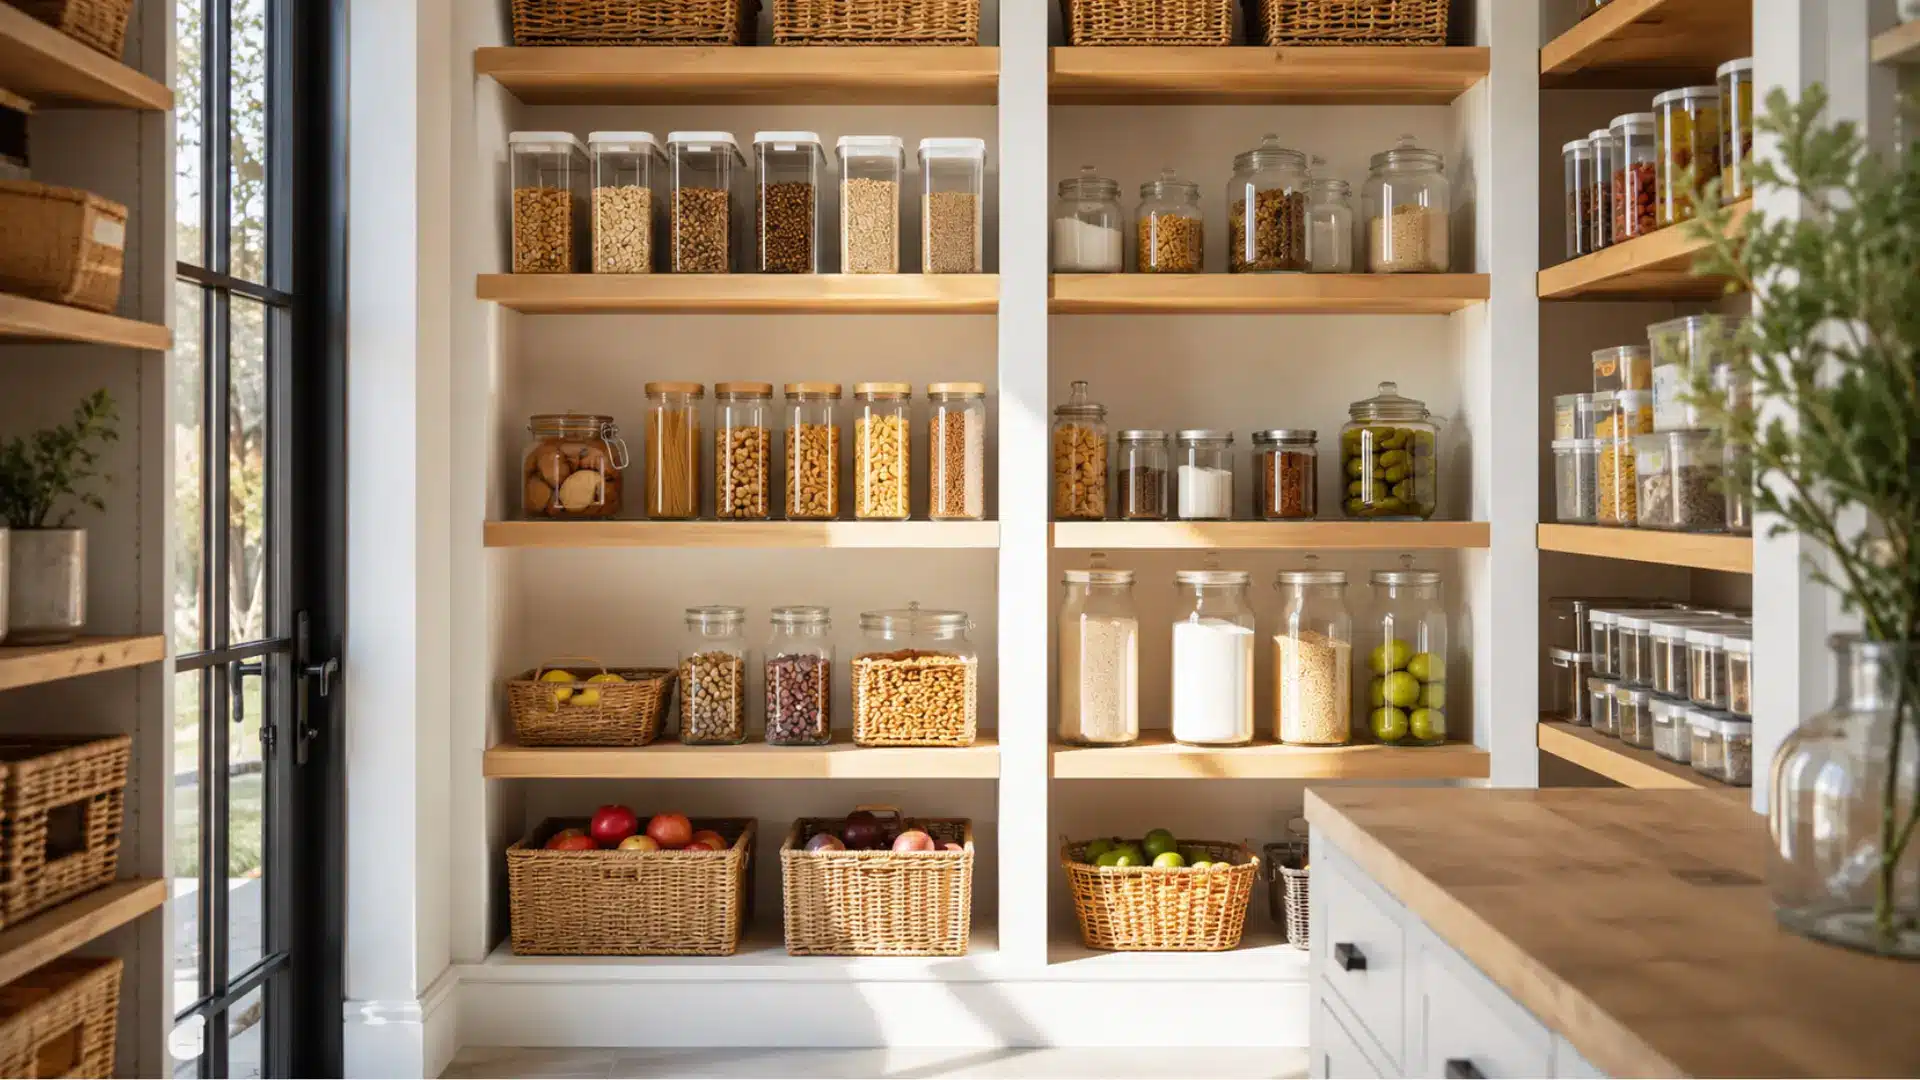
Every extra minute you spend hunting for ingredients is a minute your pantry is failing you. A well-organized kitchen pantry fixes that.
When everything has a place, you spend less time searching and more time cooking. You stop buying things you already have. You waste less food. Putting groceries away stops feeling like a chore.
Learning how to organize a kitchen pantry does not have to be complicated. This walks you through every step and builds a system that actually sticks.
Your pantry does not need to be perfect. It just needs to work for you every single day.
What Makes a Well-Organized Pantry?
A well-organized pantry does not need to be fancy. It just needs to work for you every single day. The best pantries share a few things in common. Everyday items sit within easy reach.
Foods are grouped so you always know where to look. Shelf space is used smartly, not just stuffed full. And keeping things tidy takes only a few minutes each week.
When your pantry is set up this way, you stop buying duplicates. You waste less food. Meals come together faster because everything has a place.
This section walks you through exactly what a well-organized pantry looks like and how to build one.
Before You Start Organizing Your Pantry
Before you touch a single can or box, a little prep work goes a long way. Skipping this step is why most pantry organizing attempts do not stick. Here is what to do before you start:
- Empty Everything Out: Pull every item off the shelves so you can see exactly what you are working with.
- Check Expiration Dates: Toss anything expired and set aside items you no longer need to donate.
- Clean the Shelves: Wipe down every surface so you are organizing into a fresh, clean space.
- Take Stock of What You Have: Group similar items together and take note of what you use most often.
- Measure Your Space: Note shelf heights and depths so you can buy organizers that actually fit.
This whole process takes about thirty minutes for an average pantry. Once it is done, the actual organizing goes much faster, and the results last longer.
Now that your pantry is cleared out and clean, you are ready to start building a system that actually works.
Step 1: Sort Pantry Items Into Categories

Sorting your pantry into clear categories is the foundation of any good organization system. When everything has a group, finding what you need takes seconds instead of minutes. Here are the main categories to start with:
| Category | What Goes Here |
|---|---|
| Canned Goods | Canned vegetables, beans, soups, tomatoes, fish, and fruit |
| Dry Foods and Grains | Rice, pasta, lentils, quinoa, oats, and dried beans |
| Snacks | Chips, crackers, nuts, granola bars, popcorn, and dried fruit |
| Baking Ingredients | Flour, sugar, baking soda, baking powder, chocolate chips, and vanilla |
| Breakfast Foods | Cereals, pancake mix, instant oats, and breakfast bars |
| Spices and Seasonings | Salt, pepper, dried herbs, spice blends, and bouillon cubes |
| Drinks and Beverage Supplies | Tea bags, coffee, hot chocolate mix, and drink packets |
| Bulk Purchases | Extra pantry staples bought in large quantities, stored toward the back |
Do not worry about getting every item perfectly placed on the first try. Start with these broad groups and adjust as you learn how your household actually uses the pantry.
Step 2: Create Pantry Zones

Creating zones is what separates a pantry that stays organized from one that falls apart in a week. It sounds fancy, but it really just means giving every category its own dedicated spot. Here is how to divide your pantry into practical zones:
- Everyday Items Shelf: Keep cooking staples like pasta, rice, canned goods, and oils at eye level for the easiest access.
- Snack Zone: Dedicate one basket or shelf section to all snacks so everyone in the house knows exactly where to look.
- Baking Supplies Area: Group flour, sugar, baking soda, and extracts together in one spot so you are never hunting mid-recipe.
- Bulk Food Section: Store extra stock and large purchases on the bottom shelf where heavy items are easiest to manage.
- Kids’ Zone: If you have children, assign a low shelf for their snacks and lunch items so they can help themselves.
Once your zones are set, label each shelf or bin so everyone in the household follows the same system. This one step alone cuts down on the chaos that builds up over time.
Step 3: Choose the Right Storage Solutions

The best ways to organize a pantry start with picking the right storage tools. The right tools turn wasted space into usable storage and keep things tidy long-term.
Here is a breakdown of the best options and where each one works best:
1. Use Clear Containers
Switching to clear containers is one of the simplest upgrades you can make. When you can see exactly what is inside, you never accidentally buy a third bag of rice.
They also make your pantry look cleaner and more put together without much effort. Uniform sizes stack neatly and free up a surprising amount of shelf space.
- Best for: Dry goods like rice, pasta, flour, sugar, oats, lentils, and cereals
- Where to Use It: Middle shelves at eye level where you can see contents at a glance
2. Add Baskets and Bins
Baskets and bins are perfect for corralling items that do not stand up on their own. Snack bags, sauce packets, and loose produce all tend to roll around and create clutter.
A bin gives them a home. You can pull the whole basket out instead of digging through a messy shelf.
- Best for: Snacks, onions, potatoes, garlic, sauce packets, and kids’ lunch items
- Where to Use It: Middle and lower shelves, or dedicated snack and produce zones
3. Install Shelf Risers
Shelf risers let you stack items in two rows instead of one, which effectively doubles your usable shelf space.
They work especially well for canned goods, spice jars, and small bottles that tend to hide behind taller items. They are inexpensive and require no installation.
- Best for: Canned goods, spice jars, small condiment bottles, and sauce cans
- Where to Use It: Any flat shelf where shorter items get hidden behind taller ones
4. Use Lazy Susans for Hard-to-Reach Areas
Corner shelves and deep pantry shelves are where things go to get forgotten. A lazy susan spins so you can access items at the back without moving everything in front.
It is especially useful for oils, vinegars, and spices that tend to get buried and expire unnoticed.
- Best for: Oils, vinegars, condiments, spices, and small jars that get lost at the back
- Where to Use It: Corner shelves, deep shelves, and upper shelves that are hard to reach
5. Make Use of Door Storage
The back of your pantry door is free real estate that most people completely ignore. Over-the-door organizers add an extra layer of storage without taking up any shelf space.
They are ideal for flat items, small packets, and frequently used spices you want within arm’s reach.
- Best for: Spices, foil and wrap boxes, snack bars, condiment packets, and small jars
- Where to Use It: The inside of the pantry door, especially for everyday grab-and-go items
Step 4: Arrange Items for Easy Access
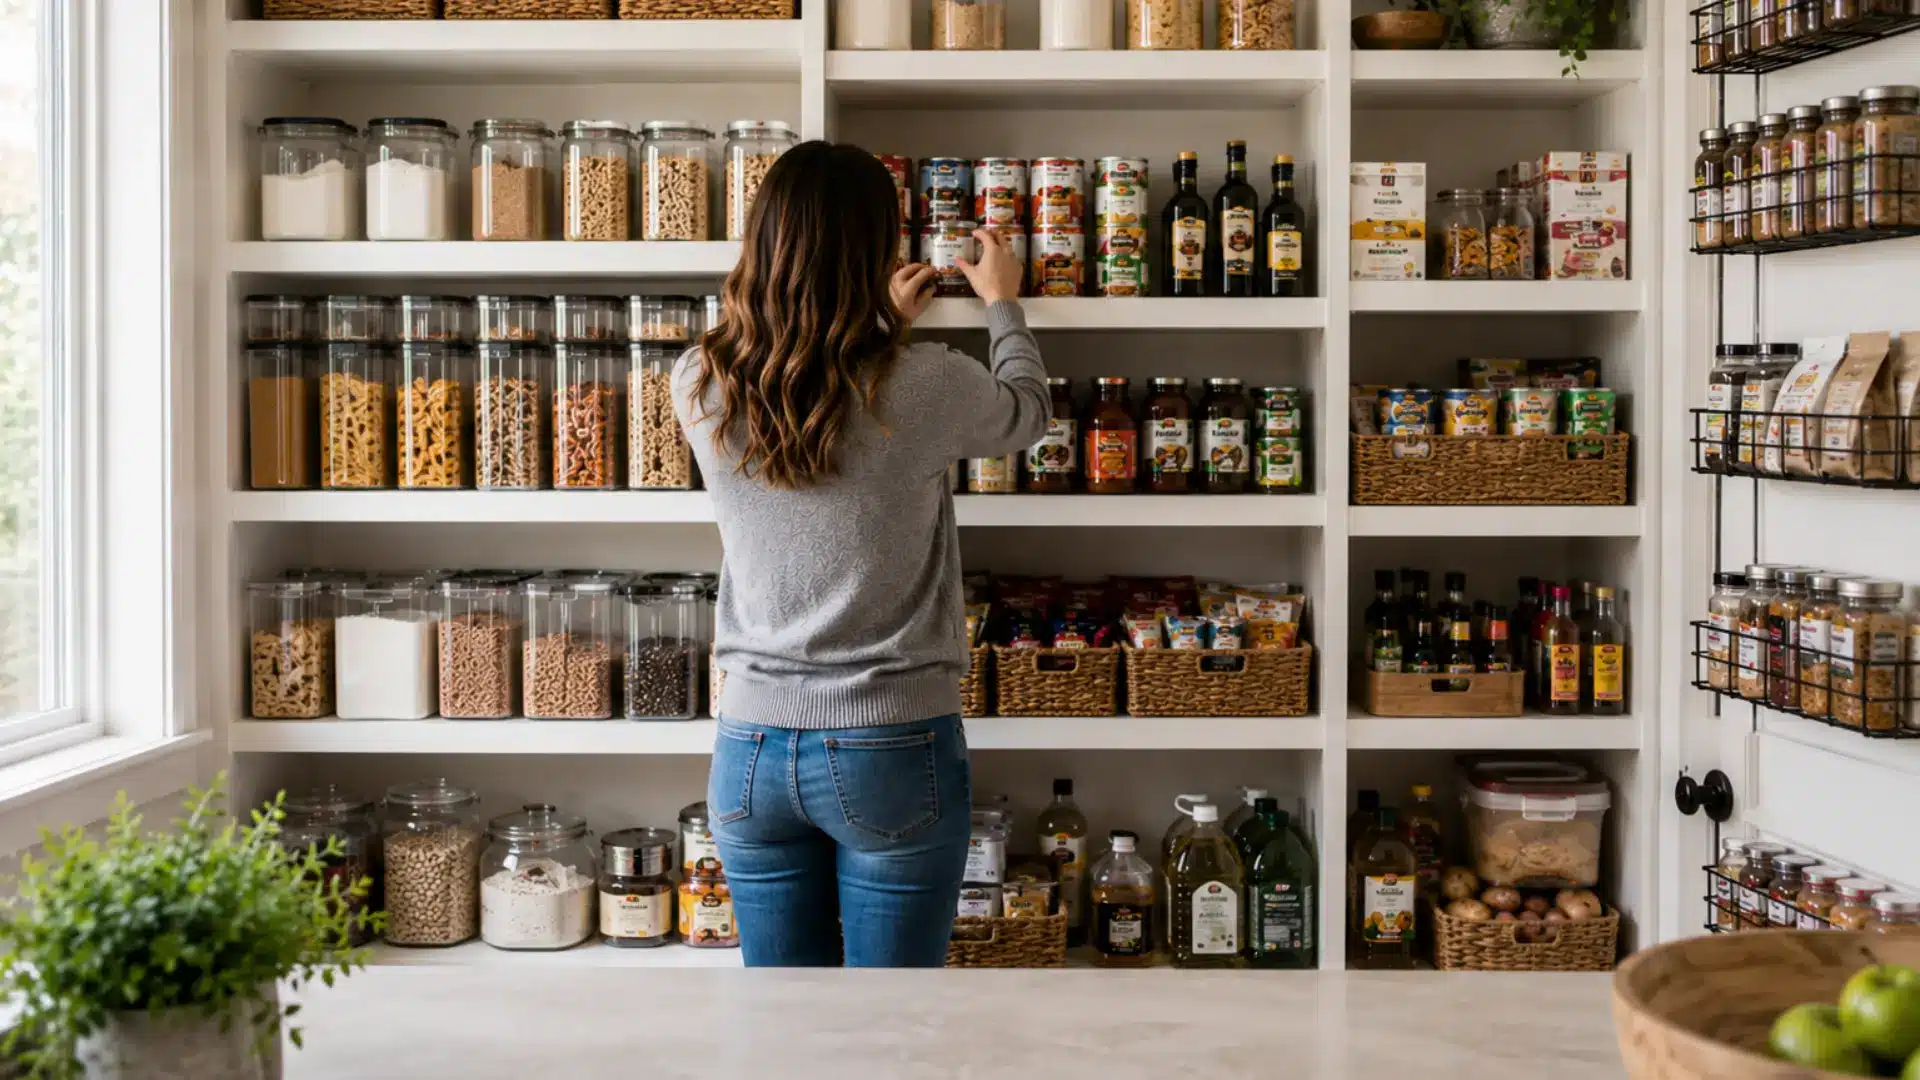
How you arrange items matters just as much as how you store them. A pantry can have the best bins and containers but still feel frustrating if things are in the wrong spots. Here is how to arrange everything so it actually works for you:
- Eye-Level Shelf: Place the items you reach for most, like pasta, rice, canned goods, and cooking oils, right at eye level.
- Lower Shelves for Heavy Items: Store large oil bottles, bulk bags, and heavy canned goods down low so they are safe and easy to lift.
- Upper Shelves for Rarely Used Items: Baking supplies, specialty ingredients, and holiday extras can sit up top since you do not need them often.
- Labels Facing Forward: Turn every container and can so the label faces out, making it easy to read contents without moving anything.
- First In, First Out: When restocking, push older items to the front and place newer ones behind so nothing gets forgotten and expires.
These small placement decisions add up to a pantry that feels effortless to use every single day. Once everything is in the right spot, grabbing what you need becomes second nature.
Step 5: Label Everything
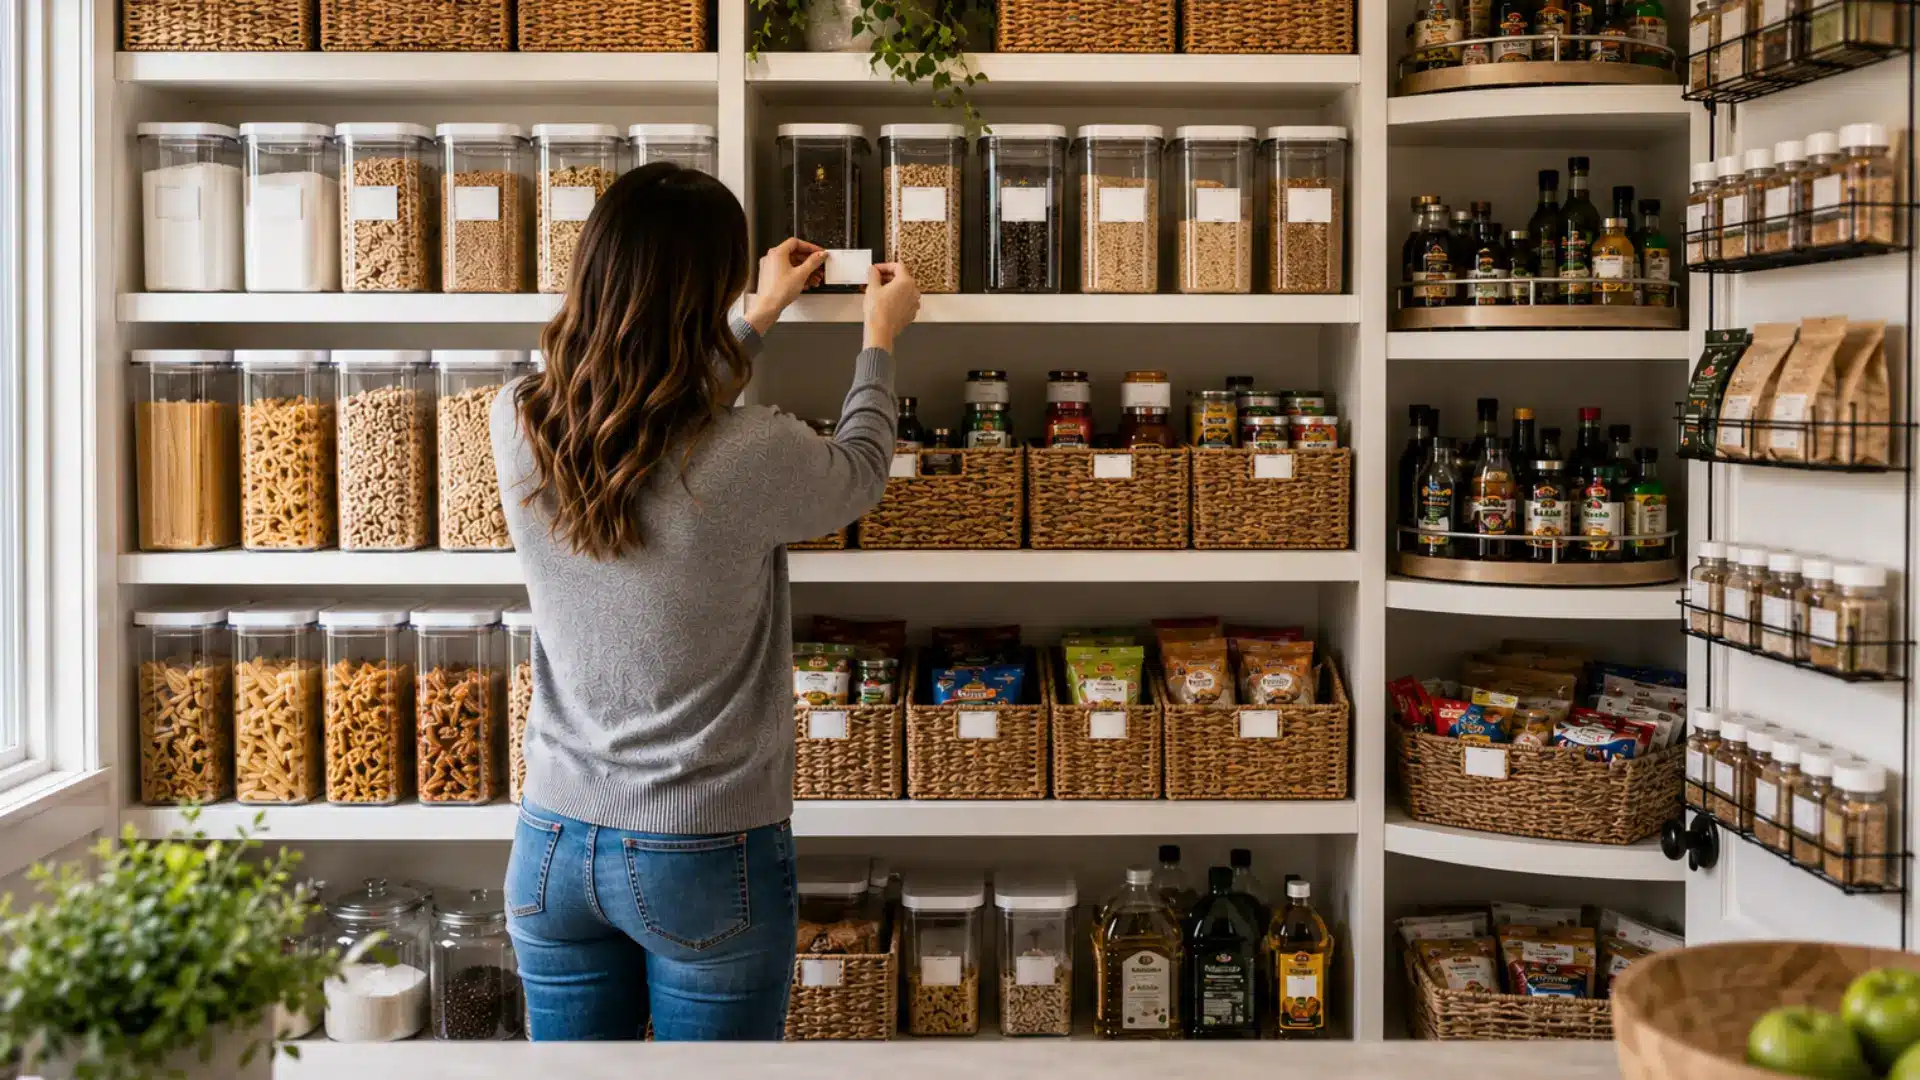
Labeling is the step that makes everything else stick. Without labels, even the most organized pantry slowly falls apart. You do not need a label maker or fancy handwriting.
A strip of masking tape and a marker work just fine. Label every container so you know what is inside without opening it. Label your baskets and bins so everyone in the house knows where things belong.
Keep your category names simple. “Snacks,” “Baking,” and “Grains” are clear enough. Complicated labels just confuse people.
When every shelf, bin, and container has a label, putting groceries away takes no thought at all. The whole system runs itself.
Pantry Organization Solutions for Every Layout
Every pantry is built differently, and the right approach depends on the space you are working with. Here is what works best for each pantry type:
| Pantry Type | Key Challenge | Tip | Best Tools |
|---|---|---|---|
| Walk-In Pantry | Space feels overwhelming without a system | Divide into clear zones by category | Labeled bins, lazy susans, shelf risers |
| Reach-In Pantry | Items get lost at the back | Use tiered risers to keep everything visible | Tiered racks, clear containers, door organizers |
| Small Pantry | Every inch counts | Go vertical with stackable containers | Stackable bins, over-door racks, magnetic spice jars |
| Corner Pantry | Deep corners are hard to reach | Put lazy susans on every shelf | Lazy susans, pull-out baskets, wedge bins |
| Pantry Cabinet | Narrow shelves limit storage | Use the inside of cabinet doors | Door-mounted racks, slim bins, drawer organizers |
| Open Shelves | Clutter is always visible | Stick to uniform containers for a clean look | Matching canisters, woven baskets, consistent labels |
No matter what type of pantry you have, the core principles stay the same. Work with your space and keep everyday items within easy reach.
Pantry Organization Mistakes You Want to Avoid
Even the best intentions can lead to a pantry that stops working within a few weeks. Most of the time it comes down to a few easy-to-miss mistakes. Here are the most common ones to watch out for:
- Buying Organizers Too Soon: Measuring your shelves and knowing your categories before shopping saves you from bins that do not fit or do not get used.
- Skipping Food Categories: Without clear groups, items end up scattered and you lose track of what you have.
- Overcrowding Shelves: Cramming too much onto one shelf makes everything harder to see and reach, and the mess comes back fast.
- Forgetting Expiration Dates: Not checking dates when you restock means expired food quietly piles up at the back of your shelves.
- Storing Heavy Items Up High: Large bottles and bulk bags on upper shelves are a safety risk and awkward to get down every time you need them.
Avoiding these mistakes from the start saves you from reorganizing the same pantry twice. Small oversights early on are usually what cause the whole system to break down later.
Simple Habits to Keep Your Pantry Organized
Getting your pantry organized is the easy part. Keeping it that way takes just a few small habits done consistently. Here is what to do to maintain your pantry long term:
- Do a Quick Weekly Check: Spend five minutes each week scanning your shelves, straightening items, and putting anything back in its place.
- Rotate Food Regularly: When you restock, move older items to the front and place newer ones behind so nothing gets forgotten at the back.
- Restock Strategically: Only buy what you are actually running low on instead of grabbing extras that add to the clutter.
- Check Expiration Dates Monthly: Set a reminder once a month to go through your shelves and pull anything that is close to expiring.
- Adjust as Your Needs Change: Seasons, dietary changes, and growing families all affect what you store, so tweak your system when something stops working.
These habits take very little time once they become part of your routine. A few minutes of maintenance each week is all it takes to keep your pantry working the way you set it up.
Final Thoughts
You now have everything you need to build a pantry that actually works. You do not need to do it all at once. Start with one shelf. Sort things into categories.
Add labels. Build the habit of a quick weekly check. Small steps done consistently add up to a pantry that stays clean and easy to use.
The best part is that once the system is in place, it practically runs itself. You will notice the difference every single time you cook.
Your pantry is ready to work for you every day. Share which tip worked best for you in the comments below.