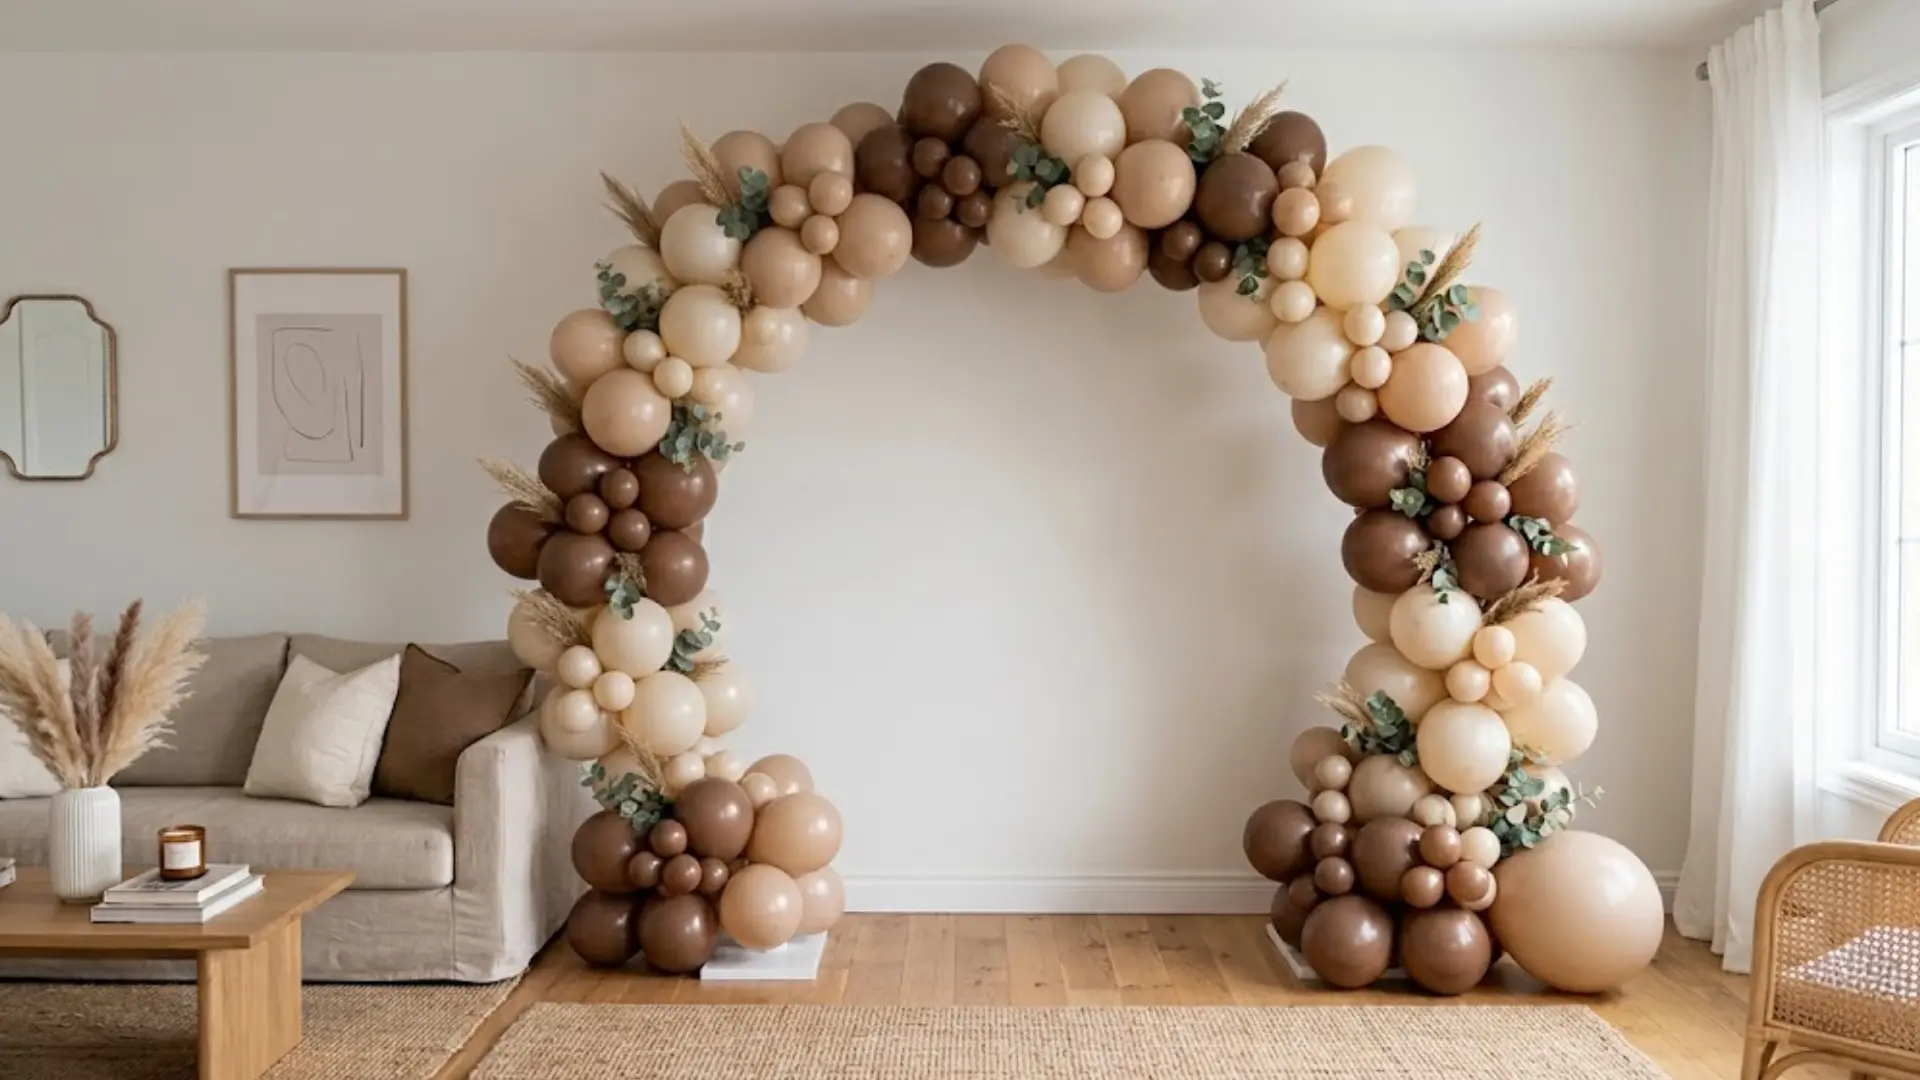
Have you also seen a stunning balloon arch at a party and assumed someone paid a decorator hundreds of dollars for it?
Most of those arches were made at home, with basic supplies and zero design experience. It just takes the right method.
Learning how to make a balloon arch is easier than it looks, and once you get the hang of it, a DIY balloon garland becomes one of the most affordable ways to change any space.
No fancy tools, no professional training, just balloons, a plan, and a bit of patience.
Below are easy steps to build your own balloon arch from scratch, along with the details that make it look polished instead of homemade.
Plan Your Balloon Arch Before You Start
A little planning saves a lot of frustration later. Before you inflate a single balloon, a few quick decisions will make the entire process smoother and the final result more polished:
- Pick Your Color Palette: Choose 2–3 dominant colors and 1 accent shade that match your event’s theme.
- Sketch a Simple Design: Rough out the shape and size you want. No artistic skill required, just a basic reference to follow.
- Use a Pump From the Start: A pump keeps every balloon consistently sized, saving time and giving the arch a cleaner look.
- Choose Your Method Early: Decide between string, frame, or strip so you buy the right supplies from the beginning.
What You’ll Need Before You Make a Balloon Arch
Before you begin making the balloon arch, gather all the equipment and decorative supplies you will need.
Having everything ready beforehand makes the assembly process smoother and helps you avoid interrupting the setup midway.
- Balloon arch stand
- Balloon clips
- Weights
- Gaffer tape
- 18-inch and 12-inch balloons
- Hand pump
- Foil balloons or decorative balloons
- Packing tape
- Low-temperature hot glue gun
- Teddy-bear decoration
With these tools and materials prepared, you can assemble the stand, create the balloon clusters, and add decorative elements without unnecessary interruptions.
Choosing appropriate weights and securing every connection is especially important for keeping the finished arch stable and attractive.
How to Make a Balloon Arch: Step-by-Step
With your supplies ready and your design planned, it’s time to bring the arch to life. Follow these steps in order, and the process stays simple from start to finish:
Step 1: Gather and Prepare the Balloon Arch Stand
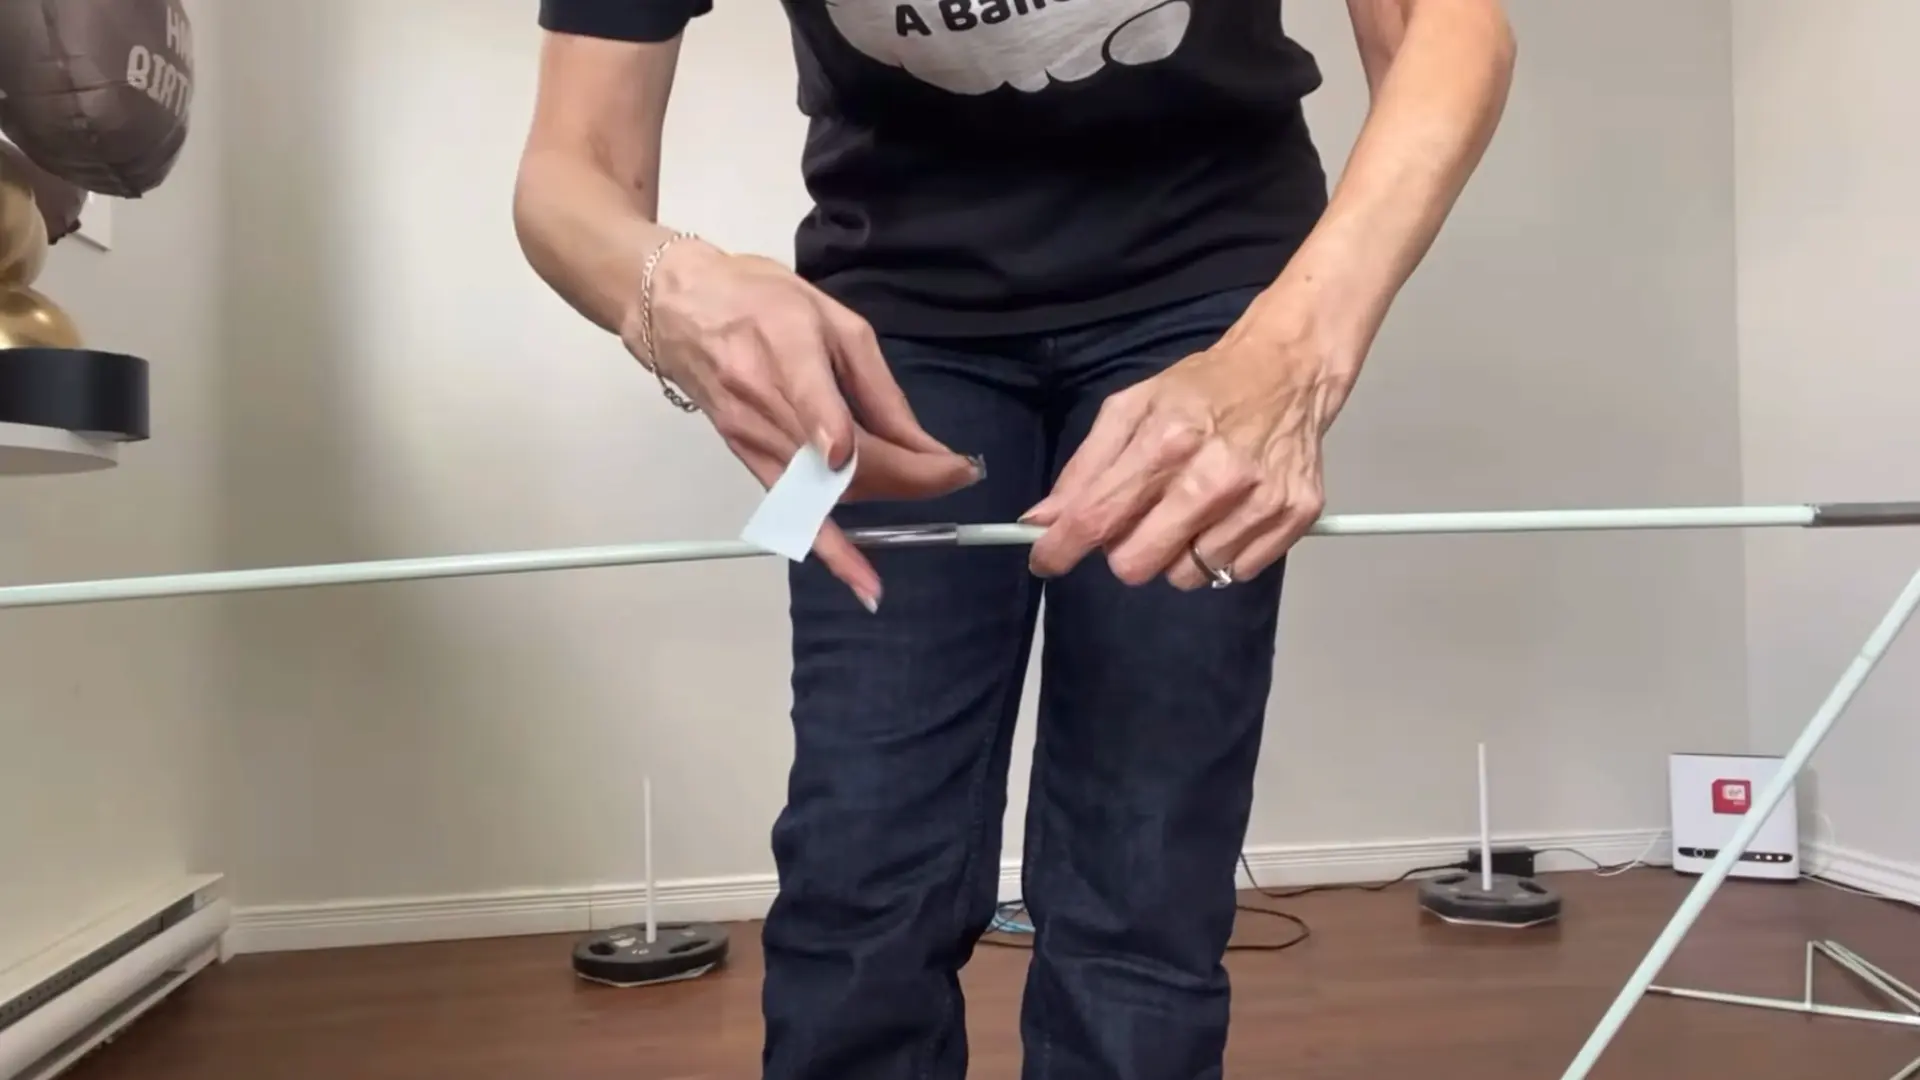
Start by laying out all the components of your balloon arch stand.
For an indoor setup, the creator replaces the supplied bags with 10-pound barbell weights. If the arch will be outdoors, heavier 25-pound weights are recommended for better stability.
Assemble the bases and poles according to your stand’s instructions before adding balloons.
Step 2: Modify and Secure the Stand
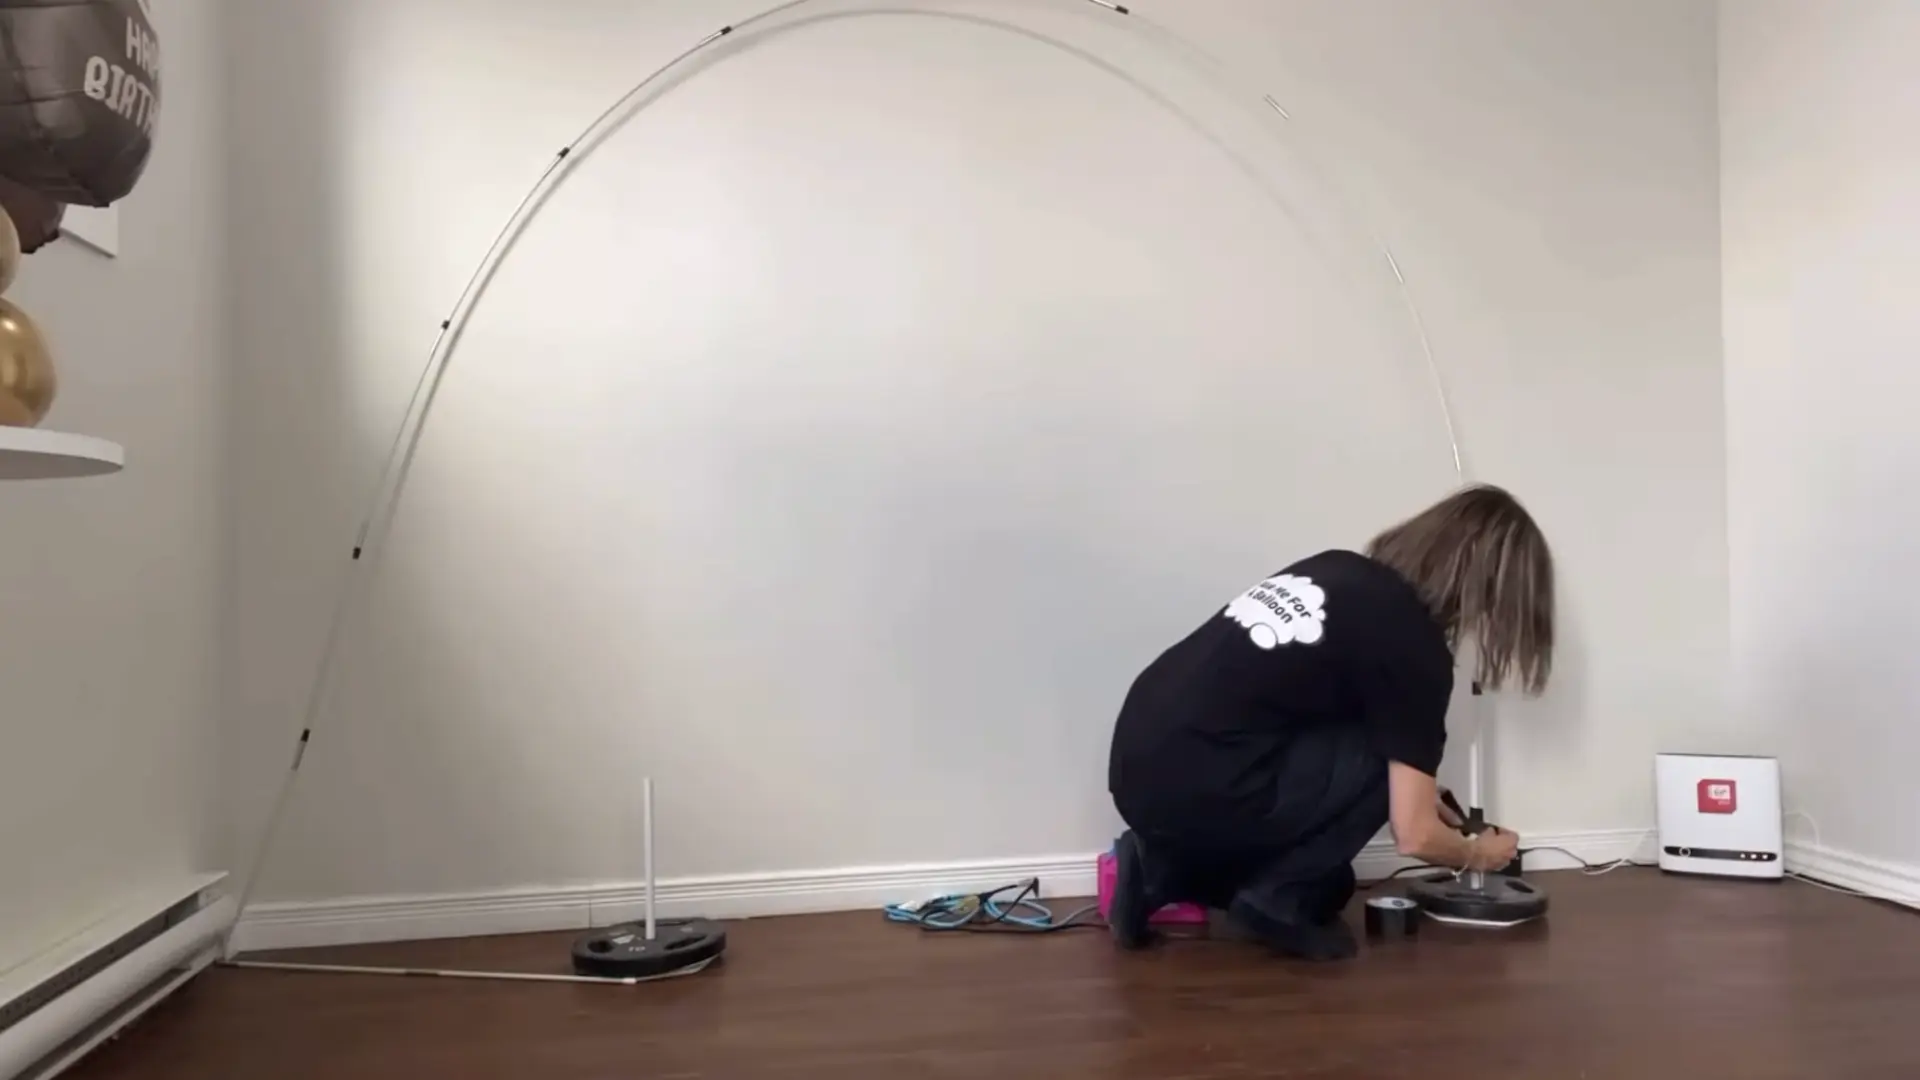
Fold the ends of the poles downward and secure the connections with gaffer tape.
Tape each connection firmly so the structure stays stable, but remember that gaffer tape can be removed easily if adjustments are needed.
Secure the modified ends directly to the stand when they no longer fit inside the original base connection.
Step 3: Inflate and Size the First Balloon Quad
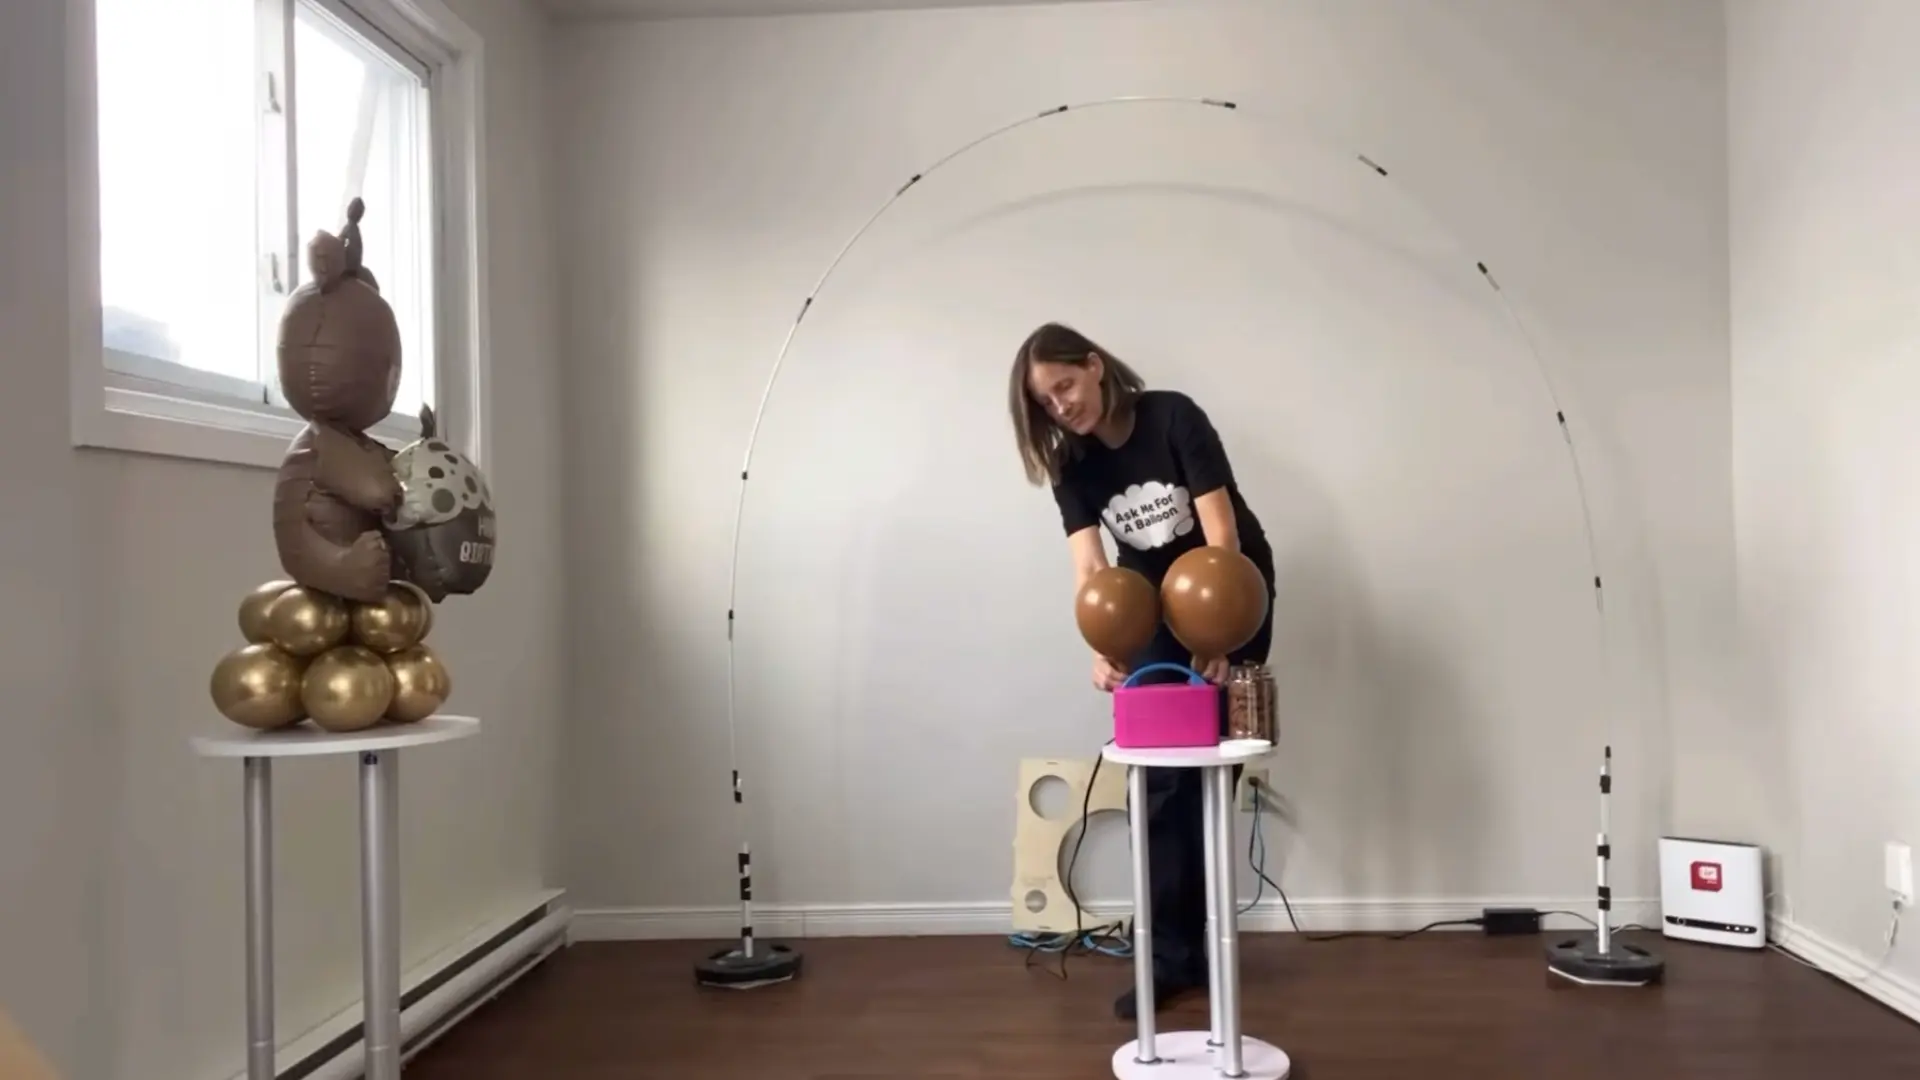
For the first balloon cluster, use 18-inch balloons in your chosen color.
Consistent sizing is important because balloons of noticeably different sizes can make the finished arch look uneven.
Inflate four balloons to the same size and create a quad by twisting them together.
Attach the quad to the stand, positioning the balloons so they point in the same general direction for a fuller, more uniform appearance.
Step 4: Build and Attach Additional Balloon Clusters
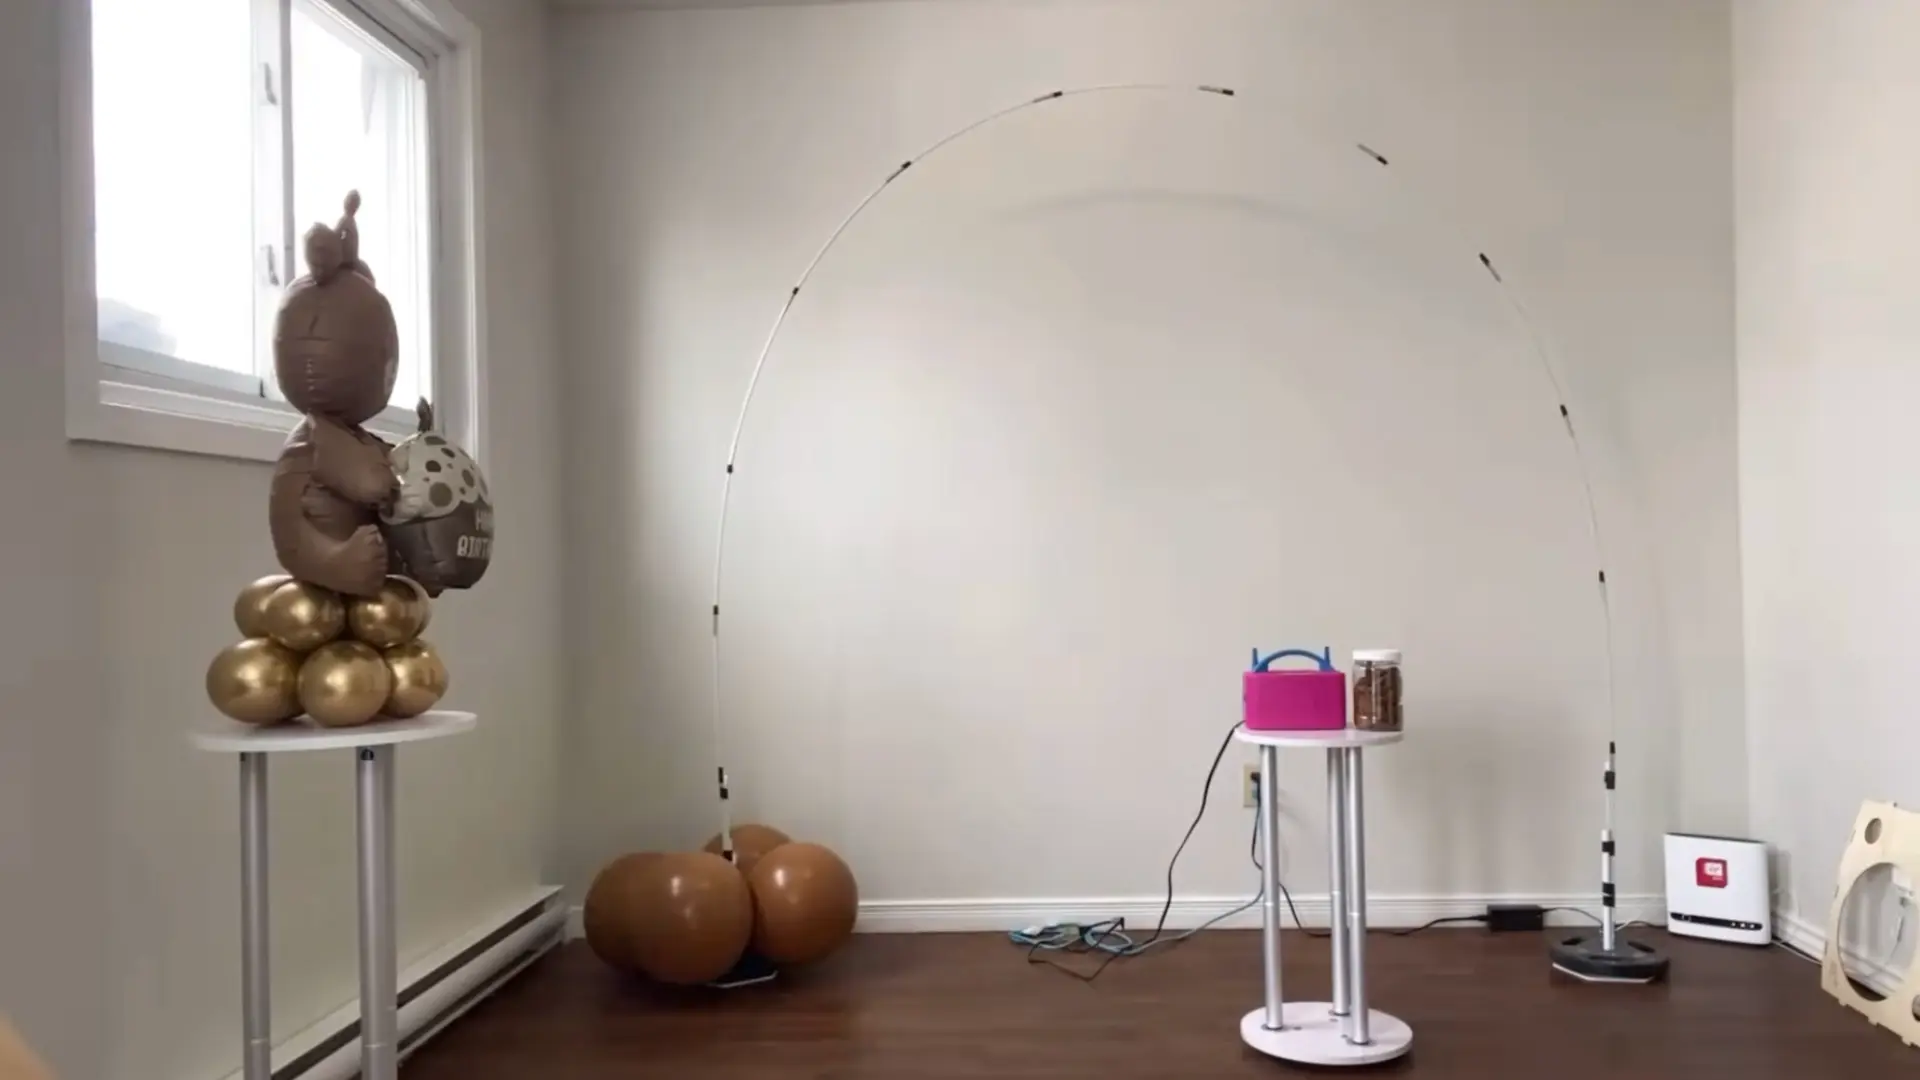
Repeat the process to create another four-balloon cluster for the opposite side of the stand. Twist the quad securely around the frame and push it downward into position.
Pay attention to the direction of the balloons: avoid having neighboring balloons point in conflicting directions because this can create gaps or make the arch look messy.
Continue producing similarly sized quads and attaching them progressively along the stand.
Step 5: Add Smaller Balloons and Decorative Details
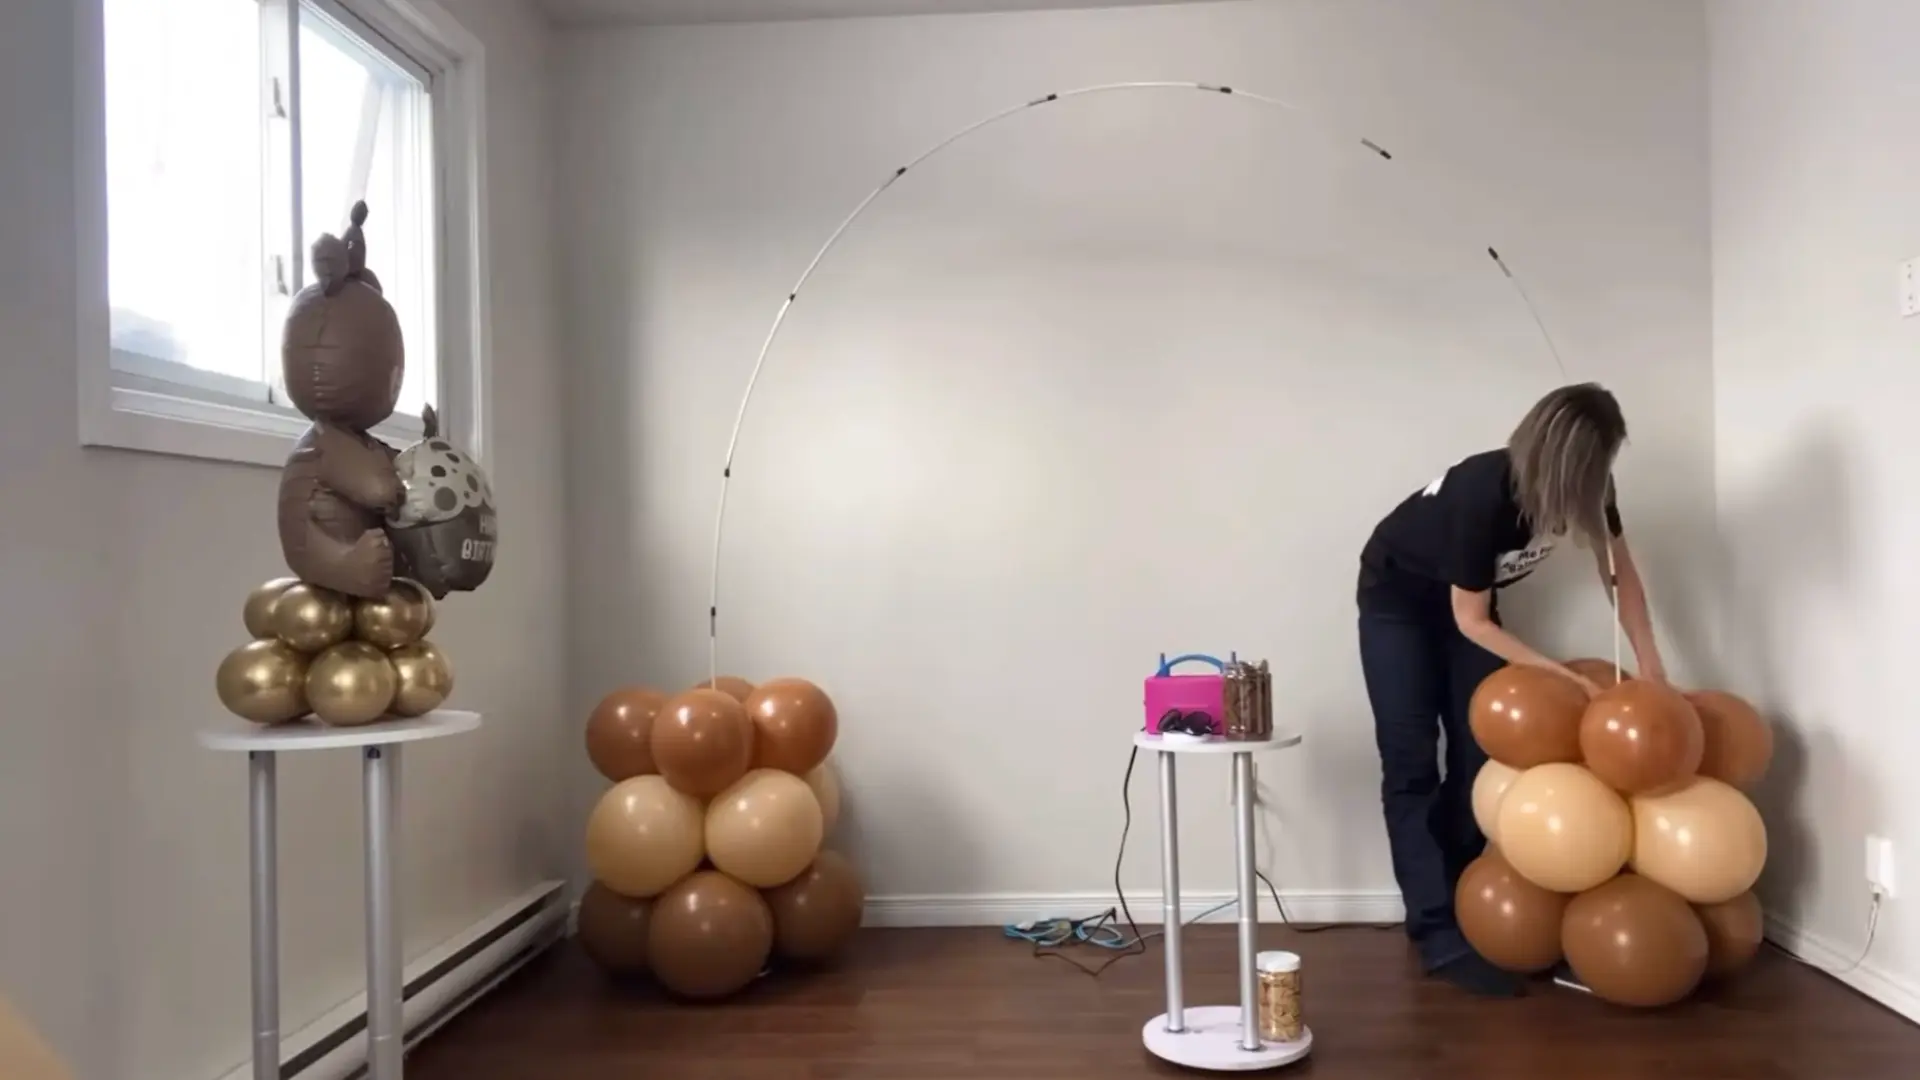
Next, prepare 12-inch balloons in the same Caramel Brown color and size them to approximately 9½ inches.
Use a hand pump to open the balloon valve before inflating, which can make the process easier.
If you are adding foil balloons or specialty decorations, inflate them carefully while holding the balloon upright.
Secure the bottom inflation tail with packing tape if necessary. Smaller balloons can later be used to fill gaps and add dimension between the larger balloon clusters.
Step 6: Create a Secure Connection for the Bear Decoration
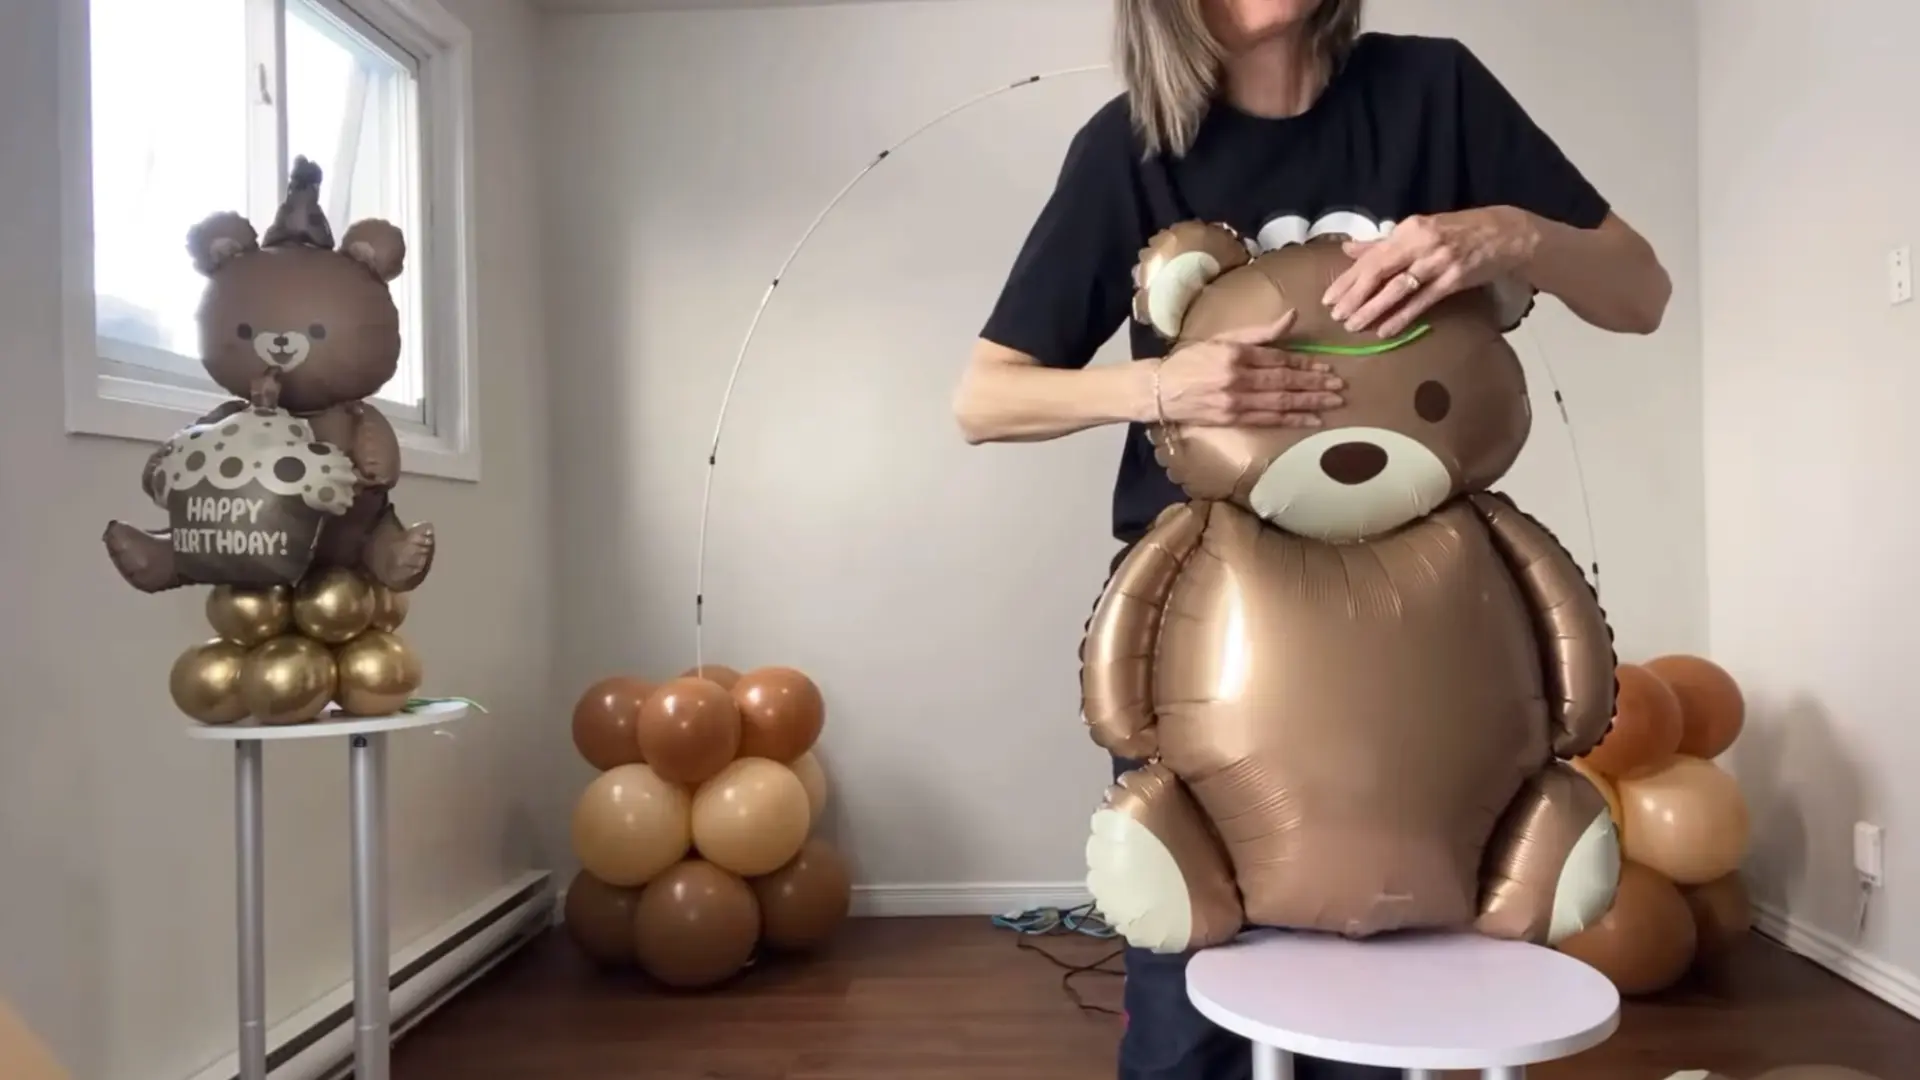
To attach the teddy-bear decoration securely, create an additional connection point around its head. Cut a piece of 160 balloon and prepare several pieces of packing tape.
Position the 160 balloon behind the decoration, then reinforce it with tape across the top, bottom, and sides.
The resulting arrangement resembles an “H” with two additional pieces of tape. Tie the prepared connection to the pole and add adhesive where necessary so the decoration stays firmly in place.
Step 7: Check and Correct the Arch Structure
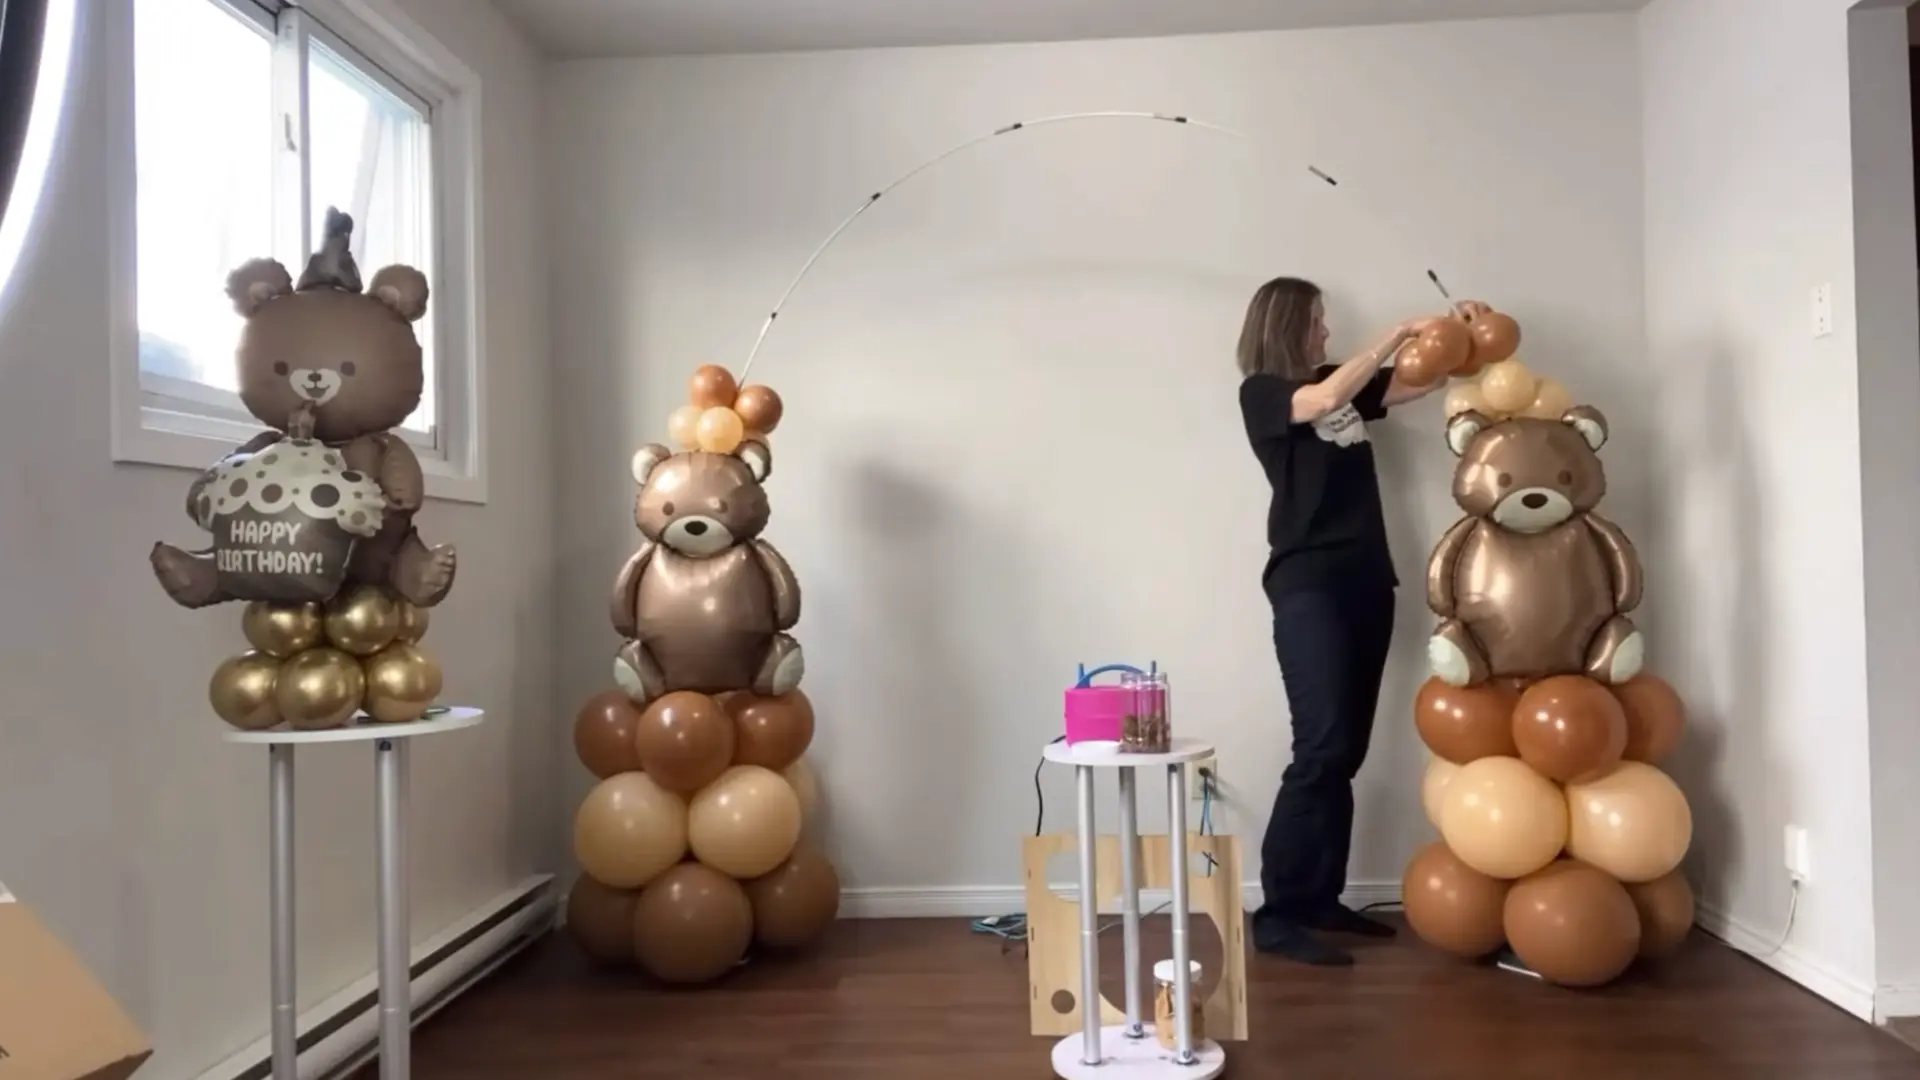
Before continuing with decoration, inspect the entire frame for leaning or instability.
Check every connection, especially where the arch cord meets the frame, and reseat anything that has come loose. Once the cord is correctly positioned, adjust the stand and balloon clusters until the arch is upright.
Taking time to correct structural problems now prevents the finished decoration from becoming unstable later.
Step 8: Finish With Glue and Metallic Balloon Accents
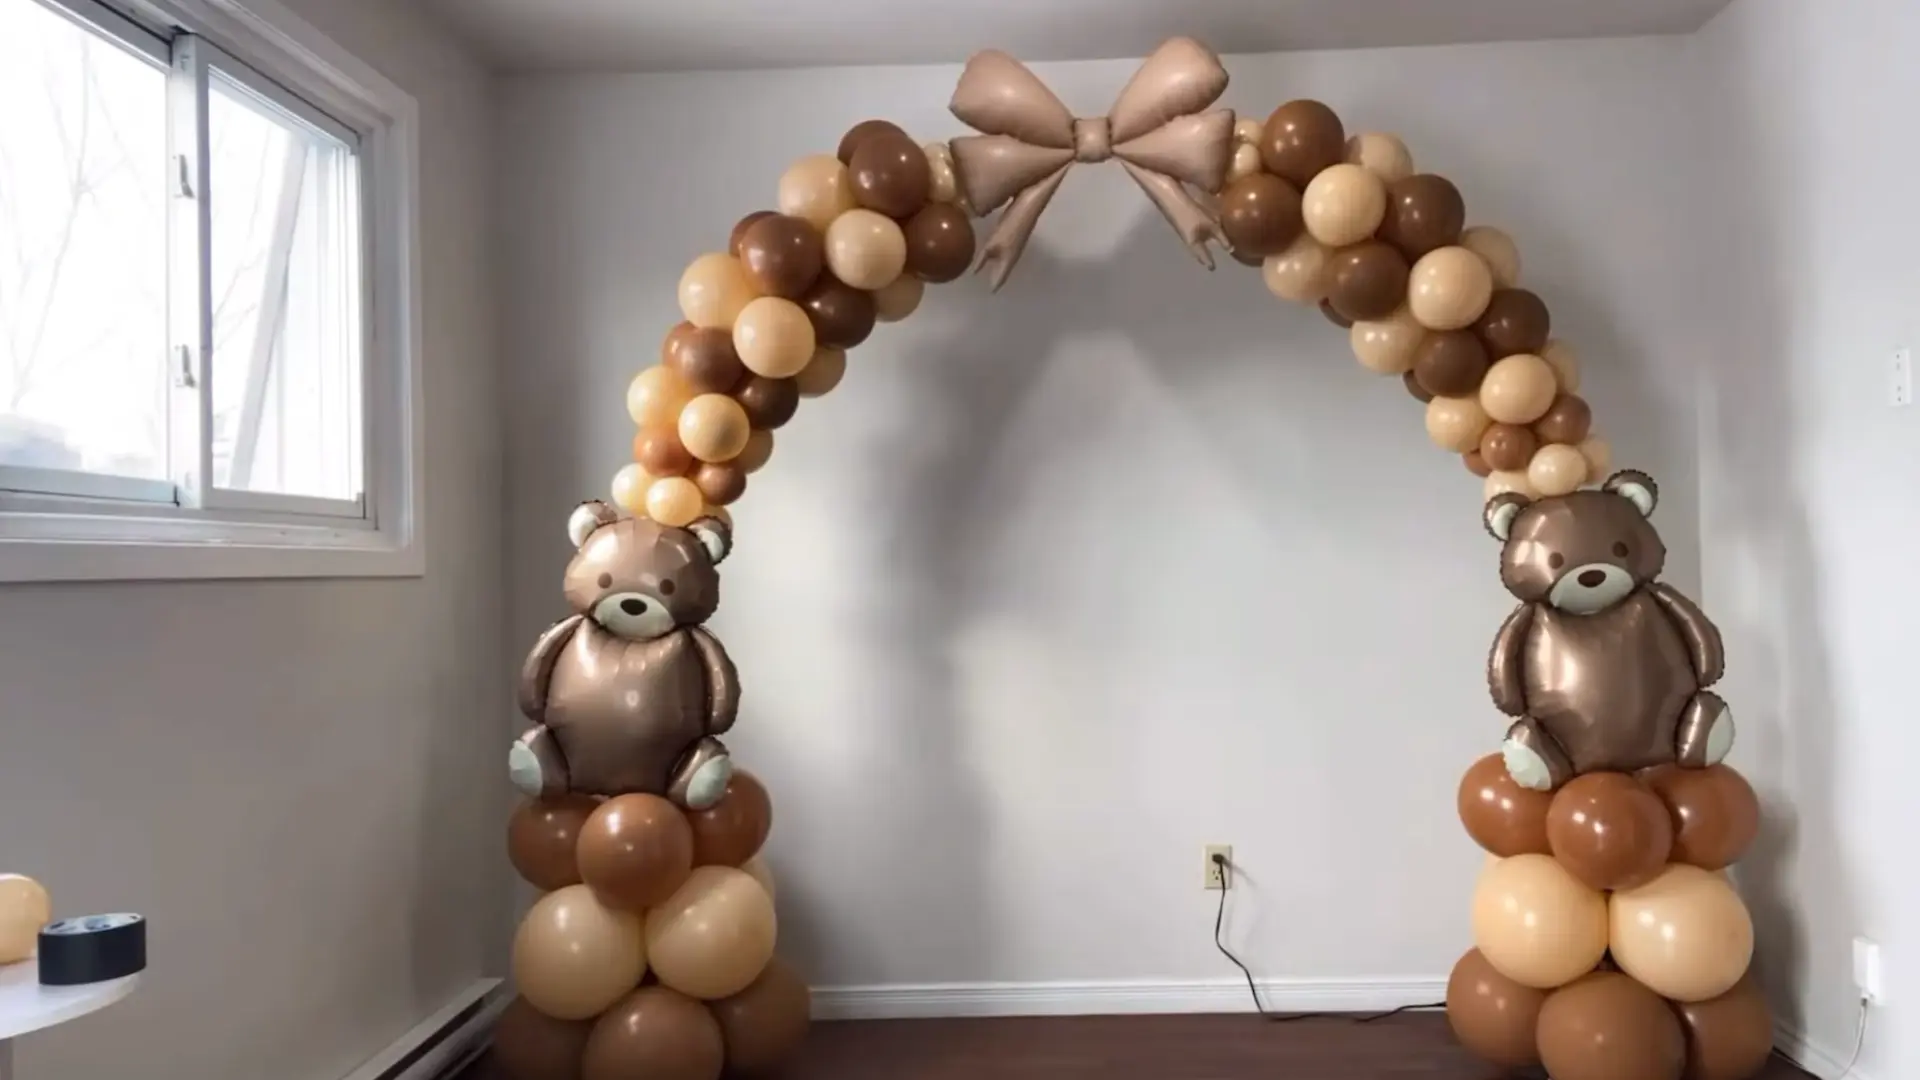
Once the arch is stable and the main balloon clusters are positioned, use a low-temperature hot glue gun to secure suitable decorative elements where needed.
Add gold 260 balloons around the teddy-bear decoration for extra detail.
Tie the 260 balloons onto the back of the existing arrangement and position them symmetrically or wherever additional color is needed.
Finally, step back from the arch and check its overall shape, spacing, balance, and stability before considering the balloon arch complete.
Watch this video tutorial by Ask Me For A Balloon for a full walkthrough of the process.
Difference Between a Balloon Arch and Balloon Garland
A balloon arch and balloon garland may look similar, but the setup and structure are different.
A balloon arch usually follows a defined curved frame, while a DIY balloon garland offers a looser shape that can hang across walls, tables, doors, or backdrops.
| Feature | Balloon Arch | Balloon Garland |
|---|---|---|
| Support | Often requires a stand, frame, or sturdy base | Usually uses decorating tape, hooks, or string |
| Placement | Commonly placed over entrances, stages, or walkways | Often attached to walls, tables, backdrops, or staircases |
| Balloon arrangement | Balloons follow the shape of the frame | Balloons can form an uneven or asymmetrical design |
| Setup difficulty | Requires more planning and support | Easier for beginners to assemble and hang |
| Portability | May be difficult to move after assembly | Can often be moved in sections |
| Best for | Large entrances, formal events, and photo areas | Birthdays, baby showers, home parties, and dessert tables |
| Overall appearance | Structured and symmetrical | Organic and relaxed |
Balloon Arch & Garland Ideas for Maximum Impact
A balloon arch isn’t limited to just one spot in a party space. Depending on where it’s placed, the same arch can welcome guests, set the scene for photos, or become the centerpiece everyone remembers.
1. Entryways and Doorways
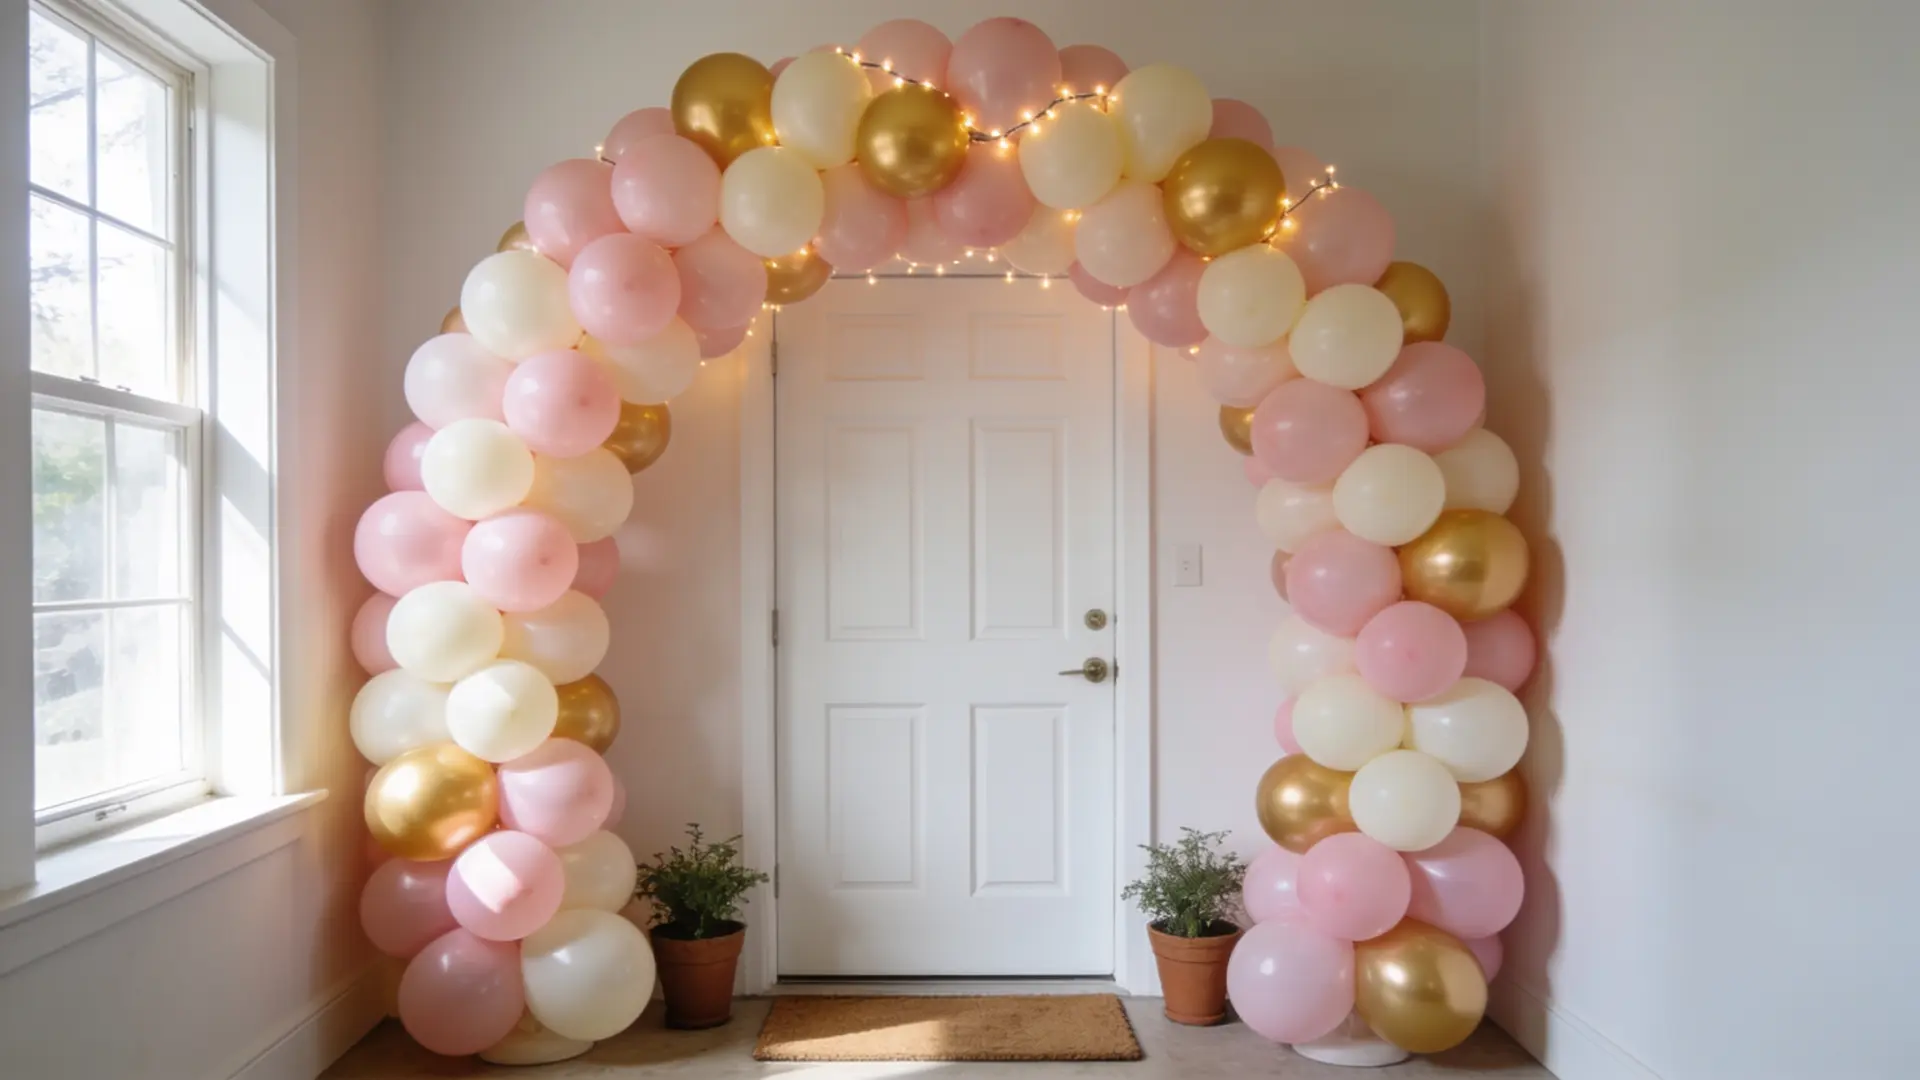
Placing an arch at the entrance instantly sets the tone before guests even step inside.
It creates a warm, welcoming first impression and signals that something special is happening.
This is one of the most popular placements since it doubles as a natural photo spot for arriving guests. It also works well for framing house numbers or nearby event signage.
2. Photo Booth Backdrops
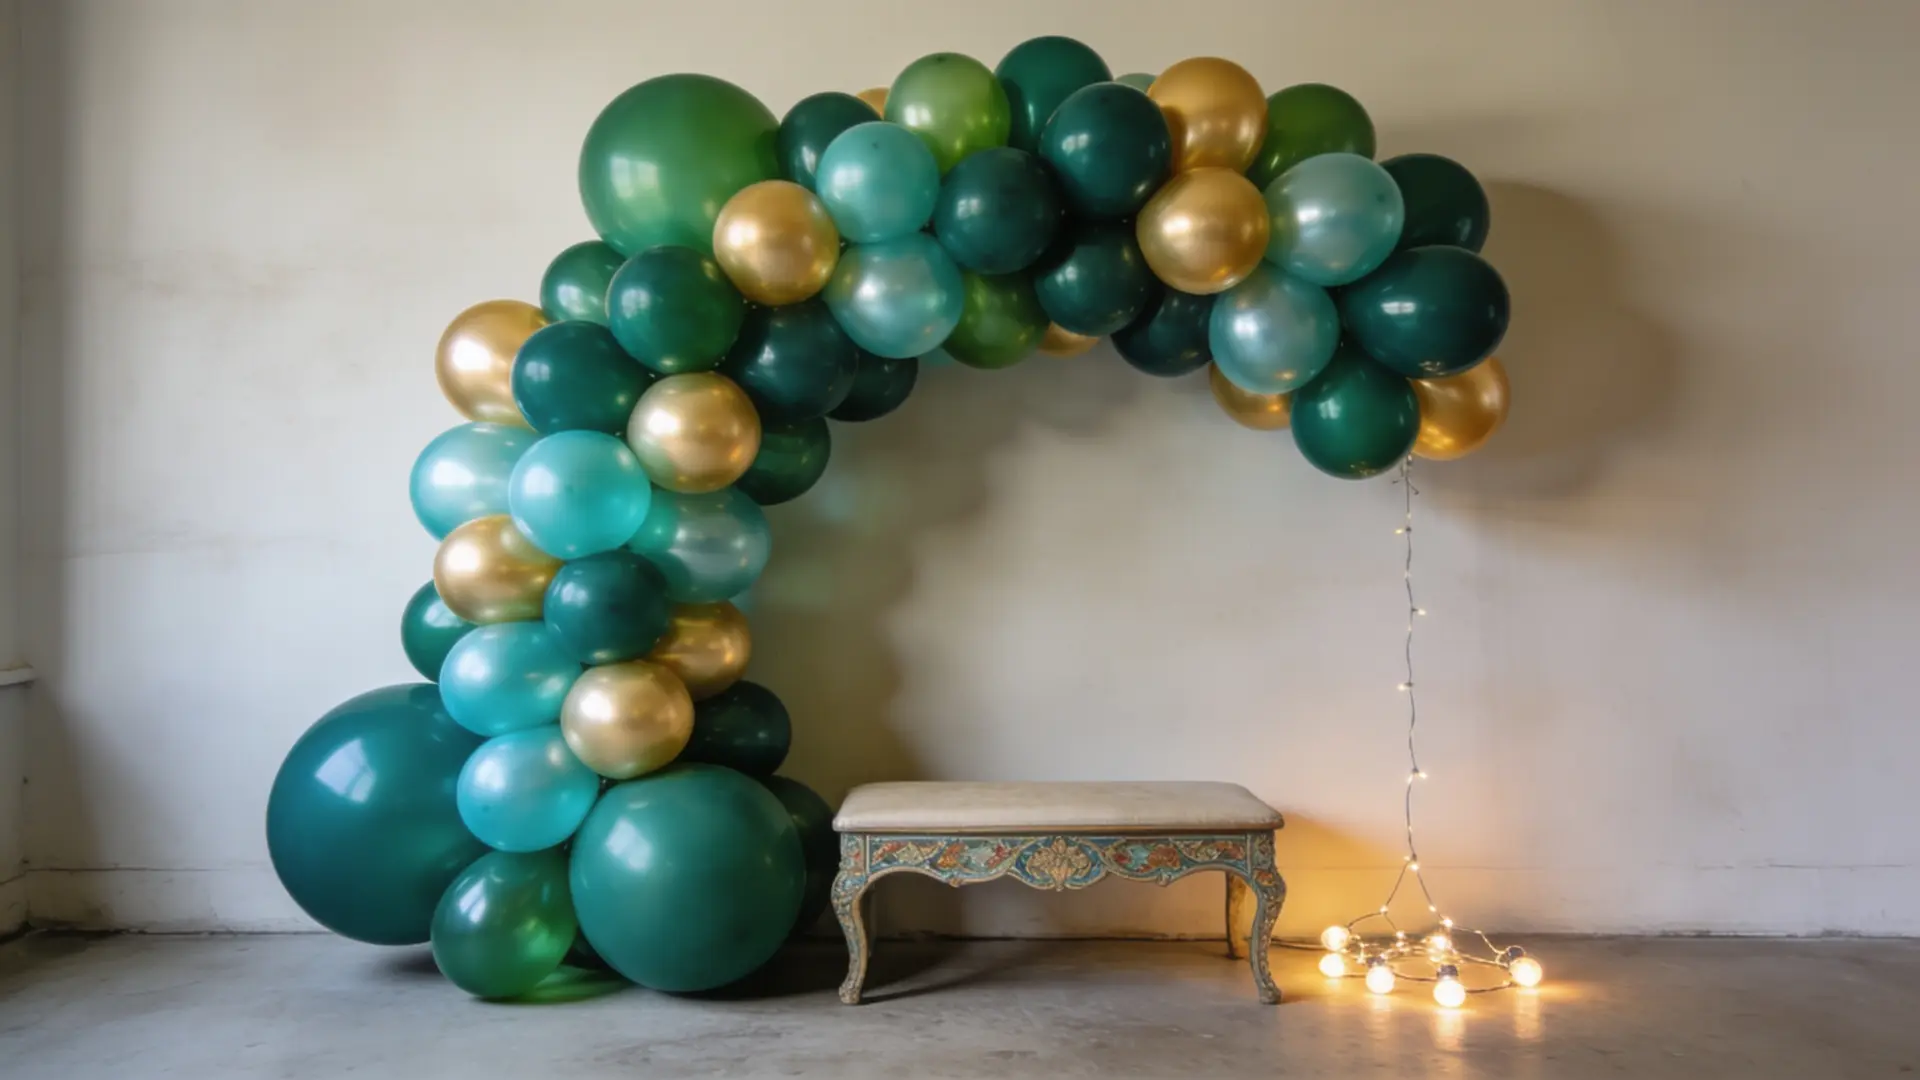
A balloon garland makes an effortless, colorful backdrop for photos at weddings, birthdays, or graduation celebrations.
It gives guests a dedicated spot to capture memories without needing extra props or elaborate setups.
Pairing the garland with layered wall textures instead of a bare wall gives photos more depth, especially in tighter spaces.
This placement works especially well against a plain wall for maximum visual contrast. Adding a few string lights nearby can enhance photos taken in the evening.
3. Table or Cake Table Centerpieces
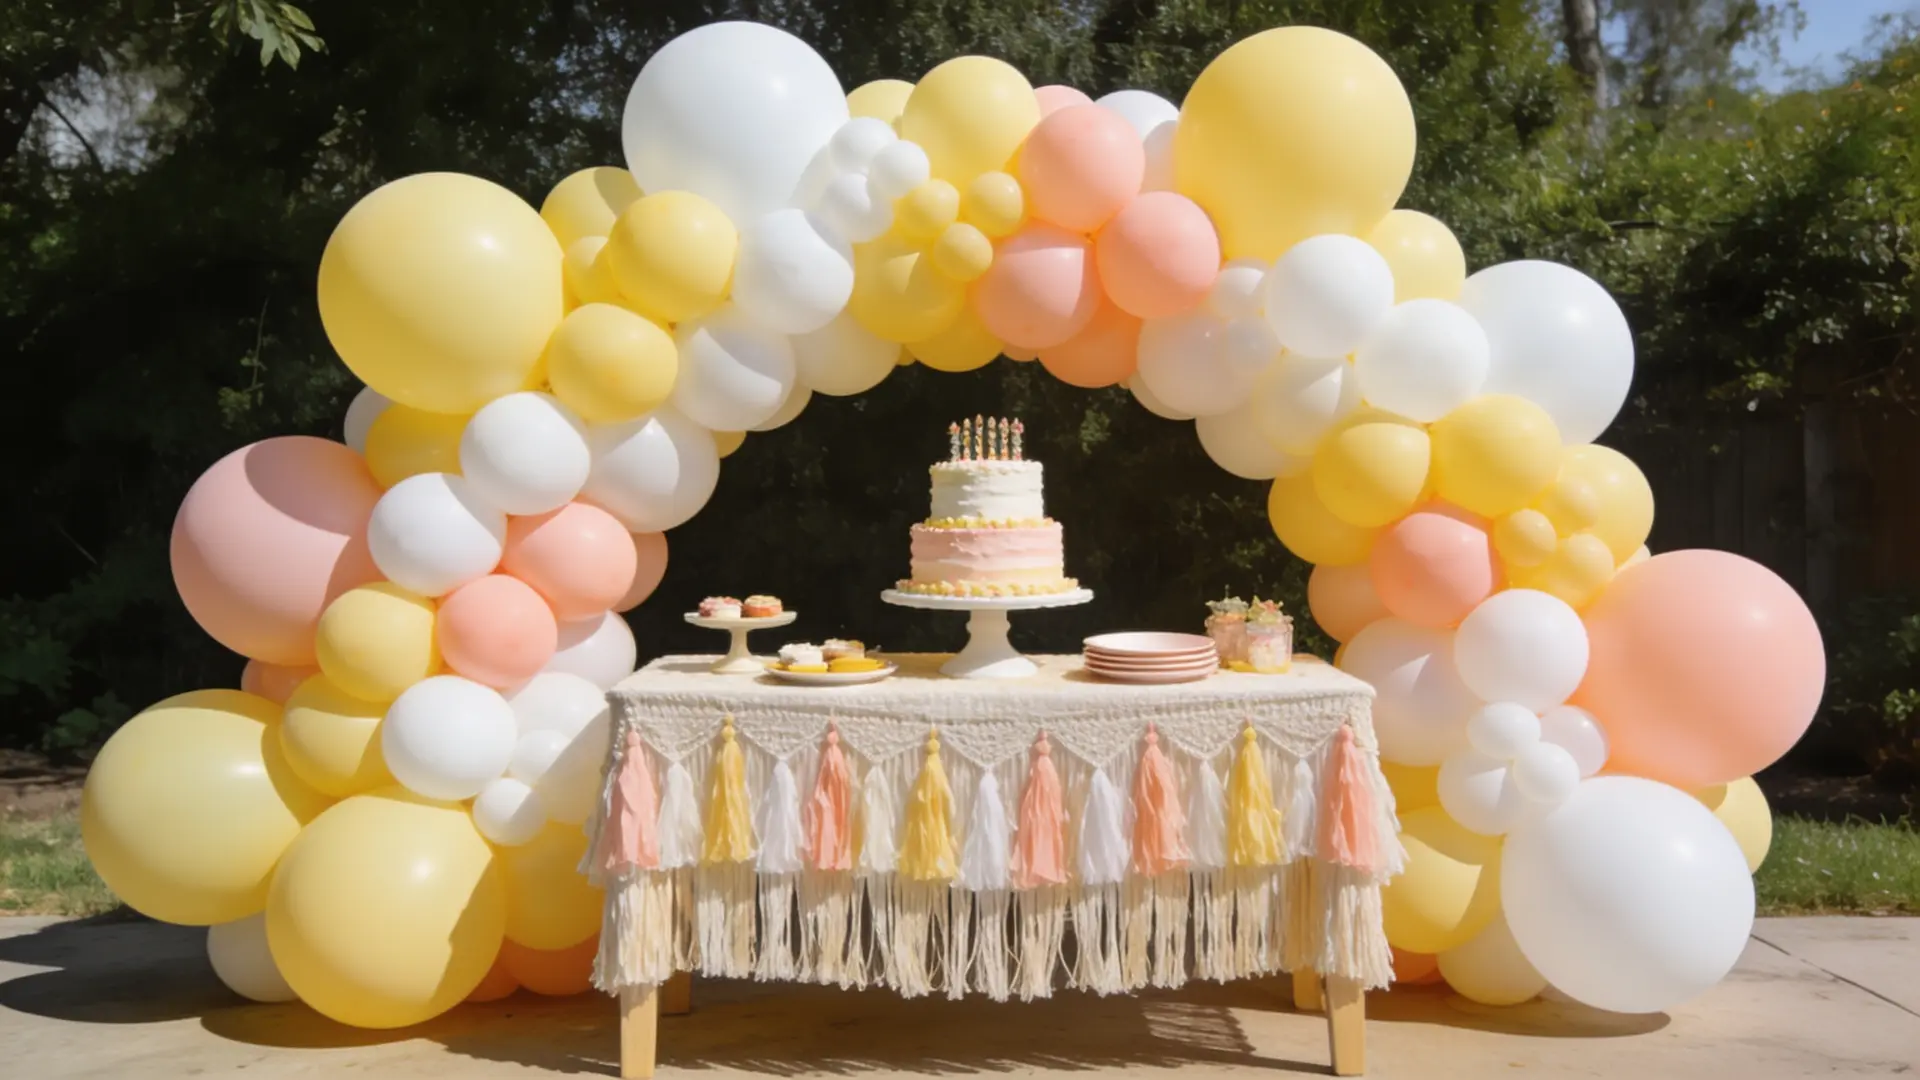
Positioned around or behind a dessert or cake table, a balloon arch adds height and color without overwhelming the display below.
It draws the eye upward, making the table feel like a designed focal point rather than just a serving area.
This placement pairs especially well with smaller, low-profile balloon garlands laid flat along the table edges.
4. Outdoor Setups
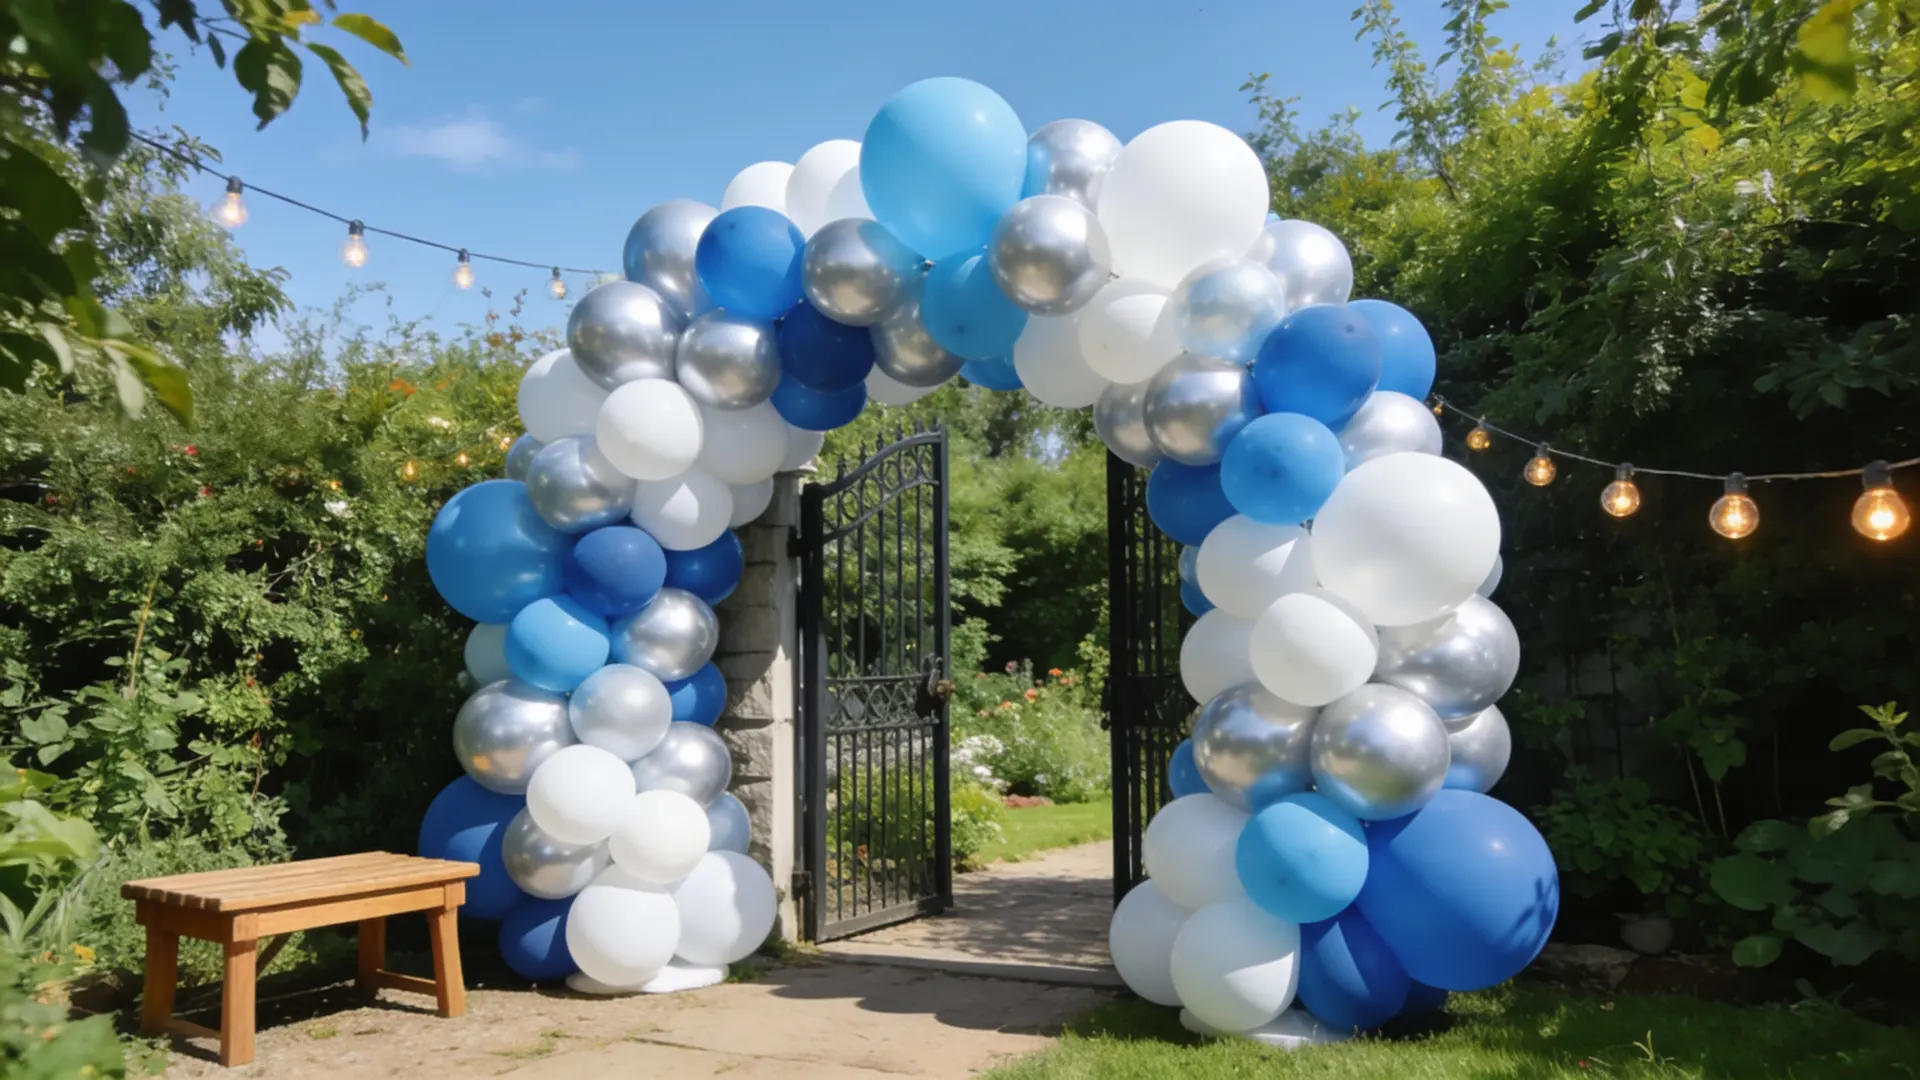
For garden parties or backyard celebrations, a balloon arch adds a festive touch that stands out against natural greenery.
Outdoor placements work well near outdoor living spaces, seating areas, gates, or open lawns, though securing the arch against wind is essential for keeping it in place
Choosing UV-resistant balloons can also help the colors last longer under direct sunlight.
5. Staircases or Hallway Accents
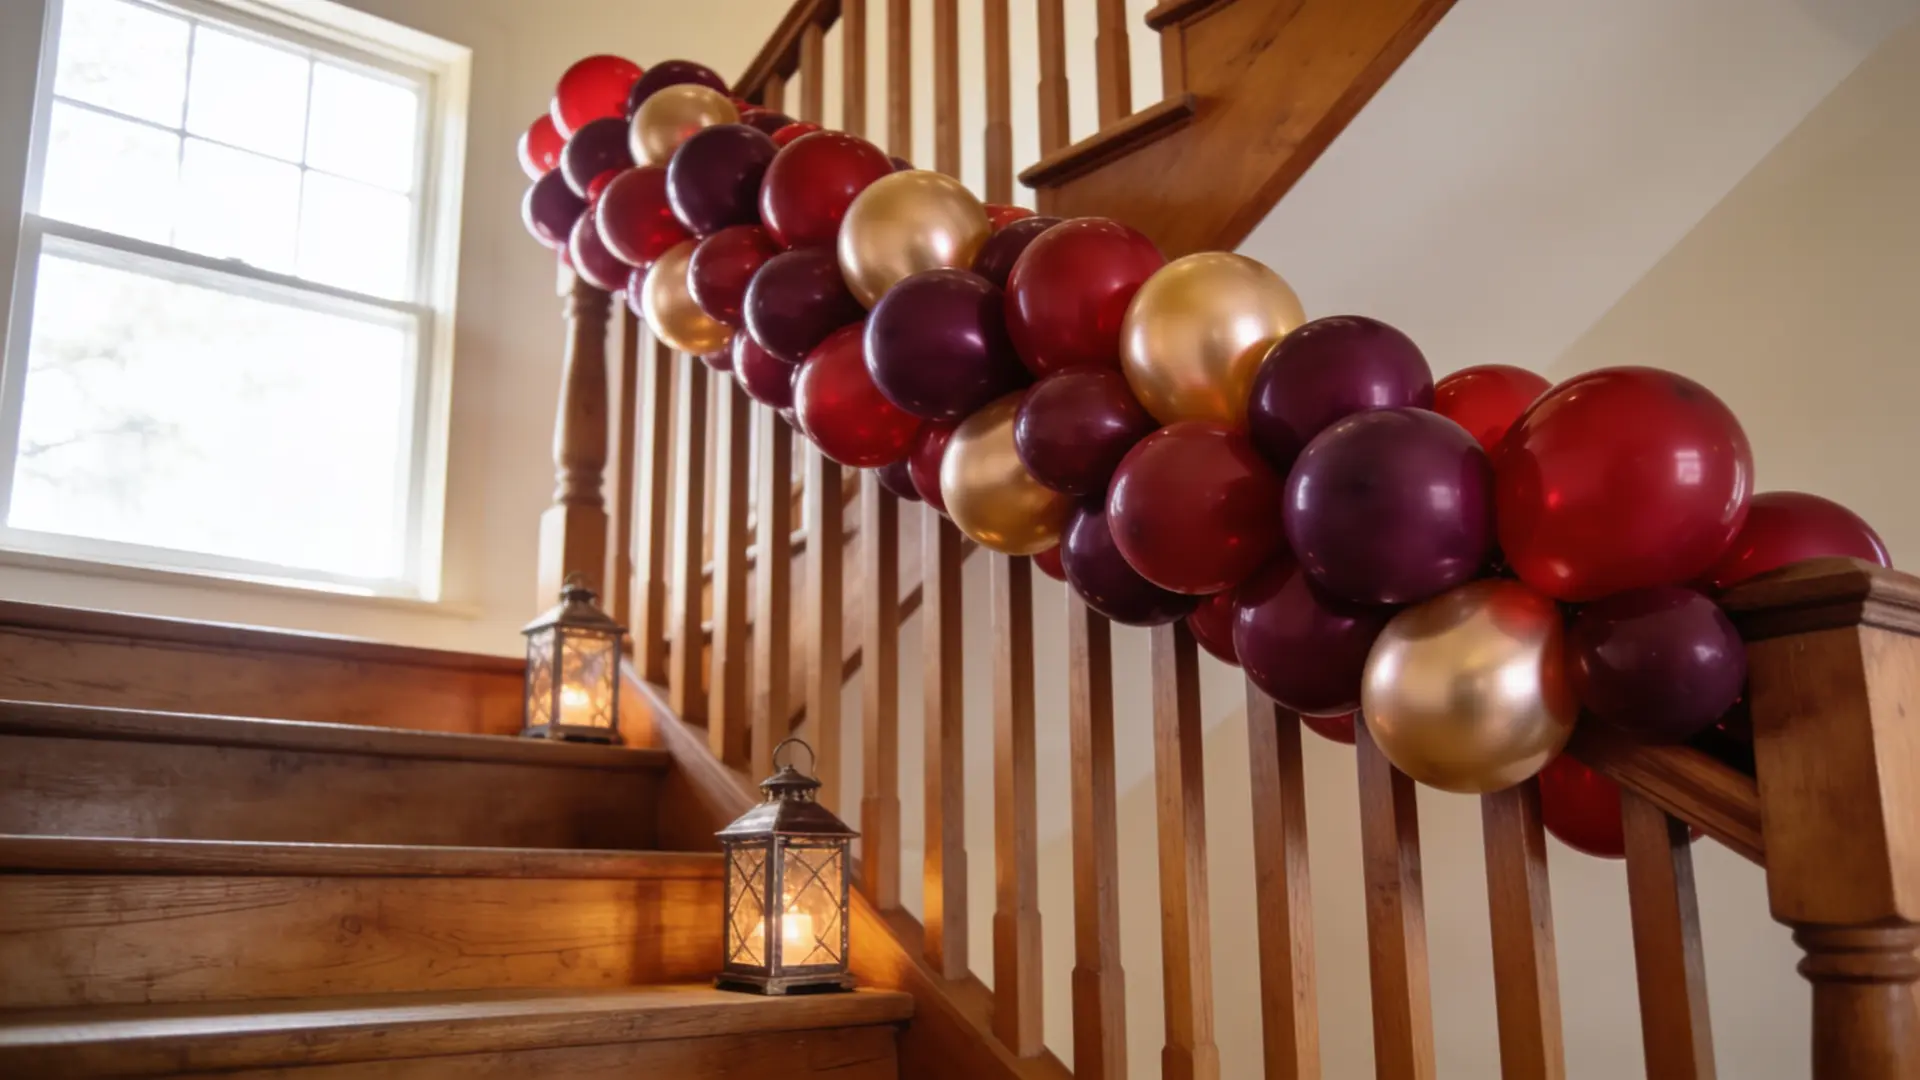
Wrapping a balloon garland along a staircase railing or hallway adds a dramatic, unexpected touch guests notice right away.
This placement works well for indoor events where the staircase becomes a natural transition point between rooms or celebration zones.
A single accent color on the railing can make the arch feel intentional rather than cluttered.
How to Store a Balloon Arch for Reuse?
A balloon arch doesn’t have to be a one-time decoration. With the right storage approach, parts of it can easily be saved and reused for the next celebration.
If the frame or strip is reusable, gently deflate the air-filled balloons and remove them before storing anything away.
This keeps the base intact and ready for a fresh set of balloons next time around.
Store everything in a cool, dry space away from direct sunlight, since heat and UV exposure can weaken both leftover balloons and structural materials over time.
Keep the reusable frame or stand stored separately from any loose balloons or decorative pieces.
This keeps it organized, protected, and easy to grab the next time an event comes up.
Common First-Timer Mistakes to Avoid
Even a well-planned balloon arch can go wrong in small ways. Knowing these common mistakes ahead of time makes it much easier to avoid them altogether:
- Overinflating Balloons: Filling balloons too full puts extra strain on them, making them more likely to pop early, especially as the day goes on.
- Skipping the Clustering Step: Attaching single balloons instead of clusters often results in a flat arch that lacks the full, rounded look most people want.
- Weak Attachment Points: Loosely securing clusters to the base can cause sagging.
- Ignoring Heat and Sunlight: Direct sunlight and high heat cause balloons to expand, weaken, and pop more quickly, significantly shortening the arch’s lifespan.
- Rushing the Gap-Filling Step: Skipping or rushing through this step leaves visible gaps, giving the arch an unfinished appearance.
Avoid these common slip-ups, and the whole process gets a lot smoother, leaving you with an arch that looks as good as it did the moment you finished building it.
Conclusion
A balloon arch might look complicated at first, but it really comes down to just a few things: a little planning, steady assembly, and some patience along the way.
Picking the right method, building clusters, shaping the arch, and filling in the gaps- each step plays a small part in the final result.
None of it requires special skills, just following the process one stage at a time.
Once you’ve built one, you’ll likely notice how much easier the next one feels, especially with a few first-timer mistakes already out of the way.
Pick a color palette that feels right, gather your supplies, and build your first balloon arch for the next celebration on your calendar!
Frequently Asked Questions
Do You Need Helium to Make a Balloon Arch?
No, helium isn’t necessary. Most balloon arches use air-filled balloons attached to a string, strip, or frame, which actually makes the arch last longer than a helium-based design.
How Long Does a Balloon Arch Take to Make?
On average, a balloon arch takes 1-3 hours to complete, depending on its length and complexity. Larger arches or detailed color patterns typically take longer to inflate and assemble properly.
Which Method is Easiest for a First-Time Balloon Arch: String, Frame, or Strip?
The strip (balloon tape) method is usually the easiest for beginners, since balloon knots push straight through pre-punched holes with no tying or frame assembly required. The string method comes a close second and costs less to start.