
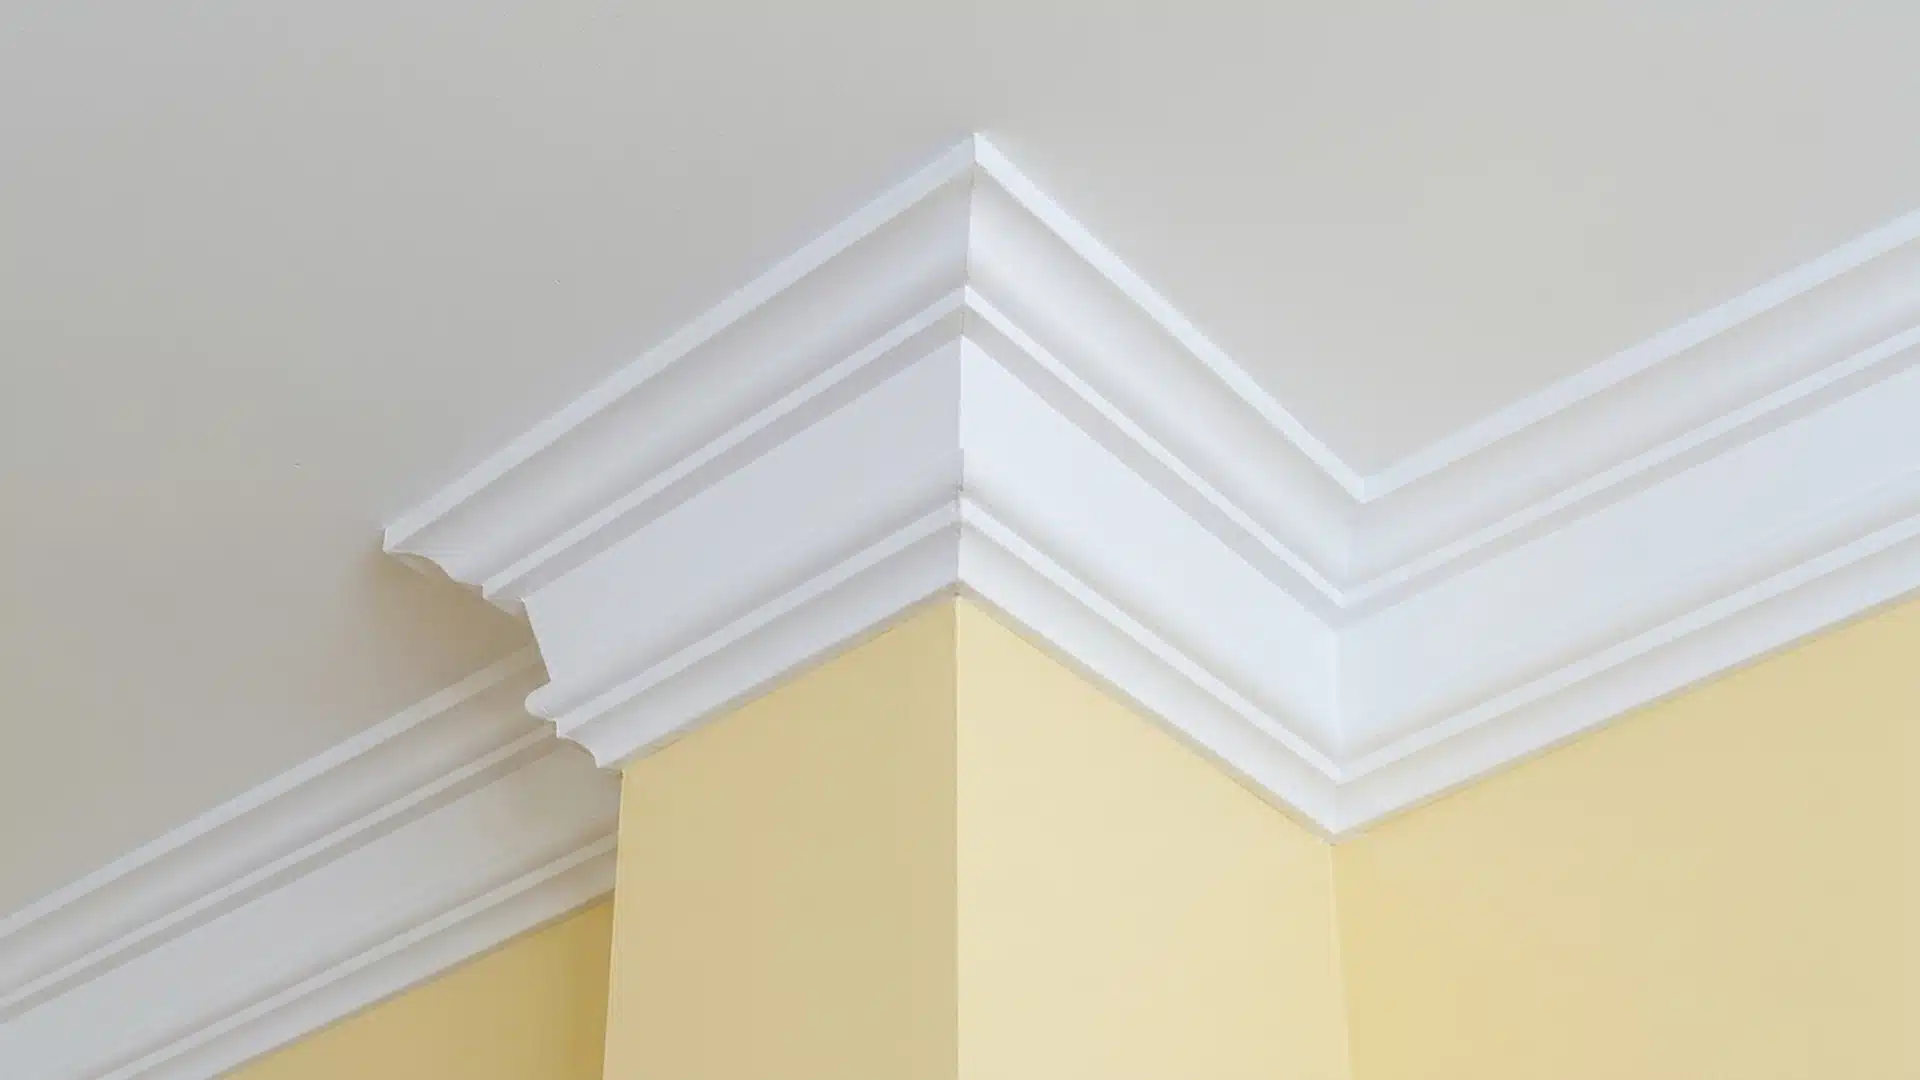
Crown molding is a trim piece placed where walls meet the ceiling. Learning how to install crown molding takes a few basic steps. It works in bedrooms, hallways, and living rooms alike.
Some styles look plain, while others have detailed edges. Picking the right profile depends on the room and budget. The process involves measuring, cutting, and fitting each piece carefully.
Corners need extra attention since angles must line up right. Painting comes last, once the joints have dried fully.
Basic tools and steady hands are enough for this project. Read on to see exactly how each step works.
What Does Crown Molding Add to a Room?
Crown molding plays a genuine architectural role, giving the wall a clean, finished edge instead of stopping bare at the ceiling line above it.
Beyond simple decoration, it also treats the wall-to-ceiling transition as a deliberate design choice, rather than a spot builders simply left plain and unfinished.
A well-placed profile can also change how spacious a room feels, drawing the eye upward and making a low ceiling read taller than it truly is.
Wide, ornate profiles tend to read as formal and traditional, while slim, simple profiles feel understated, modern, and far less visually heavy overall.
Ultimately, the right profile shapes how proportionate and complete a room looks where the wall meets the ceiling. That same instinct shows up in the ongoing debate over whether accent walls still work.
Tools and Materials Checklist
Gather these items before starting, including tools for coping crown molding, so you don’t have to stop mid-project to hunt for supplies. Here is everything you need:
| Tool/Material | Estimated Cost Range |
|---|---|
| Pre-painted finger-joint pine crown molding | $2 to $6 per linear foot |
| Miter saw | $150 to $400 (or rent by the day) |
| Plastic crown molding angle template | $10 to $25 |
| Tape measure and pencil | $10 to $15 |
| Construction adhesive or panel adhesive | $5 to $10 per tube |
| Paintable silicone caulk | $6 to $10 per tube |
| Nail gun and finish nails | $80 to $200 (or rent) |
| Lightweight spackle or drywall filler | $6 to $12 |
| Sanding sponge | $4 to $8 |
Note: These figures are rough averages and will shift depending on brand, region, and molding profile. The video itself does not include any of these estimated costs, they’re provided here for general reference only.
Installing Crown Molding: Step-by-Step Instructions
Once your materials are on hand, follow the steps below in order, rather than skipping ahead to nailing. Here is the process:
Step 1: Measure the Run
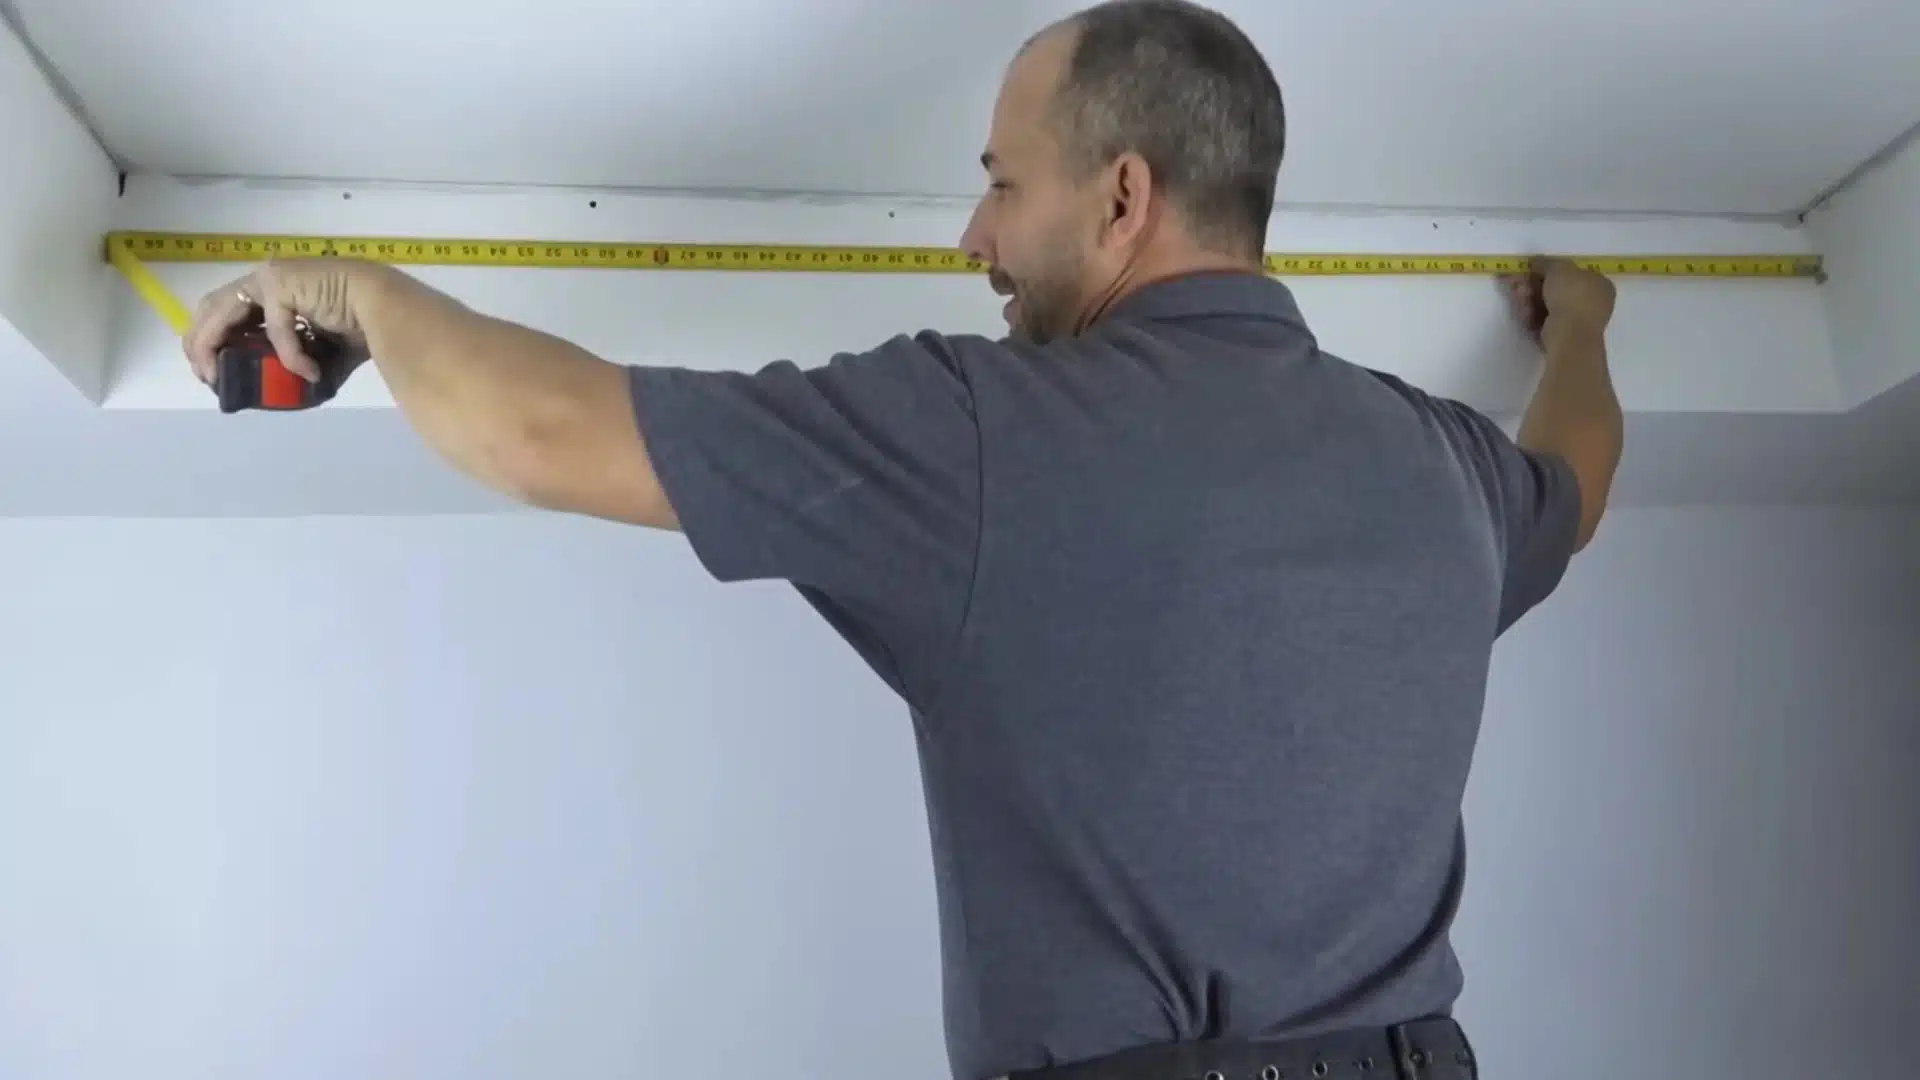
Measure the inside length of each wall section, corner to corner, along the ceiling, the exact same way as the baseboard.
Cut every piece slightly under that measurement instead of exactly; for example, a wall reading 46-5/8 inches often cuts cleaner at 46-1/2 inches.
Any resulting gap left on the backside can be closed later with thin shims once the joint sits correctly and is finished.
Step 2: Set the Angle Template and Make the First Cuts
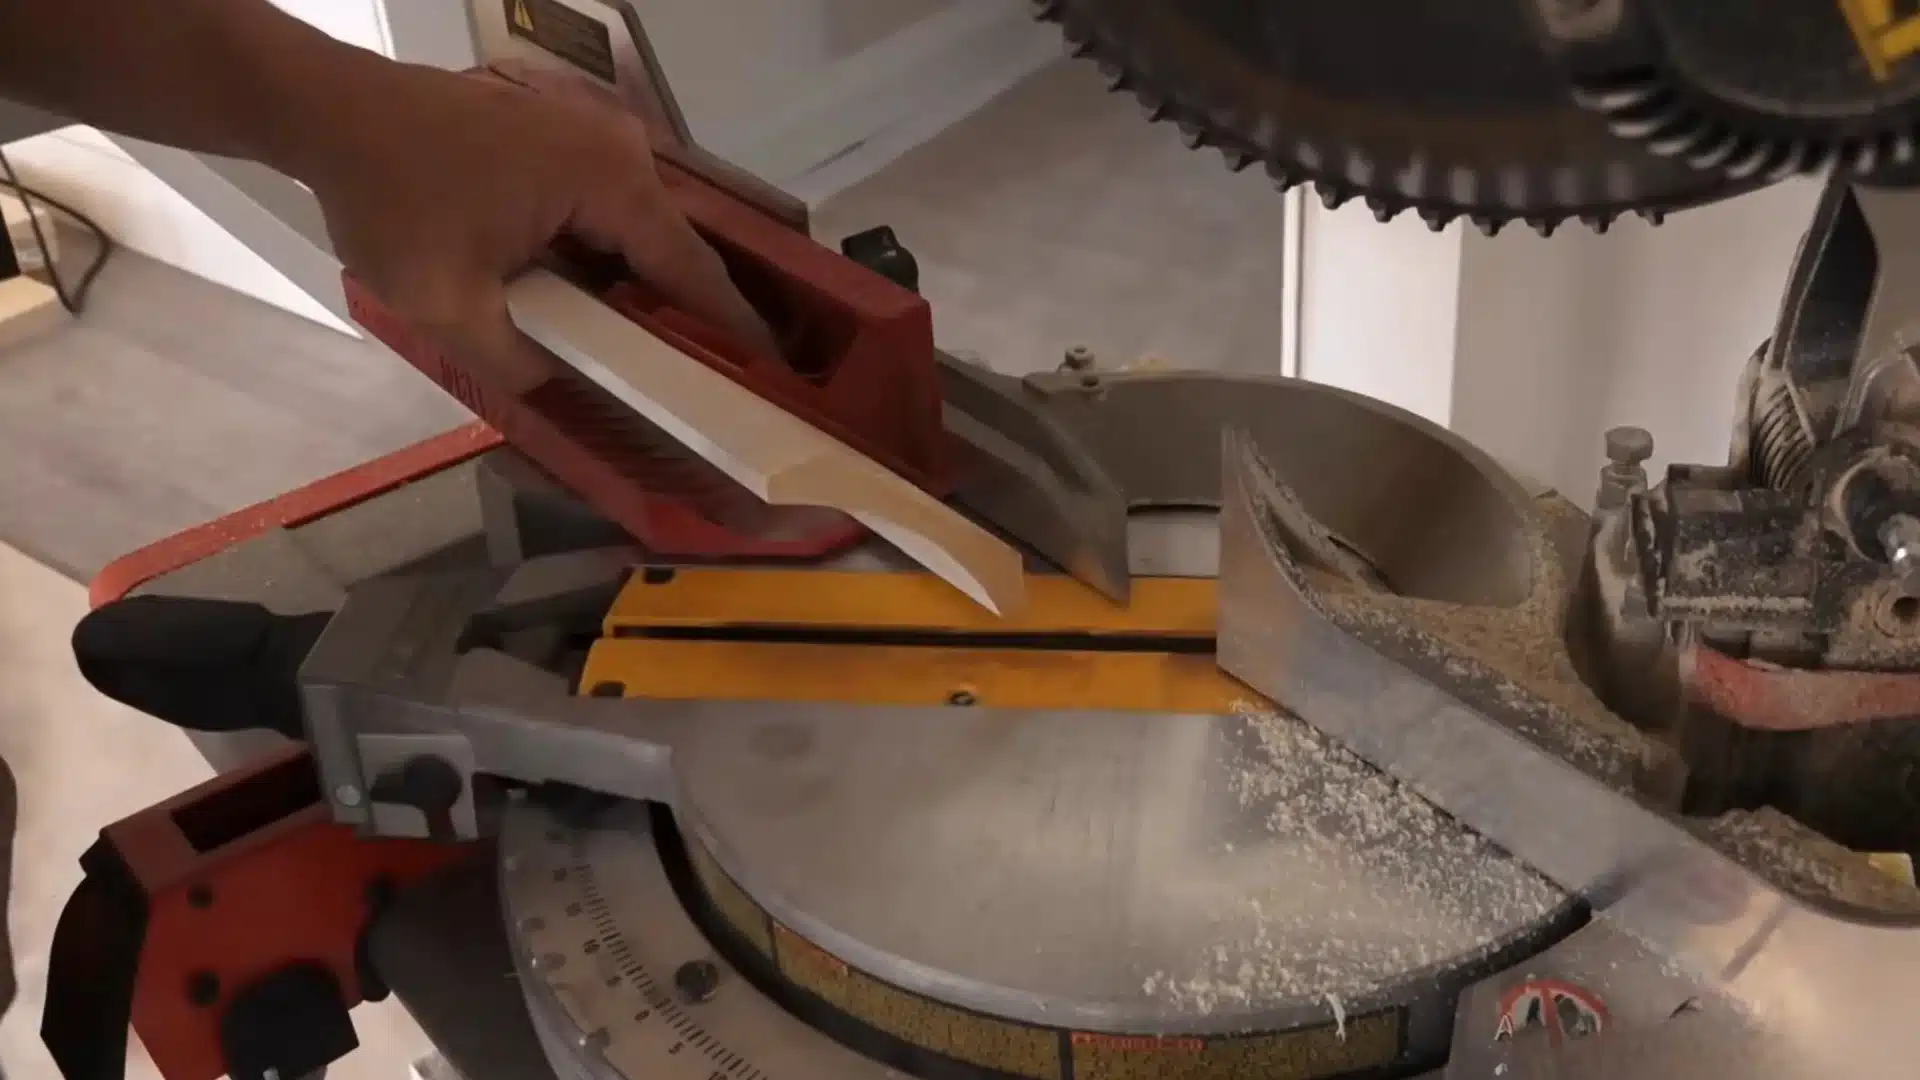
Set the molding into the angle template, just as for the baseboard, aligning the top edge with the ceiling-cut side.
Align the template side edge with the wall side of the cut, since this cut sits perpendicular to the first.
Bring the blade to full speed before it touches the material, then feed slowly, checking and nudging until the angle matches the corner mark exactly.
Step 3: Dry-Fit Before Committing
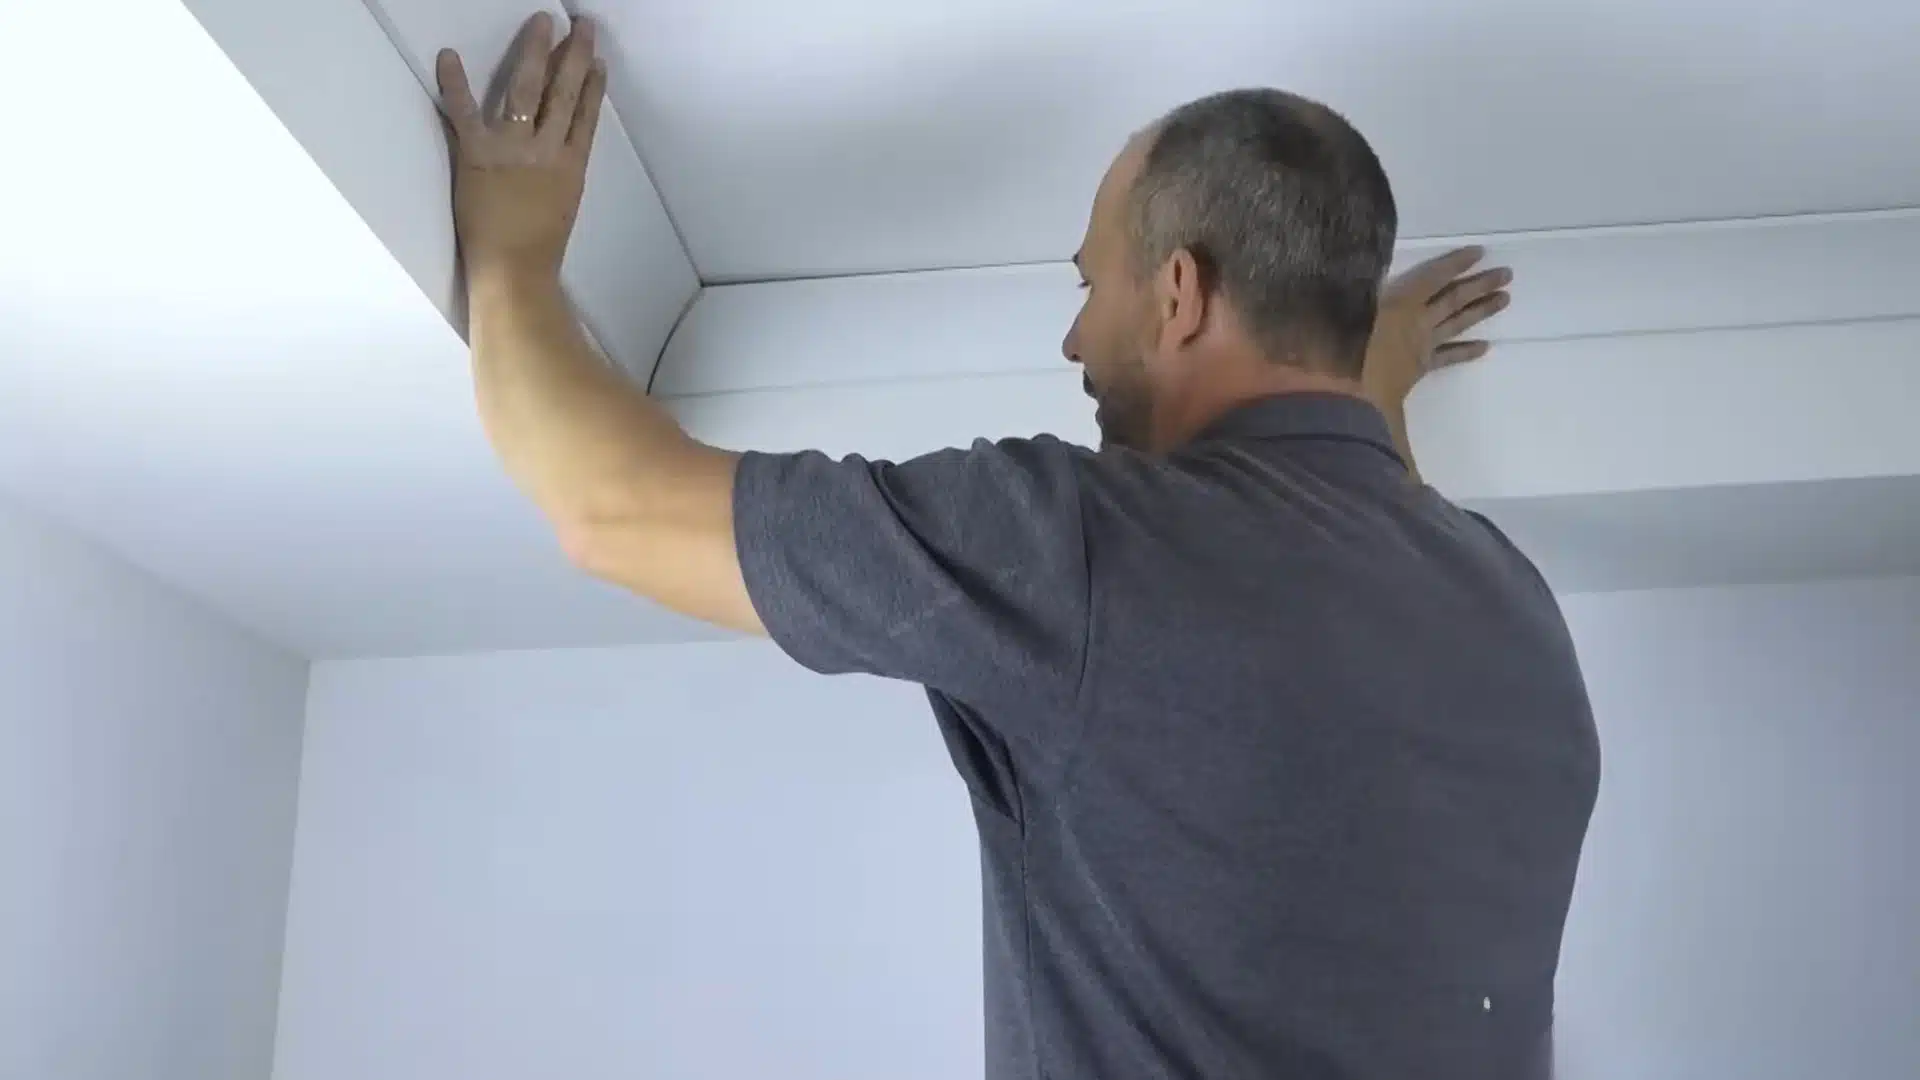
Roll the cut piece into place at the ceiling and hold it there firmly against both the wall and ceiling edge.
Take a short offcut with the matching angle and hold it against the opposite side of the same corner joint fit.
This reveals exactly how the two pieces will actually meet before anything gets nailed, so mark the position and take it back down.
Step 4: Glue and Nail in Place
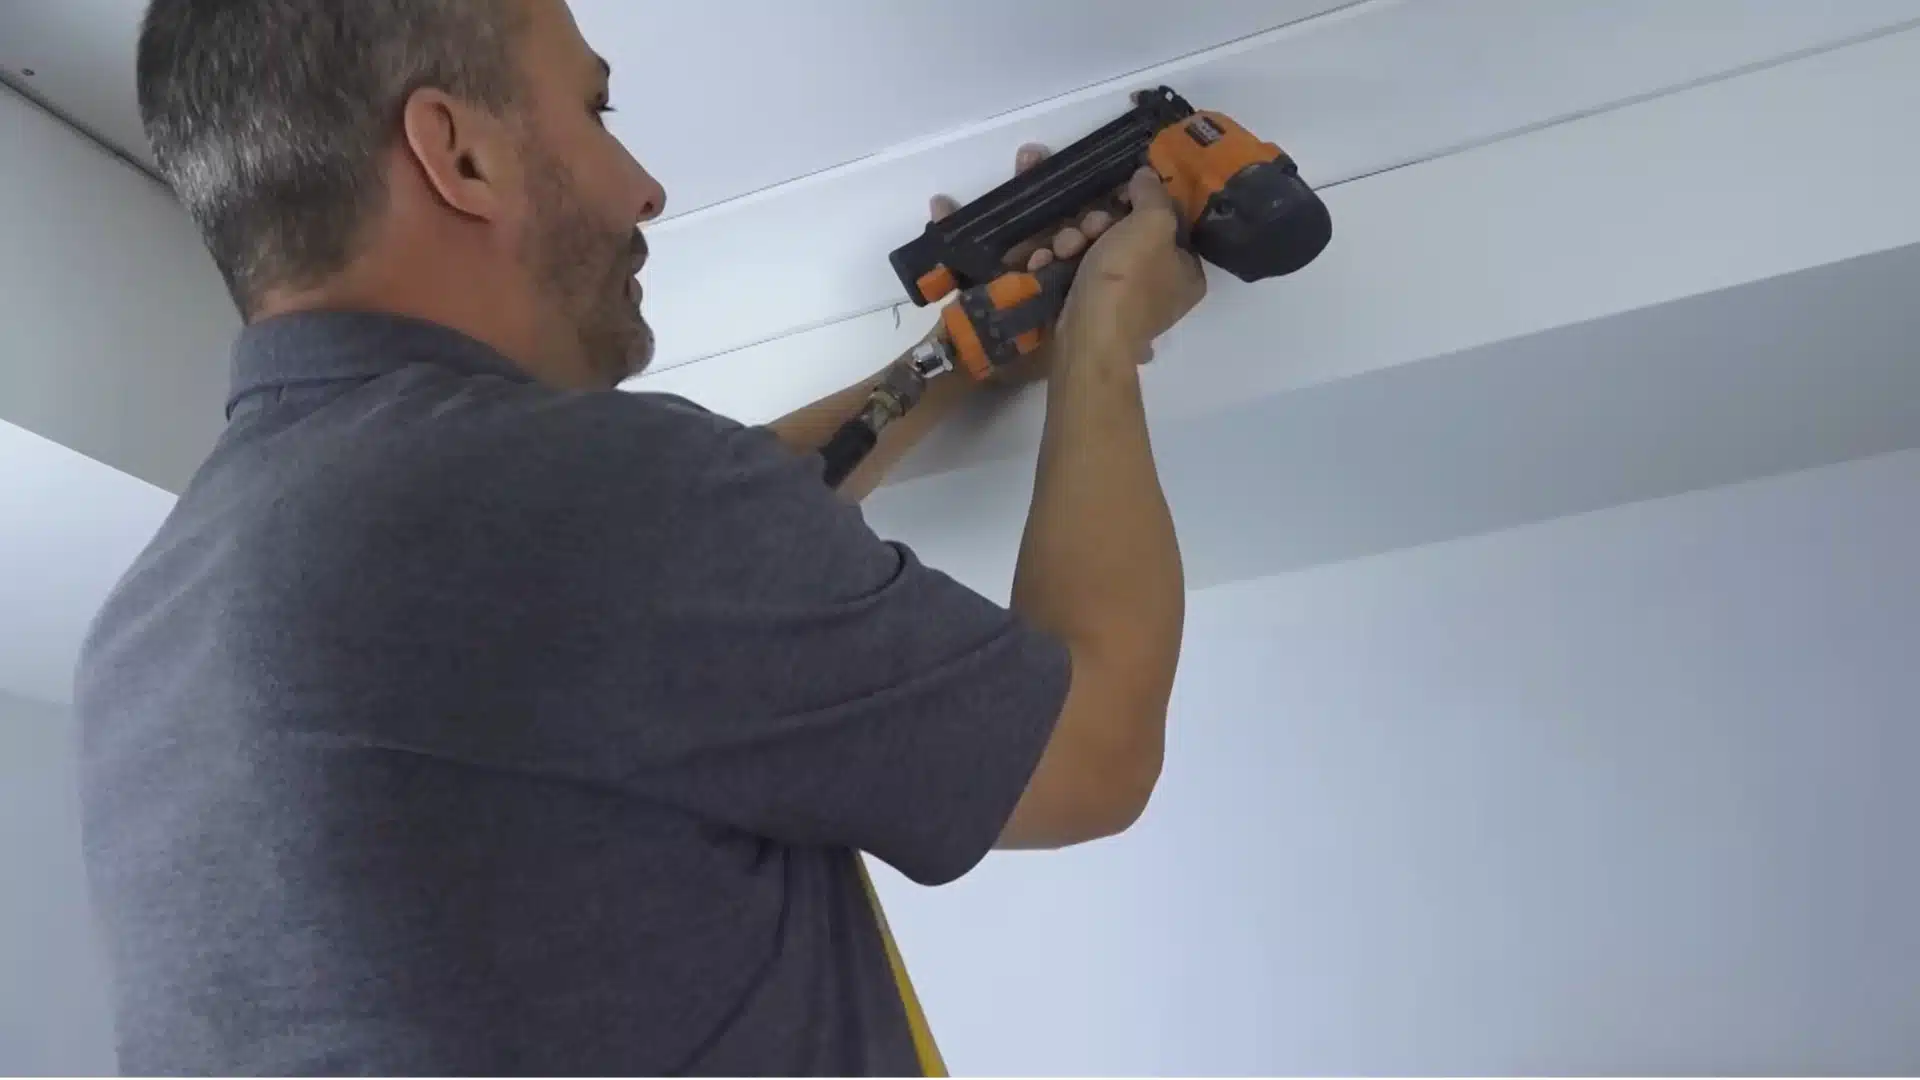
Run caulk along the pencil lines marking the molding position on the wall and ceiling, then press the piece into the caulk rather than nailing it dry.
Since there is often no framing available to nail into along the run, drive the nails in at an angle so they catch enough material to hold.
Where a joint still isn’t closing evenly, adding a few extra nails helps pull it tighter.
Step 5: Cope or Caulk the Inside Corners
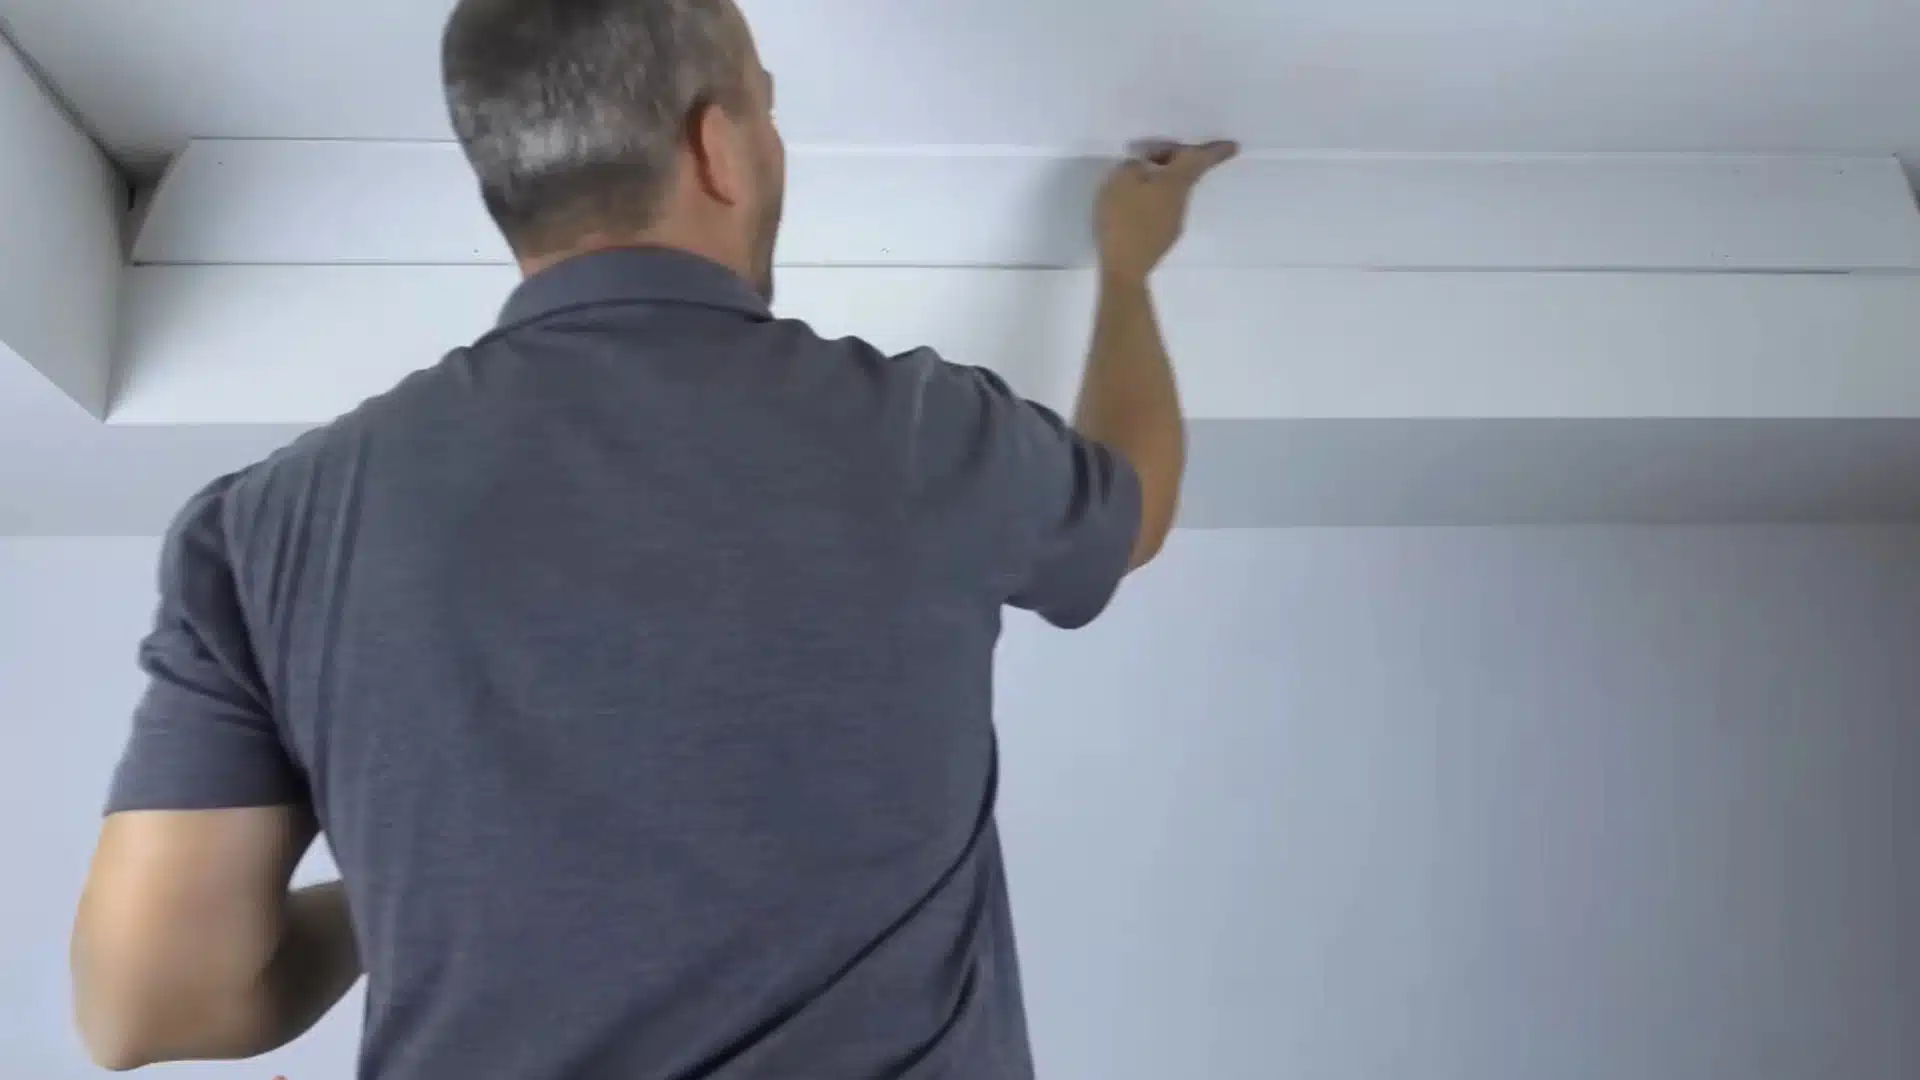
Every single piece of crown molding coming off the mill differs slightly in width, curve, and thickness from the next.
So no matter how carefully every corner is cut and lined up, a perfect match between two pieces is unlikely.
Use an elastomeric caulk that stretches and moves, rather than a rigid one that cracks as wood expands and contracts, and smooth it with a dry finger.
Step 6: Fill Nail Holes and Sand
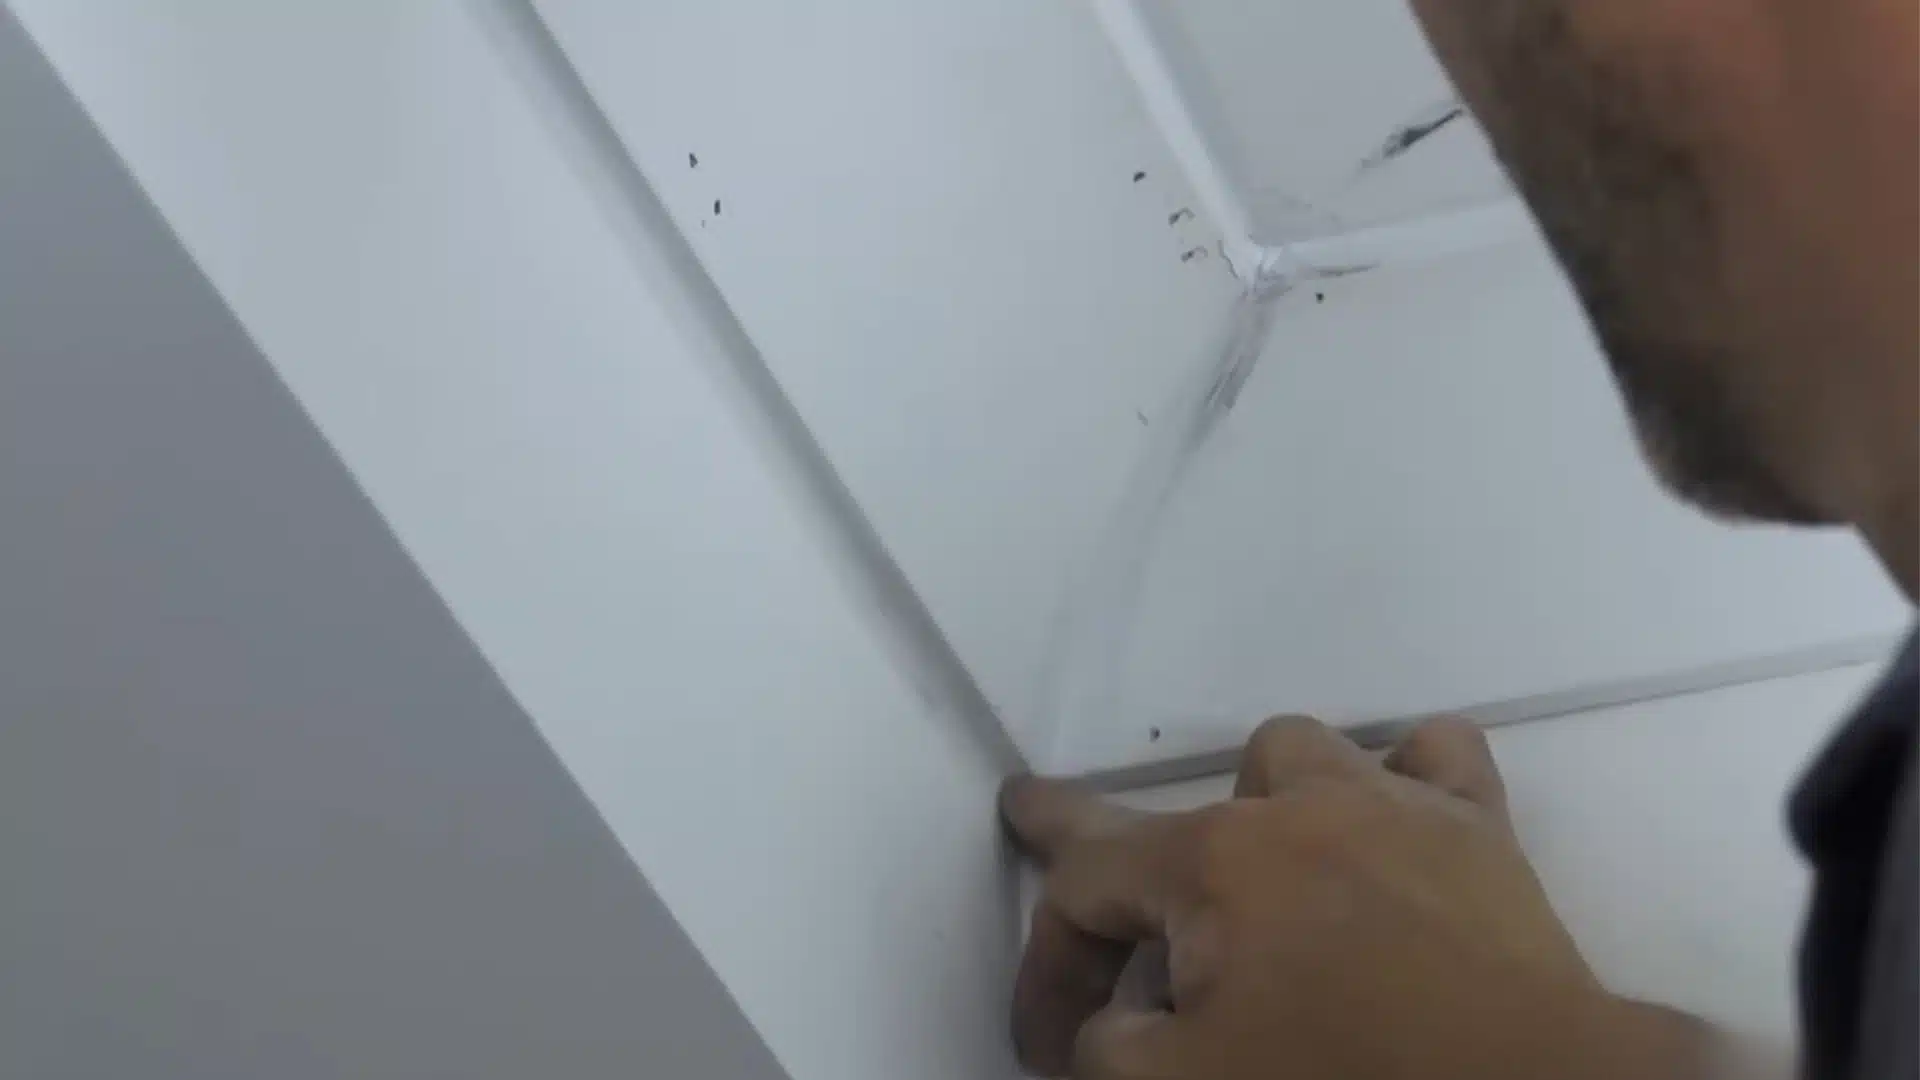
Do not use caulk to fill nail holes, since it shrinks as it dries and leaves visible dimples once painted.
Use a fillable product such as drywall compound instead, overfilling the hole slightly and sanding it smooth once dry so the surface reads as unbroken under paint.
Let the piece sit for 24 hours before painting, since caulked joints continue to shrink overnight.
Watch the full video by Home RenoVision DIY for more insight.
Installation Tips for a Cleaner Finish
A few habits separate a rough-looking corner from one that reads as a single clean piece once it’s painted.
- Cutting both angles in advance: Cut and label both ends of a piece before test-fitting either corner, so you don’t have to make repeat trips to the saw.
- Checking corners from both sides: Hold a matching offcut against the far side of a corner before nailing anything, since one piece alone can look fine and still leave a gap.
- Using the right caulk: Choose a paintable silicone caulk with stretch, not a rigid acrylic, so the joint holds up as the wood expands and contracts.
- Letting joints rest overnight: Give caulked corners a full day to shrink and settle before adding a second coat of paint or filler.
- Keep the blade at full speed: Let the miter saw reach full RPM before making a cut to protect the blade and achieve a cleaner edge.
Small habits like these add up across a full room, and they cost nothing but a little patience.
How Long Does Installing Crown Molding Take?
Total time depends on the number of corners and the straightness of the existing walls and ceiling.
| Room Type | Measuring & Cutting | Installation | Caulking & Filling | Total Estimated Time |
|---|---|---|---|---|
| Small Hallway (2 walls) | 30 mins | 1 hour | 30 mins | 2 hours |
| Bedroom (4 walls) | 1 hour | 2 to 3 hours | 1 hour | 4 to 5 hours |
| Living Room (4+ walls, wider molding) | 1.5 hours | 3 to 4 hours | 1.5 hours | 6 to 7 hours |
| Kitchen (cabinets, soffits) | 1.5 hours | 3 to 5 hours | 1.5 hours | 6 to 8 hours |
| Basement with boxed-out ceiling | 1 hour | 2 to 3 hours | 1 hour | 4 to 5 hours |
These estimates assume one installer working alone with a plastic angle template rather than manual compound-angle calculations, which typically take longer.
DIY Crown Molding vs. Hiring a Professional
Deciding between doing this yourself and bringing in a carpenter comes down to the shape of your ceiling, the tools you already own, and how much time you’re willing to trade for lower material costs. Both routes can produce a finish that looks clean once painted.
Diy Makes Sense if
- Your walls and ceiling are reasonably straight, without unusual angles beyond standard 90-degree corners
- You already own or can rent a miter saw and a nail gun
- Budget matters more than speed, since materials alone run a few hundred dollars compared to labor costs that can multiply that total
Hiring a Professional Makes Sense if
- The ceiling has boxed sections, angled walls, vaulted areas, or anything outside a standard flat corner
- You’re working with a wider or more ornate molding profile that leaves less room for error
- Time matters more than cost, since a professional crew finishes a full room in hours rather than a full weekend
The right choice often becomes clear once the ceiling layout and available time are weighed together. Homeowners who value a polished result without added stress can lean on a professional, while confident DIYers can save money with the right tools.
Common Mistakes to Avoid
A handful of small errors account for most crown molding jobs that look uneven once the paint goes on.
| Mistake | What Happens | The Fix |
|---|---|---|
| Forcing a piece that doesn’t fit | Throws off the level line of the whole run | Recut it slightly short instead |
| Skipping the dry-fit step | Leaves gaps that only show up once nailed | Dry-fit both corners first |
| Using rigid caulk on gaps | Cracks as the wood shifts with the seasons | Use flexible, paintable silicone |
| Filling nail holes with caulk | Shrinks and leaves visible dents | Use spackle or drywall compound |
| Painting before joints finish shrinking | Locks in an uneven, wet-caulk surface | Wait a full day before painting |
Catching these errors early keeps a crown molding job looking finished, and a few common questions can clear up any lingering doubts.
Frequently Asked Questions (FAQs)
Do I Need a Compound Miter Chart to Install Crown Molding?
No. A plastic angle-cutting template sets both the table and blade angle for you, so most homeowners can get a clean result without calculating compound angles by hand.
How Do I Fix a Gap Between Two Pieces of Crown Molding in a Corner?
A paintable silicone caulk with stretch fills small gaps and moves with the wood. For larger gaps, trim a hair more off one piece and dry-fit again before caulking.
What Kind of Caulk Should I Use for Crown Molding Joints?
Use a silicone caulk labeled as paintable and elastomeric, meaning it expands and contracts with temperature changes rather than cracking like a rigid acrylic caulk.
Final Thoughts
With these steps done, the hardest part of the job is over. Learning how to install crown molding pays off once the paint dries.
Careful measuring and clean cuts keep every corner looking sharp. Gluing and nailing each piece secures it firmly in place. Patience during the drying stage keeps every joint smooth and even.
Your walls will look finished, sharp, and much more put together. The remaining work is just painting and small touch-ups here and there.
A finished room like this feels worth every hour spent. Drop a comment below and share your progress on this project.