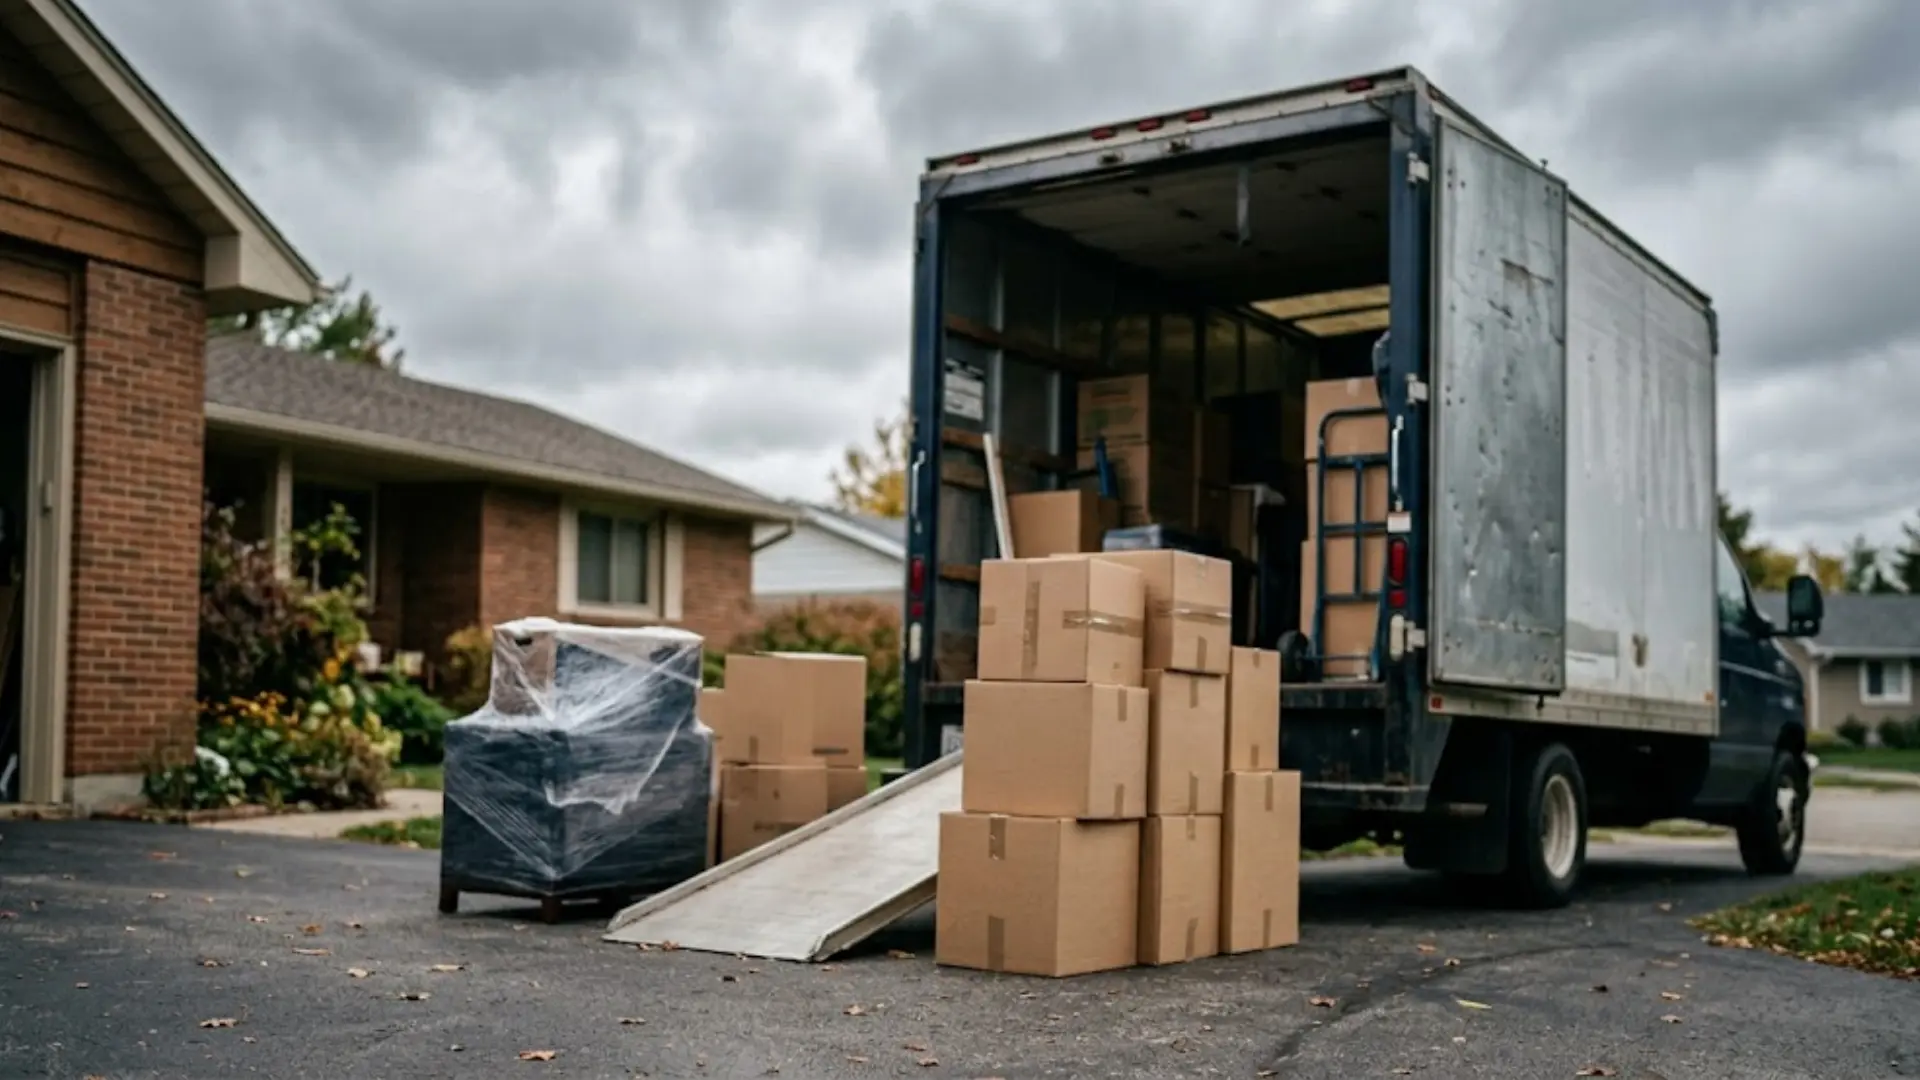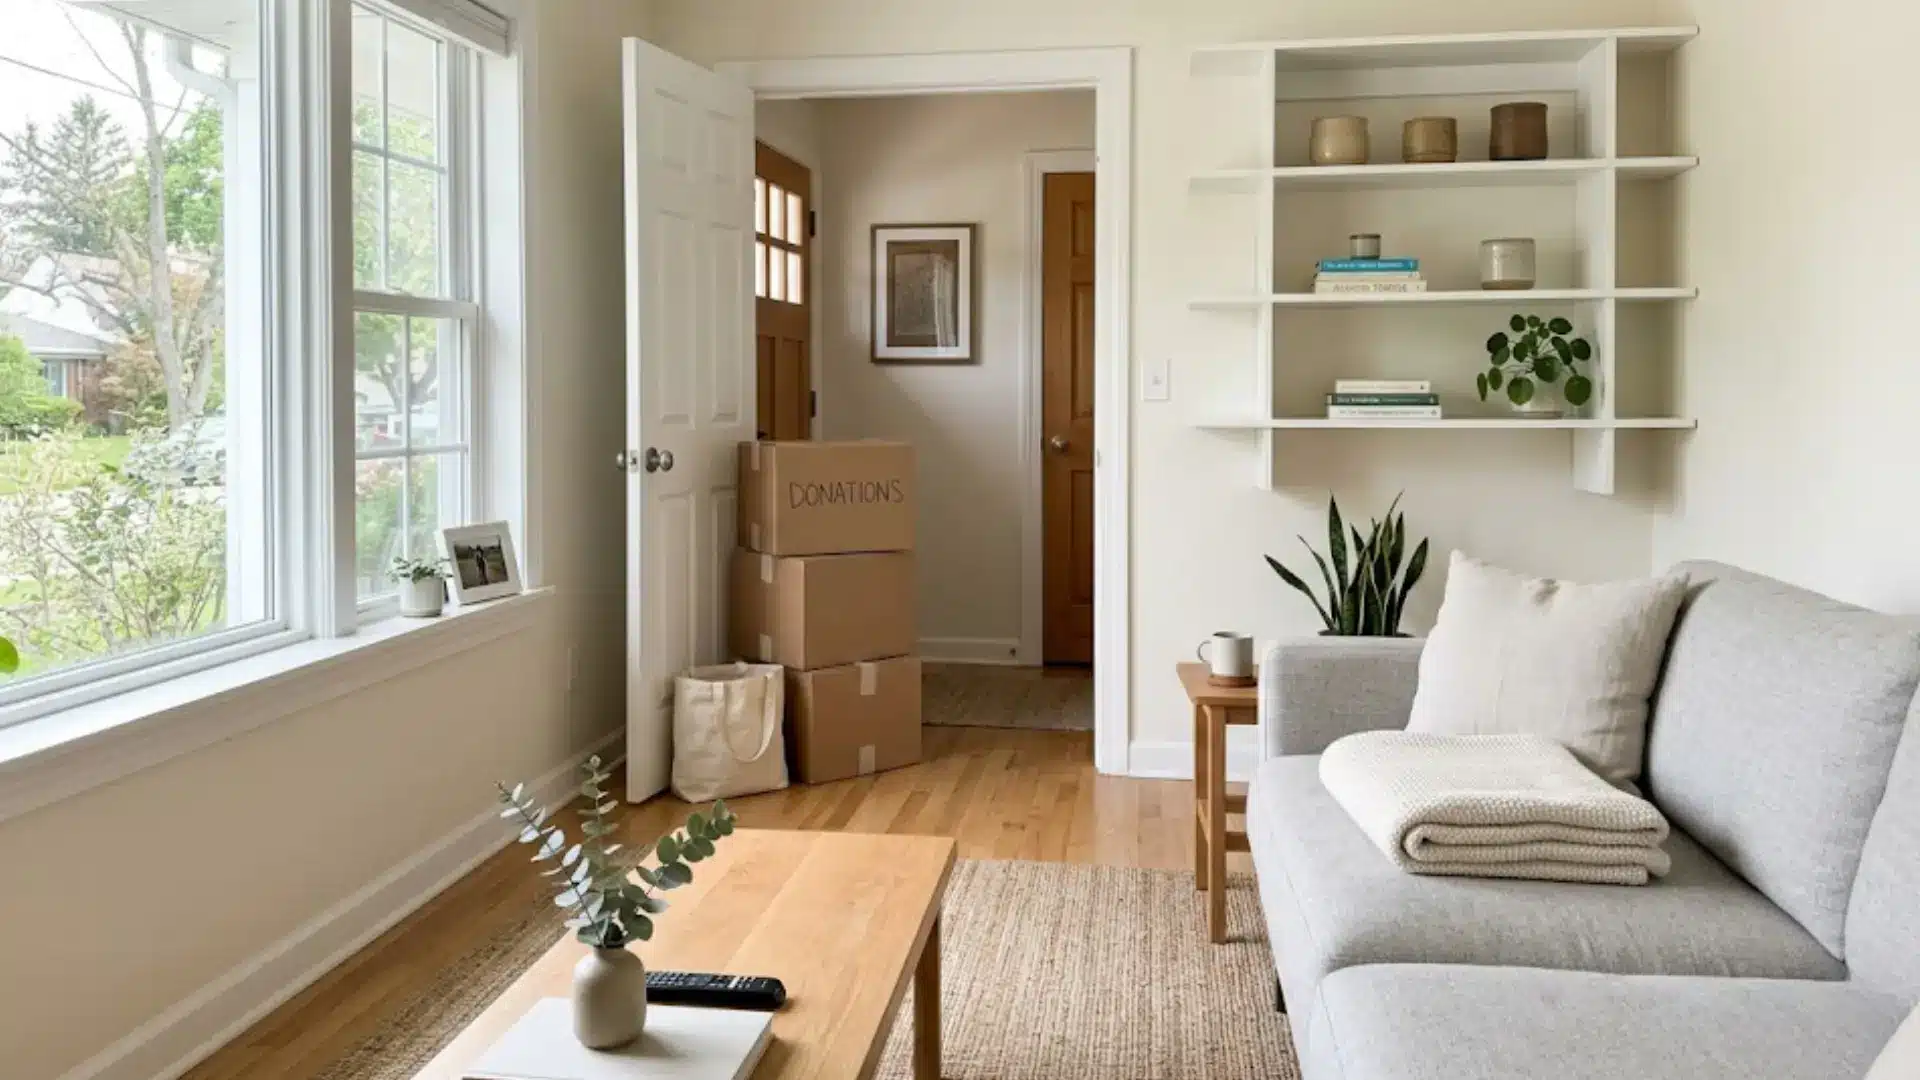
Clutter builds up in most homes over time. It usually starts with small things left out. I often left mail on the counter until it piled up.
That is one way clutter starts without you noticing. Learning how to declutter your home means breaking the task into small parts. You do not need special bins or a strict system.
Pick one drawer, shelf, or corner to start with. Spend a few minutes on it whenever you have time. Clear surfaces make daily chores go faster.
You can work through your whole home this way, one spot at a time. Start with one small area today.
Why Does Home Clutter Build Up So Easily?
Clutter builds up for a few common reasons. Busy routines leave little time to put things away properly. Impulse purchases add extra items without a clear plan for where they go.
Unfinished projects leave supplies and tools sitting out for weeks or months. Items without a designated home also tend to pile up on random surfaces.
Clutter rarely shows up all at once. It builds slowly, one small pile or one extra item at a time. Most people don’t notice until the mess feels overwhelming.
Figuring out where the clutter actually comes from makes long-term decluttering easier. Once the source is clear, the buildup becomes easier to prevent going forward.
Things You Need Before You Begin
Having the right supplies on hand before you start means less running back and forth mid-task, and fewer excuses to stop halfway through.
- Sorting Bins or Boxes: Label four separate boxes: Keep, Donate, Recycle, and Trash, so every item has a clear place to go.
- Garbage Bags: Keep a few on hand for obvious junk that doesn’t need sorting at all.
- A Marker and Labels: Use these for boxes headed into storage, so you’re not left guessing what’s inside months later.
- A Timer: Useful for time-boxed methods, such as the 15-minute sessions or trash bag challenges covered next.
With these basics in place, you can move straight into decluttering without pausing to search for supplies midway through.
Simple Ways to Declutter Your Home
These are small, practical actions pulled from what works best across real households with no complicated systems required. A few simple steps set you up to move through each room with less hesitation and more momentum.
1. Start with One Small Area
Instead of tackling an entire room, pick a single drawer, shelf, or corner to start.
Trying to do too much at once is a common reason people give up early, since a whole room can feel discouraging before you’ve even begun.
Starting small gives you a finish line you can reach in one sitting, building real confidence for the next area you tackle.
Tip: Choose the messiest small spot you see daily, like a junk drawer, for the most satisfying before-and-after.
2. Set a Timer for 15 Minutes
Cleaning in short, timed bursts feels far less overwhelming than an open-ended session with no clear stopping point in sight.
A defined time limit turns decluttering into something you can actually commit to, rather than a chore that stretches on indefinitely.
Fifteen minutes fits easily into a busy day, and knowing there’s a set end time helps prevent the burnout that longer sessions often cause.
Tip: Set the timer before you start moving items, not after, so you’re not tempted to keep going past your limit.
3. Sort Items into Four Simple Piles
Create four clear piles as you go: Keep, Donate, Trash, and Relocate.
This keeps every item moving toward a decision instead of sitting aside for later, which is often how clutter quietly builds back up.
Without clear categories, items tend to get picked up, reconsidered, and put back down repeatedly, stalling out the entire process before it can gain any real momentum.
Tip: Label each pile with a sticky note so household members can pitch in without asking what goes where.
4. Get Rid of Duplicates First
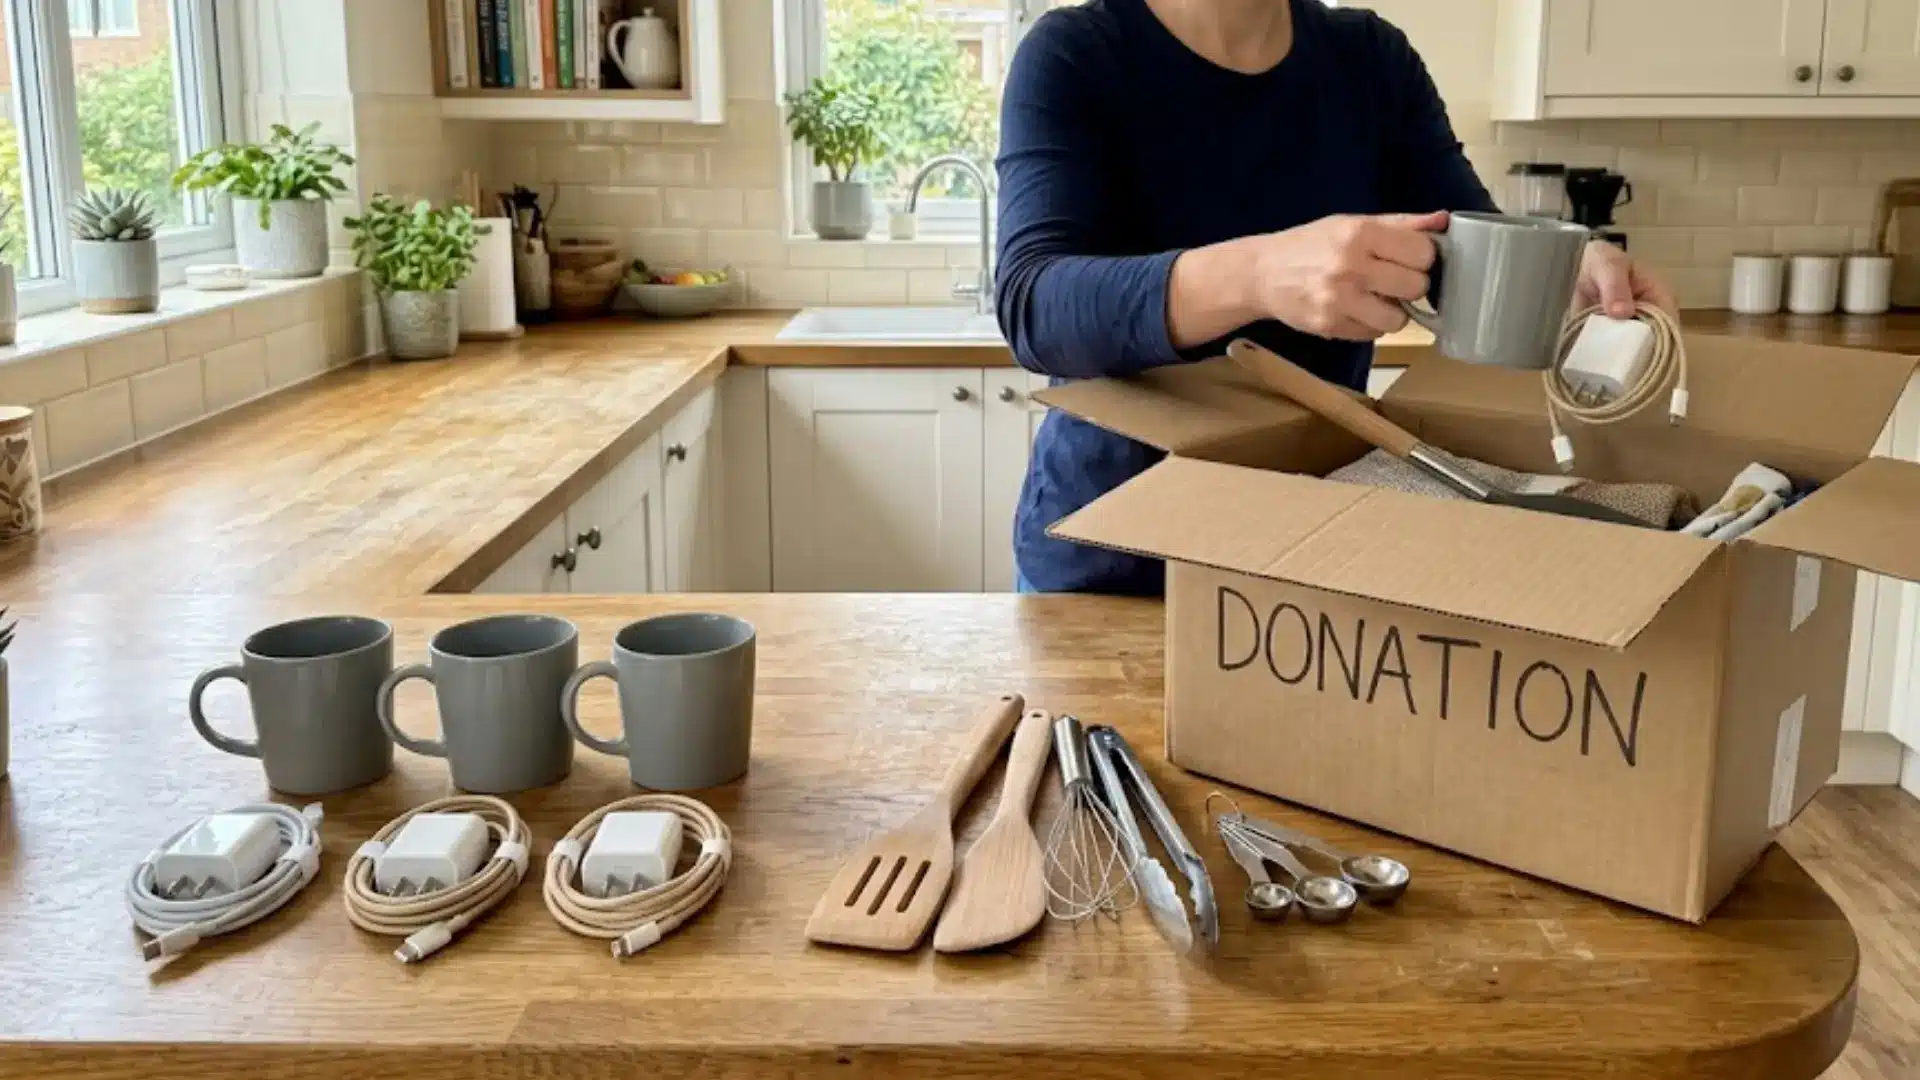
Multiples of the same item, like extra mugs, chargers, or tools, are usually the easiest things to let go of, since nothing meaningful is really lost by keeping just one or two of each.
Starting here builds early momentum without much emotional weight attached to the decision, making it a low-pressure way to see quick, visible progress before tackling harder items later.
Tip: Keep the newest or best-working duplicate and donate the rest, rather than debating each one individually.
5. Ask If You’ve Used It in the Past Year
This simple question cuts through hesitation fast.
If something hasn’t been used in the last twelve months, it’s unlikely to be missed once it’s gone, no matter how useful it once seemed at the time of purchase.
This filter works especially well for kitchen gadgets, clothing, and hobby supplies that felt necessary once but haven’t earned a place in daily life since.
Tip: If you can’t remember the last time you used it, that uncertainty is usually enough of an answer on its own.
6. Handle Quick Tasks Right Away
If something takes less than a minute, like tossing junk mail or hanging up a coat, do it immediately instead of letting it sit for later.
Delaying these small actions is exactly how clutter quietly creeps back into a space you just worked to clear.
These tasks feel insignificant alone, but add up fast when left undone day after day.
Tip: Keep a small trash bin and hooks near entry points so quick tasks require zero extra effort.
7. Follow a One-In-One-Out Rule
For every new item brought into the home, let one existing item go.
This keeps your total belongings steady instead of slowly climbing over time, even as new things continue coming in through everyday shopping and gifts.
It’s easy to apply to clothing, kitchen tools, or books, and prevents cleared clutter from quietly rebuilding within just a few months.
Tip: Pick the item to remove as soon as you buy something new, before it even makes it into a drawer.
8. Donate as You Go
Keep a donation bag or box active at all times, rather than waiting until a big decluttering session to deal with everything at once.
This makes letting go feel like a normal, ongoing habit instead of a rare, overwhelming event that requires setting aside a whole day.
Items can leave the house steadily as you notice them, one at a time.
Tip: Set a reminder to drop off the bag once a month so it doesn’t just sit and collect dust.
9. Declutter One Category at a Time
Instead of working room by room, go through one category across the entire house at once, like all your clothes, then all your books, rather than one room’s worth of each category at a time.
Seeing everything you own in one category together makes duplicates and excess far more obvious than working space by space ever could.
Tip: Start with the category you own the most of, since that’s usually where the biggest excess is hiding.
10. Try a Packing Party for One Room
Pack an entire room’s contents into boxes as if you were moving out.
Over the following weeks, only unpack items as you actually reach for and need them in daily life, rather than assuming you’ll need everything back right away.
Anything still boxed up after a few months clearly wasn’t essential to begin with.
Tip: Label boxes with the date you packed them so it’s easy to track when the trial period ends.
11. Fill One Trash Bag Quickly
Set a short time limit, then fill a single trash bag with obvious junk, no sorting or second-guessing required for any of it along the way.
Speed matters more than precision here, since the goal is momentum, not perfection. This method works well when motivation is low, since it doesn’t demand difficult decisions or deep thought.
Tip: Play music or set a visible countdown, since the added pressure helps you move faster without overthinking.
12. Limit Sentimental Items to One Box
Give keepsakes a fixed size limit, like one box per person, instead of letting sentimental items accumulate without any real boundaries over the years.
A clear limit forces more intentional choices about what truly matters most to you. This keeps cherished items special, rather than letting a closet or room slowly turn into unofficial storage.
Tip: When the box is full, something has to earn its place and leave before anything new goes in.
13. Try the 12-12-12 Challenge
Find 12 items to donate, 12 to trash, and 12 to return to their proper place, all within a single, focused session lasting no more than an hour.
This challenge works well when time is limited, since it has a clear, built-in endpoint from the very start of the session.
Tip: Keep a running tally on paper as you go, so you can see yourself getting closer to all three dozen.
Room-by-Room Guide to Decluttering Your Home
Once you have picked a few of the tips above, here’s exactly where to start applying them in each part of the home:
1. Kitchen
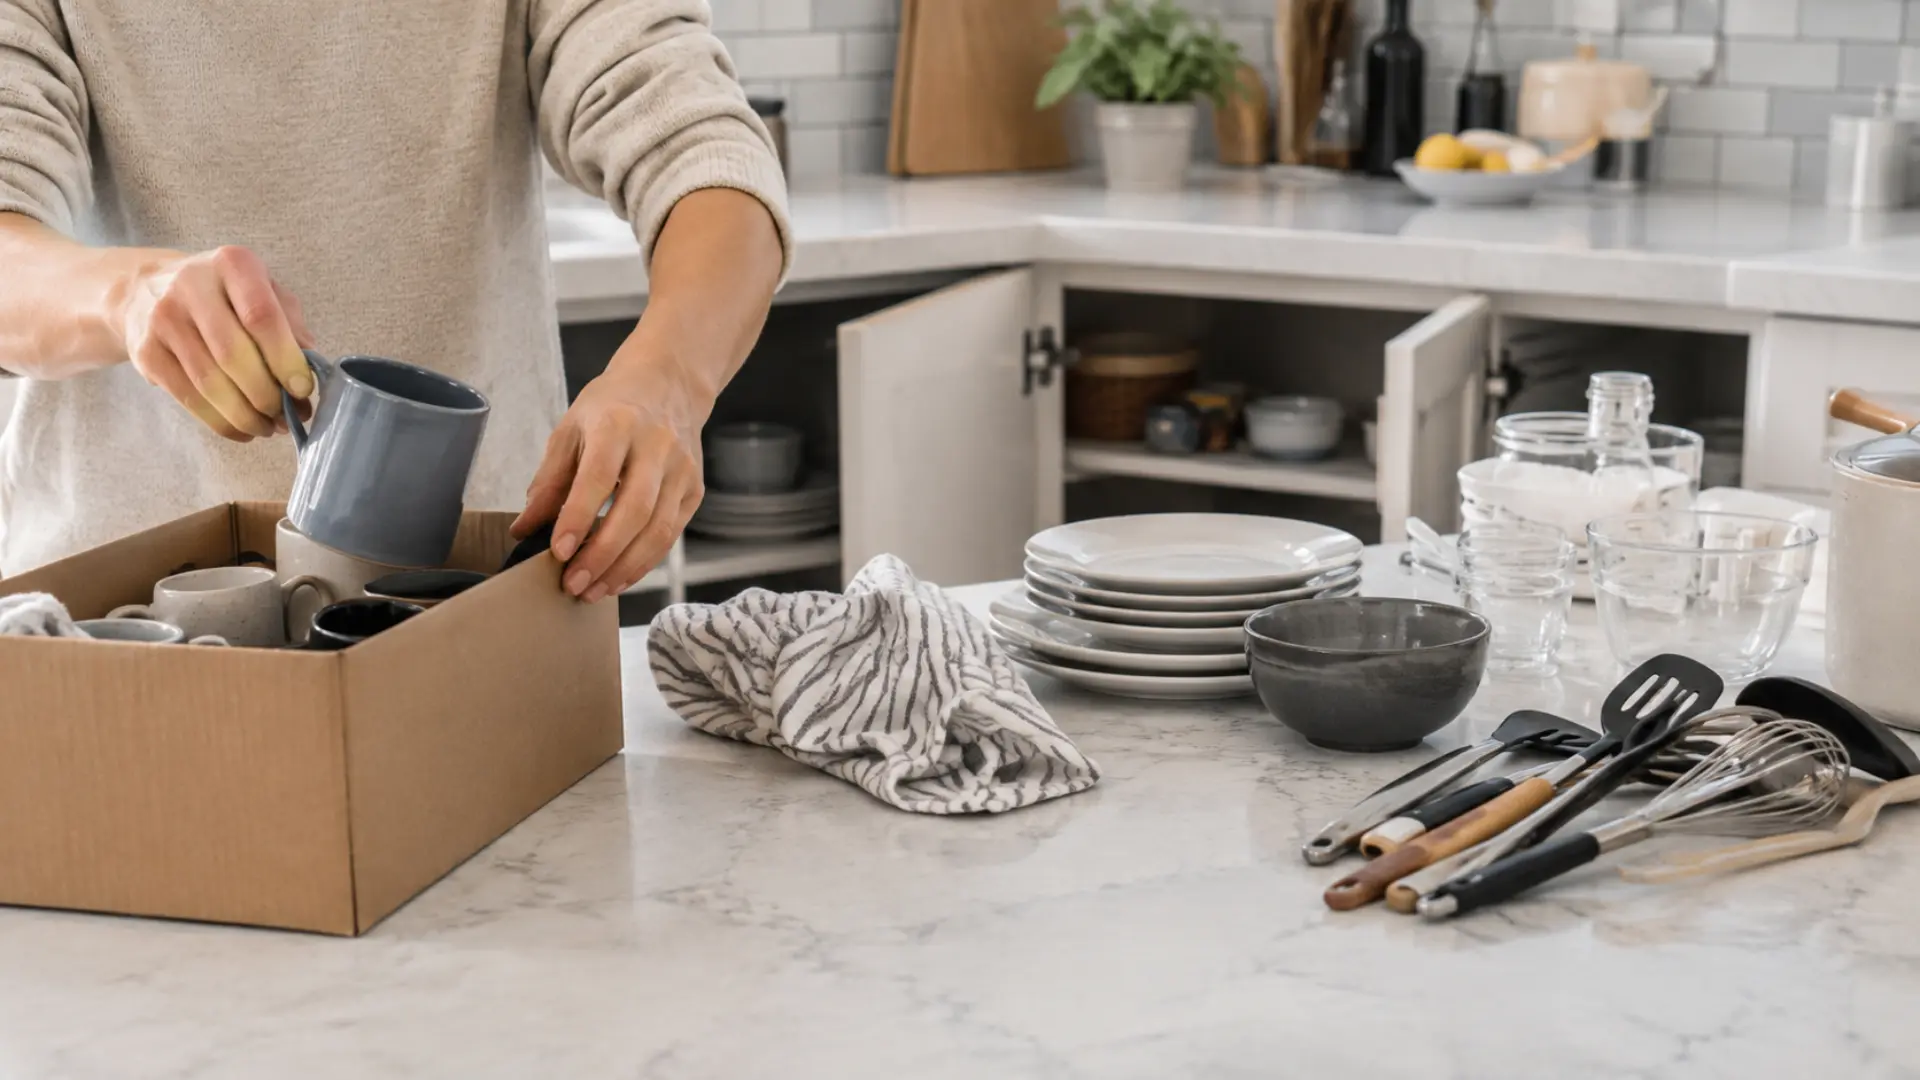
Focus Area: Countertops and one junk drawer collect the most daily clutter, along with expired pantry items and duplicate utensils that quietly take up cabinet space.
Steps to Declutter the Kitchen:
- Clear everything off the countertops and only put back what you use daily.
- Empty one junk drawer and sort items into Keep, Toss, and Relocate.
- Check pantry items for expiration dates and remove things past its shelf life.
- Pull out duplicate utensils and containers, keeping what you regularly use.
- Wipe down the cleared surfaces before putting items back.
2. Bedroom

Focus Area: Nightstands and under-the-bed storage tend to collect items that don’t belong in the bedroom at all, from stray papers to seasonal clothing.
Steps to Declutter the Bedroom:
- Empty both nightstand drawers and sort contents into Keep, Relocate, and Trash.
- Pull out everything stored under the bed and reassess what’s actually needed there.
- Remove items that belong in other rooms and return them right away.
- Clear the top of the dresser down to only daily-use items.
- Make the bed once finished, since a made bed reinforces the decluttered feel.
3. Closet

Focus Area: Closets build up fastest by category, so sorting tops, bottoms, and shoes separately makes it easier to spot what you actually wear.
Steps to Declutter the Closet:
- Remove everything from the closet and sort by category on the bed or floor.
- Try the packing party approach if you’re unsure what you actually wear regularly.
- Set aside anything that doesn’t fit or hasn’t been worn in the last year.
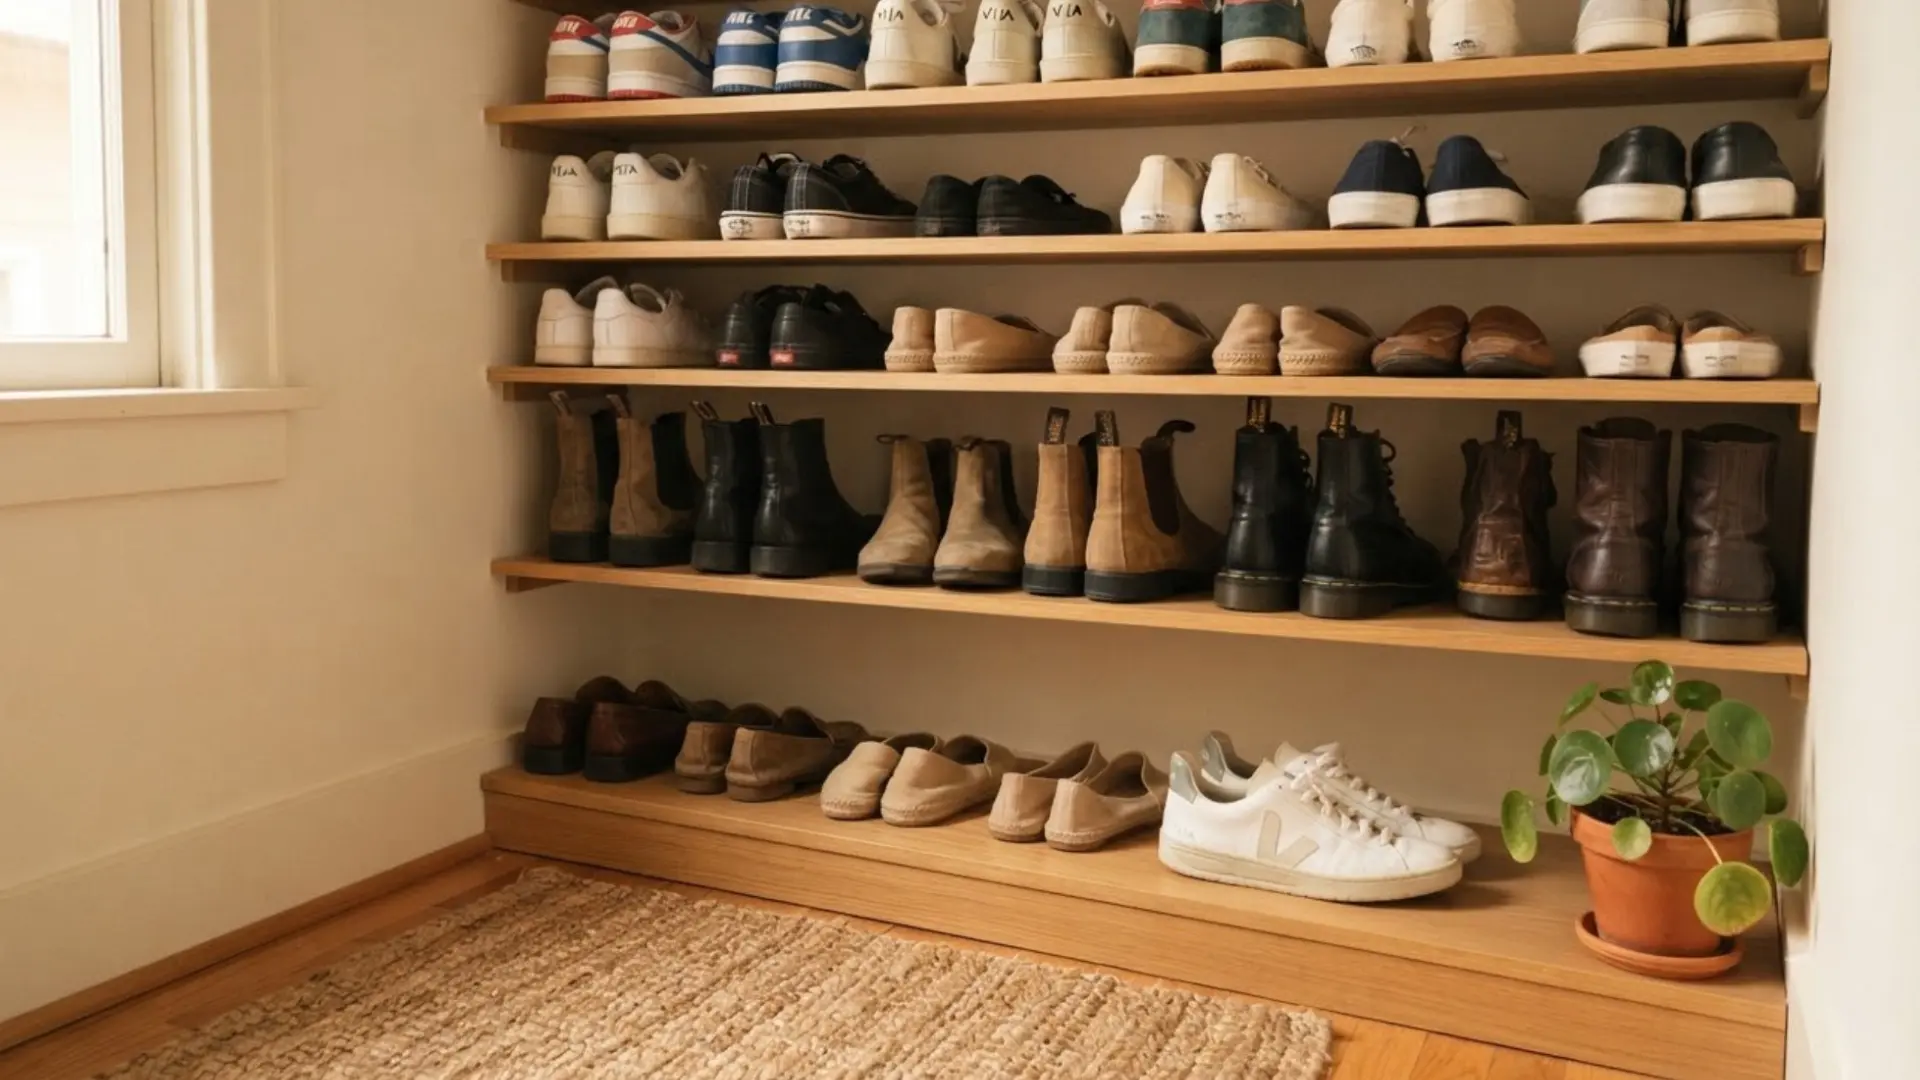
- Return only the items you’re keeping; if shoes overflow, a dedicated shoe rack keeps them sorted.
- Bag up the rest for donation immediately, rather than letting it sit in a pile.
4. Bathroom
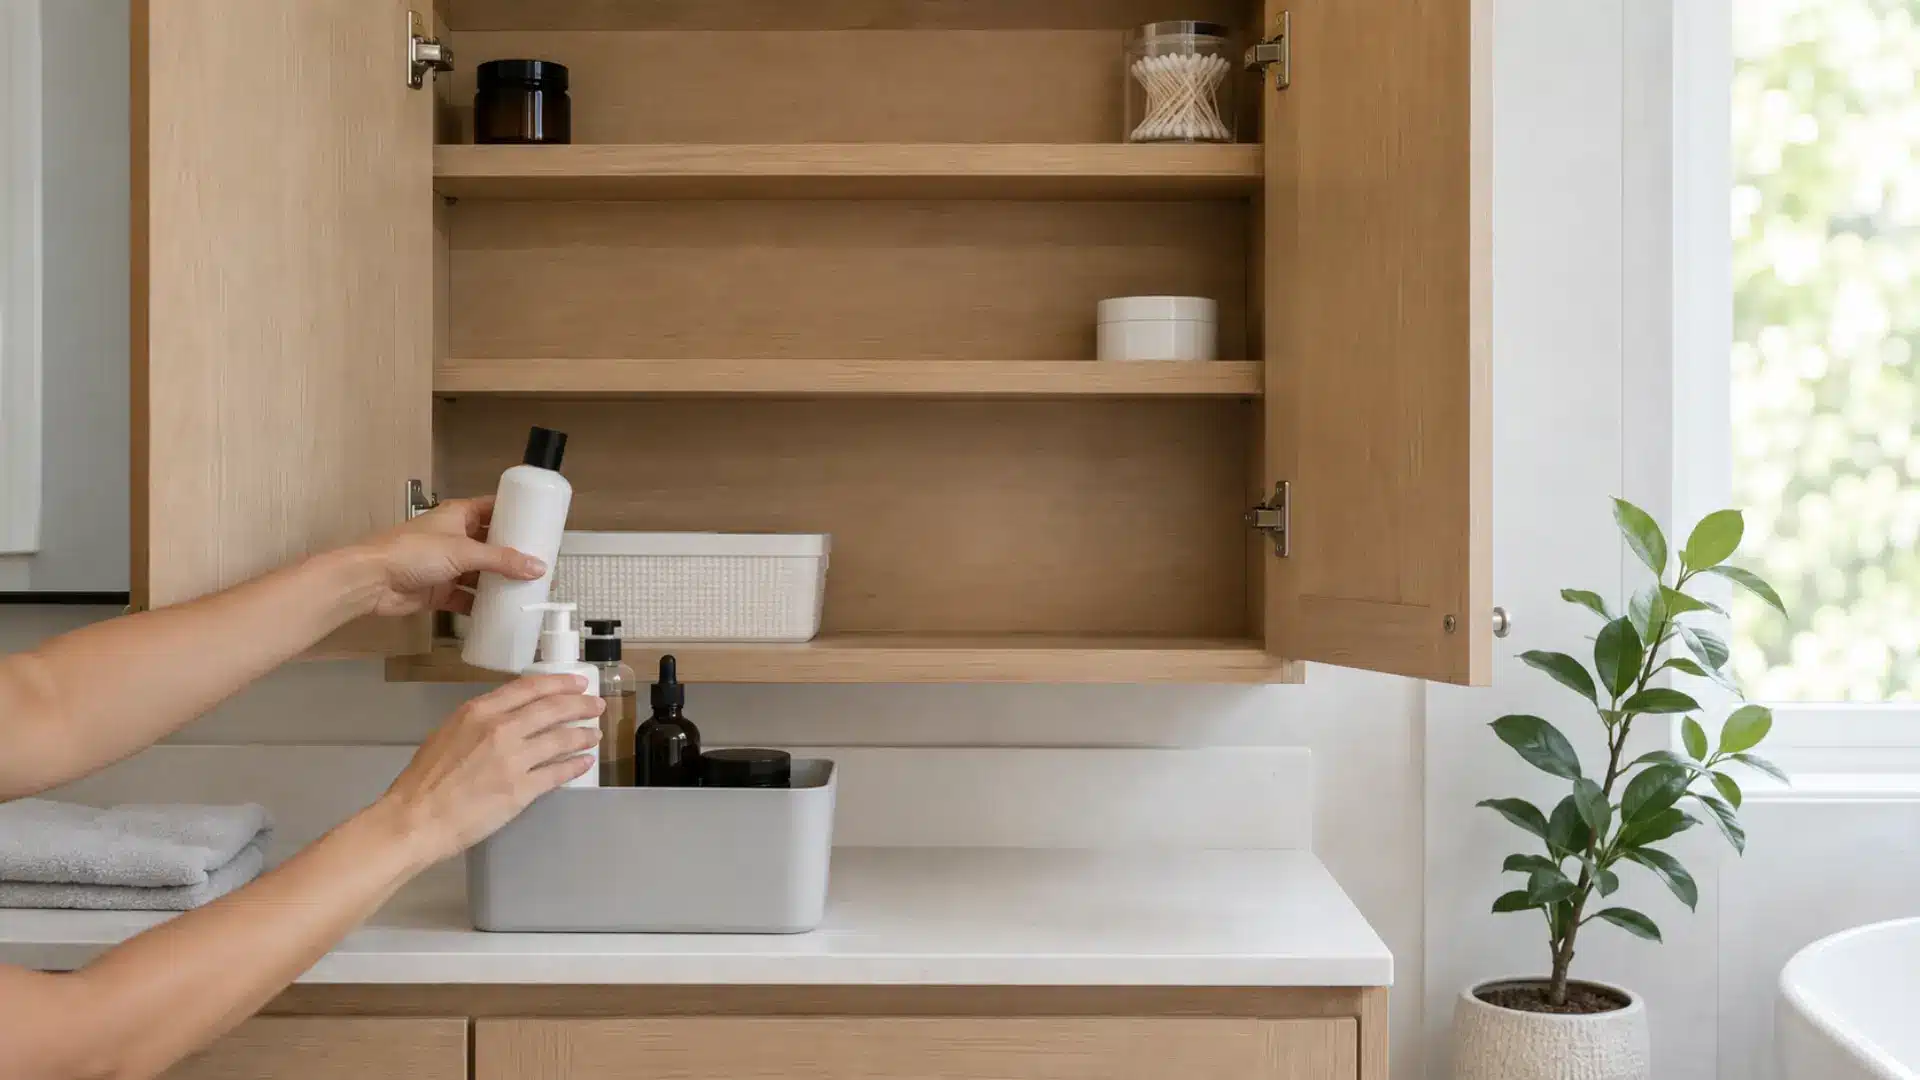
Focus Area: Bathroom cabinets fill up with expired products and half-used items that go unnoticed until the cabinet won’t close properly.
Steps to Declutter the Bathroom:
- Empty cabinets and drawers completely rather than sorting items one by one.
- Check pantry items for expiration dates; if it feels chaotic, setting it up from scratch gives a lasting system.
- Group similar products together to spot duplicates.
- Wipe down shelves and cabinets while they’re empty.
- Return only what you use regularly and dispose of the rest properly.
5. Living Room

Focus Area: Flat surfaces like coffee tables and shelves, along with tangled media and cable clutter, are usually the biggest visual culprits in this room.
Steps to Declutter the Living Room:
- Clear coffee tables and shelves down to a few items; adding floating shelves gives loose items a home.
- Sort through media (remotes, DVDs, cables) and remove anything no longer in use.
- Bundle or hide necessary cables to reduce visual clutter.
- Go through any storage baskets or bins hiding under furniture.
- Reset the room to its cleared state each evening to maintain progress.
6. Home Office
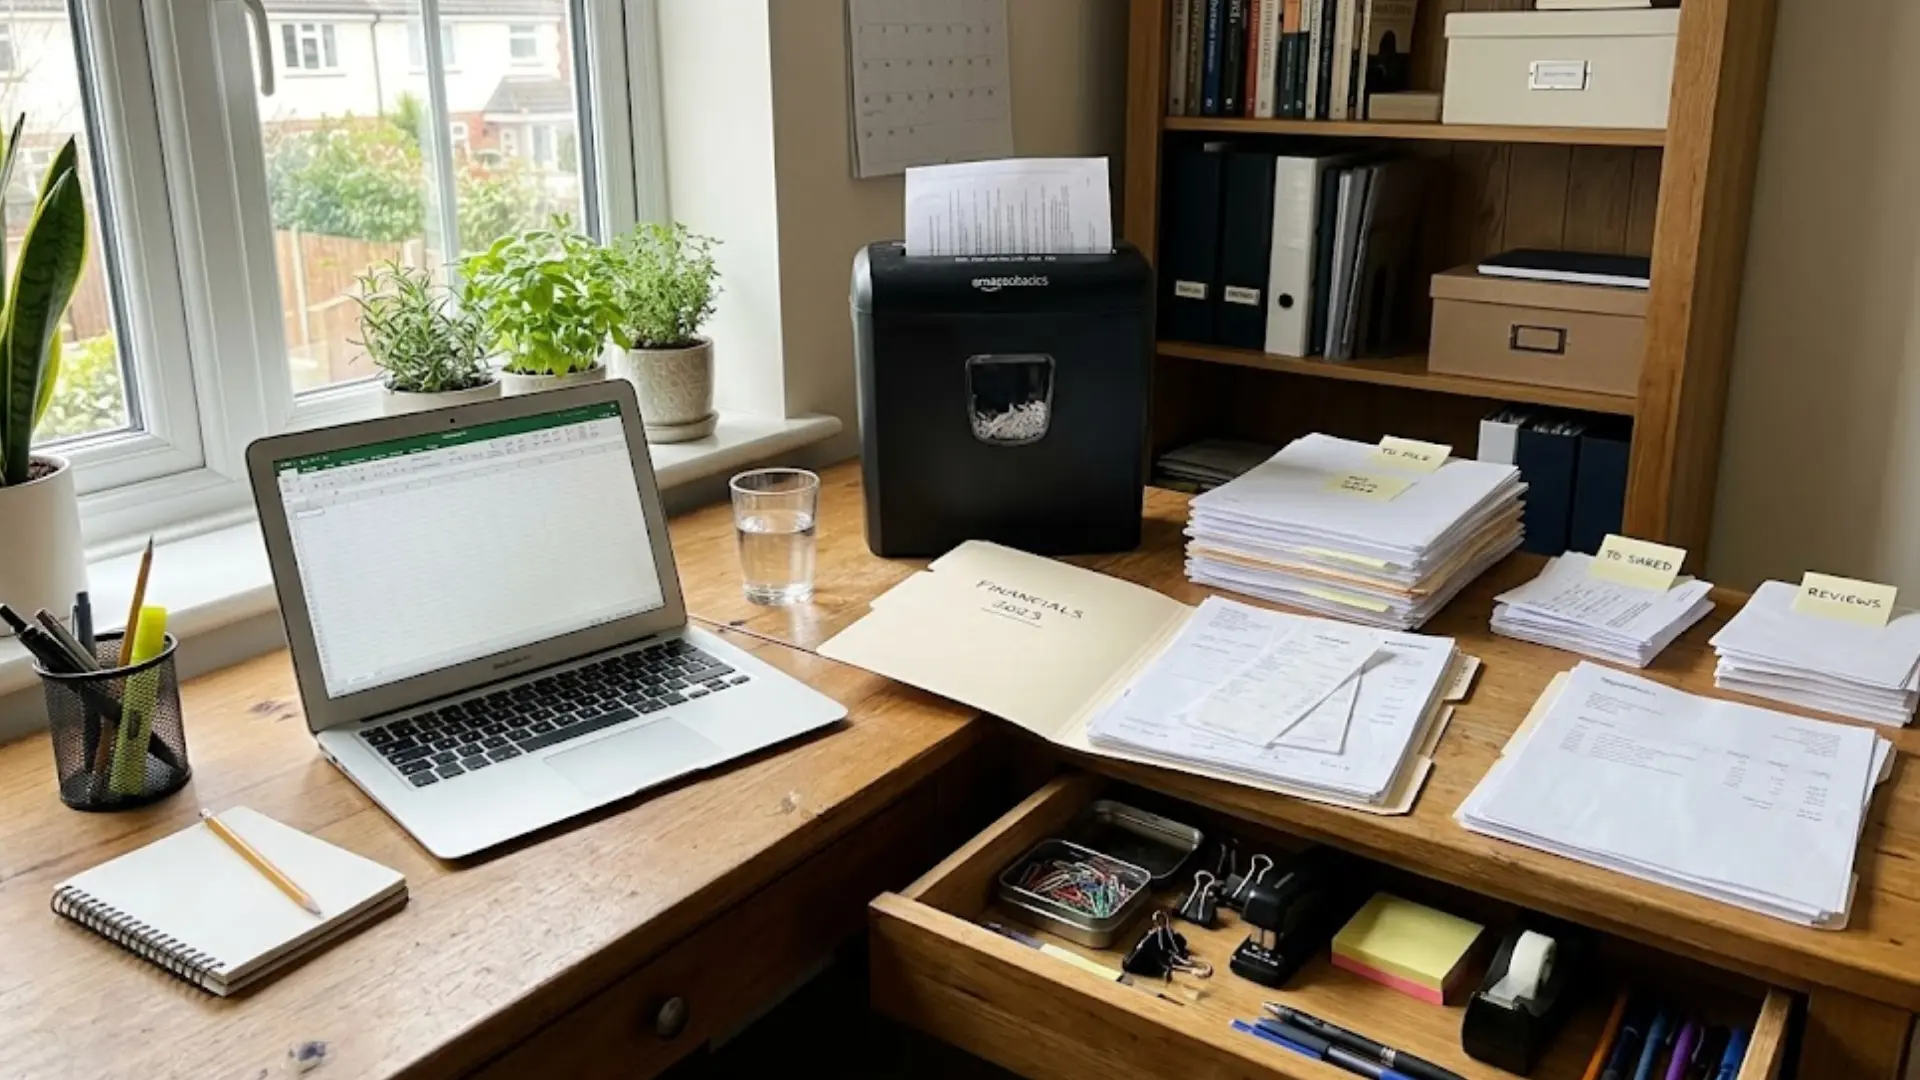
Focus Area: Paperwork piles up faster than almost anything else in the home, along with outdated documents and unused office supplies.
Steps to Declutter the Home Office:
- Sort all visible paperwork into Keep, Shred, and File piles.
- Recycle expired documents immediately rather than setting them aside.
- File the Keep pile right away instead of leaving it in a new pile.
- Clear the desk surface down to only current, active items.
- Check drawers for duplicate or unused office supplies to remove.
What to Do With Items You Remove?
Once I clear items out, sorting them the right way saves me time and keeps usable stuff out of the landfill:
| Item Type | Examples | What to Do | Where to Take It |
|---|---|---|---|
| Usable items in good condition | Clothes, small furniture, toys, kitchenware | Donate for reuse | Local donation centers, shelters, or thrift stores; many offer pickup for larger pieces |
| Higher-value items | Furniture, electronics, appliances | Sell instead of tossing | Online marketplaces or local buy-and-sell groups |
| Paper, glass, and plastics | Cardboard, bottles, jars, containers | Recycle, not trash | Regular recycling bin, sorted by local guidelines |
| Electronics, batteries, and chemicals | Old phones, batteries, paint, cleaning chemicals | Handle separately | Hazardous waste drop-off points, since they can’t go in regular bins |
A little sorting upfront keeps usable items out of landfills and gets them where they’re actually needed. Taking the extra step now makes the whole process easier down the line.
How to Keep Your Home Clutter-Free?
These habits don’t take much time, but they make a real difference over the long run. Here’s what helps keep things in check:
- Keep applying the one-in-one-out rule going forward, letting one item go for every new item that comes in
- Spend a few minutes each night on a quick reset, clearing surfaces like counters and nightstands before they pile up
- Set a seasonal recheck of closets and storage areas to catch items that snuck back in
- Sort mail and papers right away instead of letting them stack up on counters or tables
- Give every new item a specific home so it has a place to go instead of landing on the nearest surface
Staying on top of these habits keeps my home from slipping back into clutter. A little consistency now saves me from another big decluttering push later.
A 10-Day Home Decluttering Challenge
Ten days is enough time to work through the whole house without burning out. Each day focuses on one area, so the work stays manageable. Here’s the day-by-day breakdown to follow:
| Day | Focus Area | Time | What to Remove |
|---|---|---|---|
| 1 | Entryway | 20 min | Shoes, mail, loose items by the door |
| 2 | Living Room | 30 min | Old magazines, tangled cables, surface clutter |
| 3 | Kitchen Counters and Cabinets | 30 min | Duplicate tools, expired pantry items |
| 4 | Pantry | 25 min | Expired food, lidless containers |
| 5 | Bedroom and Closet | 40 min | Ill-fitting clothes, items under the bed |
| 6 | Bathroom | 20 min | Expired meds, empty bottles, old makeup |
| 7 | Home Office | 30 min | Old bills, unused supplies |
| 8 | Garage or Storage | 45 min | Broken tools, unopened boxes |
| 9 | Sentimental Items | 30 min | Duplicate photos, guilt-kept items |
| 10 | Whole-Home Review | 30 min | Leftover donation bags, missed items |
By the end of day ten, the whole house feels lighter without one exhausting session. Sticking to the schedule makes the process feel manageable instead of overwhelming.
Frequently Asked Questions (FAQs)
How Long Does It Take to Declutter an Entire House?
It varies widely, but short daily sessions of 15 to 30 minutes, spread over several weeks, work better than rushing through everything in one exhausting day.
How Do I Stay Motivated Halfway Through a Big Declutter?
Break the project into small sessions, focus on one drawer or shelf at a time, and take a short break once that section is done.
What’s the Best Order to Declutter Rooms In?
Start with easier spaces like the bathroom or kitchen before moving to harder ones like the closet or garage, since early wins keep momentum going.
Closing Thoughts
That wraps up the basics of clearing clutter one step at a time. I know starting can feel hard some days. Small habits keep your home light and open.
A cleared shelf feels like a small win on its own. You do not need to fix everything today. Pick a spot and start there whenever you are ready.
Every small choice adds up to a home that feels lighter over time. Learning how to declutter your home is a skill you build slowly.
My own home stays clear because I keep at it, not because I did it all at once. Keep sorting, keep clearing, and let go of what you do not need. Drop a comment and share the tip you plan to try first!