
Every sloped yard eventually hits the same problem: mud creeping toward the patio, soil washing away after every heavy rain, and more.
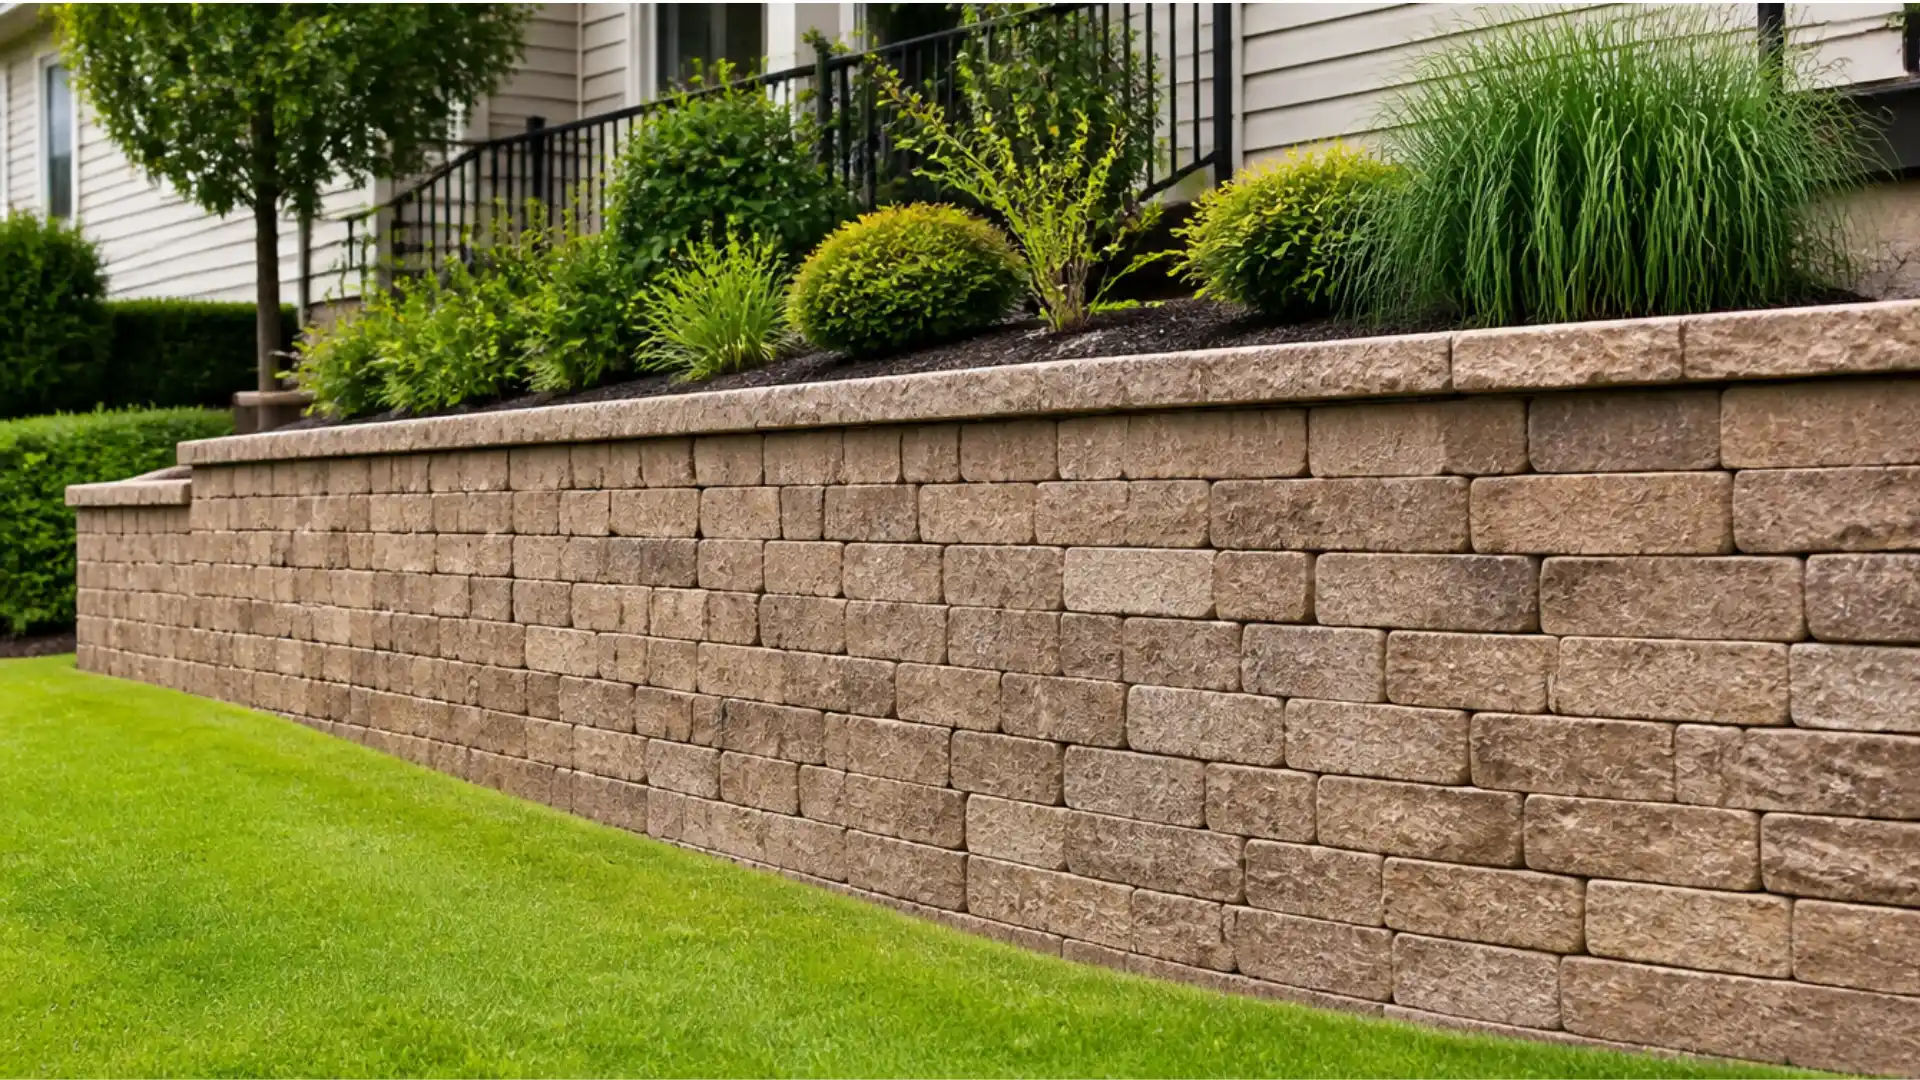
A retaining wall fixes all of that, holding the ground in place while turning a messy slope into something you can actually landscape, walk on, or build around.
Here we will look at the whole process, from the first measurements to the final finishing touch, using a real build tackled step by step.
If your yard has a gentle dip or a genuinely steep drop, the same basic approach works either way.
What Makes a Retaining Wall Successful on a Slope?
A retaining wall on a slope needs more than good looks to hold up over time. Stability comes first, since the wall must resist pressure from soil and slope.
Water management matters just as much, because trapped water weakens even strong walls. Materials should match the slope, soil type, and local weather conditions.
Good site prep and solid structural design help you reclaim a sloped backyard for everyday use.
A wall that looks good but skips these basics often fails within a few years. The sections ahead break down each principle in practical detail.
Building a lasting wall starts with these fundamentals, not just visual appeal.
Types of Retaining Walls
Not every retaining wall works the same way for every yard. Some fit a DIY project, while others need a professional. Here is a look at the main types and their skill level:
- Gravity Walls (DIY-friendly): These rely on their own weight- block, stone, or concrete- to resist soil pressure.
- Cantilevered Walls (Professional required): These use a reinforced concrete footing shaped like an L or T for taller walls.
- Sheet Pile Walls (Professional required): These use thin, interlocking sheets driven into the ground for tight or soft soil spaces.
- Anchored Walls (Professional required): These add cables or rods driven into the soil behind the wall for extra support.
- Terraced or Tiered Walls (DIY-friendly): These break one tall wall into shorter walls stacked up a slope.
Picking the right type depends on the slope, soil, and skill level available. Matching the wall to the project keeps the build safe and lasting.
Tools and Materials You’ll Need
Having everything ready before you start saves a lot of back-and-forth once the project is underway. Here is a simple breakdown of what to gather first:
| Tools | Materials |
|---|---|
| Tape measure | Segmental wall blocks |
| Laser transit or level | Crushed gravel (¾” minus) |
| String line and marking paint | Geotextile filter fabric |
| Shovel or excavation equipment | Perforated drain pipe |
| Hand tamper or plate compactor | Wall capstones |
| Spirit levels, hammer, and trowel or brush | Flexible construction adhesive |
Having these on hand from the start keeps the project moving smoothly once the planning stage ends and the ground is ready to break.
How to Build a Retaining Wall on a Slope: Step-by-Step Guide
A retaining wall project moves through clear stages, from measuring and layout to setting blocks and adding drainage. Here is the full walkthrough from first measurements to the final capstone:
Step 1: Design the Retaining Wall
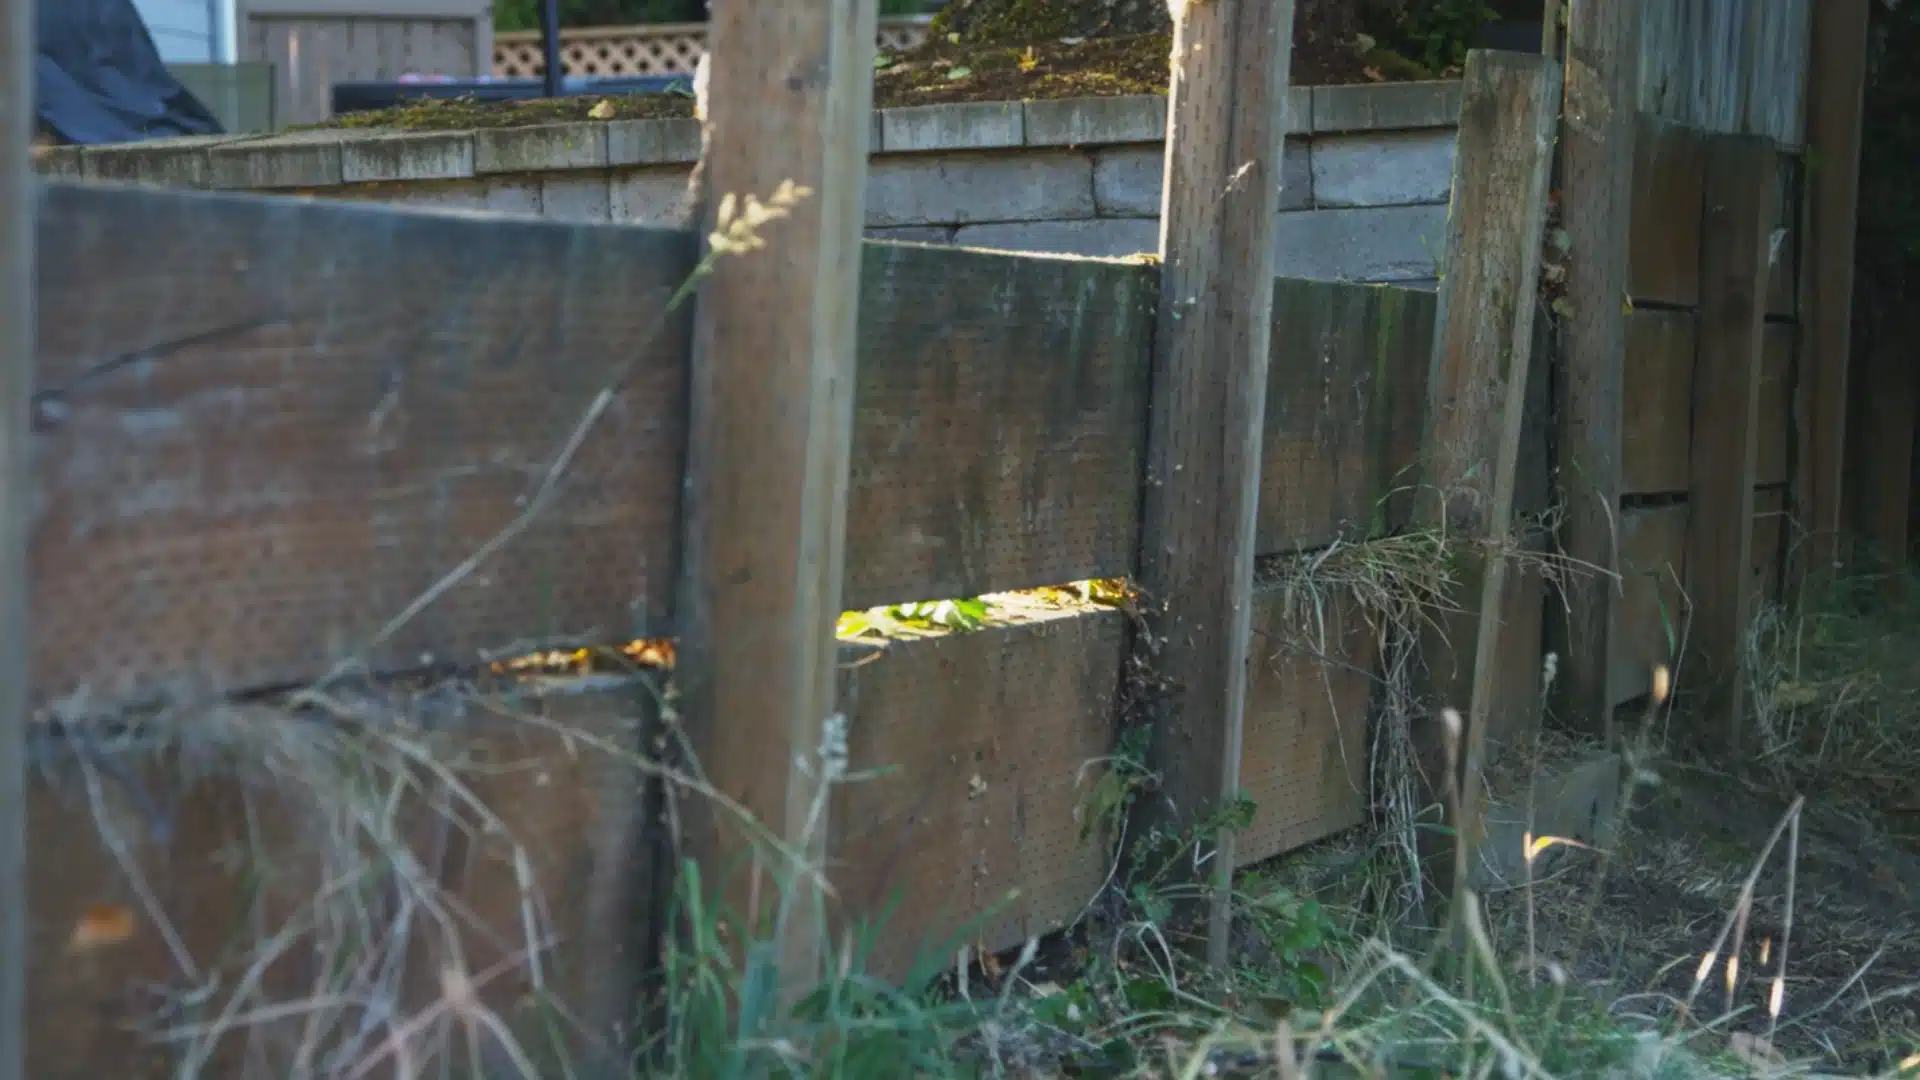
Every retaining wall project starts with accurate length and height measurements.
These numbers directly determine how much material you’ll actually need and how the project gets planned overall.
This particular build uses a segmental wall block system: an 8×16 open-cell block that’s easy to handle and works well for smaller to moderate-height retaining walls.
Making it a solid, beginner-friendly choice for most residential slope projects.
Step 2: Mark the Layout of the Wall
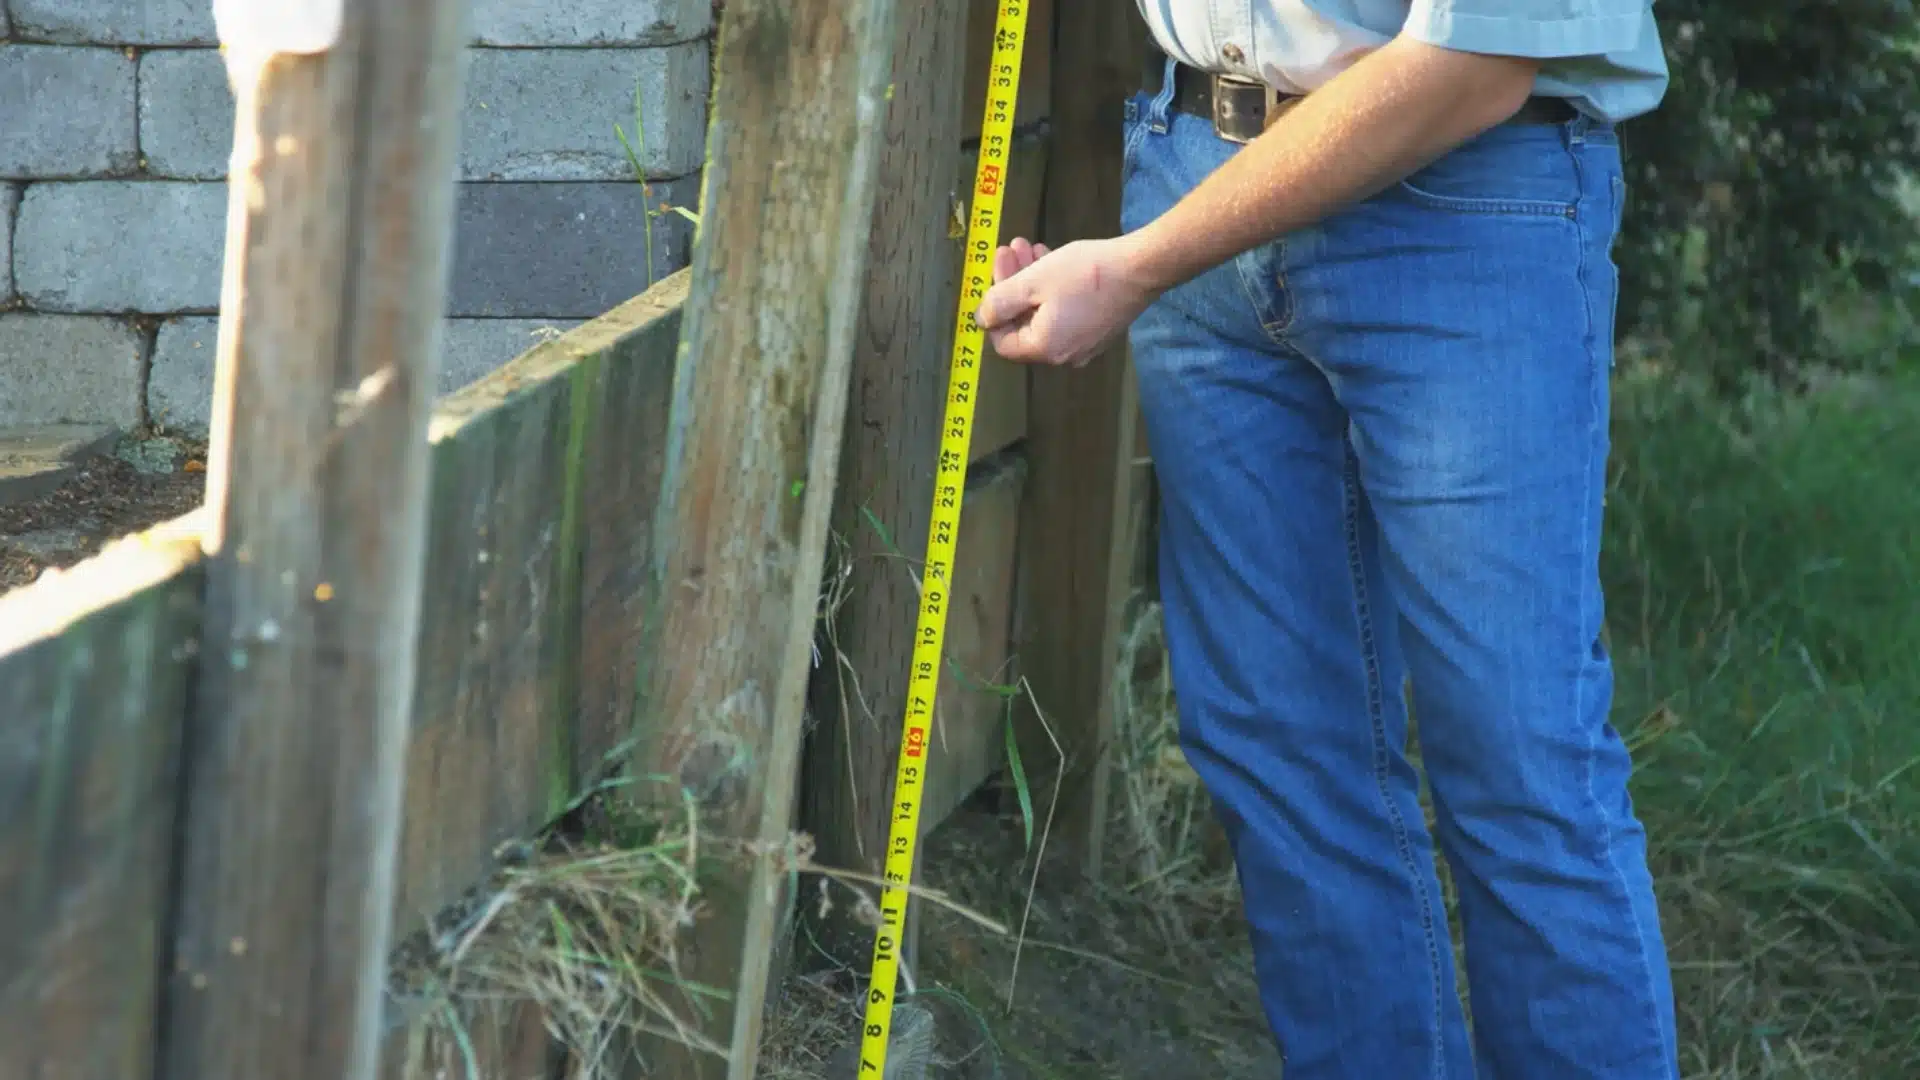
If an existing wall or structure is already in place, it can serve as a reliable reference point for both depth and alignment as you begin laying out the new wall.
Measure from the lowest point to establish the finished wall height, then mark the total depth needed behind that line.
Account for both the block itself and the compacted gravel backfill sitting behind it.
Step 3: Ensure the Wall Is Square
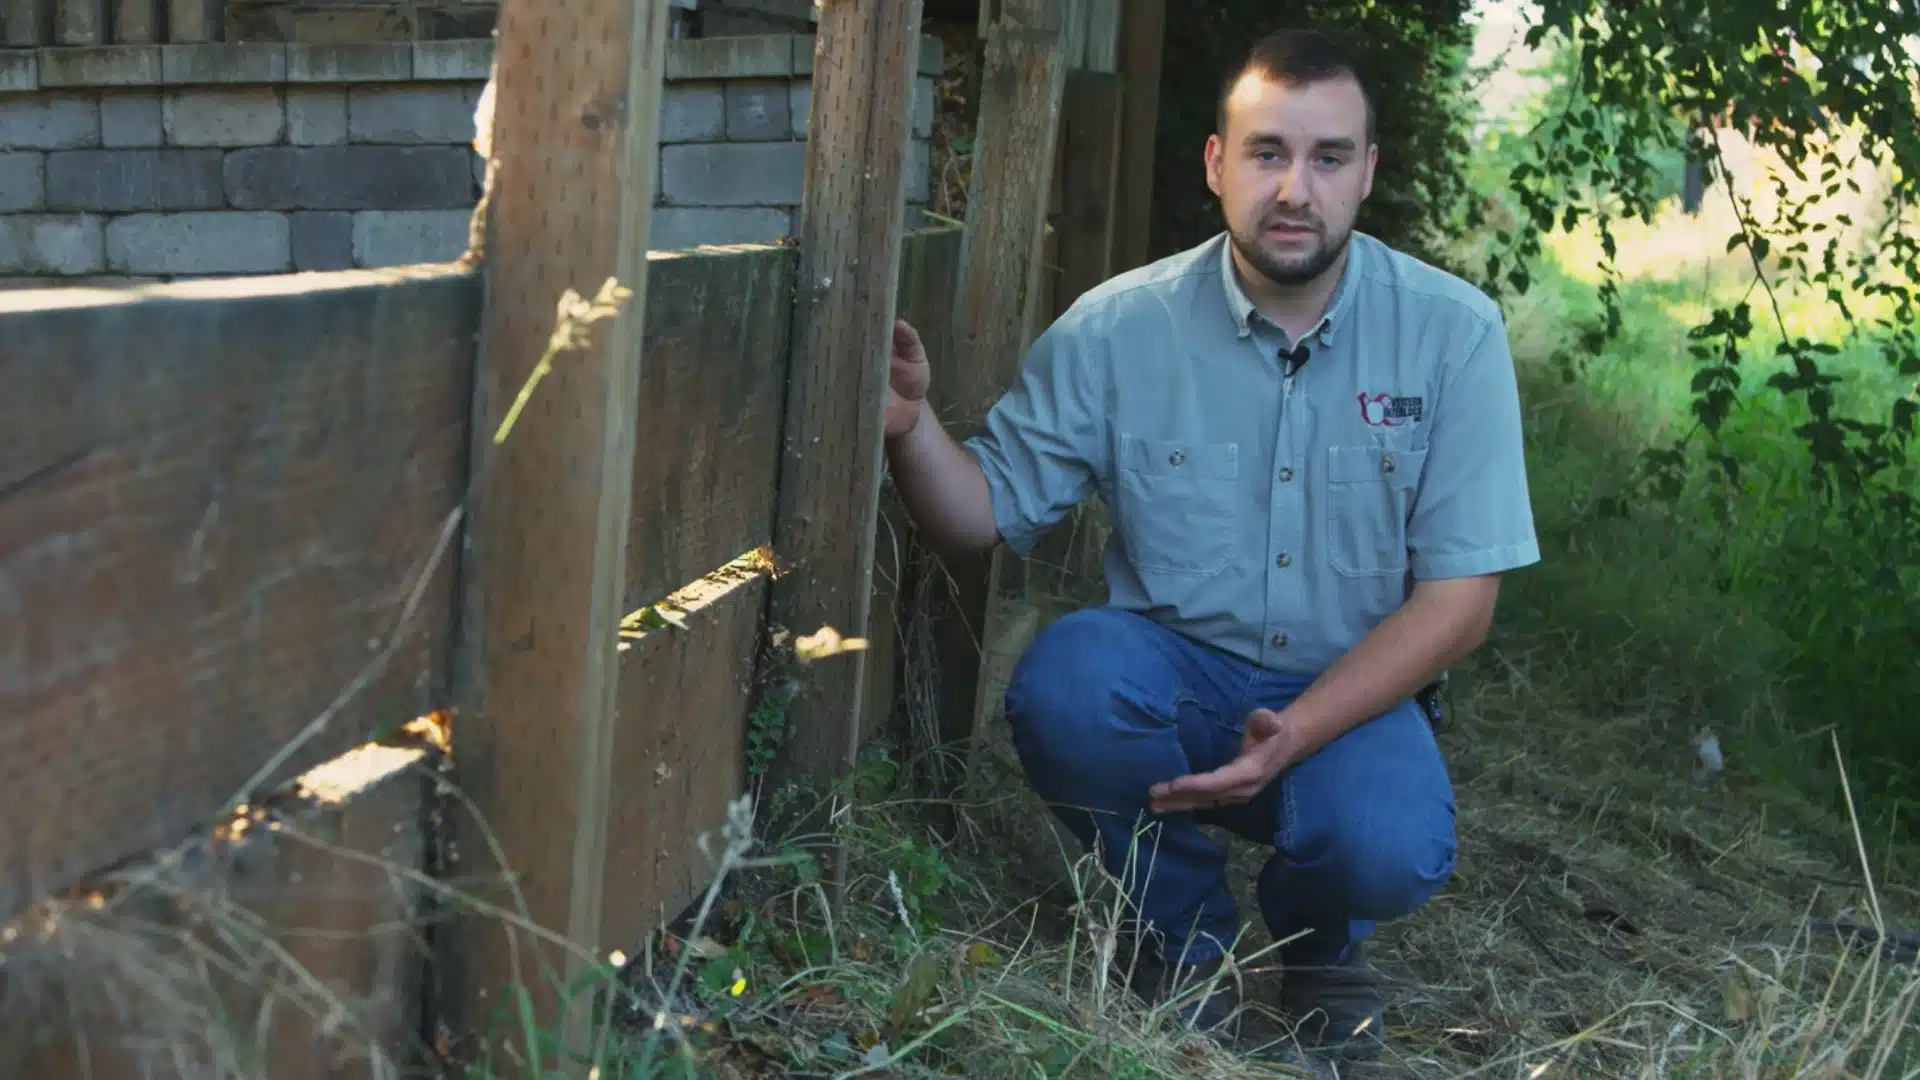
An existing wall, nearby structure, or a string line all work well as a reference to keep the new wall straight and properly square before any digging begins.
Working off a clear reference line throughout this step helps avoid over-digging or under-digging. As the project moves forward, this ultimately saves both time and material later in the build.
Step 4: Set the Finish Grade
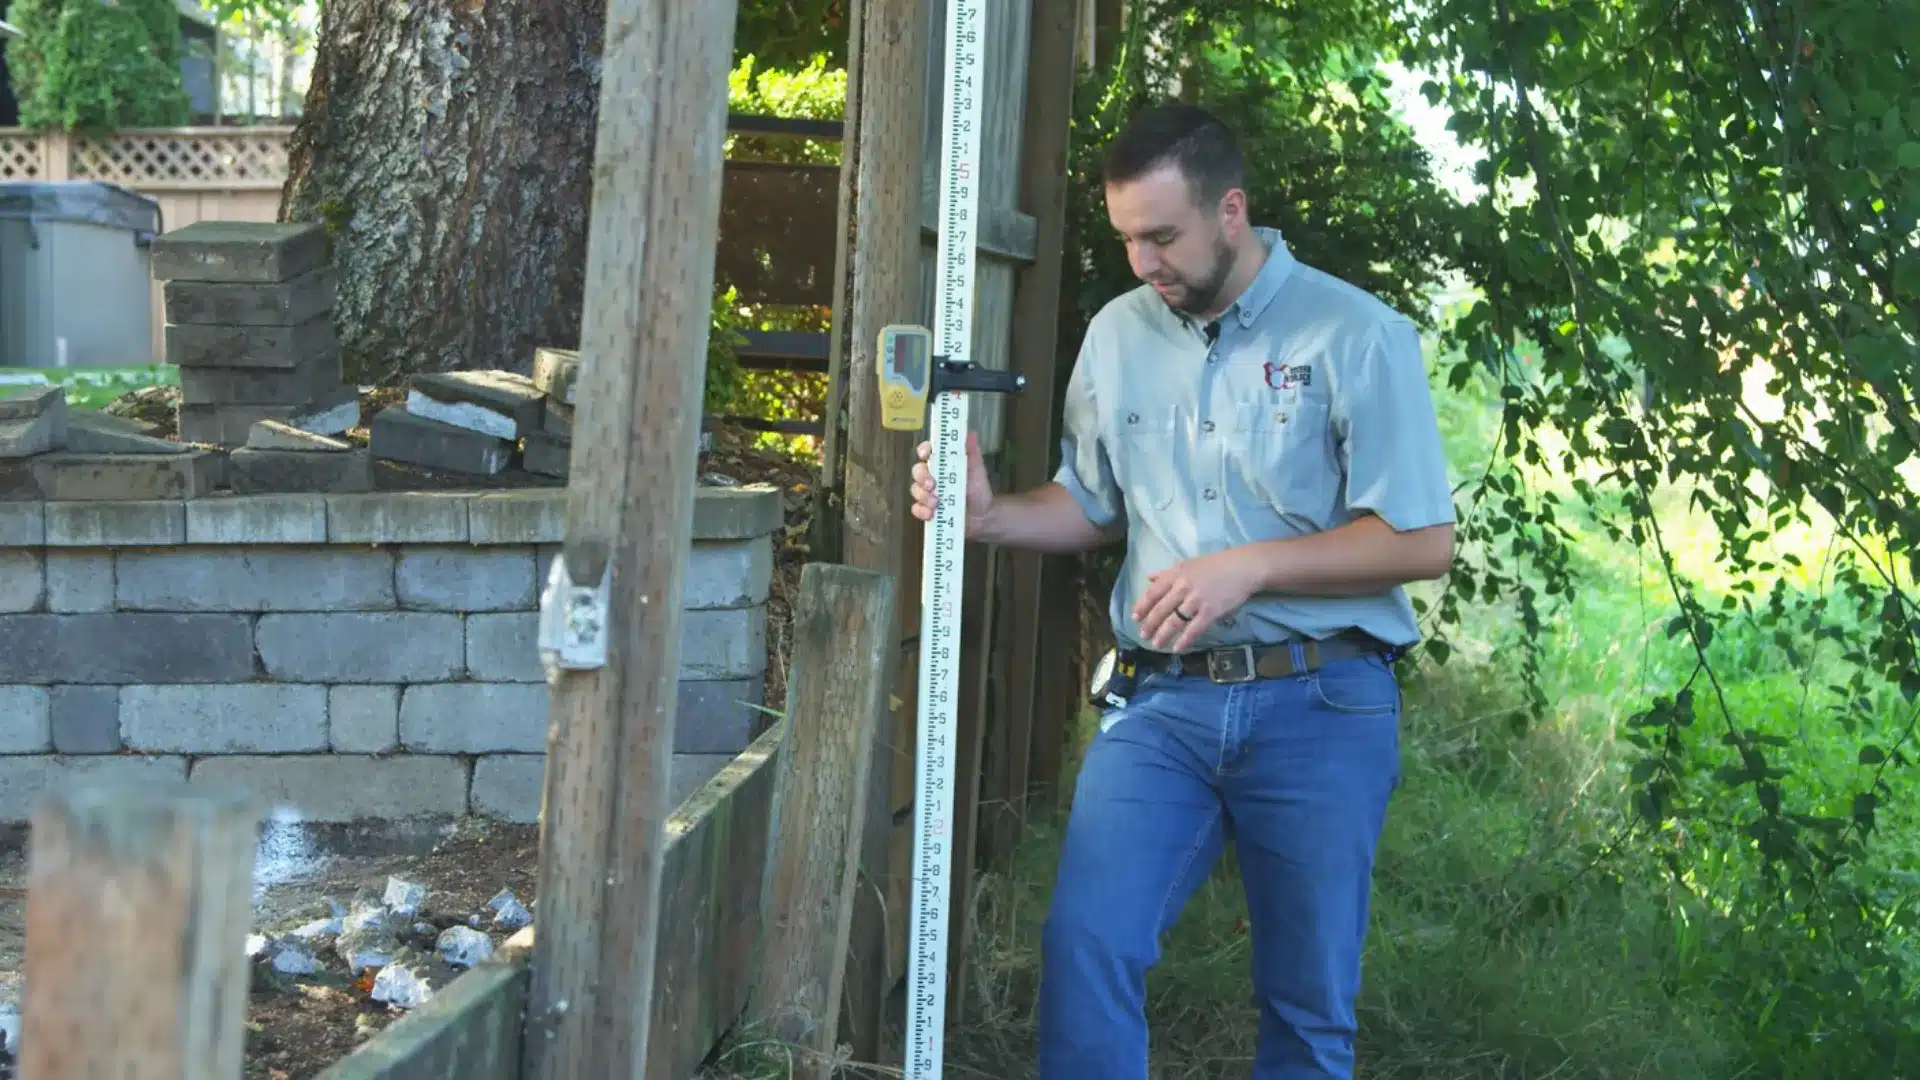
Find the lowest point across the slope and use it to establish one consistent finished height that will apply across the entire length of the wall, regardless of terrain changes.
From there, calculate the total excavation depth by adding the block’s embedment depth to the thickness of the compacted gravel base beneath it.
Step 5: Excavate for Your Base
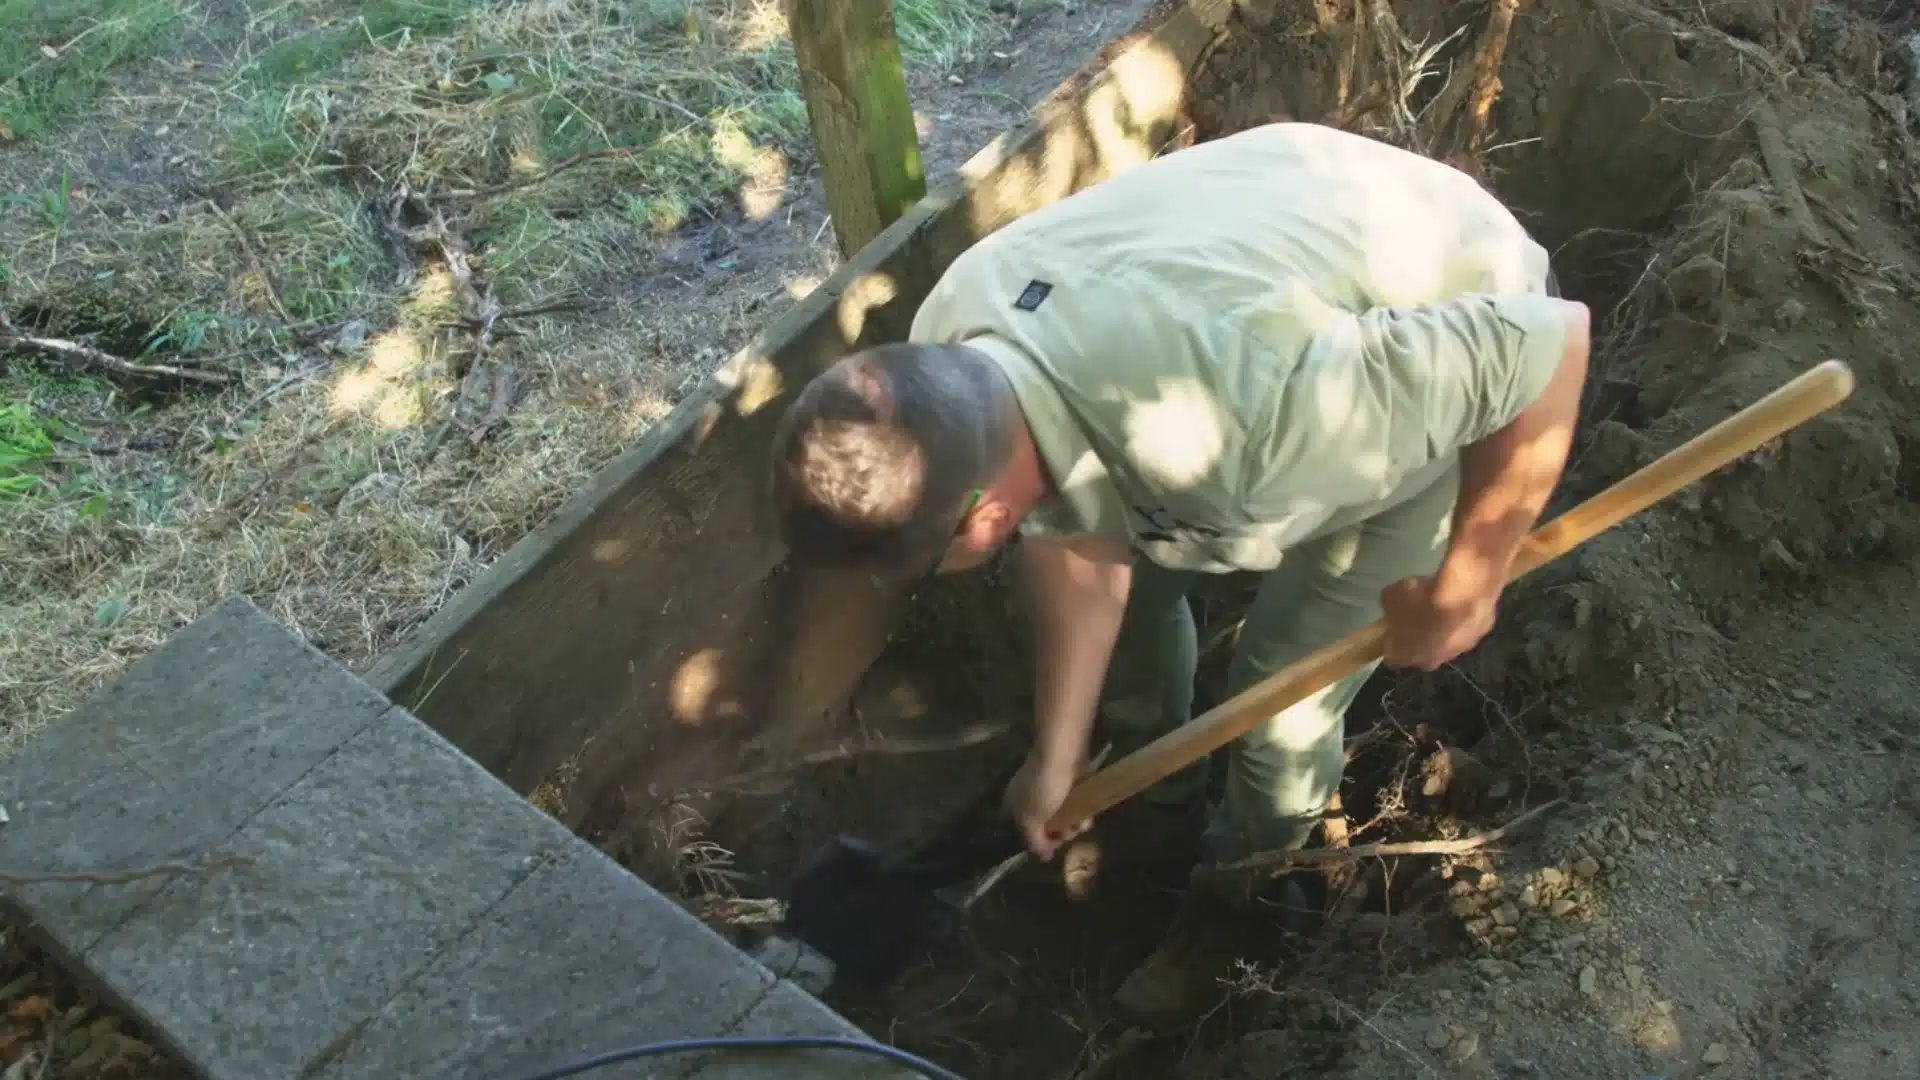

Start digging at the lowest point of the wall first; this ensures proper embedment depth where it matters most for long-term stability.
Excavation should also extend behind the wall into the backfill area marked out during the layout step, leaving enough room to install gravel, filter fabric, and drainage components properly later.
Step 6: Install the Base Material
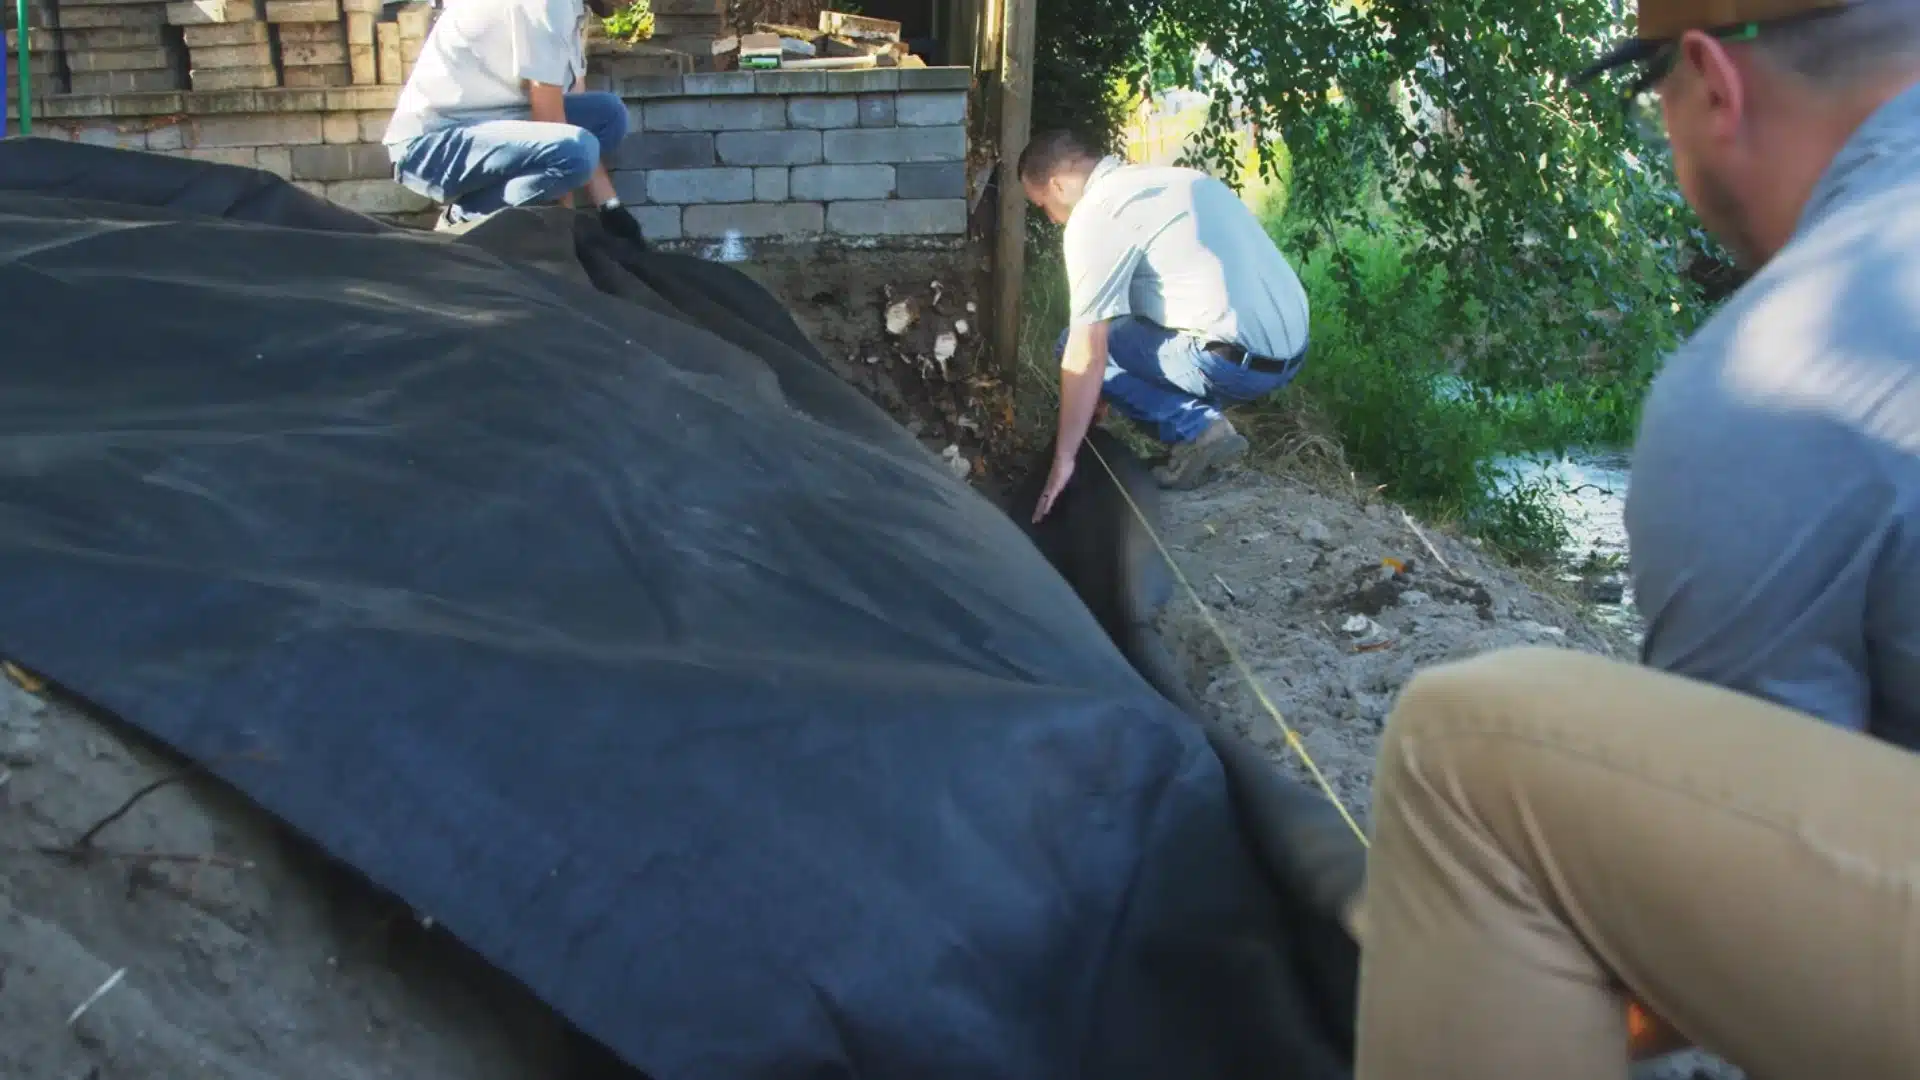
Lay geotextile filter fabric down first, creating a barrier that keeps soil from migrating into the gravel base over time and causing long-term contamination or shifting.
Add at least 6 inches of crushed gravel on top, compacting it thoroughly before moving forward.
On sloped terrain, step the base course up as needed rather than digging excessively deep at the high end.
Step 7: Set the Base Course
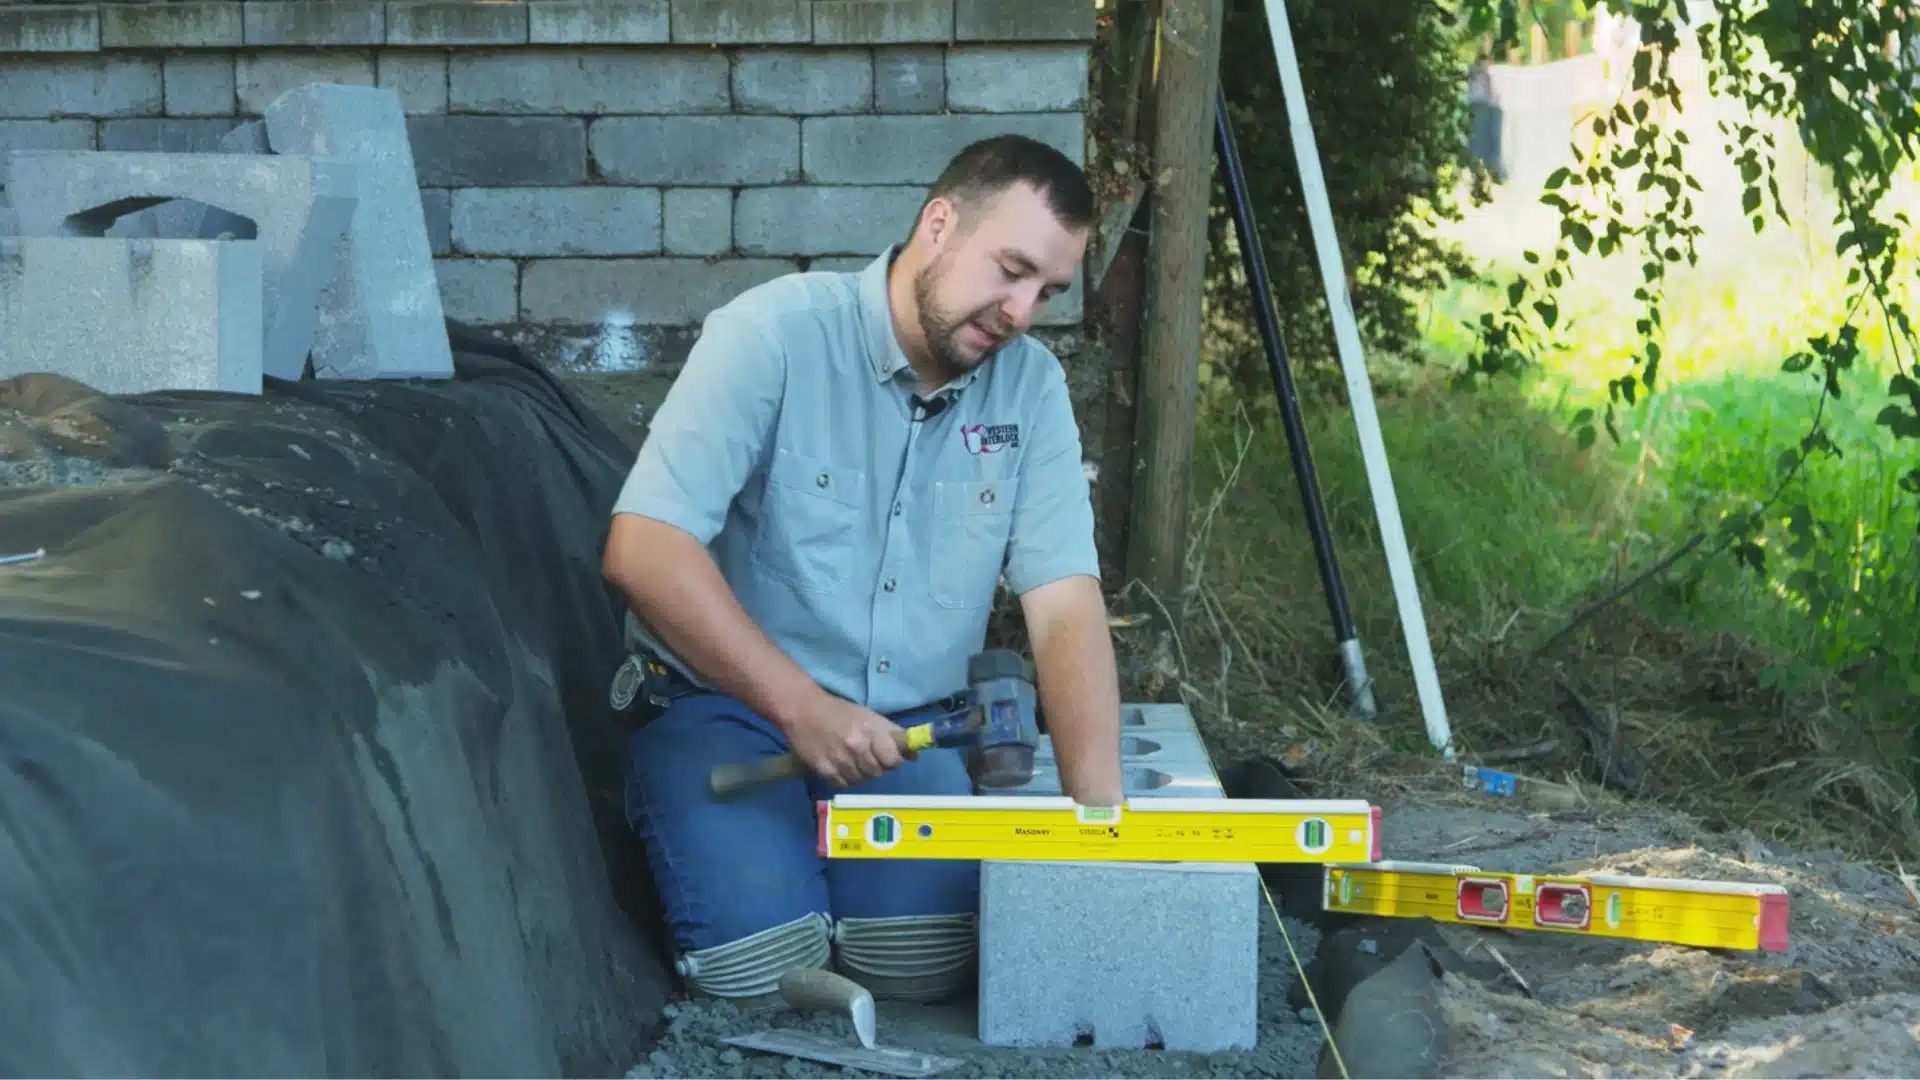
Use a string line to keep the first row of blocks straight, then check each individual block with a spirit level in every direction before moving to the next.
A longer level helps confirm consistency across multiple blocks as the base course comes together. This very first row sets the tone and alignment for every course stacked above it.
Step 8: Build Additional Courses
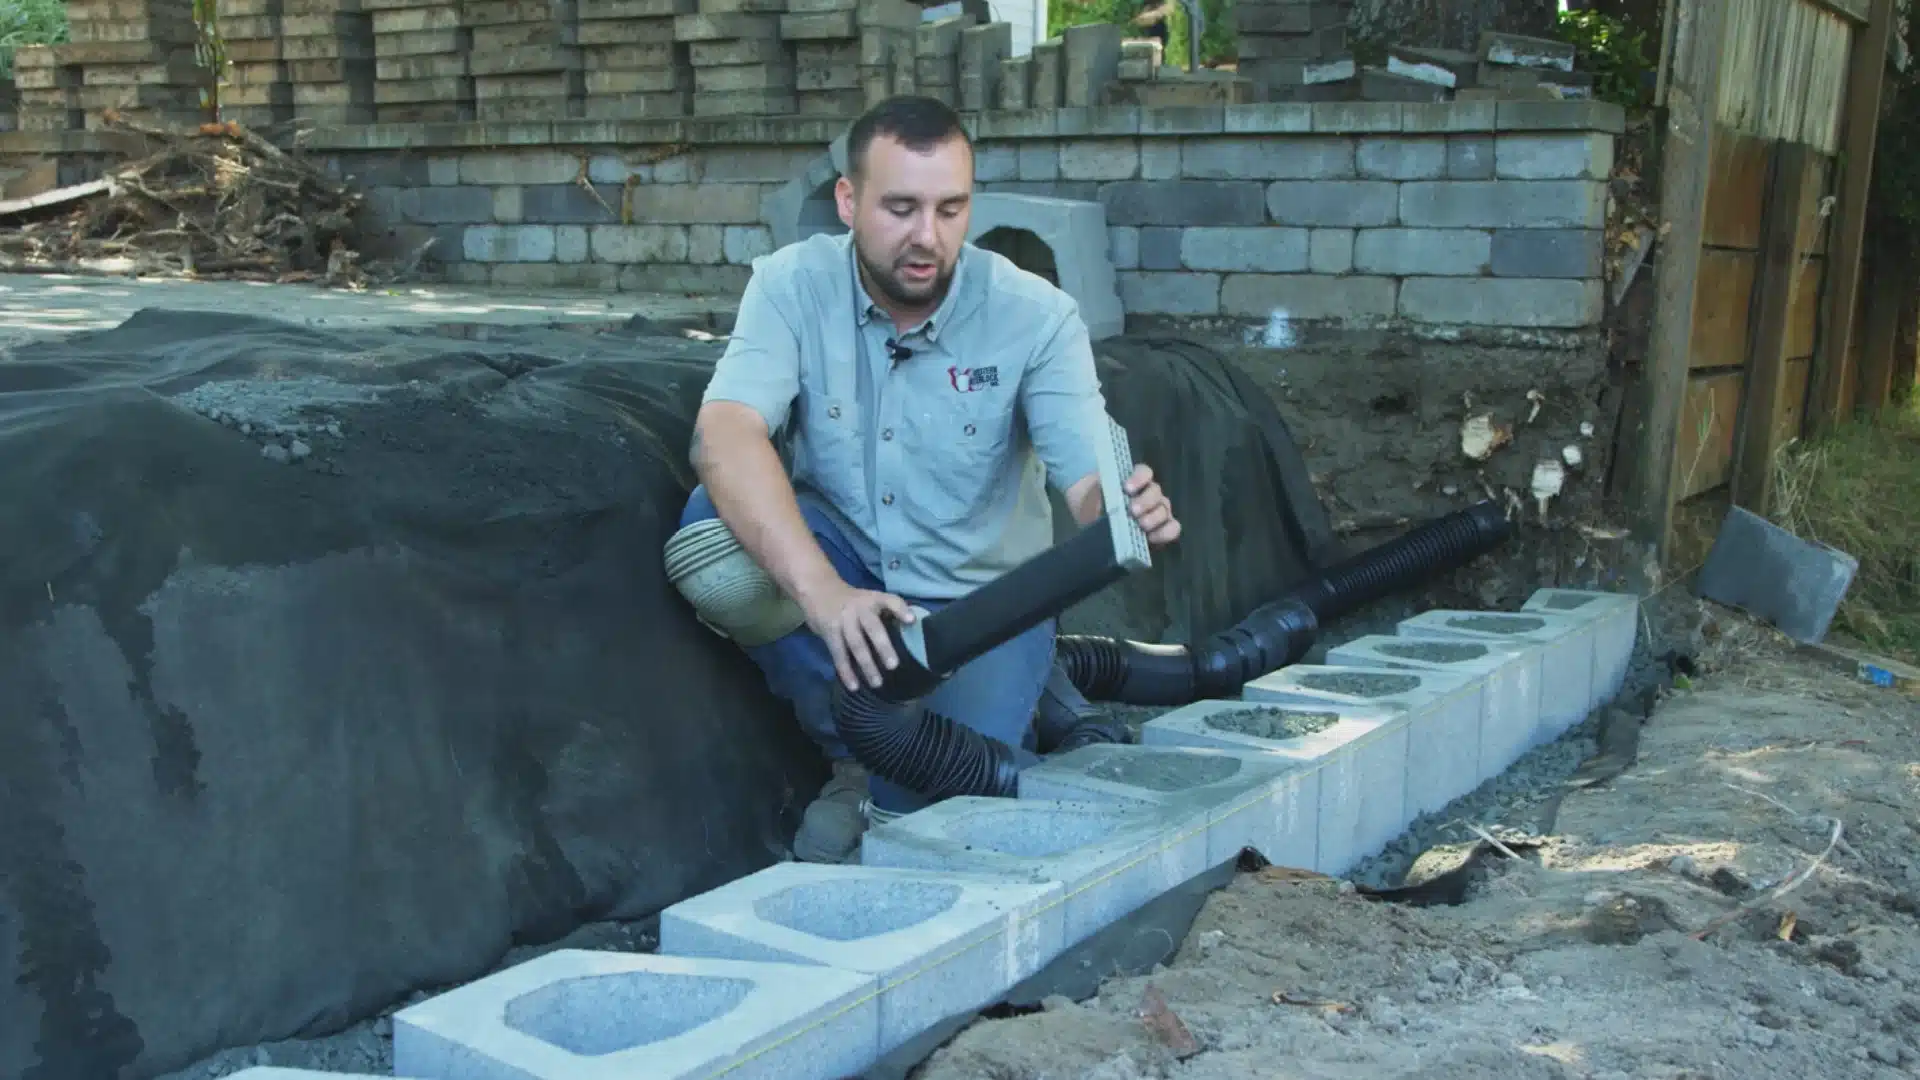
Fill each block’s cells completely, then backfill behind the wall in compacted layers, roughly 4 inches at a time. This maintains steady, even support behind the structure.
Install a perforated drain pipe at the lowest point of the wall, sloped slightly to encourage water to drain away rather than pool behind the structure. Then continue stacking subsequent courses on top.
Step 9: Add Retaining Wall Caps
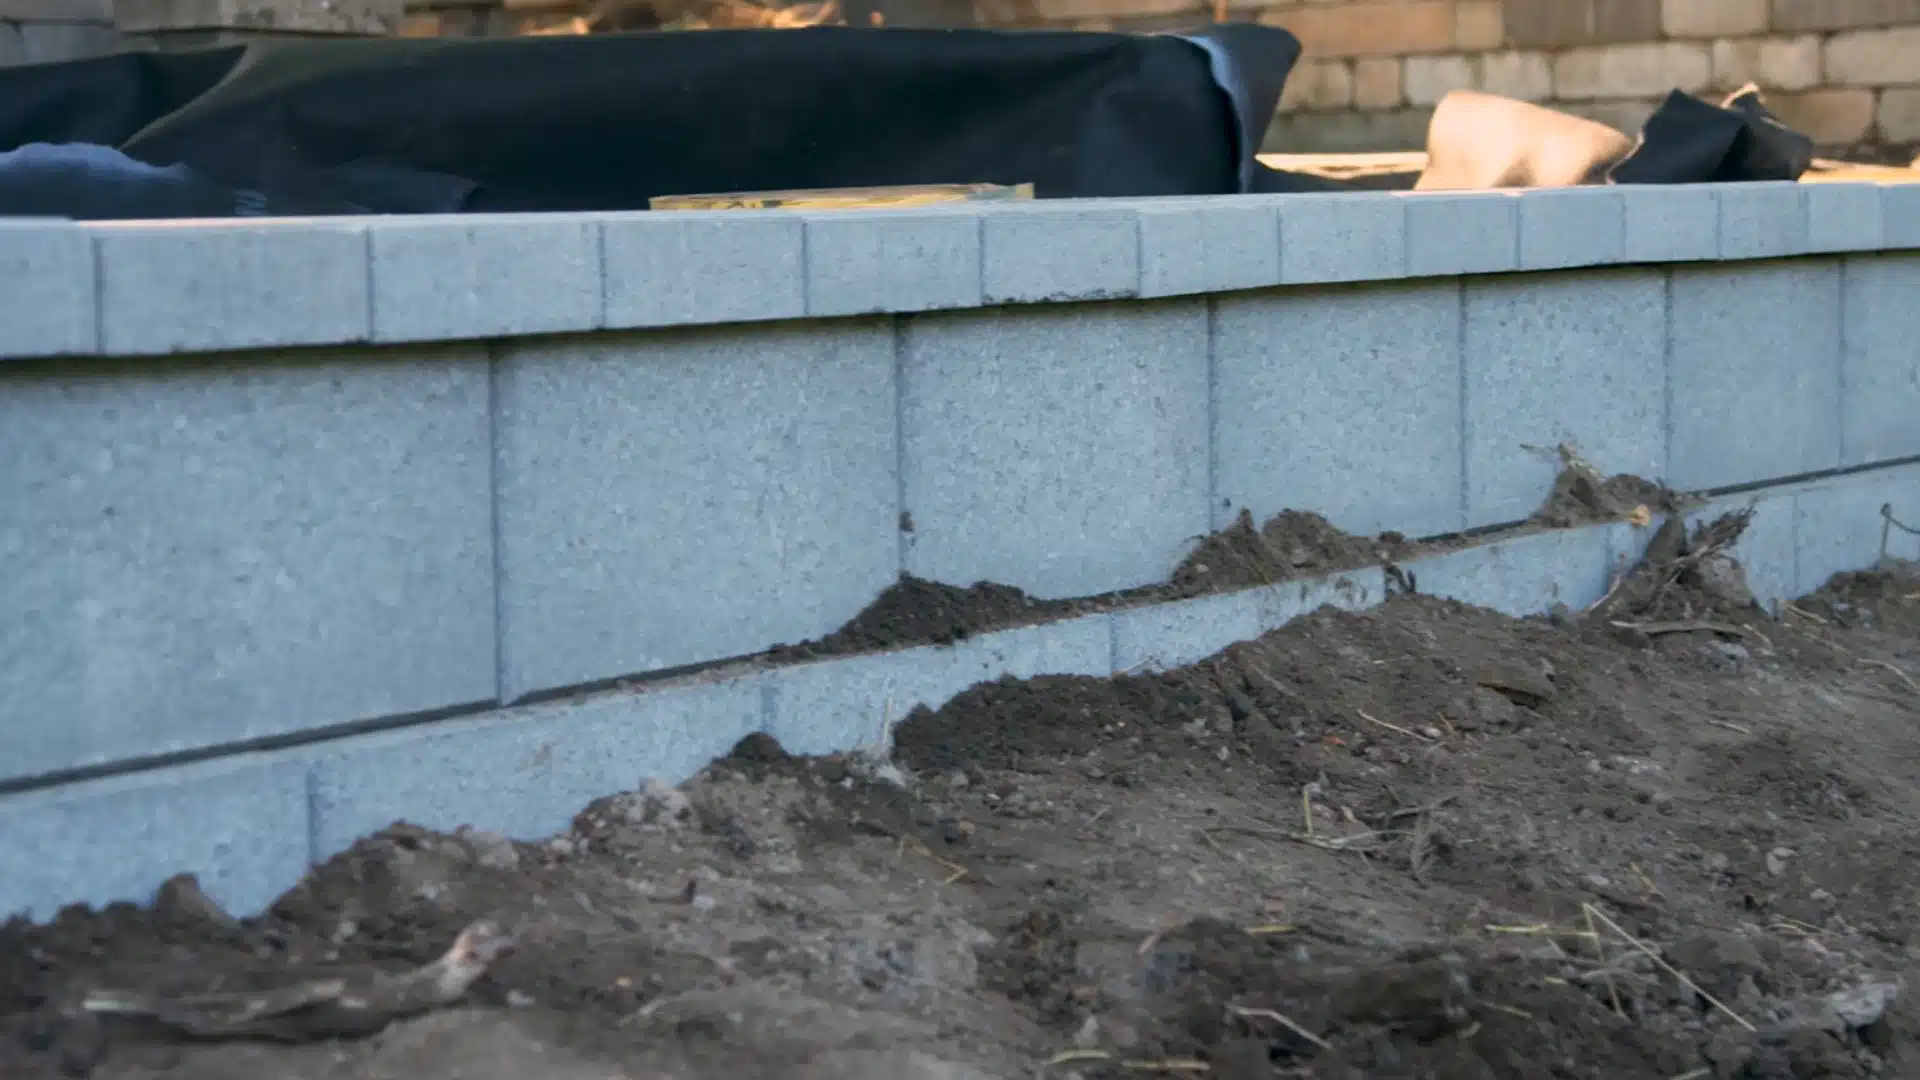
Clean the tops of the blocks thoroughly, then apply a flexible construction adhesive before carefully setting the capstones in place along the entire length of the wall.
Once the caps are secure, replace the filter fabric over the gravel backfill. Overlap it wherever needed before finishing off any surrounding landscaping around the completed wall.
For more detail, watch the complete video tutorial from Western Interlock.
Understanding Retaining Wall Permit Requirements
Under the International Residential Code (IRC R105.2), the model code most U.S. states adopt,
Retaining walls under 4 feet tall (measured from the bottom of the footing to the top) generally don’t require a permit.
Unless the wall supports a surcharge, like a driveway, structure, or sloped ground above it. Since sloped-site walls often carry that added load, a permit may still apply even under 4 feet.
IRC R404.4 also requires engineered design for walls retaining more than 4 feet of soil. Local codes vary, so confirm specifics with your building department before digging.
How to Maintain Your Retaining Wall?
A retaining wall isn’t a build-it-and-forget-it project. A little upkeep goes a long way toward keeping it strong for years. Here are a few simple habits to follow:
- Inspect the wall twice a year for cracks, bulging, or blocks that have shifted out of place.
- Clear debris from drain outlets and weep holes regularly to prevent water from backing up behind the wall.
- Watch for roots growing too close to the wall, since they can push blocks out of alignment.
- Check drainage after heavy rain to confirm water flows away properly instead of pooling near the base.
- Address warning signs early, since small fixes now are cheaper than a full rebuild later on.
Staying on top of these small tasks keeps the wall standing strong for years. If runoff still pools near the base after you’ve fixed the drainage, routing water into a rain garden downhill gives it somewhere useful to go instead.
Frequently Asked Questions (FAQs)
What’s the Best Material for a Diy Retaining Wall?
Segmental concrete blocks are generally the easiest choice for beginners; they interlock without mortar, are widely available, and don’t require specialized tools or engineering knowledge for walls under 4 feet.
How Do I Stop Water from Pooling Behind My Retaining Wall?
Proper drainage is key; a perforated pipe at the base sloped slightly for runoff, combined with compacted gravel backfill and geotextile filter fabric, gives water a clear path to escape rather than building up pressure behind the wall.
How Long Does a Retaining Wall Last?
This depends heavily on material; concrete block and natural stone walls typically last 50 to 100 years, while timber walls generally last 10 to 20 years due to rot and moisture exposure over time.
Final Thoughts
Each stage of this project plays a part in a wall that holds up. You now know how to build a retaining wall on a slope step by step. Good drainage keeps water from pooling behind your wall.
Strong blocks and a solid base keep everything standing tall. Regular checks help you catch small problems before they grow big. A little upkeep each year protects your investment.
Your yard stays safe, and your slope stays put. Take your time with each step, and do not rush. Every strong wall starts with planning and work.
Share your questions or thoughts in the comments below, and start your own project this weekend.