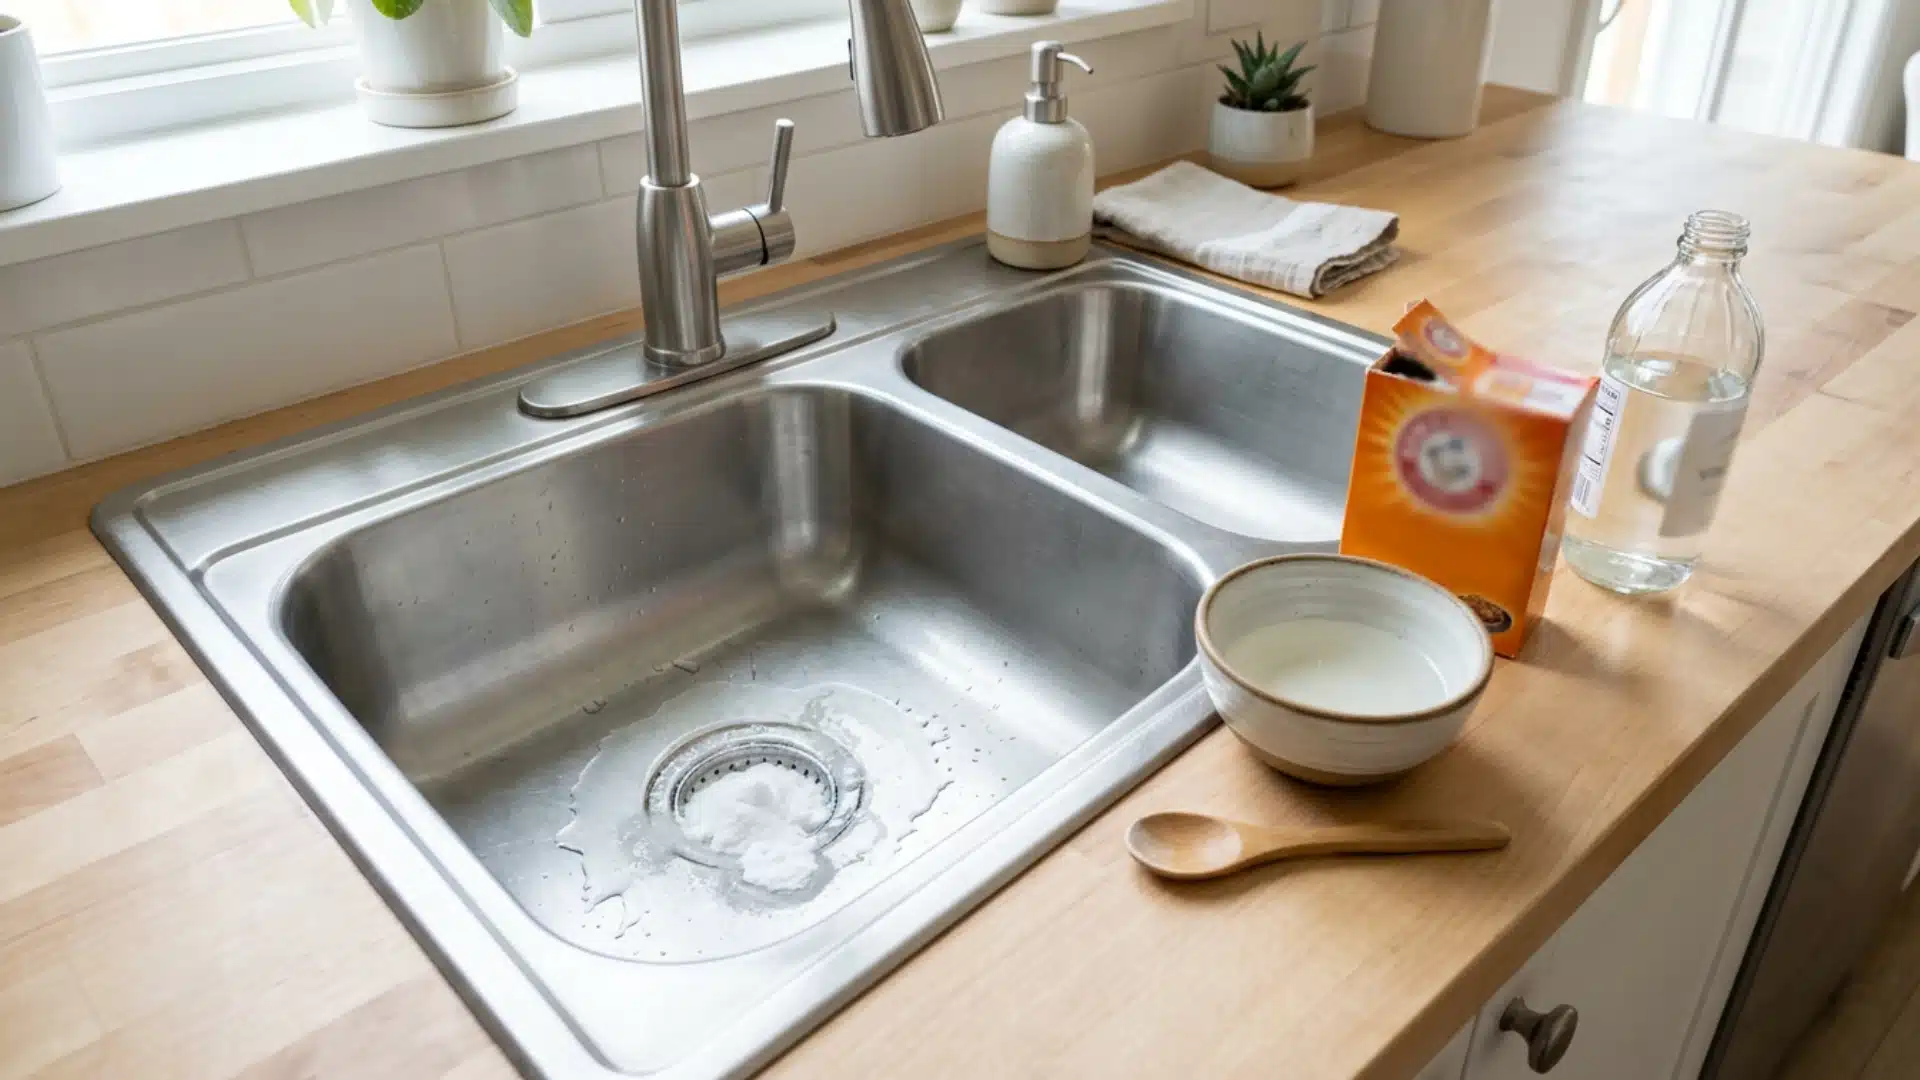


Every kitchen and bathroom floor has grout that needs regular attention. Small grooves trap dust, soap scum, and grime over time.
A DIY grout cleaner helps clear that buildup without harsh chemicals. Basic pantry items handle most grout messes just fine. Baking soda and vinegar work well together to lift dirt.
You won’t need special tools or pricey store-bought sprays. A little scrubbing goes a long way toward brighter grout lines. Picking the right method makes cleaning faster and easier.
Gather a few simple supplies before you start scrubbing. A little prep makes the whole process go smoother. Clean grout is easier to achieve than you think.
Why Does Grout Get Dirty So Easily?
Grout shows dirt faster than tile because of how it’s made. It has a porous surface that soaks up moisture and grime easily.
Dust, soap residue, and spills settle into these tiny pores over time. Unlike tile, grout can’t be wiped clean with just one quick pass.
Kitchens and bathrooms often see faster discoloration due to grease and moisture. High-traffic areas also pick up dirt from constant foot traffic and daily use.
Poor ventilation can trap moisture, making grout more prone to staining. Higher humidity levels give dirt and grime more chances to settle in. This is simply part of how grout behaves over time.
Check Your Tile and Grout Before Cleaning
Before you grab any homemade cleaner, take a moment to check things first. A quick look at your tile and grout can save you trouble later. Here’s what to check before you start cleaning:
- Confirm your tile type, since polished stone, marble, and limestone can scratch easily.
- Check if the grout is sealed, unsealed, cracked, loose, or badly discolored.
- Test the mixture on a small hidden spot and let it dry first.
- Watch for surface dirt, grease, or soap residue, since baking soda handles these well.
- Look for deep mold or crumbling grout, which may need repair instead of cleaning.
Taking these steps first helps you avoid extra damage. A little checking now makes the actual cleaning much easier.
Supplies Needed for Cleaning Grout
Having the right tools nearby helps you clean efficiently and prevents baking soda residue from drying across the tile.
| Supply | Estimated Cost Range |
|---|---|
| Baking soda | $1 to $3 |
| White vinegar | $2 to $4 |
| 3% hydrogen peroxide | $1 to $2 |
| Oxygen bleach | $5 to $10 |
| Mild dish soap | $2 to $5 |
| Grout brush or toothbrush | $2 to $6 |
| Microfiber cloth or sponge | $3 to $8 |
| Gloves | $3 to $7 |
Most of these ingredients also show up in pantry-staple cleaning mixes, so there’s a good chance you already have what you need before you buy anything new.
Note: These figures are estimated and may vary based on brand, location, store, and package size. Always check current prices before purchasing.
DIY Grout Cleaning Recipes to Try

Pick a recipe based on the buildup you’re dealing with, not the strongest option first. Cleaning grout with baking soda works well for most messes. Here are some simple recipes worth trying:
1. Vinegar and Dish Soap Spray
Best for: Everyday grout maintenance
Mix equal parts white vinegar and warm water, then add a few drops of mild dish soap. Spray it right onto the grout lines and let it sit for five minutes.
Scrub with a nylon brush using short strokes to loosen dirt. Rinse well with clean water. Skip this method on natural stone or unsealed cement grout, since vinegar can wear down the surface over time.
2. Baking Soda and Hydrogen Peroxide
Best for: Yellowing and stubborn discoloration
Combine two parts baking soda with one part 3% hydrogen peroxide to make a smooth, spreadable paste.
Apply a thin layer over yellowed or stained grout and let it sit for 5 to 10 minutes. Scrub gently with a nylon brush, then wipe away the loosened grime and rinse thoroughly.
Because hydrogen peroxide can lighten some pigments, test the mixture on a hidden section before using it across colored or unsealed grout.
3. Oxygen Bleach Soak
Best for: Deep stains on white or light grout
Combine oxygen bleach powder with warm water, following the label instructions carefully. Pour the mix over the grout lines, covering every stained section well.
Let it sit for the time recommended on the package so it can loosen the stains. Use a soft brush to scrub lightly, then rinse the area well to remove any leftover residue.
Avoid metal trim, and test colored grout in a small spot before treating the whole space.
4. Vinegar and Dish Soap Spray
Best for: Everyday grout maintenance
Mix equal parts white vinegar and warm water, then add a few drops of mild dish soap. Spray it right onto the grout lines and let it sit for five minutes.
Scrub with a nylon brush using short strokes to loosen dirt. Rinse well with clean water. Skip this method on natural stone or unsealed cement grout, since vinegar can wear down the surface over time.
5. Baking Soda and Vinegar
Best for: Acid-safe ceramic or porcelain tile
Sprinkle baking soda over the grout and lightly spray it with diluted white vinegar. Wait until the fizzing slows, then scrub and rinse the surface thoroughly.
This method is suitable only for acid-safe ceramic or porcelain tile and should not be used on marble, limestone, travertine, or slate.
Avoid frequent use on unsealed cement grout, as repeated acidic cleaning may gradually weaken the surface or change its color during regular household cleaning.
6. Baking Soda and Dish Soap Paste
Best for: Cooking oil and sticky kitchen residue
Mix two parts baking soda with one part mild dish soap, adding a few drops of warm water only if the paste feels too thick.
Apply it to kitchen grout affected by cooking oil, food splashes, or sticky residue. Let the mixture sit for 10 minutes, then scrub with a nylon brush.
Wipe away the cleaner and rinse until the surface no longer feels slippery, because leftover soap can attract more dirt.
7. Borax and Warm Water Soak
Best for: Musty odors and mildew-prone areas
Mix borax with warm water, following the directions on the label closely. Apply the solution to damp, musty grout lines where mildew tends to build up.
Let it sit for about ten minutes so it can soak into the grime. Scrub gently with a brush to lift the odor and buildup, then rinse well with clean water.
Keep the solution away from kids and pets the whole time you’re cleaning, and store it safely once you’re done.
Common Grout-Cleaning Mistakes to Avoid
Small cleaning errors can leave haze, weaken grout, or cause stains to return sooner.
- Using abrasive tools: Wire brushes and harsh scrubbers can scratch tile and wear down grout. Choose a nylon grout brush instead.
- Scrubbing with too much pressure: Aggressive scrubbing may loosen cracked or aging grout. Let the cleaner sit briefly before using gentle strokes.
- Applying too much baking soda: An overly thick paste is difficult to rinse and often leaves a chalky film.
- Mixing household cleaners: Never combine vinegar, hydrogen peroxide, bleach, or ammonia, as the mixture may create harmful reactions.
- Ignoring rinsing and moisture issues: Remove all residue, dry the surface, and investigate recurring dark stains that may indicate leaks, failed caulk, or poor ventilation.
Avoiding these mistakes helps protect the tile finish, preserve grout strength, and reduce the chance of residue, damage, or recurring stains.
Grout Care by Surface and Condition
Grout care varies depending on where it is and what it collects. The right steps keep joints clean without causing extra damage. Here’s how to handle grout by area and condition:
| Area or Condition | Fix | Caution |
|---|---|---|
| Floor grout | Sweep or vacuum loose dirt, then clean in small sections | Avoid soaking cracked or unsealed joints |
| Shower grout | Rinse away soap residue, then apply cleaner | Ventilate the room after rinsing |
| Backsplash grout | Mix baking soda with mild dish soap and wipe repeatedly | Avoid oily buildup sitting too long |
| Porous grout | Clean and dry completely, then seal | Do not seal over damp grout |
| Faded grout | Confirm grout is structurally sound, then recolor | Skip recoloring if grout is cracked |
| Damaged grout | Fix leaks or movement first | Then replace cracked or crumbling joints |
If backsplash grime runs deep, a kitchen remodel budget becomes the practical conversation. Checking grout after cleaning shows what it needs next. This simple habit saves time and avoids bigger repairs later.
What to Do if DIY Grout Cleaner Doesn’t Work?
Sometimes DIY methods just don’t get the job done. A few simple checks can help you figure out the next step:
- Figure out if the issue is dirt, staining, mineral buildup, mold, or damaged grout.
- Try a commercial grout cleaner if homemade options aren’t strong enough.
- Look into professional cleaning if the buildup covers a large area.
- Check if the grout needs repair or replacement instead of more cleaning.
- Look for ongoing moisture, since it may be causing the problem underneath.
Knowing the real cause helps you pick the right fix. This saves time and stops the same issue from coming back.
Frequently Asked Questions (FAQs)
Does Baking Soda Disinfect Grout?
Baking soda mainly loosens dirt and absorbs odors; it is not a registered disinfectant. After cleaning, use a tile-safe disinfectant when you need germ control.
Can Baking Soda Be Used on Epoxy Grout?
Baking soda may be suitable for some epoxy grout, but the manufacturer’s instructions should come first. Epoxy grout is less porous than cement grout and often needs only a mild detergent.
Can a Steam Cleaner Be Used After Baking Soda?
Yes, when the tile and grout manufacturer allows steam cleaning. Remove all baking soda paste first so heat does not spread gritty residue across the surface.
Final Thoughts
Keeping grout clean comes down to the right method and a bit of effort. A diy grout cleaner made from simple items can handle everyday messes.
Vinegar, baking soda, and a soft brush go a long way. Testing first keeps your tile safe from scratches or fading. Rinse well and dry the area to stop residue buildup.
Sealing grout after cleaning keeps stains from coming back so fast. Watch for signs that repair, not cleaning, is what you need.
A little effort brings back that bright, fresh look. Bookmark this page for the next time grout needs a good scrub.