
I notice it most when a favorite ring catches the light and somehow looks flatter than it used to.
That small change always makes me look closer, and once I do, the buildup becomes obvious around the edges, under the stone, and along the setting.
It is a common assumption that professional cleaning was the only way to bring that shine back, but no one can actually go every other day to get that shine.
That is what made a DIY jewelry cleaner so appealing to me. It feels practical, especially when I only want to freshen up pieces I wear all the time.
Sometimes, restoring that familiar shine takes less effort than expected, and that simple before-and-after moment is surprisingly satisfying.
Why Does Jewelry Get Dirty So Quickly?
Jewelry comes into contact with skin, beauty products, moisture, and dust throughout the day.
Over time, these everyday substances build up and make even polished pieces look dull.
Natural skin oils are often the first layer to collect on rings, bracelets, necklaces, and earrings. Lotion and sunscreen can add a sticky residue that settles on both metal and gemstones.
Soap is another common cause. Small traces can remain behind rings, inside clasps, and around stone settings after washing hands or showering.
Makeup, perfume, and hairspray may also leave a film, especially on earrings and necklaces.
Sweat and everyday dust can make the buildup worse.
Much of this grime settles into tiny spaces that are easy to miss, so jewelry may lose its shine gradually rather than looking dirty overnight.
Homemade Jewelry Cleaner Recipes
Homemade jewelry cleaner recipes can offer a simple way to remove everyday dirt and restore shine using common household ingredients.
Always check the care instructions for your jewelry and test any cleaning method on a small, hidden area first. When in doubt, consult a professional jeweler before cleaning.
Recipe 1: Dish Soap + Warm Water
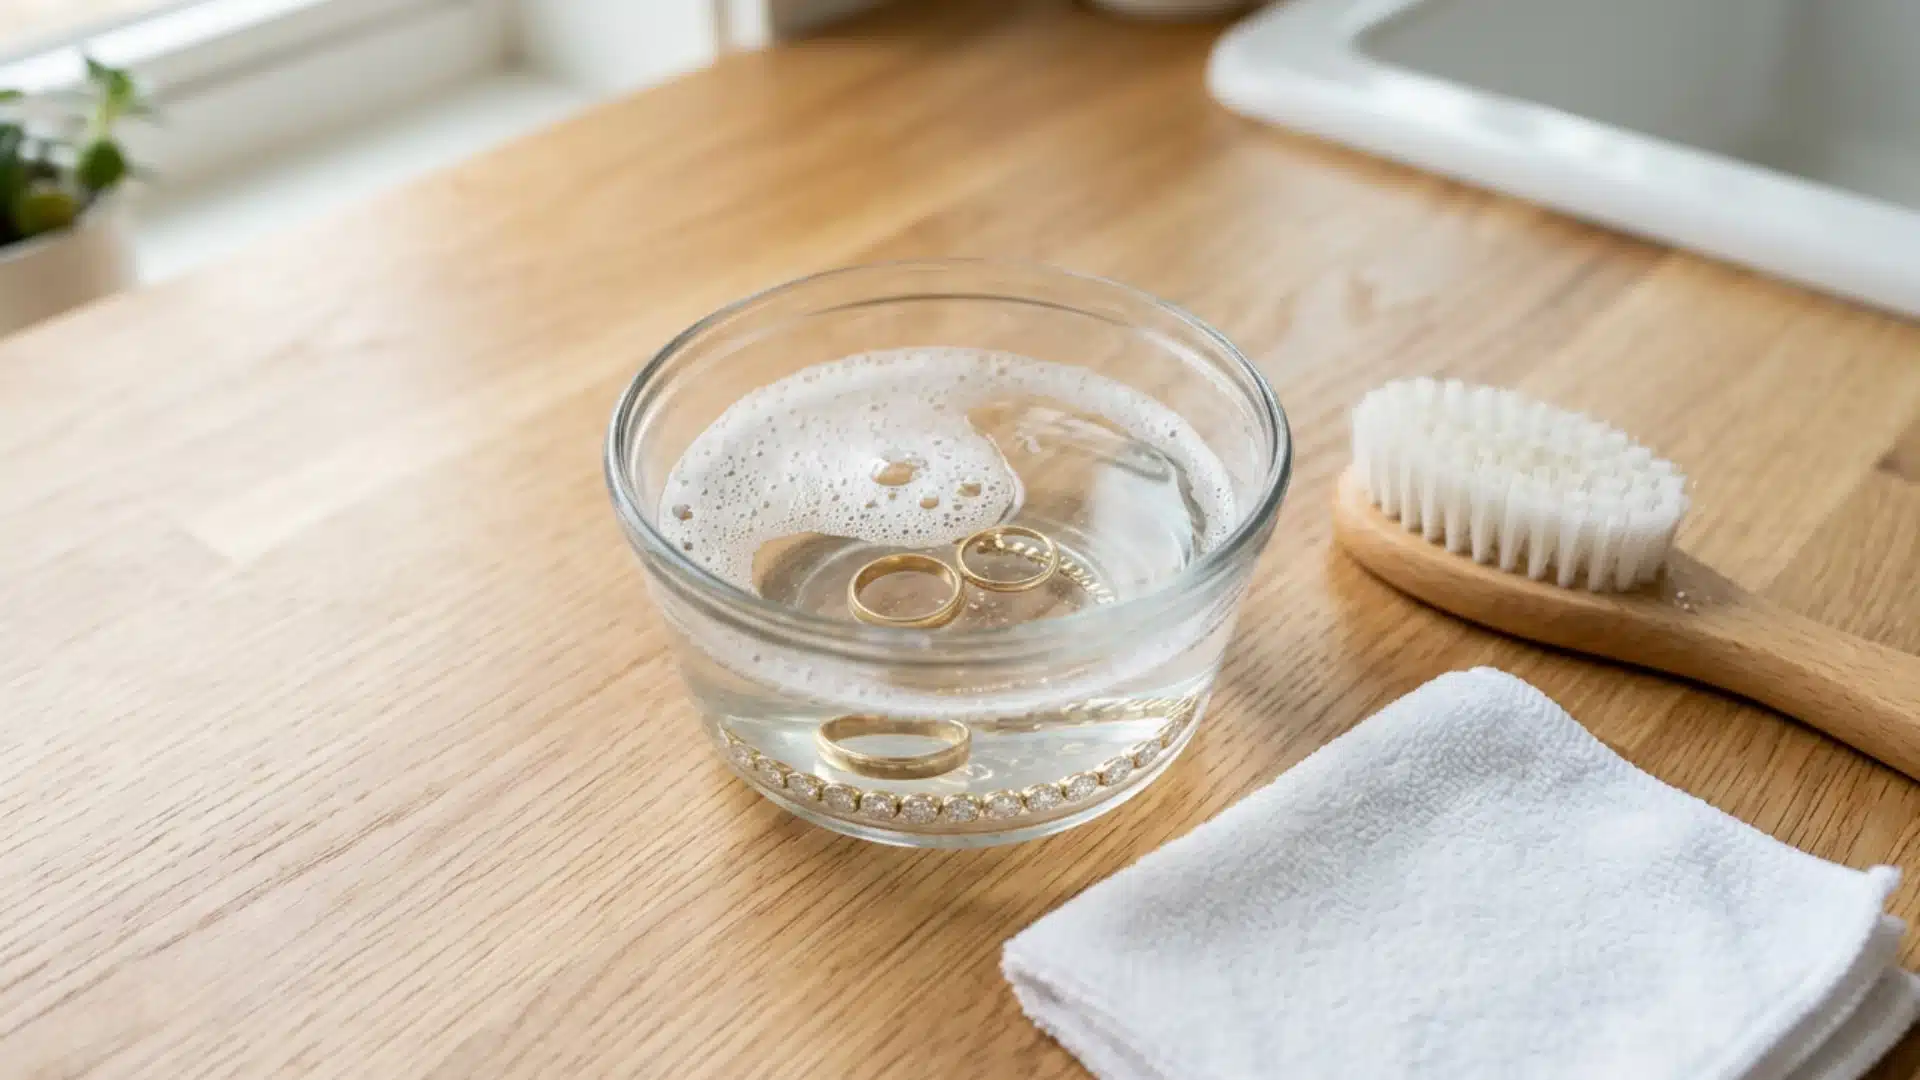
This gentle method works well for gold, platinum, diamonds, and everyday jewelry, but should not be used on porous stones such as pearls or opals.
Mild dish soap removes body oils, lotion, and grime without damaging most finishes.
How to use:
- Fill a small bowl with warm water and add a few drops of mild dish soap, stirring gently until it turns slightly sudsy.
- Place your jewelry into the solution and let it soak for 10-15 minutes, giving the soap time to loosen oils and everyday grime.
- Use a soft-bristled brush to gently scrub around settings, clasps, and any grooves where residue tends to collect.
- Rinse thoroughly under running water to remove all soap traces, then pat dry with a soft cloth.
Time required: 10-15 minutes
Recipe 2: Baking Soda Paste
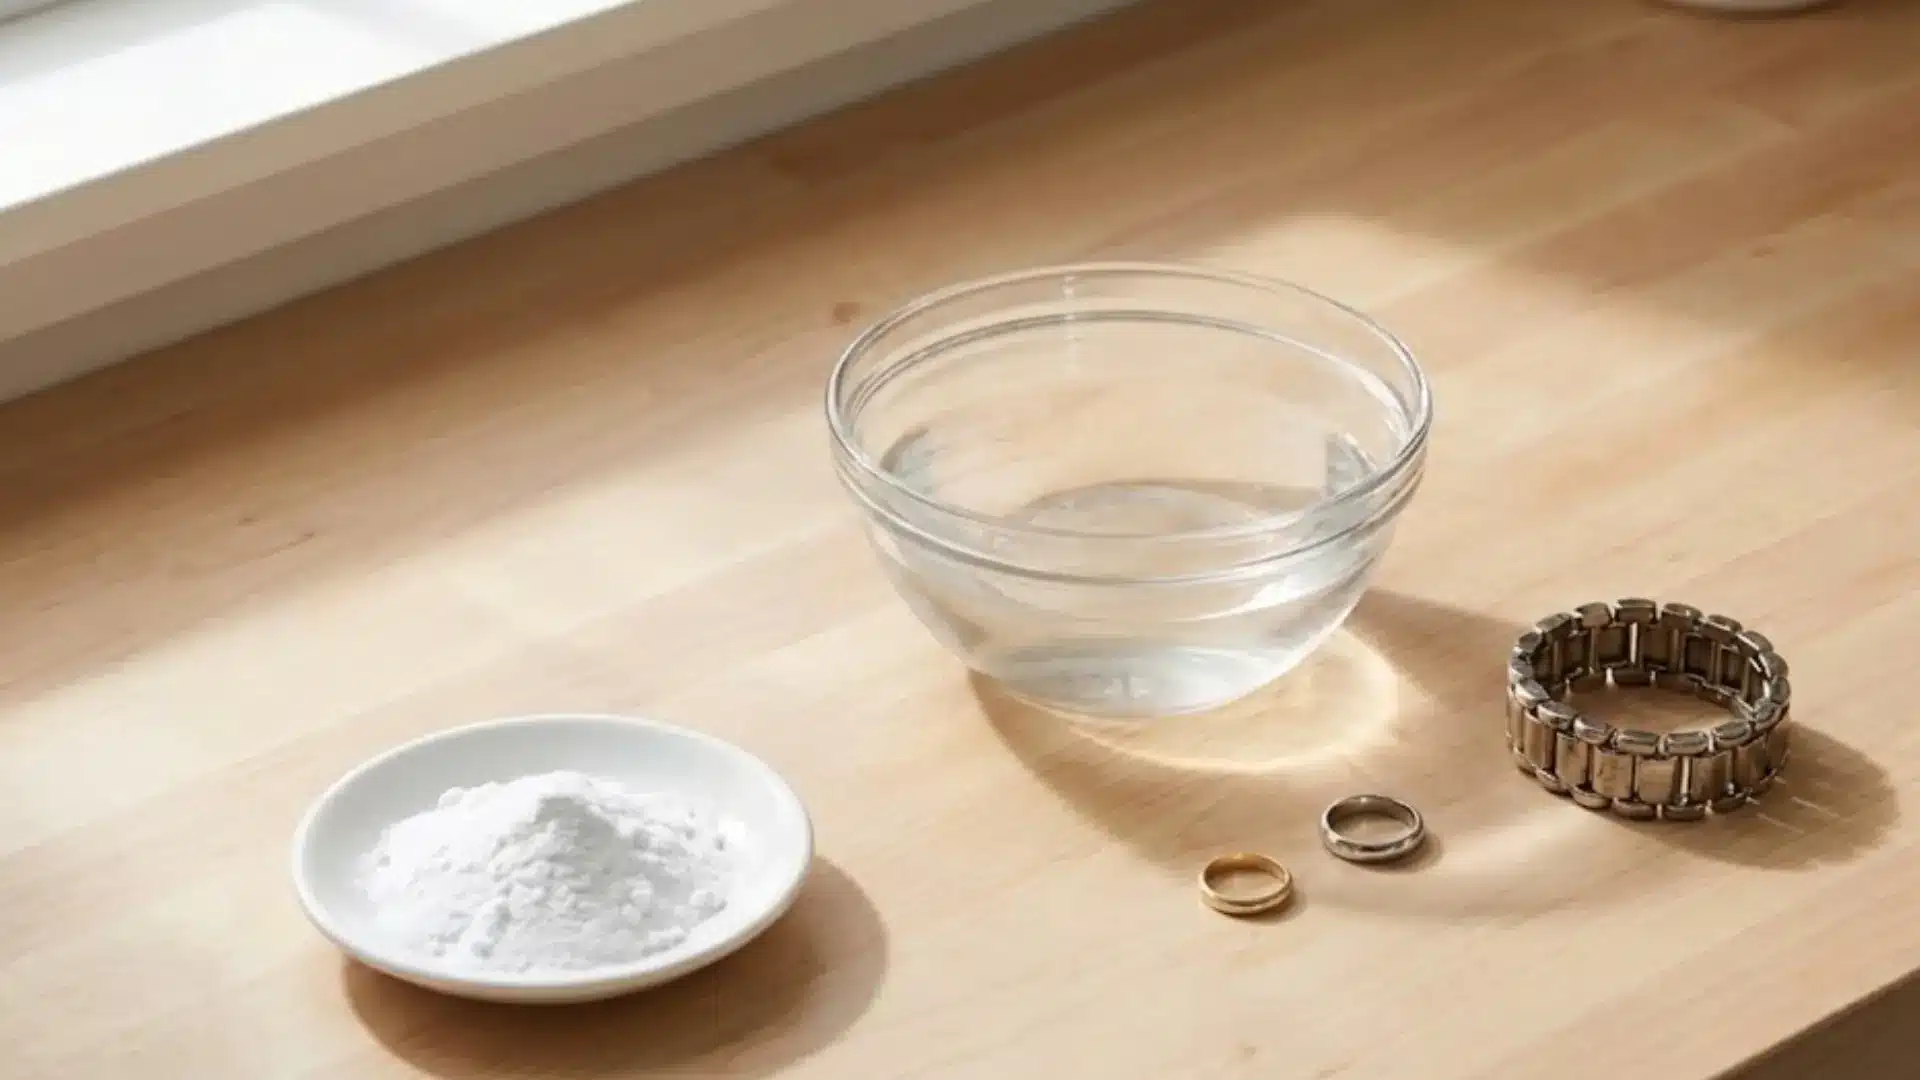
This method works best on silver only, and it’s worth keeping away from gold, especially pieces set with gemstones, since the paste can be too abrasive and dull delicate settings.
Silver tarnishes faster than most metals because it reacts with sulfur compounds in the air, which is why it needs a slightly stronger approach than a simple soap soak.
How to use:
- Add a small amount of water to baking soda in a bowl, mixing slowly until you get a thick, spreadable paste.
- Apply the paste directly onto the tarnished silver, using a soft cloth to work it gently into the surface.
- Rub in small circular motions, focusing extra attention on areas with visible dark spots or discoloration.
- Rinse the piece thoroughly under warm water to remove every trace of the paste, then dry it completely with a clean cloth.
Time required: 5-10 minutes
Recipe 3: Aluminum Foil + Baking Soda
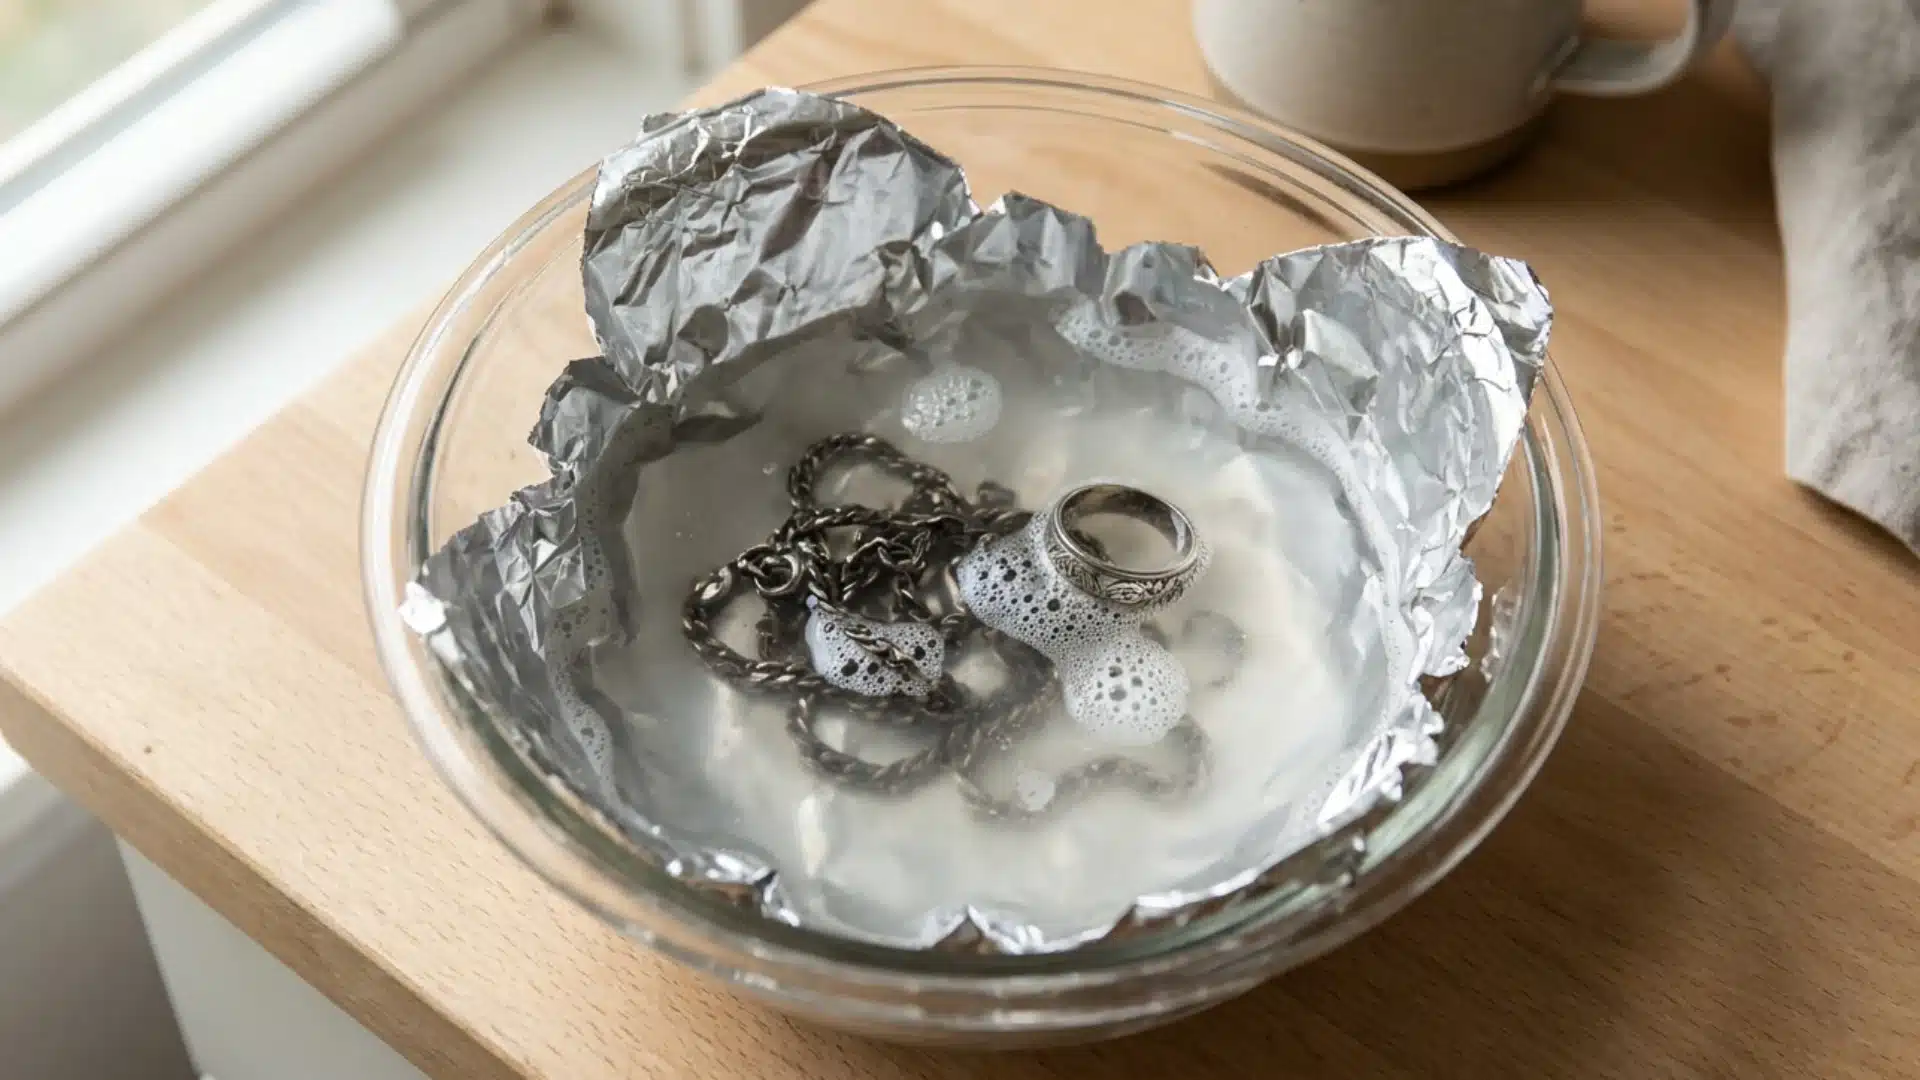
This method suits silver pieces with heavy tarnish, ones that have gone beyond a light dulling and developed visible dark spots or a dingy, uneven finish.
Unlike scrubbing methods, this one relies on a chemical reaction rather than friction, which makes it especially useful for chains, filigree, or engraved pieces where a brush can not reach.
How to use:
- Line the inside of a bowl completely with aluminum foil, shiny side facing up, so the jewelry will sit directly against it.
- Pour in hot water along with a generous spoonful of baking soda, stirring briefly until it starts to dissolve.
- Gently drop your tarnished silver into the bowl, making sure each piece touches the foil, and let it sit for about 5 minutes.
- Remove the jewelry, rinse it well under running water, and dry thoroughly with a soft cloth.
Time required: 5 minutes
Recipe 4: Club Soda
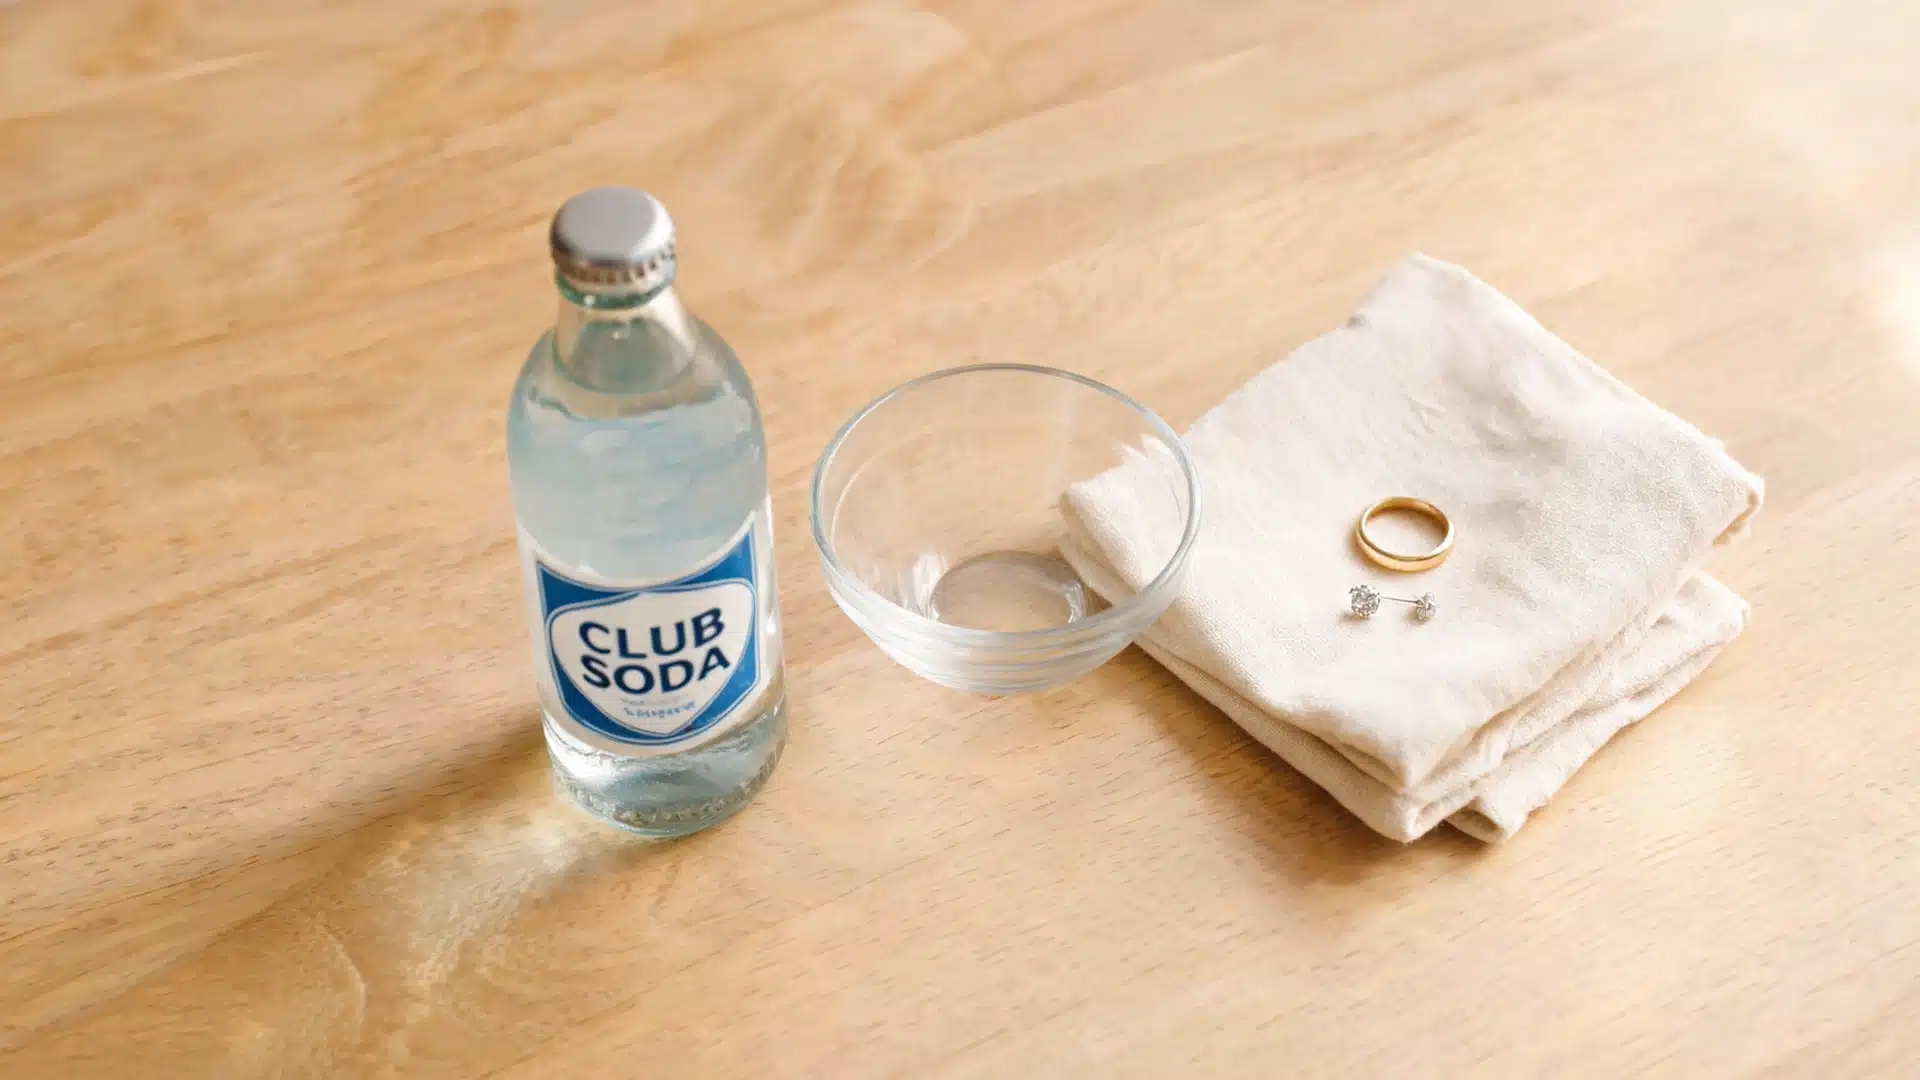
Diamonds and gold suit this method well for a quick soak, though it will not handle deep tarnish removal.
Club soda works best as a low-effort refresh rather than a deep clean, making it ideal for jewelry you wear often but do not want to fuss over.
How to use:
- Pour club soda into a small bowl, enough to fully submerge the piece you are cleaning.
- Drop your jewelry in and let it sit undisturbed for 10-15 minutes, allowing the mild acidity to loosen surface residue.
- Take the piece out and wipe it gently with a soft cloth to remove any remaining film.
- Rinse under water and dry completely before wearing or storing.
Time required: 10-15 minutes
Recipe 5: Diluted Ammonia
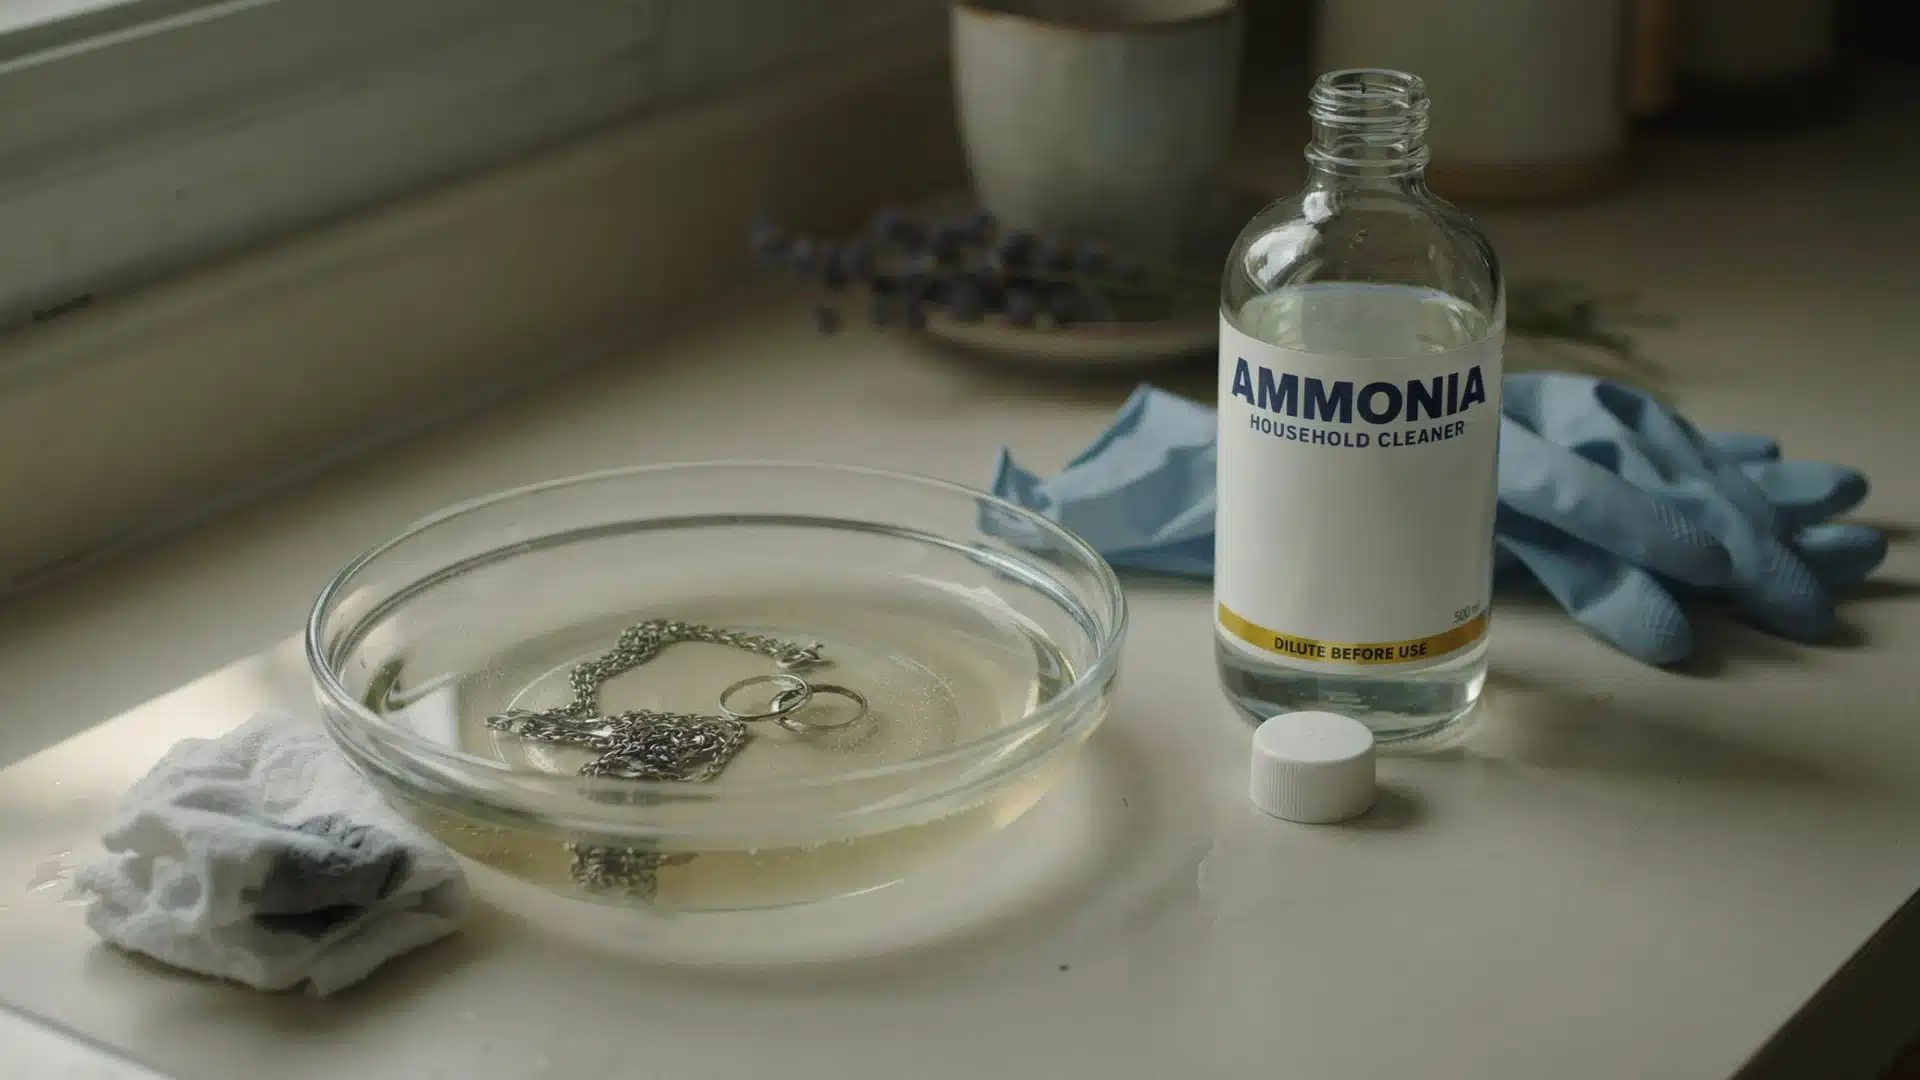
Diamonds, gold or silver only should go near this method, steering clear of pearls, opals, and other soft or porous stones.
Ammonia is one of the stronger options on this list, which makes it effective for pieces that have lost their sparkle from months of buildup, but it also demands more caution.
How to use:
- Measure 1 part ammonia to 6 parts water and combine them carefully in a well-ventilated area.
- Submerge your jewelry in the diluted solution for no longer than one minute, keeping a close eye on the time.
- Use a soft brush to scrub gently around any stubborn spots, being careful not to press too hard on settings.
- Rinse the piece thoroughly under running water and dry it completely with a soft cloth right away.
Time required: 1 minute or less
Recipe 6: Microfiber Cleaning
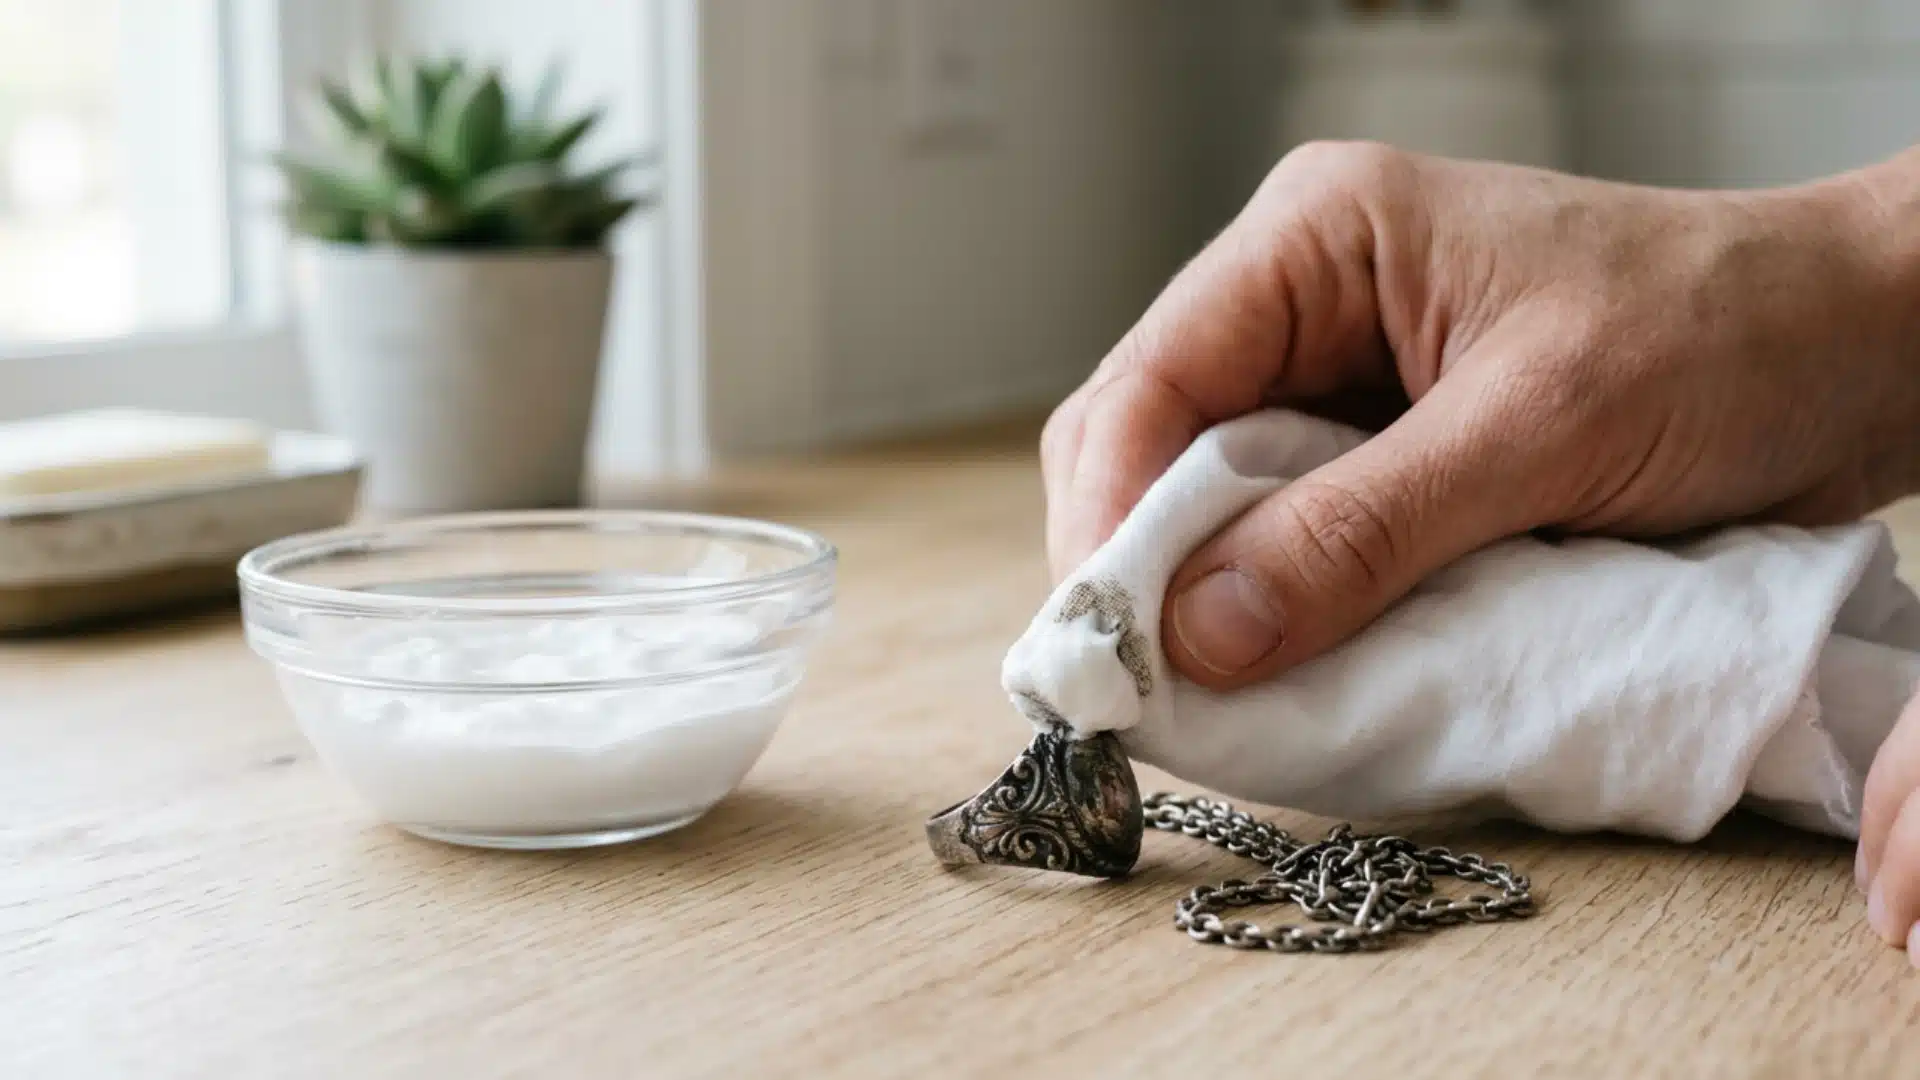
All jewelry types benefit from this as part of daily maintenance, though it will not touch heavy grime or tarnish buildup.
Think of this as preventive care rather than a fix, the kind of small habit that keeps jewelry looking good so you rarely need a heavier cleaning method at all.
How to use:
- Keep a clean, dry microfiber cloth within reach of where you usually store your jewelry each night.
- As soon as you take a piece off, gently wipe down the entire surface, including clasps and the backs of earrings.
- Pay extra attention to areas that touch skin directly, since that is where oils and residue build up fastest.
- Store the piece only once it is fully wiped down, so buildup does not transfer onto other jewelry nearby.
Time required: Under 2 minutes
Recipe 7: Jewelry Wipes (DIY Alternative)
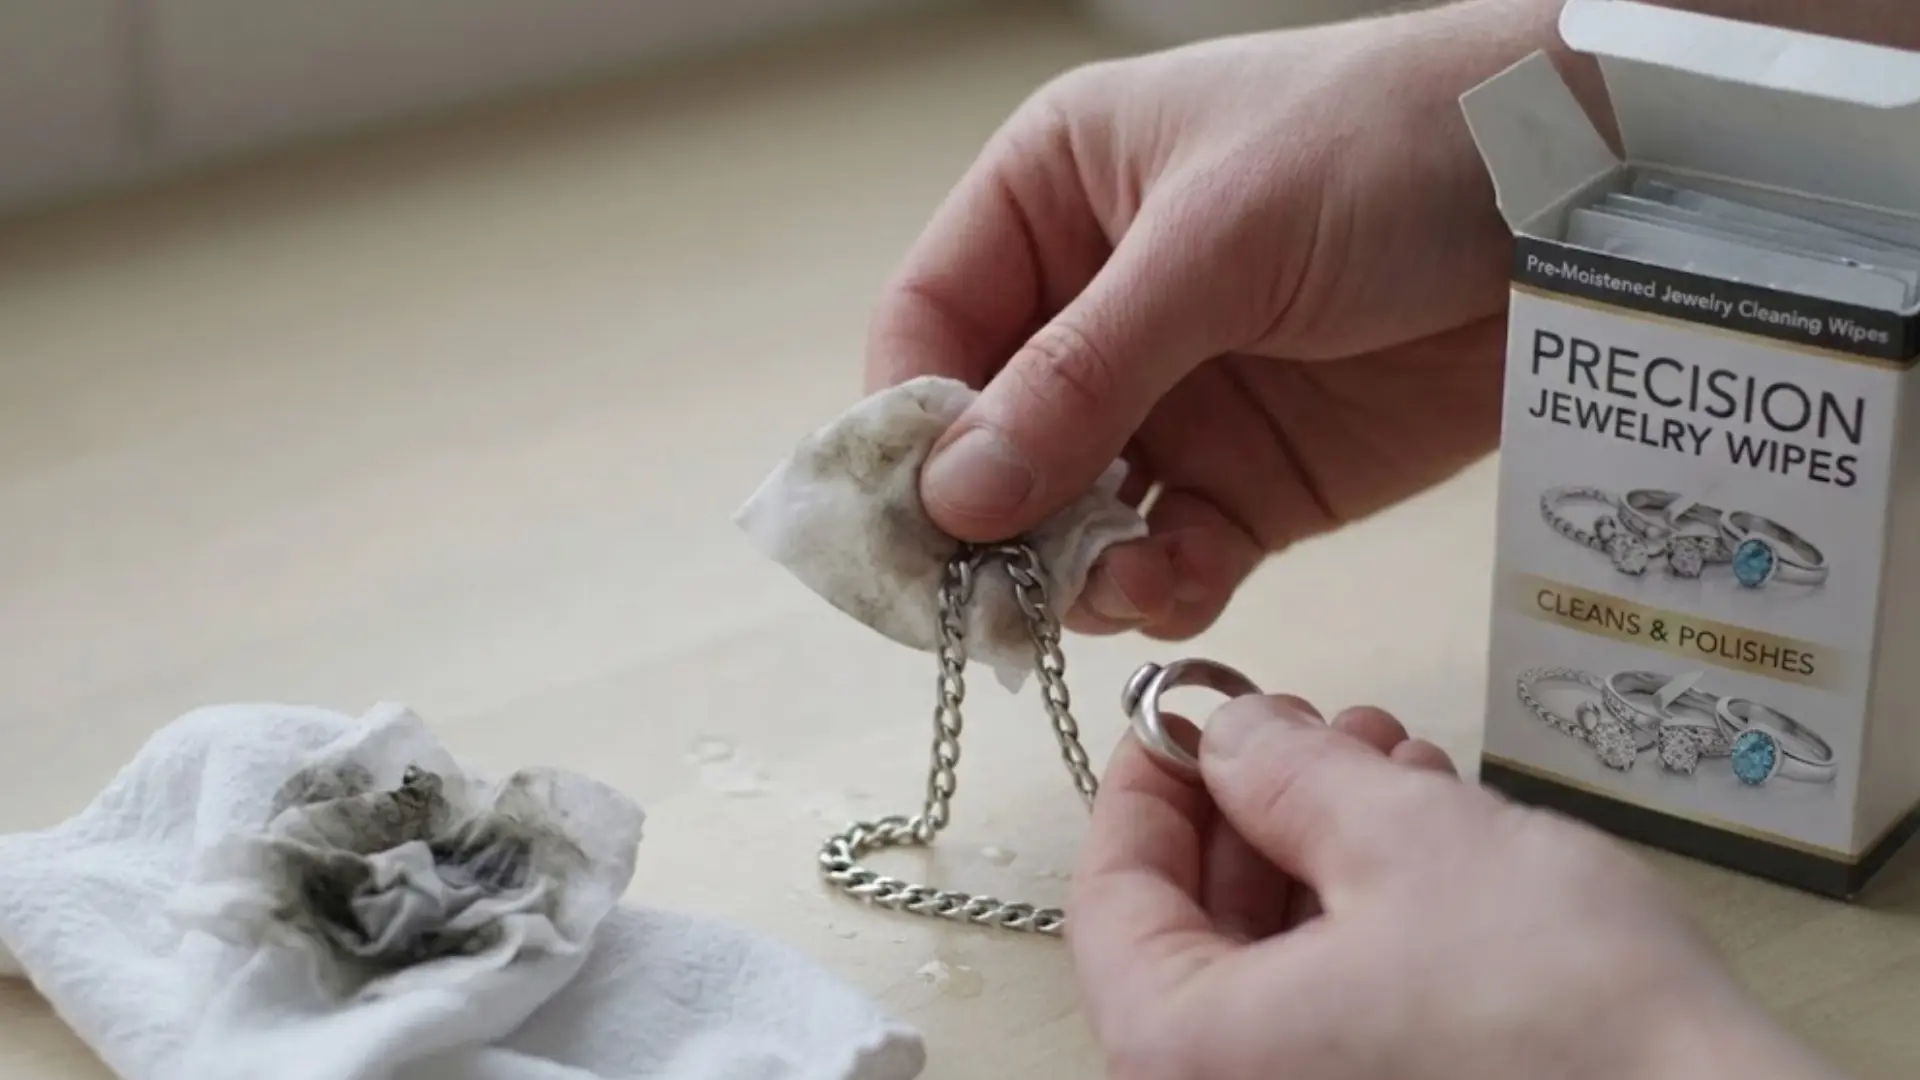
On-the-go cleaning across all jewelry types is where this option shines, though it is not built for deep tarnish or heavy buildup.
It works well when you are traveling, running late, or simply do not want to deal with bowls and soaking times.
How to use:
- Lightly dampen a microfiber cloth with water, then add just a touch of mild dish soap onto one corner.
- Wipe the soapy section gently across your jewelry, working into any grooves or settings that collect residue.
- Fold the cloth over to a dry, clean section and go over the piece again to lift away leftover soap.
- Finish with one more pass using a fully dry part of the cloth to buff the piece to a light shine.
Time required: 2-3 minutes
Recipe 8: Hydrogen Peroxide (When Safe)
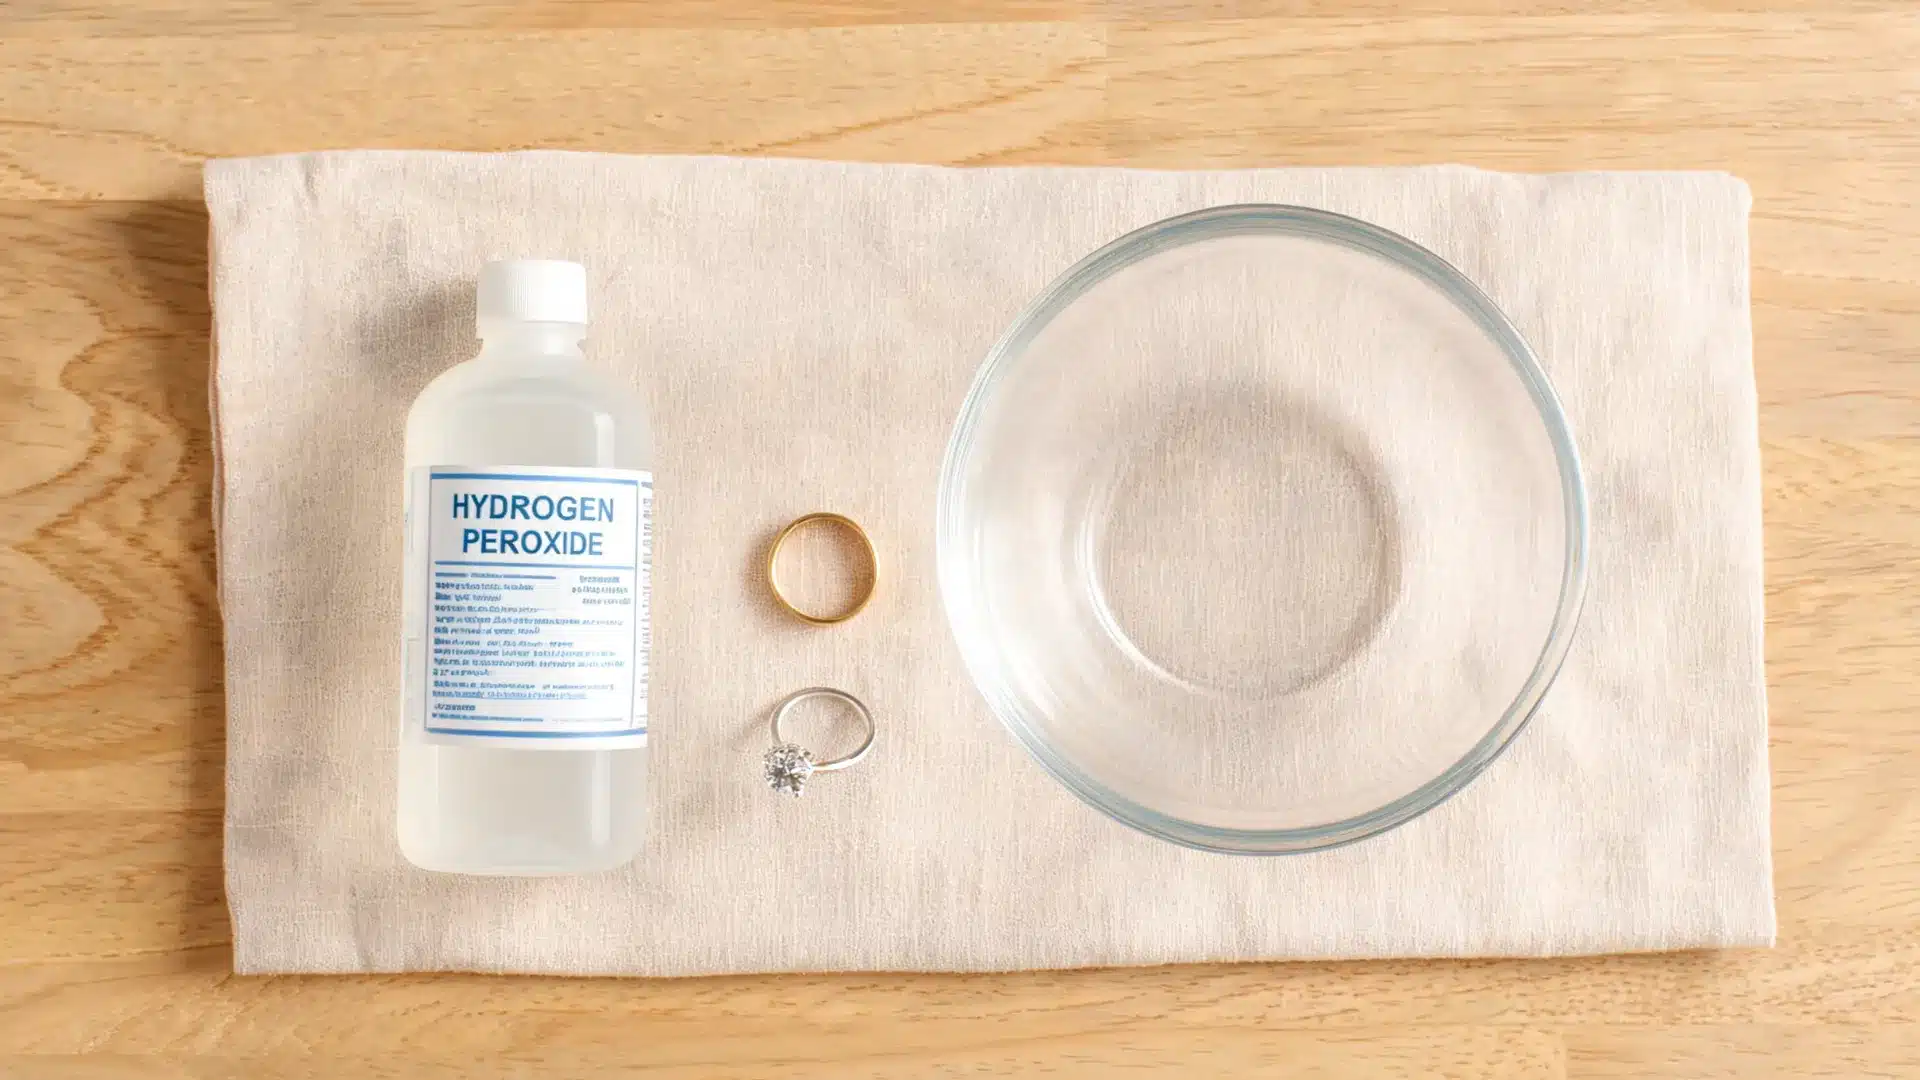
Diamonds and solid gold only should be cleaned this way, since it should never touch pearls, opals, emeralds, or any soft or porous stone that peroxide could weaken or discolor.
Hydrogen peroxide rarely gets mentioned in jewelry cleaning content, likely because its narrow use case makes it easy to overlook.
How to use:
- Pour hydrogen peroxide into a small bowl, enough to fully cover the piece of jewelry you are cleaning.
- Place your diamond or solid gold piece into the solution and let it soak for 5-10 minutes without disturbing it.
- Remove the jewelry carefully and rinse it thoroughly under running water to clear away all traces of peroxide.
- Dry the piece completely with a soft cloth, buffing lightly to bring out the brightened finish.
Time required: 5-10 minutes
Recipe 9: All-Purpose Soak (Dish Soap + Baking Soda + Warm Water)

Gold, platinum, diamonds, and sturdy costume jewelry all suit this recipe well, since it combines the gentleness of dish soap with the light abrasive power of baking soda.
It is a good default when you are cleaning several pieces at once and do not want to switch between different recipes for each one.
How to use:
- Fill a bowl with warm water, then add a few drops of mild dish soap along with a small pinch of baking soda.
- Stir the mixture gently until the baking soda fully dissolves and the solution turns lightly sudsy.
- Place your jewelry into the bowl and let it sit for about 10 minutes, giving the mix time to loosen buildup.
- Use a soft-bristled brush to work into crevices and settings, then rinse thoroughly under warm water and dry with a soft cloth.
Time required: 10-15 minutes
Real Users Opinion About Cleaning Jewelry at Home
Reddit discussions show that many jewelry owners prefer simple cleaning methods over strong chemicals or frequent ultrasonic cleaning.
One jeweler and gemologist recommended warm water, a small amount of dish soap, and a soft toothbrush for removing body oils and buildup from everyday jewelry.
The same commenter advised soaking pieces briefly, brushing gently, rinsing them in clean water, and allowing them to dry thoroughly.
Reddit users also stressed that cleaning should depend on the metal and gemstone.
Pearls, opals, and other sensitive pieces may require gentler care, while ultrasonic cleaners can be risky for damaged, treated, or unsuitable stones.
The common takeaway is simple: gentle cleaning is often enough.
How Often Should You Clean Jewelry?
It depends on how much it is actually touching your skin, not just how often you wear it. A simple schedule keeps buildup from ever getting bad enough to need a deep clean.
| Frequency | What It Covers | Recommended Care |
|---|---|---|
| Daily wear | Rings, watches, earrings worn every day | Quick wipe with a soft cloth after removing |
| Weekly | Everyday gold, diamonds, sturdy costume pieces | Short soak in a mild soap solution |
| Monthly | Silver pieces prone to tarnish | Gentle paste treatment to lift tarnish |
| Professional cleaning | Fine jewelry, antique or high-value pieces | Ultrasonic clean at a jeweler, every 6-12 months |
| Inspection schedule | All jewelry, especially pieces with stones | Visual check of prongs and settings every 3 months |
Stick to this rhythm, and you will rarely deal with heavy tarnish or dulled stones again, since small, regular care always beats occasional deep cleaning.
Common Jewelry Cleaning Mistakes
Jewelry can lose its shine quickly when the wrong cleaning method, harsh product, or rough tool is used.
Knowing the most common jewelry cleaning mistakes helps protect delicate finishes, stones, and metals from scratches, discoloration, and lasting damage.
- Scrubbing too hard: Aggressive scrubbing can scratch soft metals and loosen delicate settings, even with a soft brush.
- Using hot water: Heat can crack certain gemstones and loosen glue on costume pieces, so lukewarm is always safer.
- Mixing chemicals: Combining ammonia with other cleaners can create harmful fumes and damage stones. Stick to one method at a time.
- Forgetting to inspect loose stones: Cleaning a piece with a loose stone risks losing it entirely, so always check settings first.
- Using paper towels: Paper towels can scratch metal and leave behind fibers. Soft microfiber cloths work far better.
- Soaking glued costume jewelry: Many costume pieces use glue instead of prongs, and soaking can dissolve it, causing stones to fall out.
Conclusion
A simple DIY jewelry cleaner can handle everyday oils, lotion, soap residue, and dirt on many durable pieces.
Always check the material before trying any homemade jewelry cleaner, since certain metals, finishes, and gemstones need gentler care.
Gentle cleaning, soft tools, and careful drying can help your favorite pieces stay bright without unnecessary wear.
Have a homemade cleaning method that works well for your jewelry? Share your experience, favorite recipe, or cleaning tips in the comments below.
Frequently Asked Questions (FAQs)
Is It Safe to Clean Jewelry with Vinegar?
White vinegar can dissolve residue and light tarnish, but its acidity makes it unsafe for porous or soft stones like pearls and opals. Stick to sturdy metals and hard gemstones.
Is It Safe to Clean Jewelry with Toothpaste?
Toothpaste is a common home remedy, but its abrasives can scratch soft metals and dull gemstone surfaces. A dish soap soak is gentler and works just as well for everyday grime.
Can a DIY Jewelry Cleaner Damage Gold-Plated Jewelry?
Gold plating is a thin layer, so repeated soaking or scrubbing wears it away faster than it would on solid gold. A quick wipe with a soft cloth, or a very short soap dip, is safer for plated pieces than any of the longer soaks above.
How Do You Know When Jewelry Needs Professional Cleaning Instead?
Heavy tarnish, a loose stone, or grime packed into a tight setting are signs a home method will not fully fix. A jeweler’s ultrasonic or steam clean can reach those spots safely without the guesswork.