

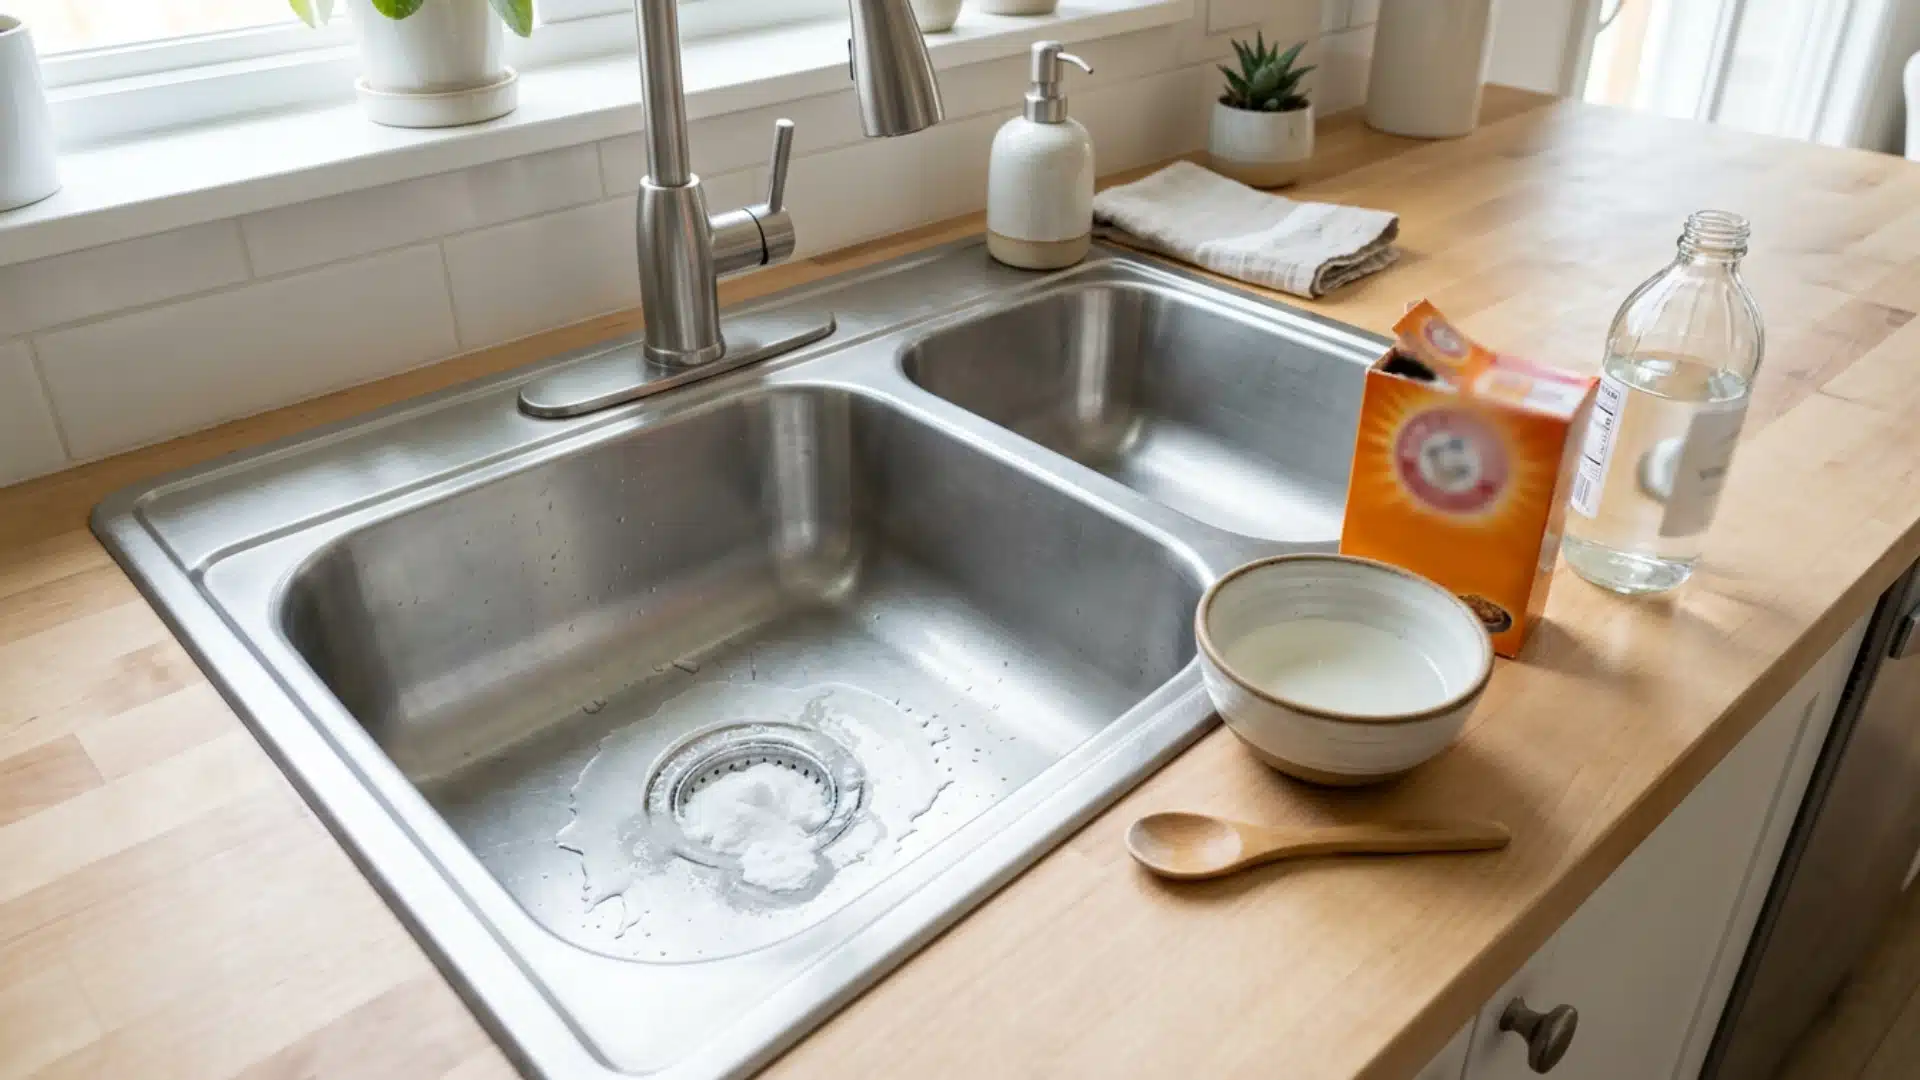
Water pools in the sink instead of draining.
Hair, grease, and soap scum pack together in the pipe below, forming a wall that nothing can push past.
Calling a plumber for that feels excessive when vinegar and baking soda are sitting in the cabinet ten feet away.
A DIY drain cleaner uses exactly those items to break the blockage apart; no wrench or service call needed.
I’ve cleared plenty of stubborn drains this way, and the right combination usually beats a trip to the hardware store.
Pick the right one, and the clog clears before dinner’s even ready.
Can a DIY Drain Cleaner Actually Unclog a Drain?
Yes, and sometimes it clears a clog faster than a trip to the store would.
Baking soda and vinegar produce a fizzy reaction that breaks down grease and loosens gunk in pipes. Boiling water flushes out soap scum, and a bent wire hanger fishes out hair clumps sitting near the surface.
These tricks handle everyday clogs caused by buildup, not tree roots or collapsed pipes.
Deep or recurring blockages need a plumber’s snake or a professional eye.
Try one of the pantry-based fixes below first, and call a plumber if the water is still backing up afterward.
What Causes Clogged Drains
Drains seldom clog from a single cause. Buildup accumulates gradually, eventually causing a complete blockage.
- Clogged pipes due to cooking oil hardening.
- Food scraps that expand after being washed away.
- Mineral buildup caused by hard water.
- Objects like toys or jewelry.
- Soap residue combines with debris.
Bathroom drains face different culprits than kitchen ones.
Shampoo, lotion, and shedding skin cells combine into a sticky film over time.
Outdoor drains struggle with leaves, dirt, and small debris washed in during storms. Older homes with narrow or corroded pipes clog faster since there’s less room for water to pass through freely.
How Baking Soda and Vinegar Help Clean Drains
The pairing works through a simple acid-base reaction.
Vinegar’s acidity meets baking soda’s alkalinity, producing carbon dioxide gas that agitates trapped debris.
That bubbling motion helps dislodge particles clinging to pipe walls without scratching surfaces.
Unlike commercial cleaners, both ingredients are non-toxic and safe around kids, pets, and septic systems.
They’re also inexpensive and already in most kitchens, so there’s no special trip needed. The reaction produces no fumes, which is part of why it’s the first thing I reach for in a small, poorly ventilated bathroom.
That mix of safety, cost, and accessibility makes it a practical first option for minor clogs.
DIY Drain Cleaner Recipes to Unclog a Drain Naturally
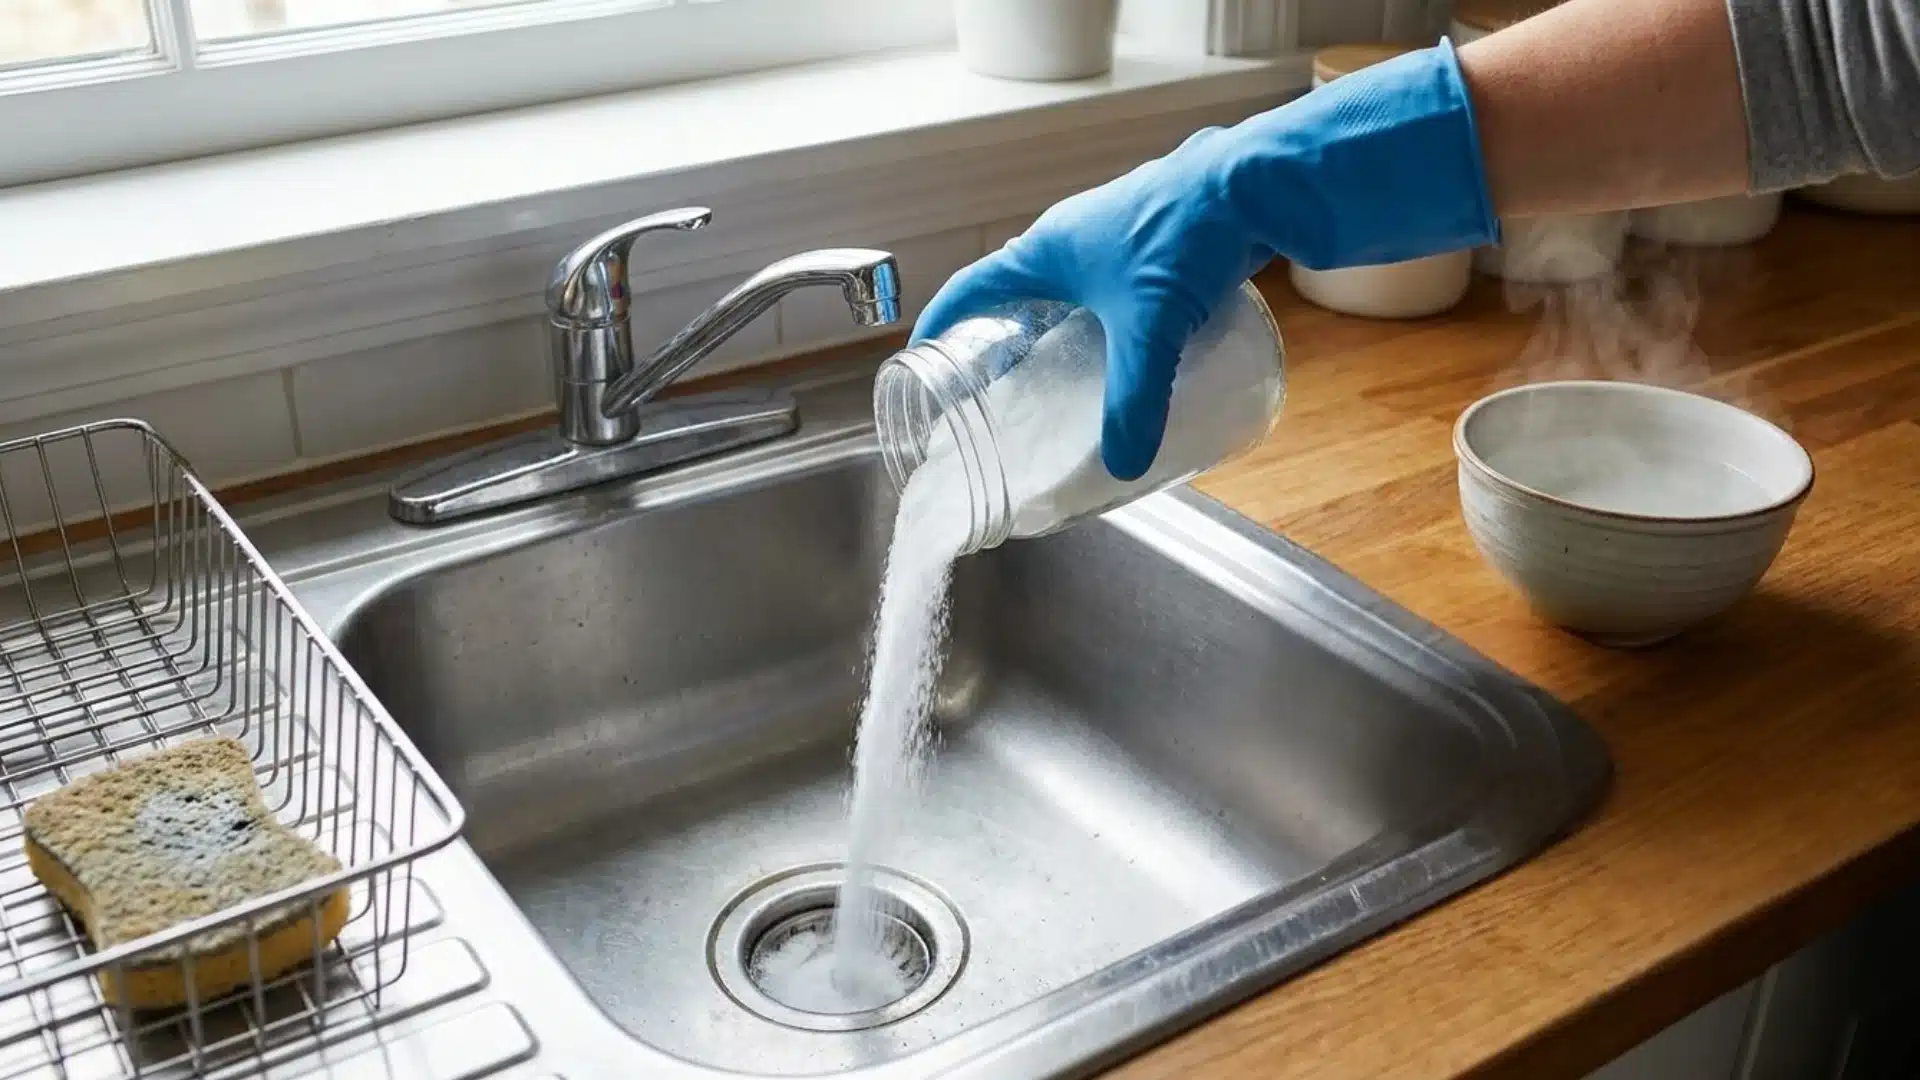
Skip the store-bought bottles and reach for what’s already in the pantry. These recipes use simple, non-toxic ingredients pulled straight from a pantry cleaning staple stash to break down clogs safely.
1. Baking Soda and Vinegar Volcano
This classic combo fizzes on contact, loosening grime stuck to pipe walls. The chemical reaction pushes debris downward while softening buildup. Works best on mild to moderate clogs.
It’s the go-to method for weekly maintenance, keeping pipes clear before real trouble builds.
No scrubbing or heavy tools required, just patience while the fizz does its job.
Materials: Baking soda, white vinegar, hot water
Step-by-Step Process:
- Step 1: Pour half a cup of baking soda into the drain.
- Step 2: Slowly add 1 cup of vinegar.
- Step 3: Cover the drain and wait 15 minutes.
- Step 4: Flush with hot water.
2. Salt and Baking Soda Scrub
Salt acts as a mild abrasive, scraping away grease coating pipe interiors.
Paired with baking soda, it creates a gritty paste that dislodges stubborn residue without scratching plumbing. Letting it sit overnight gives the mixture time to penetrate deep into greasy layers.
This method suits kitchen sinks where food residue collects fast.
Materials: Salt, baking soda, boiling water
Step-by-Step Process:
- Step 1: Mix 1/2 cup salt with 1/2 cup baking soda.
- Step 2: Pour the mixture into the drain.
- Step 3: Let it sit overnight.
- Step 4: Rinse with boiling water.
- Step 5: Run cold water for a minute.
3. Dish Soap and Hot Water Flush
Grease clogs respond well to dish soap since it cuts through fat molecules.
Hot water carries the broken-down grease further into the pipe system, clearing the path.
This recipe skips waiting time entirely, making it ideal when a drain needs quick attention.
It’s gentle enough for daily use without wearing down pipe seals.
Materials: Dish soap, hot water
Step-by-Step Process:
- Step 1: Squirt a generous amount of dish soap into the drain.
- Step 2: Boil a pot of water.
- Step 3: Pour the water in slowly.
4. Lemon Juice and Baking Soda Fizz
Citric acid in lemon juice reacts with baking soda similarly to vinegar but leaves a fresher scent behind.
This works well for bathroom sinks where odor lingers. The natural citrus oils cut through soap film while neutralizing musty smells trapped in the pipe.
Repeating the process strengthens results on drains that see heavy daily use.
Materials: Lemon juice, baking soda, warm water
Step-by-Step Process:
- Step 1: Sprinkle baking soda into the drain.
- Step 2: Squeeze fresh lemon juice on top.
- Step 3: Wait 10 minutes.
- Step 4: Flush with warm water.
- Step 5: Repeat if buildup remains.
- Step 6: Wipe drain opening clean.
5. Washing Soda Soak
Washing soda carries a stronger alkaline punch than baking soda, making it useful for greasy kitchen clogs.
I believe its pH runs close to 11, well above baking soda’s, so it cuts through fat faster; worth verifying the exact figure if you need it for reference. Handle it with gloves since it’s more caustic on skin.
Best reserved for metal or PVC pipes, not older materials.
Materials: Washing soda, hot water
Step-by-Step Process:
- Step 1: Pour half a cup of washing soda into the drain.
- Step 2: Add two cups of hot water.
- Step 3: Let it work for 20 minutes.
6. Vinegar and Salt Paste
Combining salt’s abrasiveness with vinegar’s acidity tackles clogs coated in mineral deposits.
This pairing suits drains affected by hard water buildup.
The paste clings to pipe walls longer than liquid mixtures, giving it more contact time to dissolve scale.
Areas with hard tap water benefit most from this recipe.
Materials: Salt, vinegar
Step-by-Step Process:
- Step 1: Mix equal parts salt and vinegar into a paste.
- Step 2: Apply directly into the drain opening.
- Step 3: Leave for 30 minutes.
- Step 4: Flush thoroughly with hot water.
7. Borax, Vinegar, and Hot Water Blend
Borax boosts cleaning power against soap scum and organic buildup.
Combined with vinegar, it creates a fizzing action strong enough for slow-moving drains. This trio handles drains neglected for weeks, cutting through layers of grime other mixes miss.
Check drainage speed afterward; you’ll see whether you need a second round.
Materials: Borax, vinegar, hot water
Step-by-Step Process:
- Step 1: Pour a quarter cup of borax into the drain.
- Step 2: Add half a cup of vinegar.
- Step 3: Wait 15 minutes.
- Step 4: Follow with boiling water.
- Step 5: Check drainage speed.
8. Cream of Tartar, Salt, and Vinegar Mix
This trio creates a fizzy, slightly abrasive reaction that targets tougher clogs.
Cream of tartar adds mild acidity that complements salt’s scrubbing action.
The combination reaches clogs sitting further down the pipe, where lighter mixtures lose strength. Two rounds may be necessary for drains clogged over long stretches of time.
Materials: Cream of tartar, salt, vinegar
Step-by-Step Process:
- Step 1: Mix cream of tartar and salt in equal amounts.
- Step 2: Add vinegar to create a bubbling mixture.
- Step 3: Pour it directly into the drain.
- Step 4: Wait 20 minutes.
- Step 5: Rinse with hot water.
- Step 6: Test the water flow and repeat the process if necessary.
9. Baking Soda and Hydrogen Peroxide Combo
Hydrogen peroxide adds oxidizing power that breaks down organic matter like hair and soap scum.
This pairing works gently but effectively on bathroom drains. Its mild formula suits households with sensitive plumbing or septic systems that react poorly to harsh alkaline mixes.
Ten minutes of bubbling is usually enough to loosen most buildup.
Materials: Baking soda, hydrogen peroxide, water
Step-by-Step Process:
- Step 1: Pour baking soda down the drain.
- Step 2: Add the hydrogen peroxide gradually.
- Step 3: Allow the mixture to simmer vigorously for 10 minutes.
- Step 4: Rinse with warm water.
What You Should Never Mix With a DIY Drain Cleaner
Combining bleach with ammonia produces toxic chloramine fumes that irritate lungs and eyes.
Mixing bleach with any acidic cleaner releases chlorine gas, which is dangerous in enclosed bathrooms.
Never layer two commercial drain cleaners together, since their chemicals can react violently and sometimes cause splashing or heat buildup. Avoid mixing natural recipes with leftover chemical cleaner in the pipe.
Always flush a drain completely before switching methods.
Proper ventilation and preventing chemical buildup help keep the process safe.
This section covers chemical safety. Ventilate well and never mix cleaning products beyond listed recipes.
Why Some Popular Natural Drain Cleaner Hacks Don’t Work
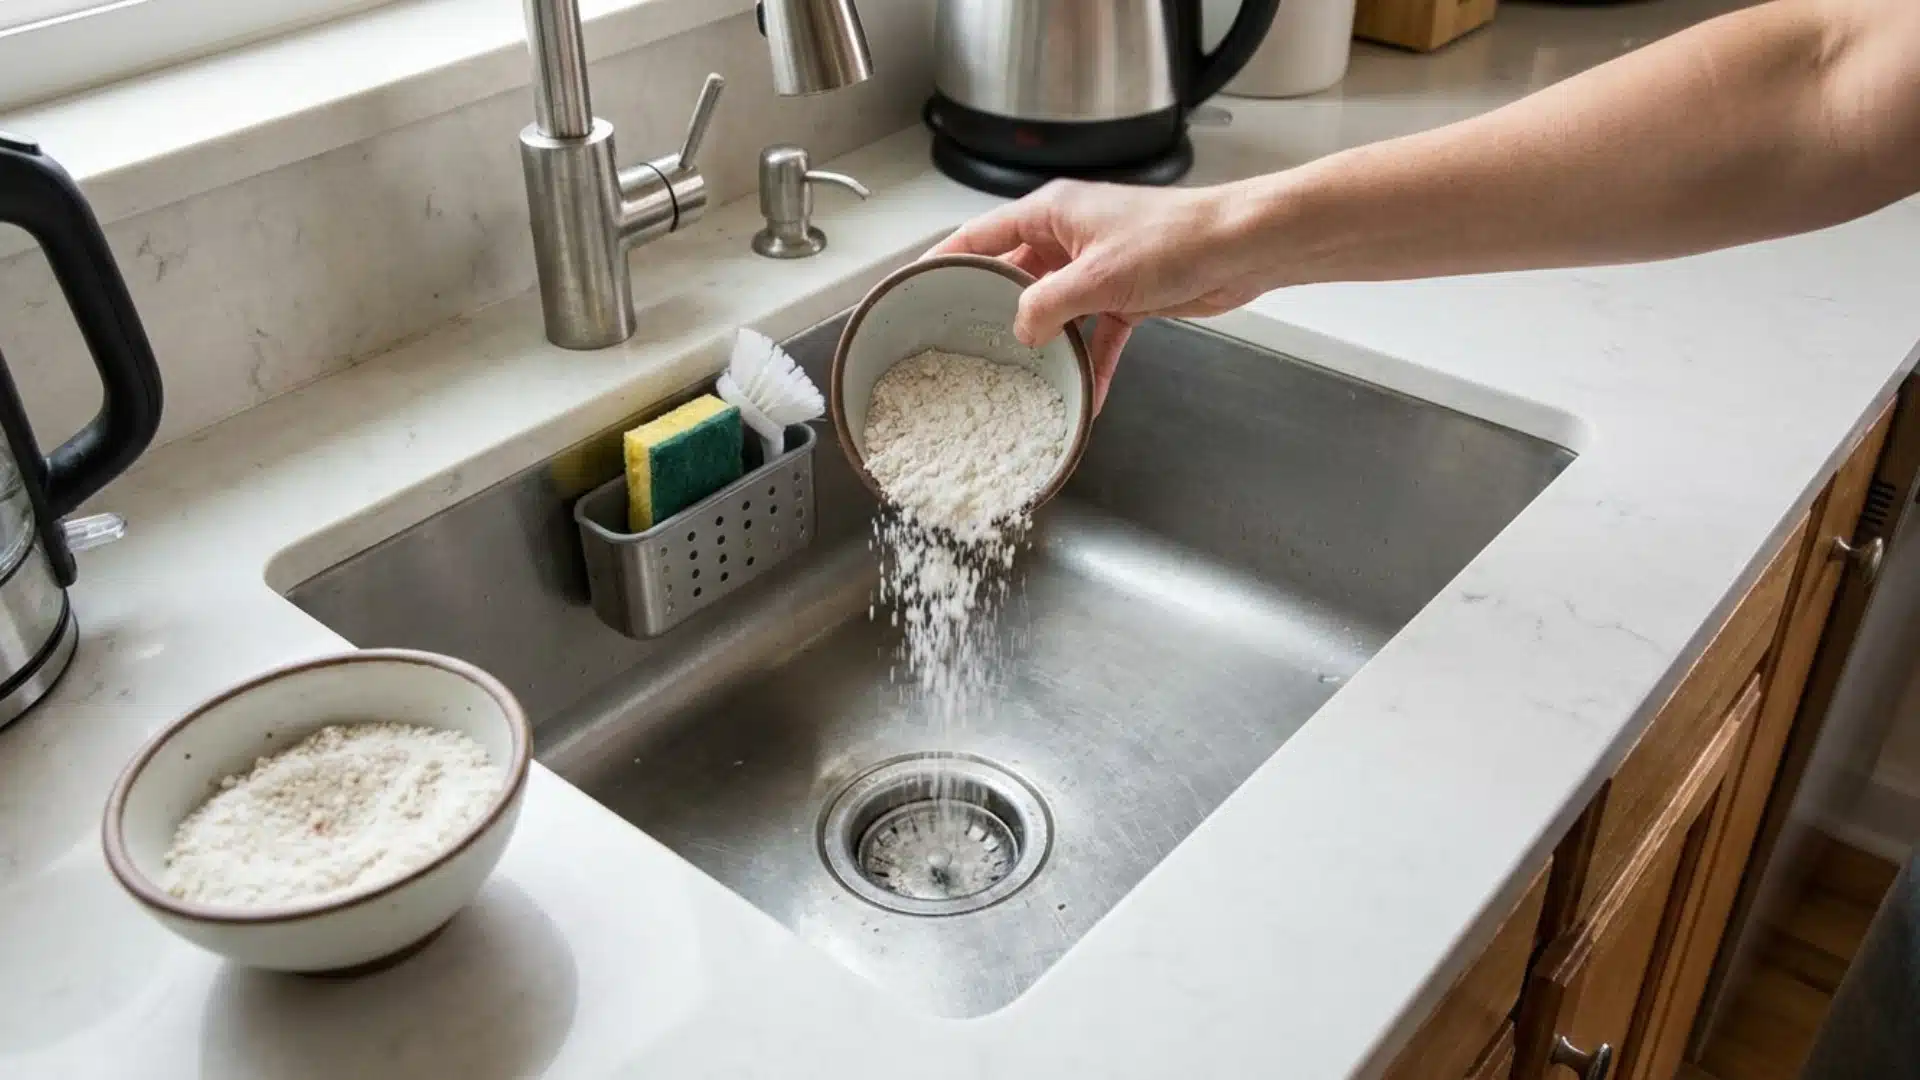
Baking soda and vinegar produce a satisfying fizz, but the reaction is weak against dense clogs like solidified grease or compacted hair. The gas escapes before it builds enough pressure to break through.
Boiling water alone can soften PVC joints if poured too fast or too hot, so I’d stick to hot tap water on plastic pipes rather than a full boil.
Some viral hacks skip proper ratios, diluting effectiveness.
Others ignore drain type entirely, applying kitchen fixes to bathroom clogs with different buildup.
Physical removal tools often outperform these tricks for anything beyond surface-level buildup.
When Hot Water Helps and When Boiling Water is a Bad Idea
Temperature plays a more significant role in drain clearing than many realize.
| Situation | Hot Water Safe? | Why |
|---|---|---|
| Metal pipes | Yes | Handles high heat without damage |
| Grease-based clogs | Yes | Melts fat for easier flushing |
| PVC connections | No | Heat softens joints over time |
| Toilet bowls | No | Porcelain can crack from thermal shock |
| Garbage disposal units | Caution | Excess heat may warp internal seals |
| Older galvanized pipes | Caution | Heat speeds up corrosion in aging metal |
How to Clean a Drain that Smells Bad
A foul smell often indicates the presence of trapped organic material rather than merely surface dirt.
- Remove visible debris from the drain stopper first.
- Check the P-trap for stuck food or hair.
- Pour a cup of activated charcoal powder down the drain.
- Let coffee grounds sit briefly to neutralize odor before rinsing.
- Run the disposal with ice cubes to scrape off residue.
- Inspect the drain vent for blockages causing sewer gas backup.
- Clean the overflow hole in sinks, often overlooked.
- Use a bottle brush to scrub visible pipe sections.
- Air-dry the area to prevent mold-related smells.
How Often Should You Use a Natural Drain Cleaner?
Once a month works well for preventive care in kitchens and bathrooms.
High-use drains, like a busy family kitchen sink, may need biweekly treatment.
Slower drains signal a need for immediate attention, not waiting for the next scheduled clean. Overdoing it isn’t necessary since these methods work best as maintenance, not a daily habit.
Watch for early signs like gurgling sounds or slow draining.
Adjust frequency based on household size and usage patterns rather than following a rigid calendar.
Signs a DIY Drain Cleaner is Not Enough
Water backing up into other fixtures signals a blockage beyond the reach of home remedies.
Multiple drains clogging at the same time points to a main sewer line issue.
Persistent gurgling after treatment means trapped air isn’t escaping properly. Recurring clogs in the same spot within days suggest a structural problem like pipe damage or root intrusion.
Foul smells returning quickly despite cleaning often mean sewage backup.
In these cases, it’s best to call a licensed plumber rather than attempt more DIY repairs.
How to Prevent Future Drain Clogs Naturally
Prevention requires less effort than tackling a complete blockage later.
- Store used oil in a jar rather than pouring it down the drain.
- Brush pets outside to prevent loose fur from entering bathroom drains.
- Rinse the sinks with cold water following greasy meals.
- Remove tree roots close to outdoor drainage lines each year.
- Arrange an annual inspection of the pipes by a plumber.
- Educate children on which items should go in the trash instead of the toilet.
- Ensure drain covers remain in place during renovation or construction activities.
Frequently Asked Questions (FAQ’s)
1. Is It Safe to Use a DIY Drain Cleaner Every Week?
Most homes don’t need weekly use; monthly treatments prevent clogs without over-treating pipes.
2. Can I Use Baking Soda and Vinegar on a Garbage Disposal?
Yes, it’s safe and helps reduce odor, but avoid pouring in large clumps that could jam the blades.
3. How Long Should I Wait Before Flushing the Mixture?
Most recipes need 10 to 30 minutes to react fully before rinsing with hot or warm water.
4. Will a DIY Cleaner Damage Old Pipes?
Natural recipes are generally safe, but avoid boiling water on aging PVC or galvanized pipes to prevent damage.
5. What Should I Do if the Clog Doesn’t Clear at All?
Try a plunger or drain snake next, and call a plumber if the blockage persists after multiple attempts.
Key Takeaway
Clearing a clog doesn’t always call for a service call.
Pantry staples handle plenty of everyday blockages, saving time and money along the way.
Knowing which combination suits grease, mineral, or trapped hair makes the difference between a five-minute fix and a wasted afternoon. Recognizing warning signs keeps a small annoyance from turning into a costly repair.
Treat a DIY drain cleaner as routine upkeep rather than a last resort, and the pipes stay clearer for longer.
Have a drain-clearing trick that’s saved you a service call?
Drop it in the comments; the next reader with a slow sink will thank you.





One Response