
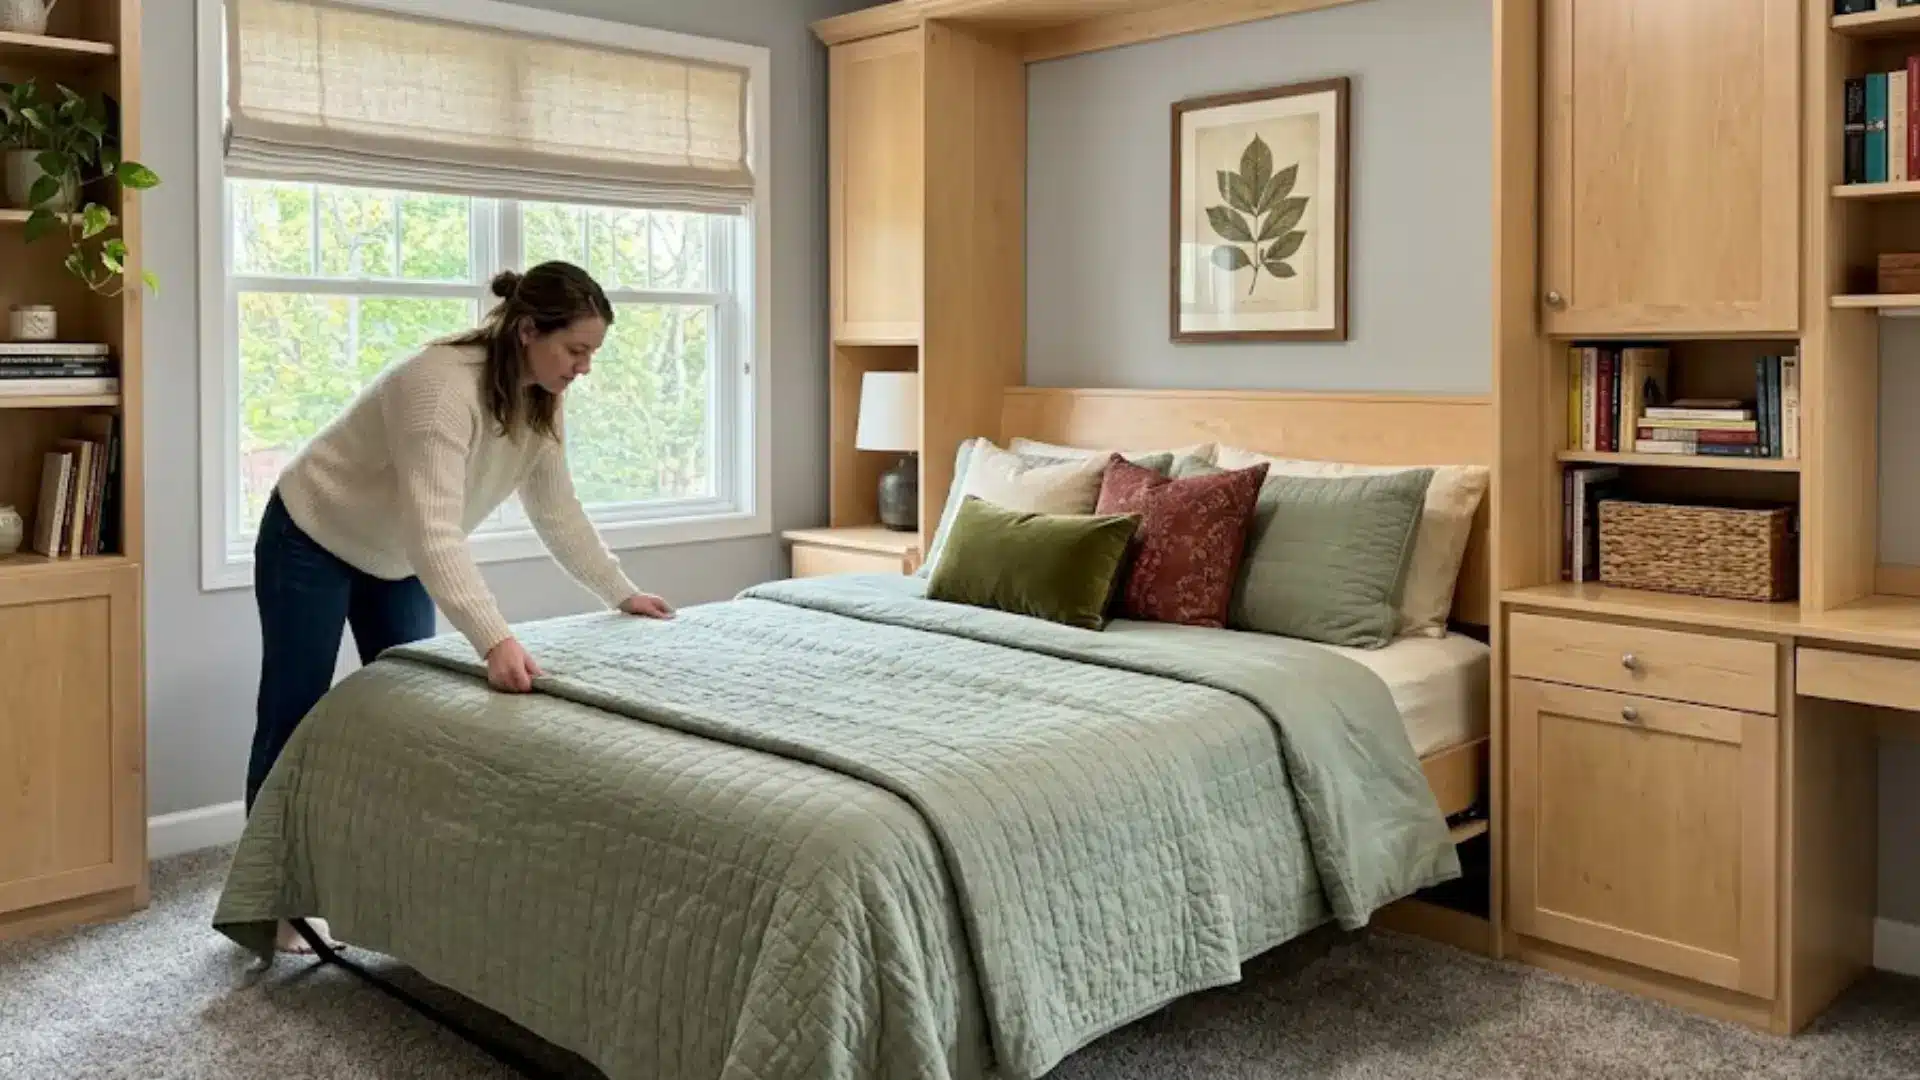
Building your own Murphy bed sounds like a weekend project until you actually start looking for plans that make sense.
Most guides skip the parts that actually trip people up, like keeping your frame square or getting the pivot hardware lined up right.
This DIY Murphy bed plans guide breaks down the entire build using a proven hardware kit, covering the frame, the hardware, and mounting the bed safely on the wall.
You get every tool, every step, and every mistake to dodge, all laid out so you can fold a full bed away without a second thought.
What Makes a Good DIY Murphy Bed Plan?
A good Murphy bed plan starts with clear, exact measurements for the frame, mattress, and wall space. Each step should follow a logical order from start to finish.
Hardware should match the plan exactly, since mismatched pistons or hinges can cause fit issues. Good plans also list every material and hardware piece needed before work begins.
The plan should also account for both positions, open and closed. A bed that closes fine but doesn’t clear the ceiling when open is not a complete design.
Every room is different in size and layout. A good plan gets adjusted for actual wall height, floor space, and door swing before construction starts.
If floor space is tight instead of wall space, a bunk bed DIY build might solve the same problem from a different angle.
Tools And Materials Needed
Having everything ready before you begin saves you a trip back to the store mid-project. So before you start cutting anything, gather these basics:
- Hardware kit
- 1×2 lumber
- Drill and countersink bit
- Framing square
- Wood screws
- Jigsaw
- Plywood panels and edge banding
- Stud finder and paint
Most of this is available at any hardware store, and the kit itself takes care of the trickiest measurements for you.
Once you have everything laid out on your workbench, the actual build moves along a lot faster, and you will not find yourself pausing halfway through a step to run out and buy something you forgot.
How to Build Your Murphy Bed: Step-By-Step Guide
Building a Murphy bed is easier once you break it into small stages. Follow these steps in order, and you will have a working fold-down bed by the end:
Step 1: Build The Frame Struts
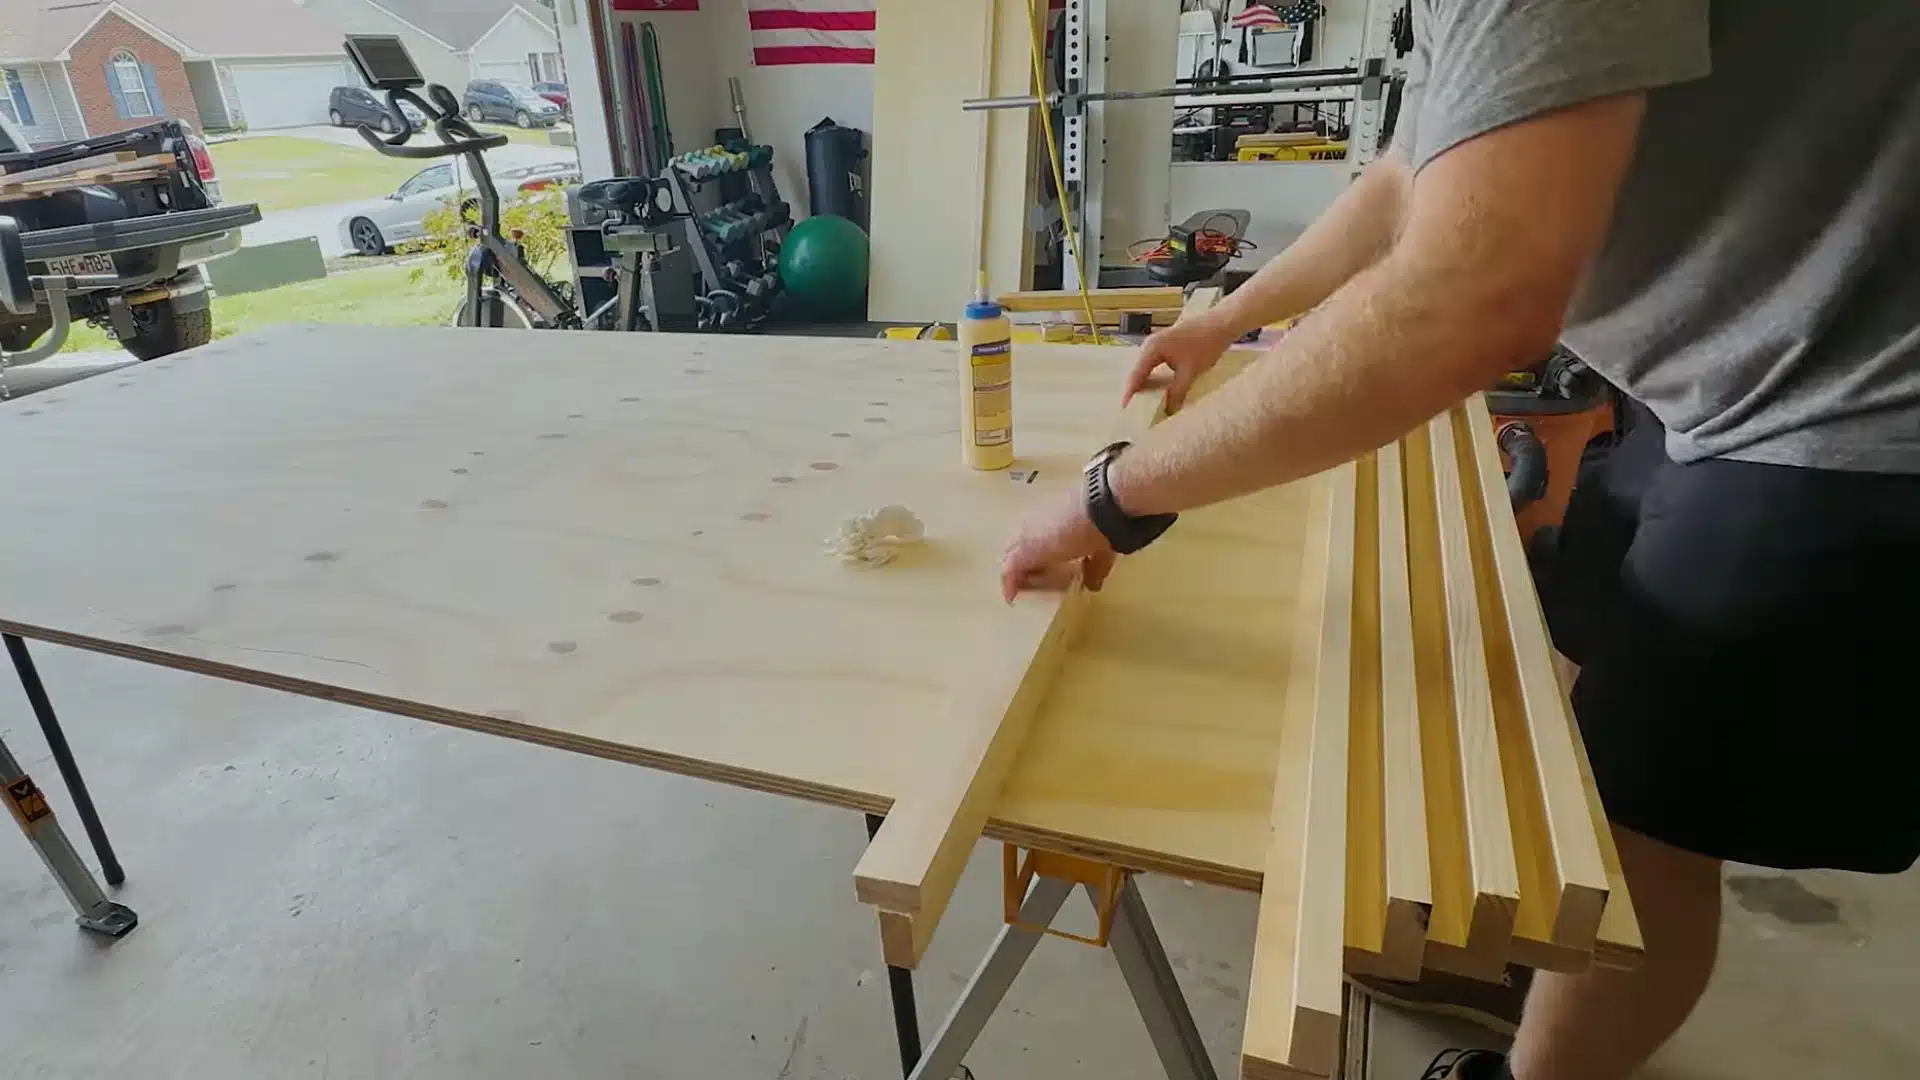
Start with your 1×2 lumber and cut the pieces for the frame struts. Glue and pin two pieces together in an L shape, then repeat until all your struts are ready.
Lay both frame sides together and mark strut placement on both at once using a framing square. Drill pilot holes with a countersink bit, then fasten each strut to the frame sides with a screw.
Step 2: Round Over The Side Rails
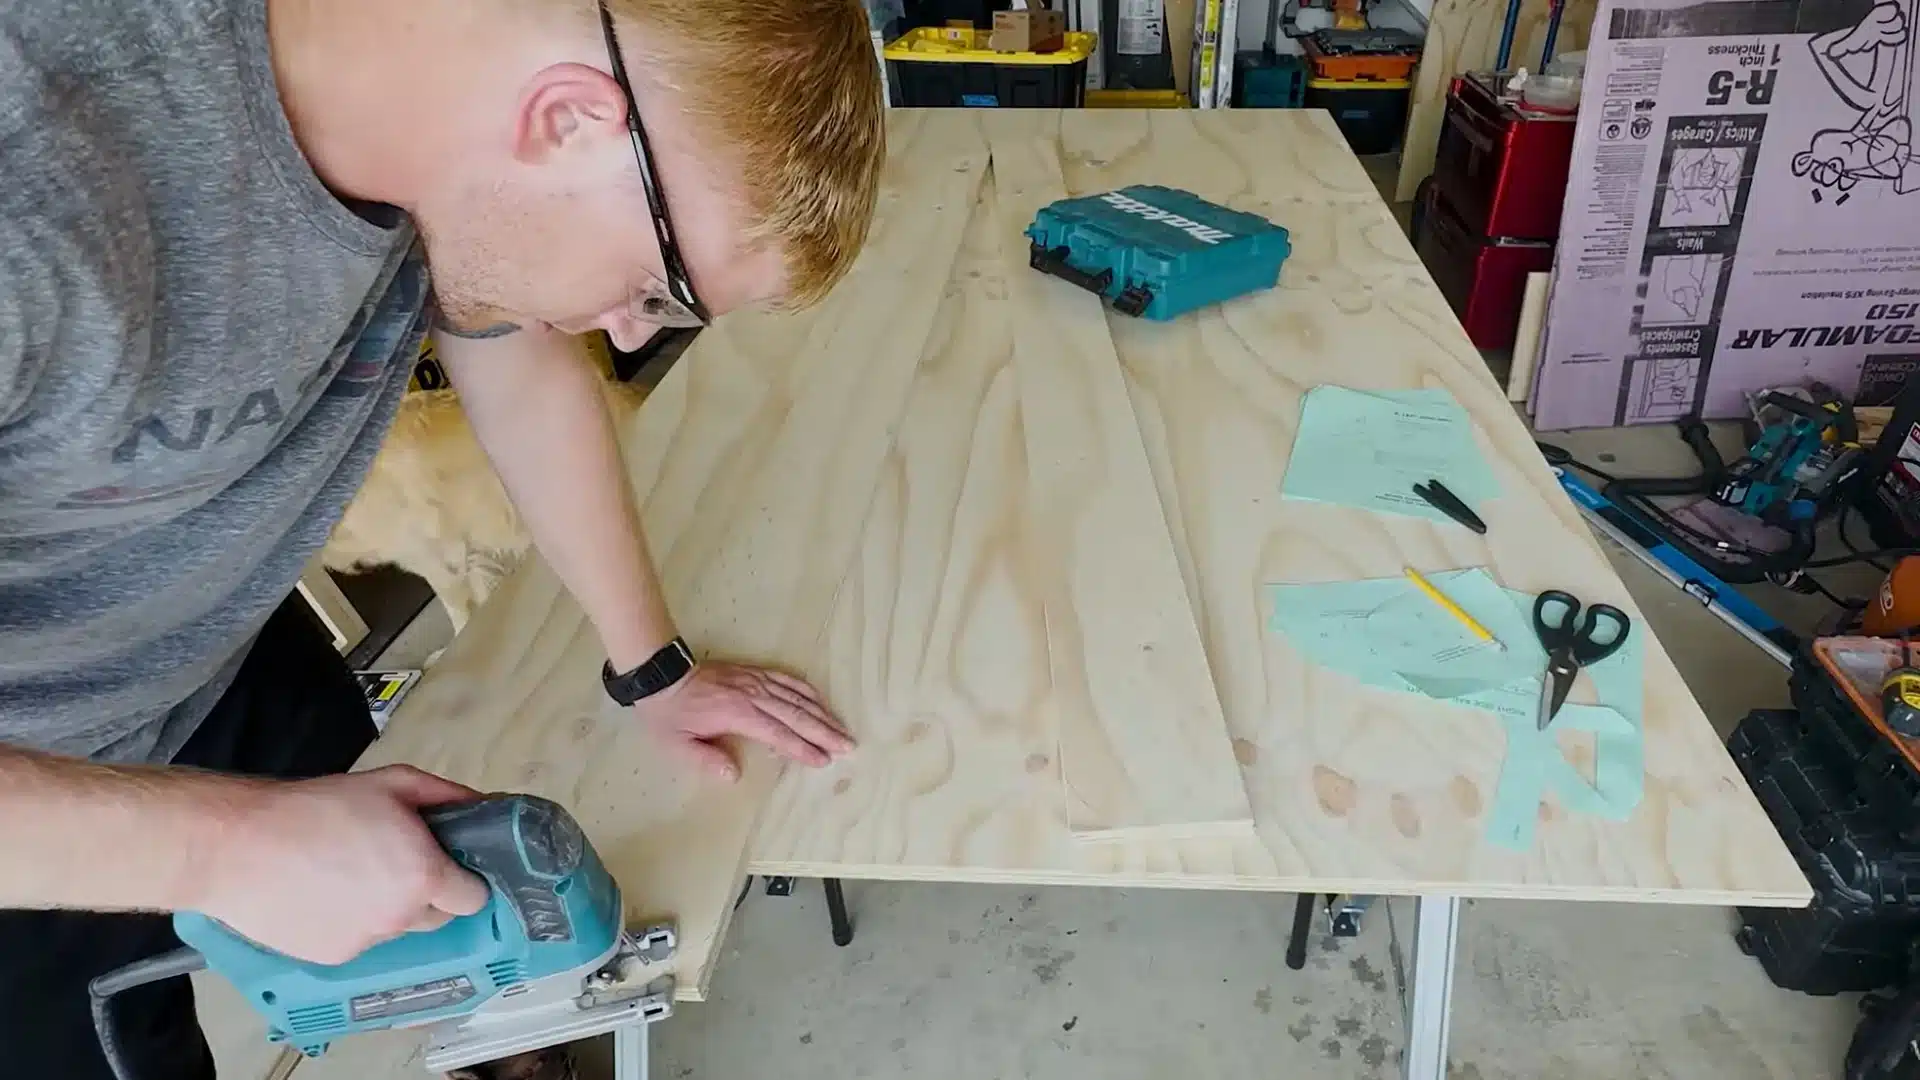
Your kit usually comes with a template for rounding the side rails, so use it instead of guessing the curve yourself. Cut the template out and trace it onto your rails before reaching for the jigsaw.
Rounding these edges matters more than it seems, since sharp corners on a bed frame are the kind of thing a guest bumps into in the dark.
A few extra minutes here save an awkward apology later.
Step 3: Drill And Install Pivot Hardware
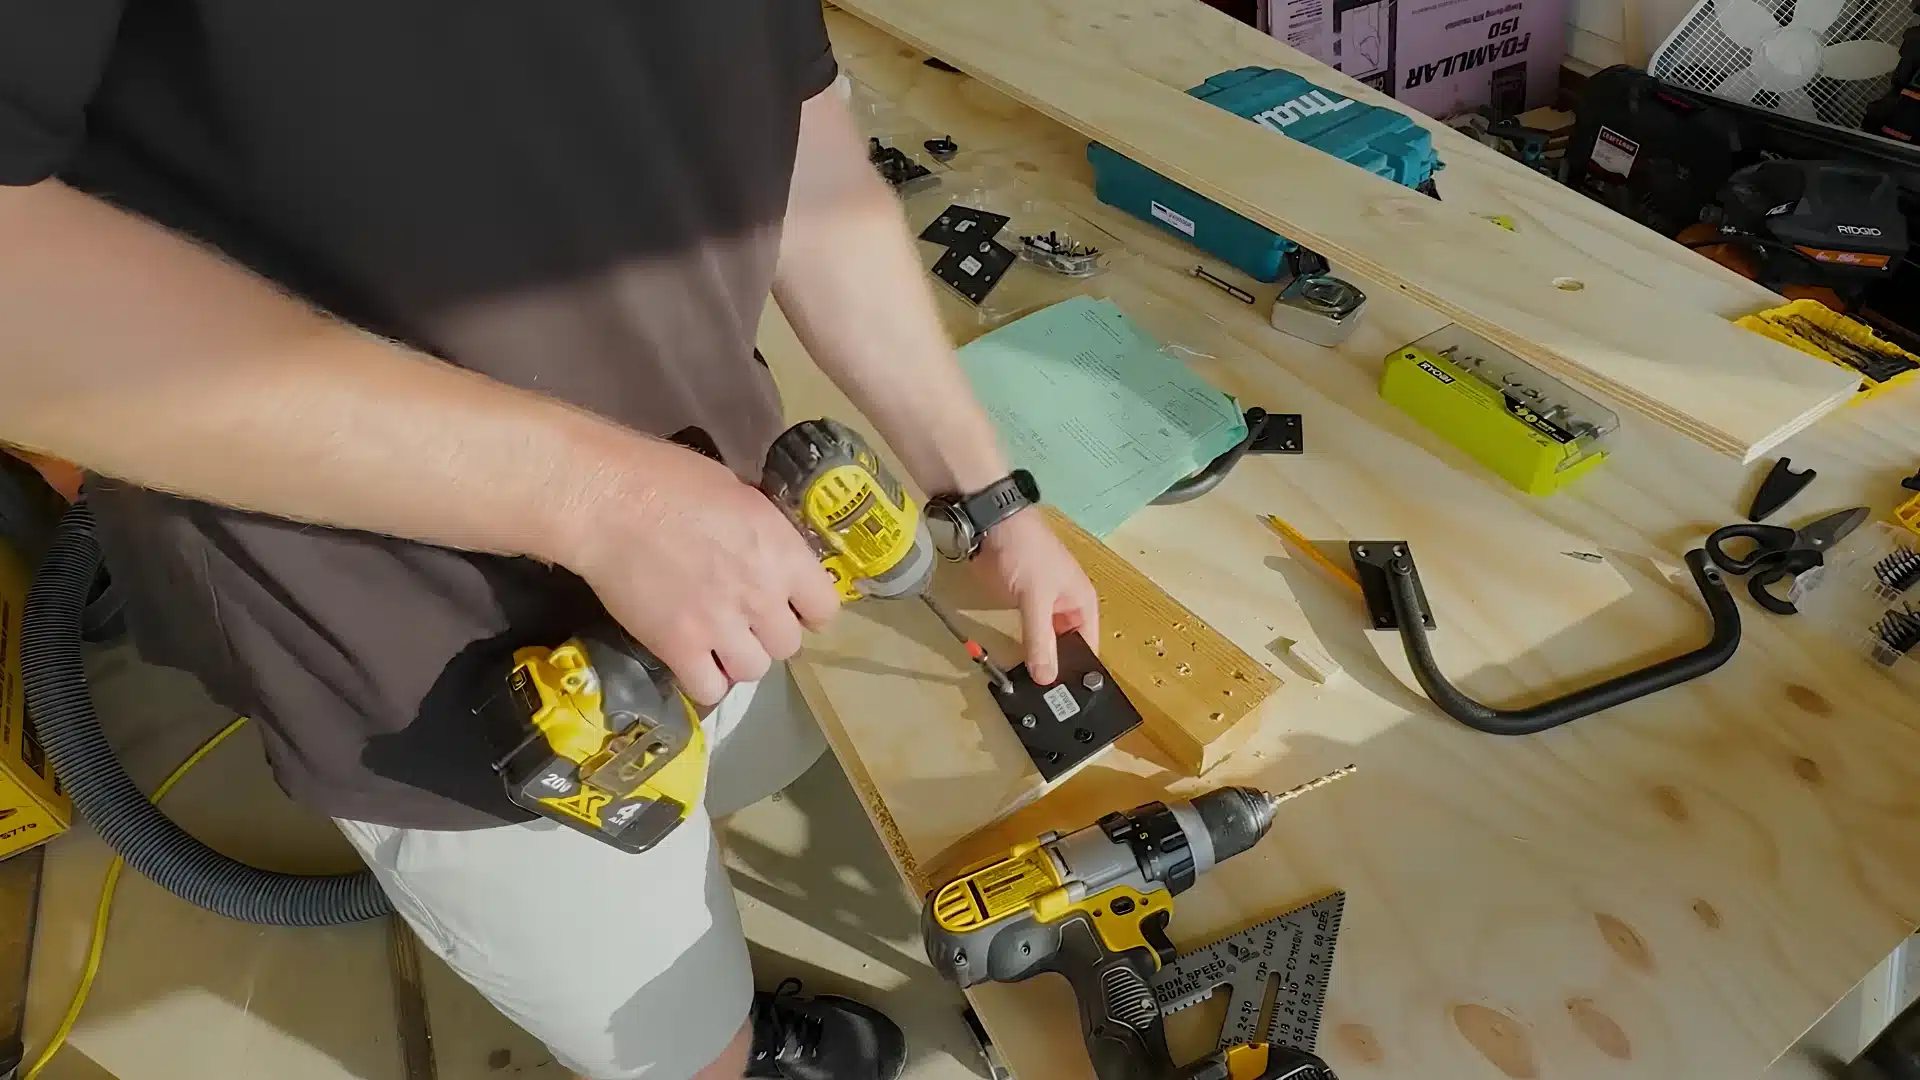
This step needs a bit more focus since the measurements have to line up exactly.
Drill through the side rails for the pivot holes, and place scrap wood underneath to avoid tearing out the back of the wood.
Double-check that your rails mirror each other before moving on, since building two identical rails instead of a mirrored pair is an easy mistake to make and a hard one to fix later.
Step 4: Attach Head And Foot Rails
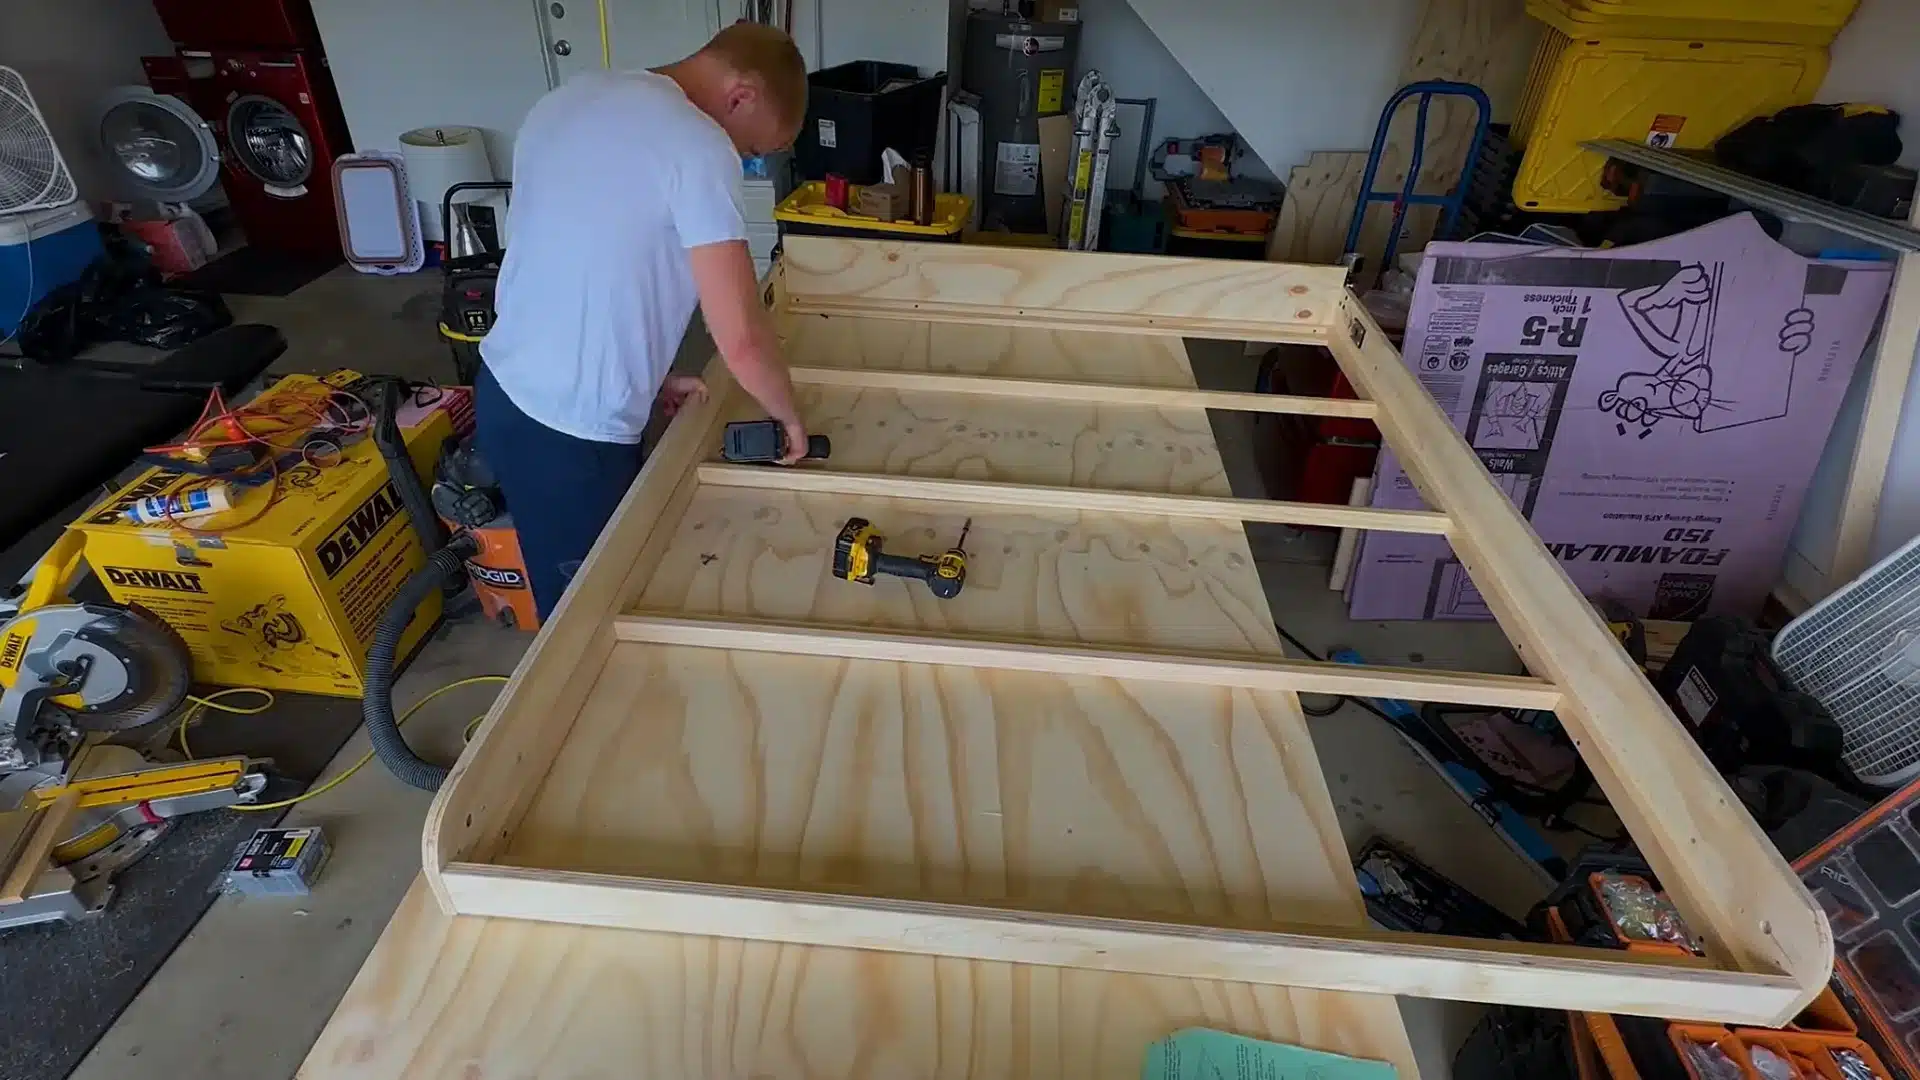
Sandwich the head rail and foot rail between your side rails, then drill through the frame into each rail before driving in your screws.
This step ties the whole frame together, so keep everything square as you go.
Once the rails are fastened on all sides, your inner bed frame is basically done, and you are ready to move on to the panels that will sit on top.
Step 5: Edge Band And Attach Panels
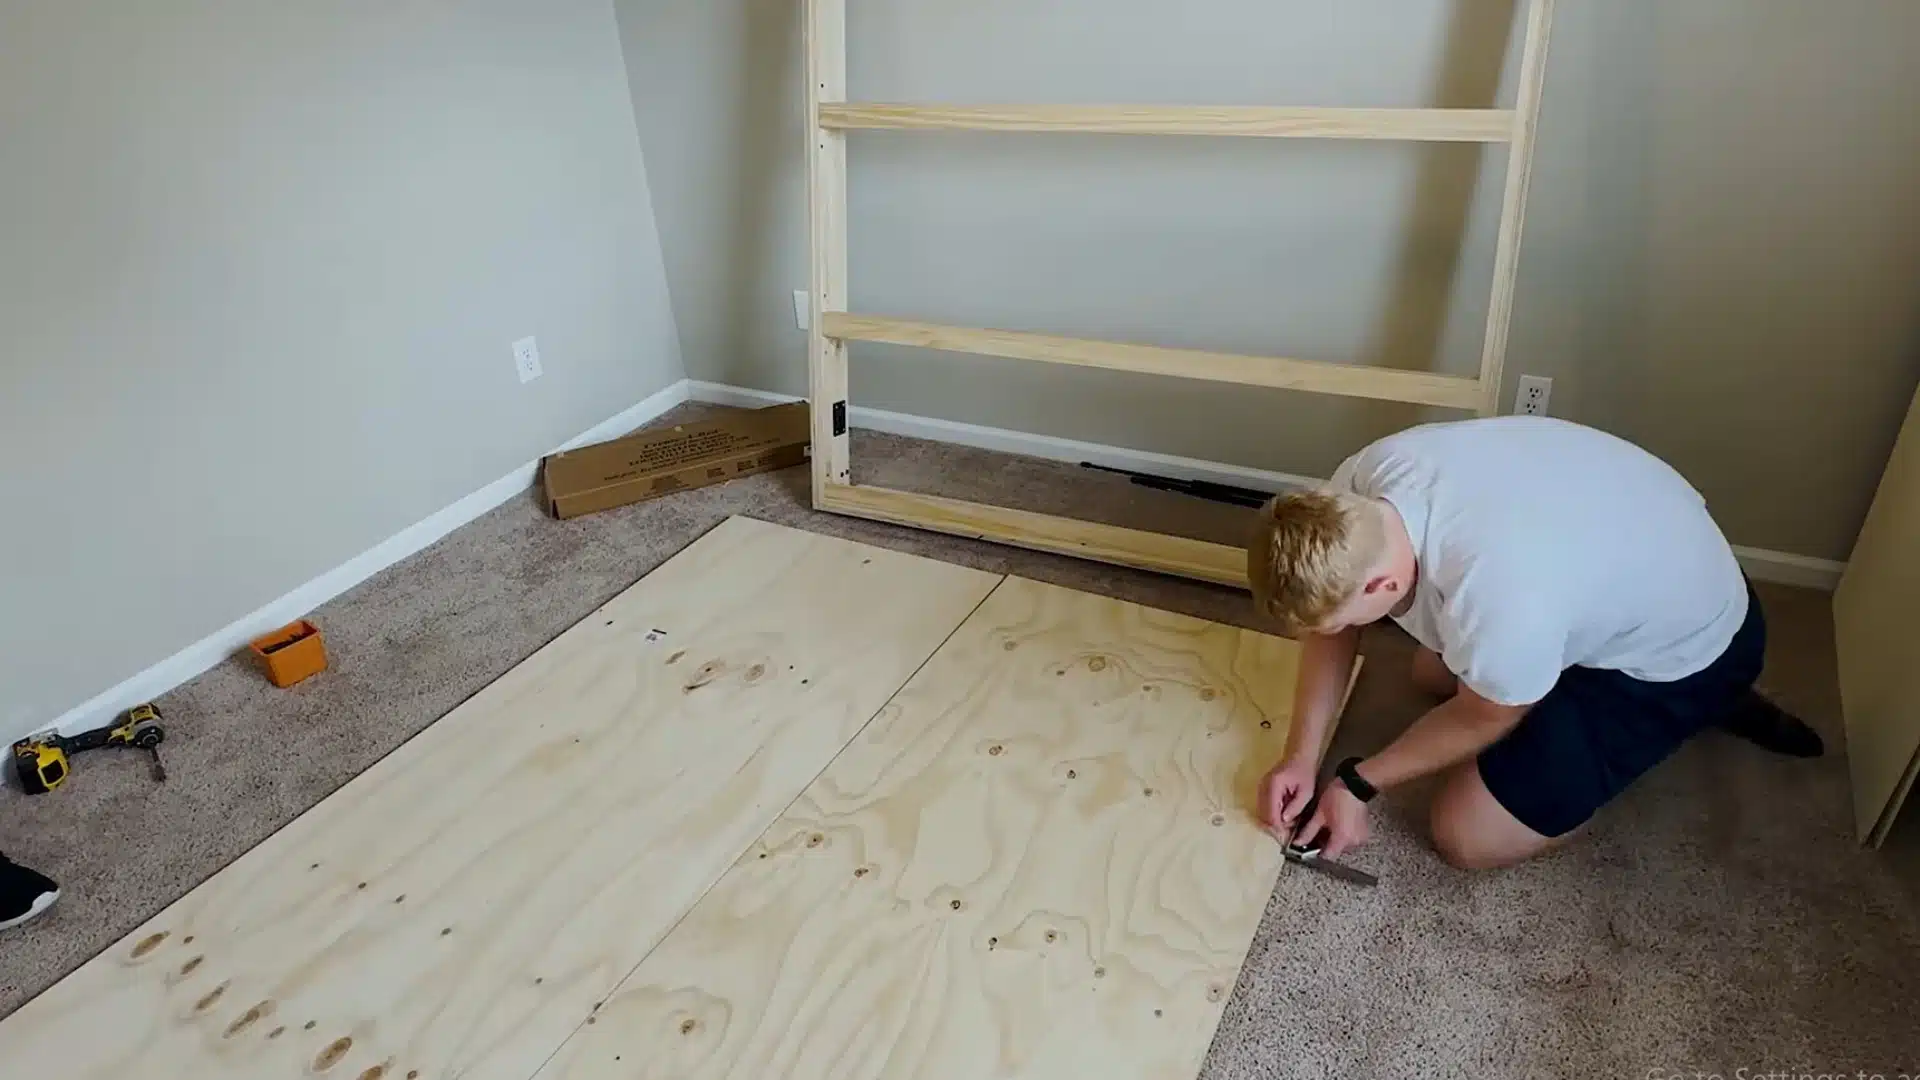
Before attaching your face panels, add the edge banding first so you aren’t fighting exposed plywood edges later.
Lay your panels face down, mark a small reveal on each side, then glue and screw your bed frame onto the panels.
Take your time here, since pulling screws out to fix a rushed step costs more time than doing it right the first time.
Step 6: Cut The Verticals To Length
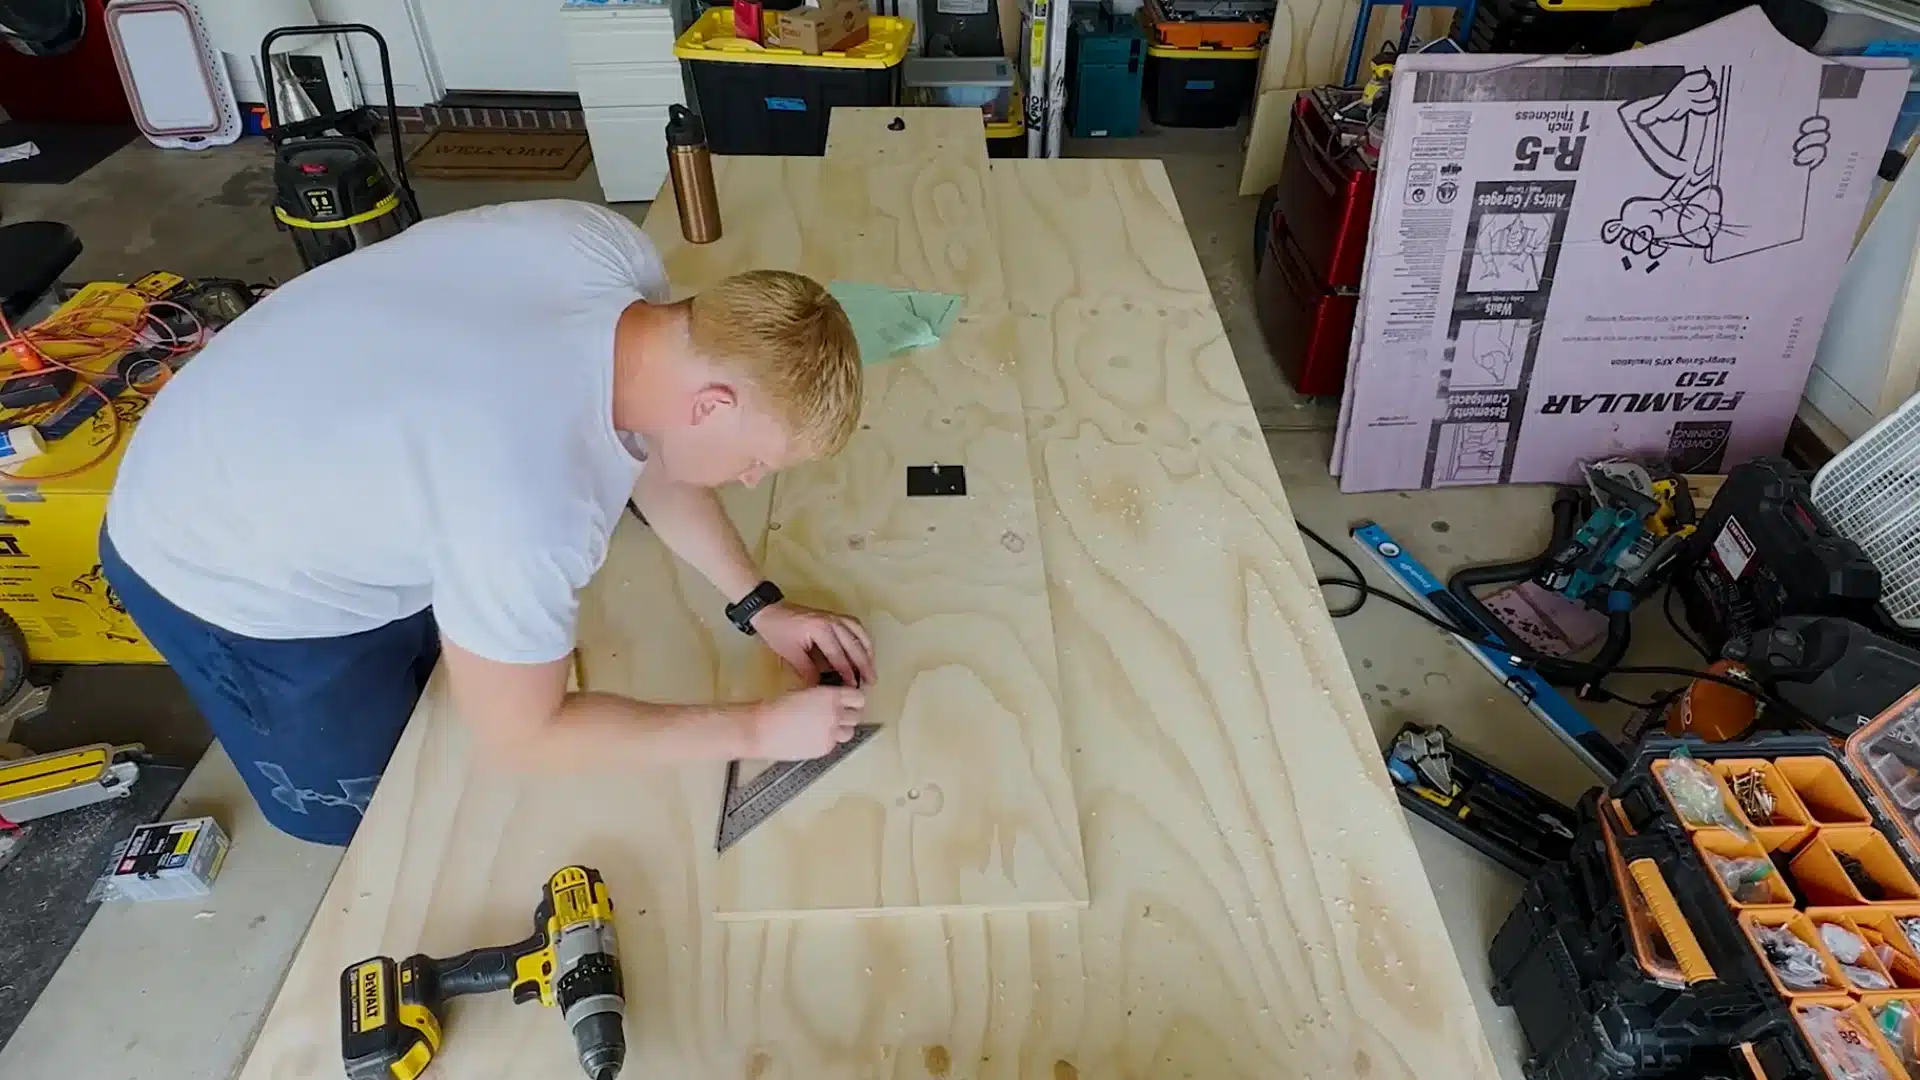
Your verticals hold up the whole cabinet, so measure twice before you cut.
Mark the bed stop, the upper stud plate, and the pivot plate positions on each one, and make sure both verticals actually mirror each other instead of coming out identical.
If your ceiling height is shorter than expected, you may need to trim the back corners later so the piece can stand upright.
Step 7: Build The Bed Header
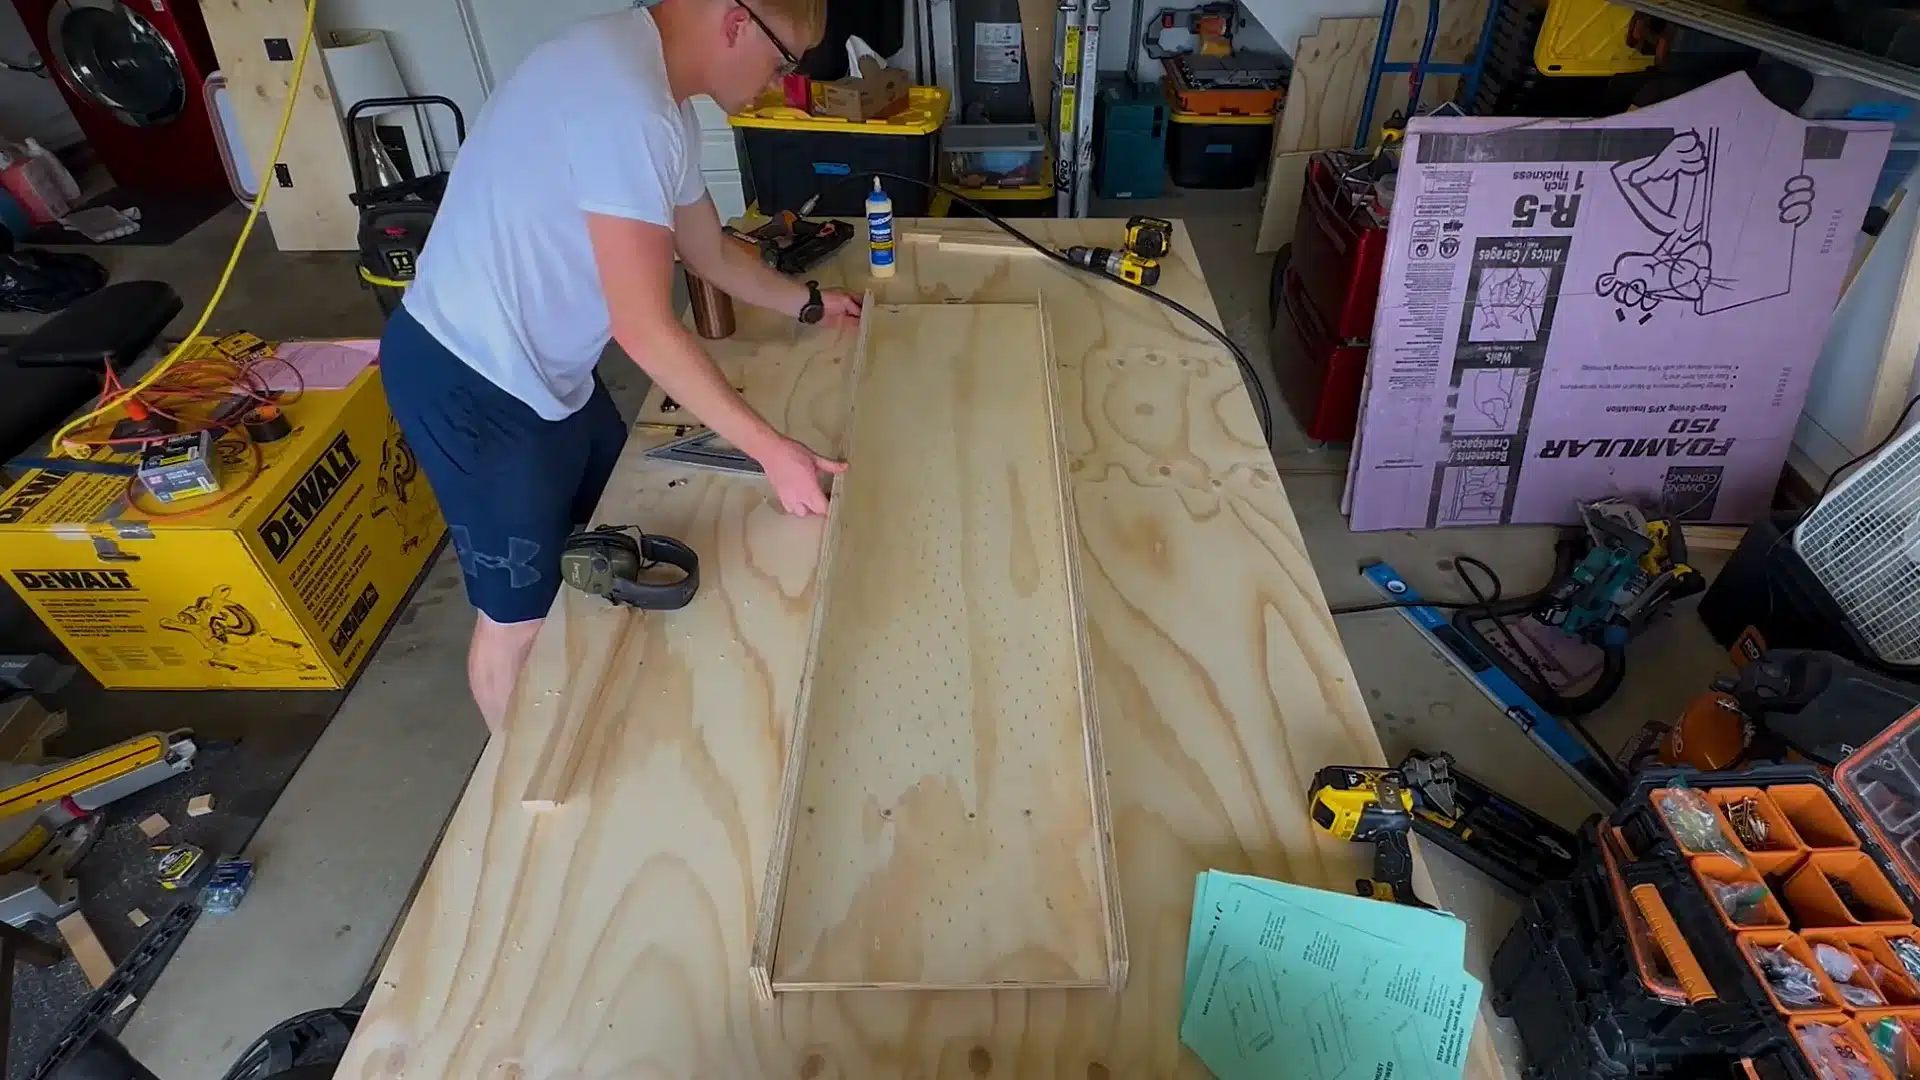
The header sits on top and holds the front rail, rear rail, and mounting cleats together.
Leave a small gap between the header board and the rails so everything sits flush once assembled.
Glue and nail the front rail for a cleaner finish, then screw the rear rail and mounting cleats into place. This piece ties your verticals together and gives the bed its structure.
Step 8: Add Panels And Headboard
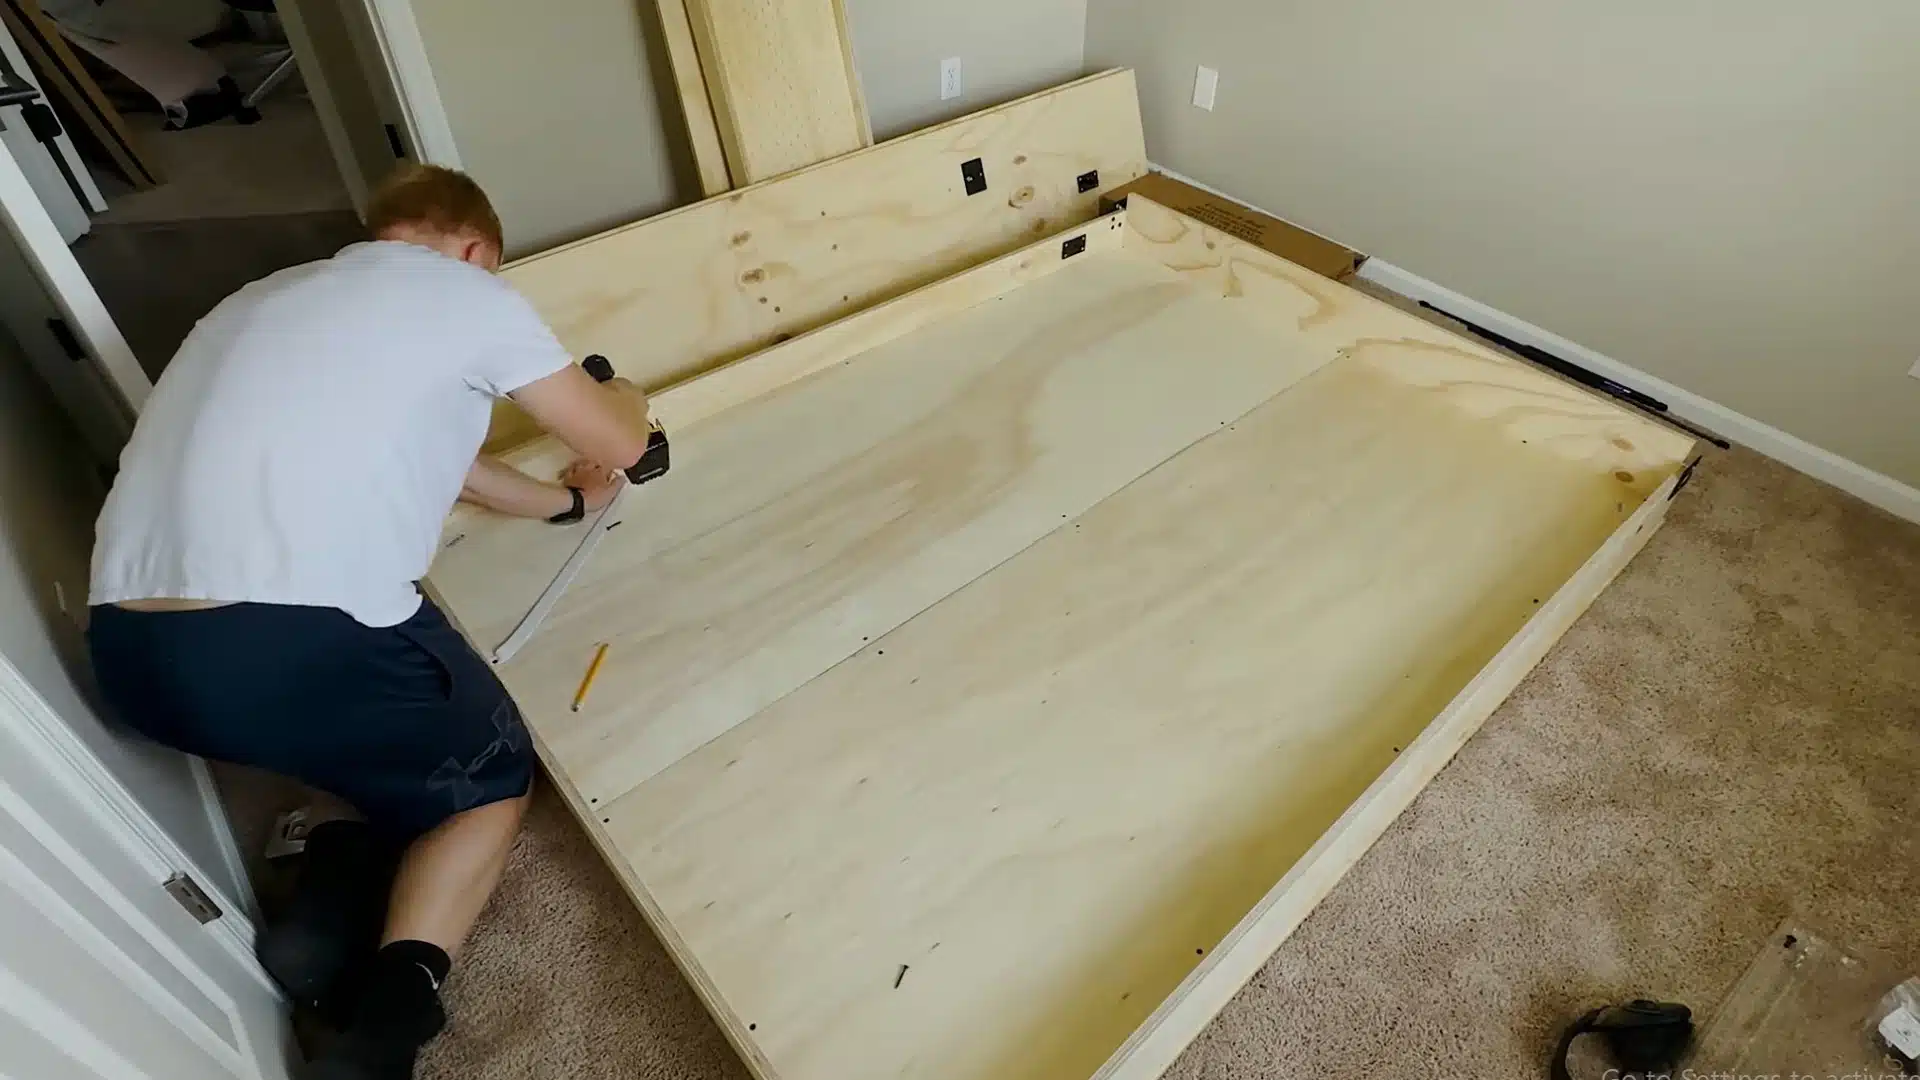
Place your thinner panels on top of the bed frame and add your mattress straps at the same time, spacing them evenly from each corner.
Then move on to the headboard, which is separate from the header board and easy to mix up if you are not paying attention.
Fasten it carefully, since this piece supports the top of the frame once it is upright.
Step 9: Hook Up Hydraulics And Mount
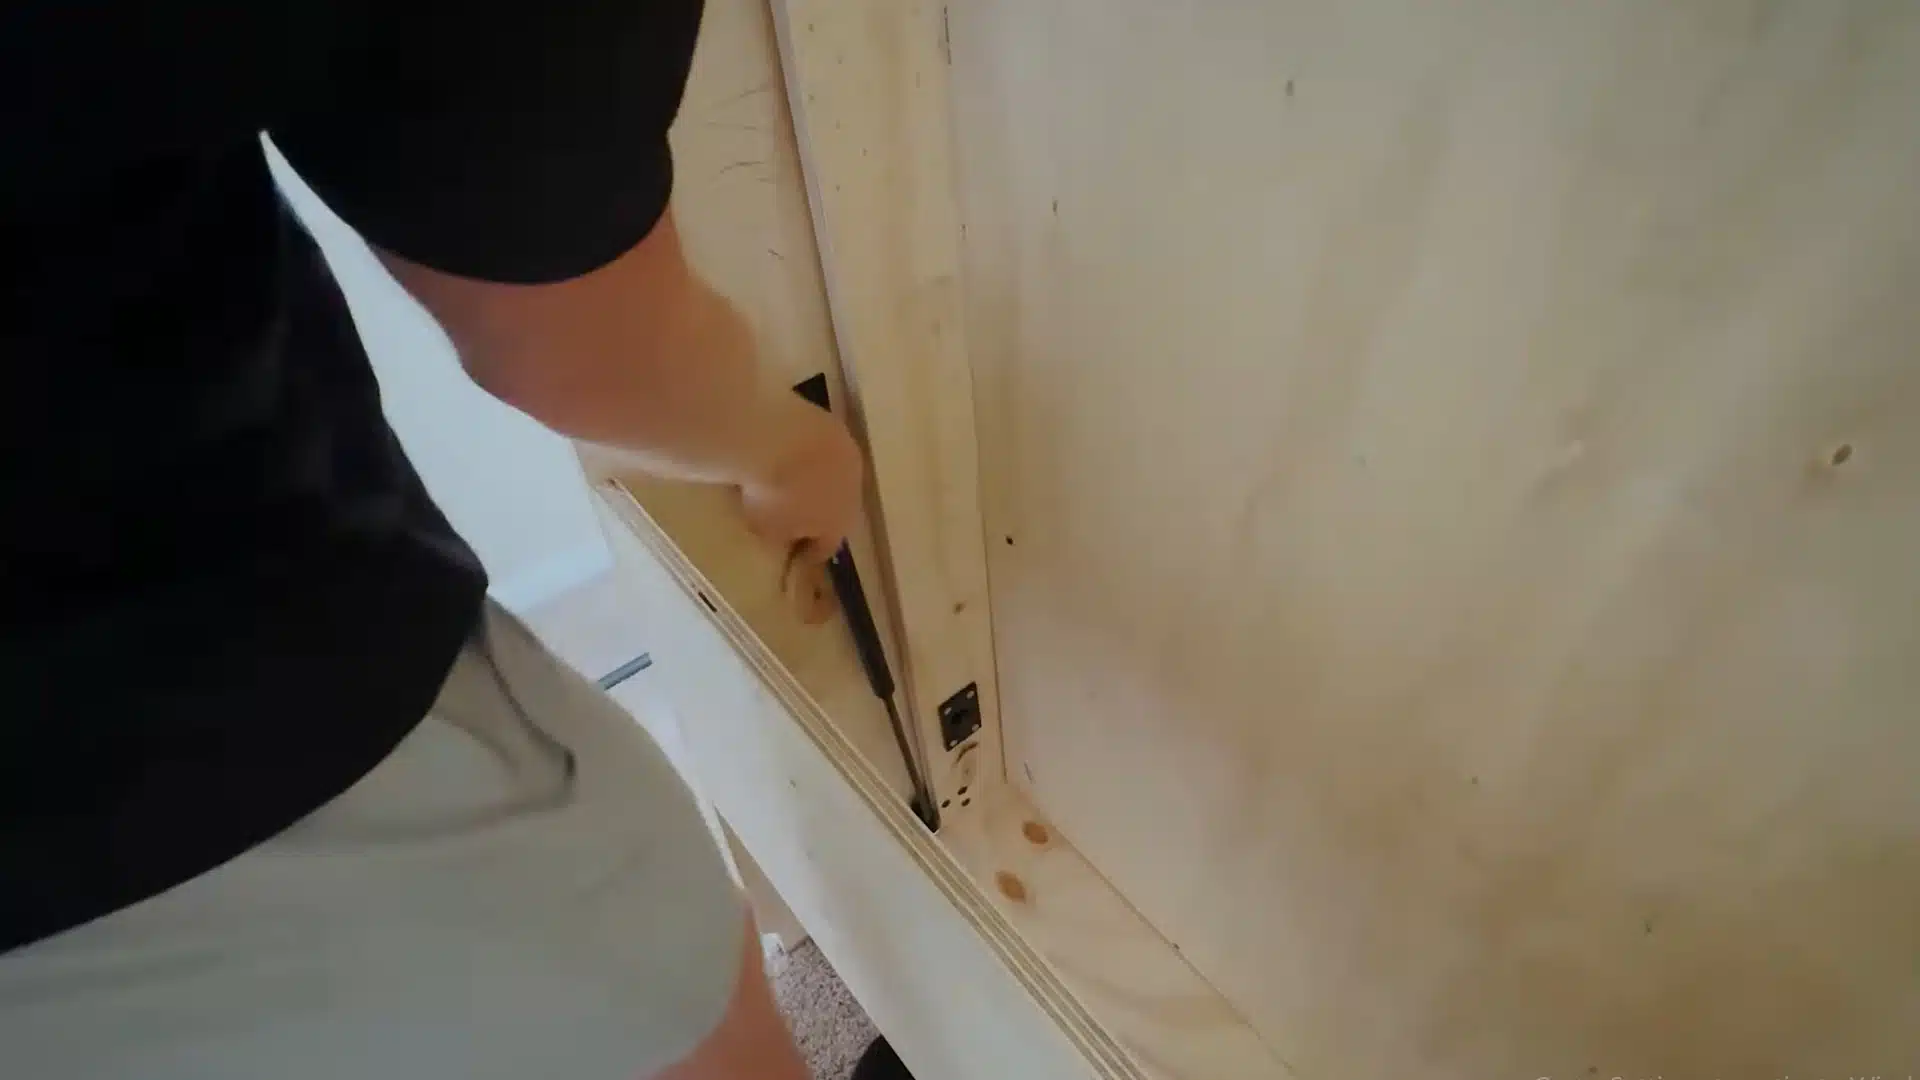
Once your frame and header are complete, attach the hydraulics that let the bed fold up and down smoothly.
Then comes the most important safety step of the whole build. Use a stud finder to locate real studs, and fasten the header board directly into them.
Skipping this step means your bed could tip forward when pulled down, so do not rush past it.
Step 10: Install The Base Cabinets
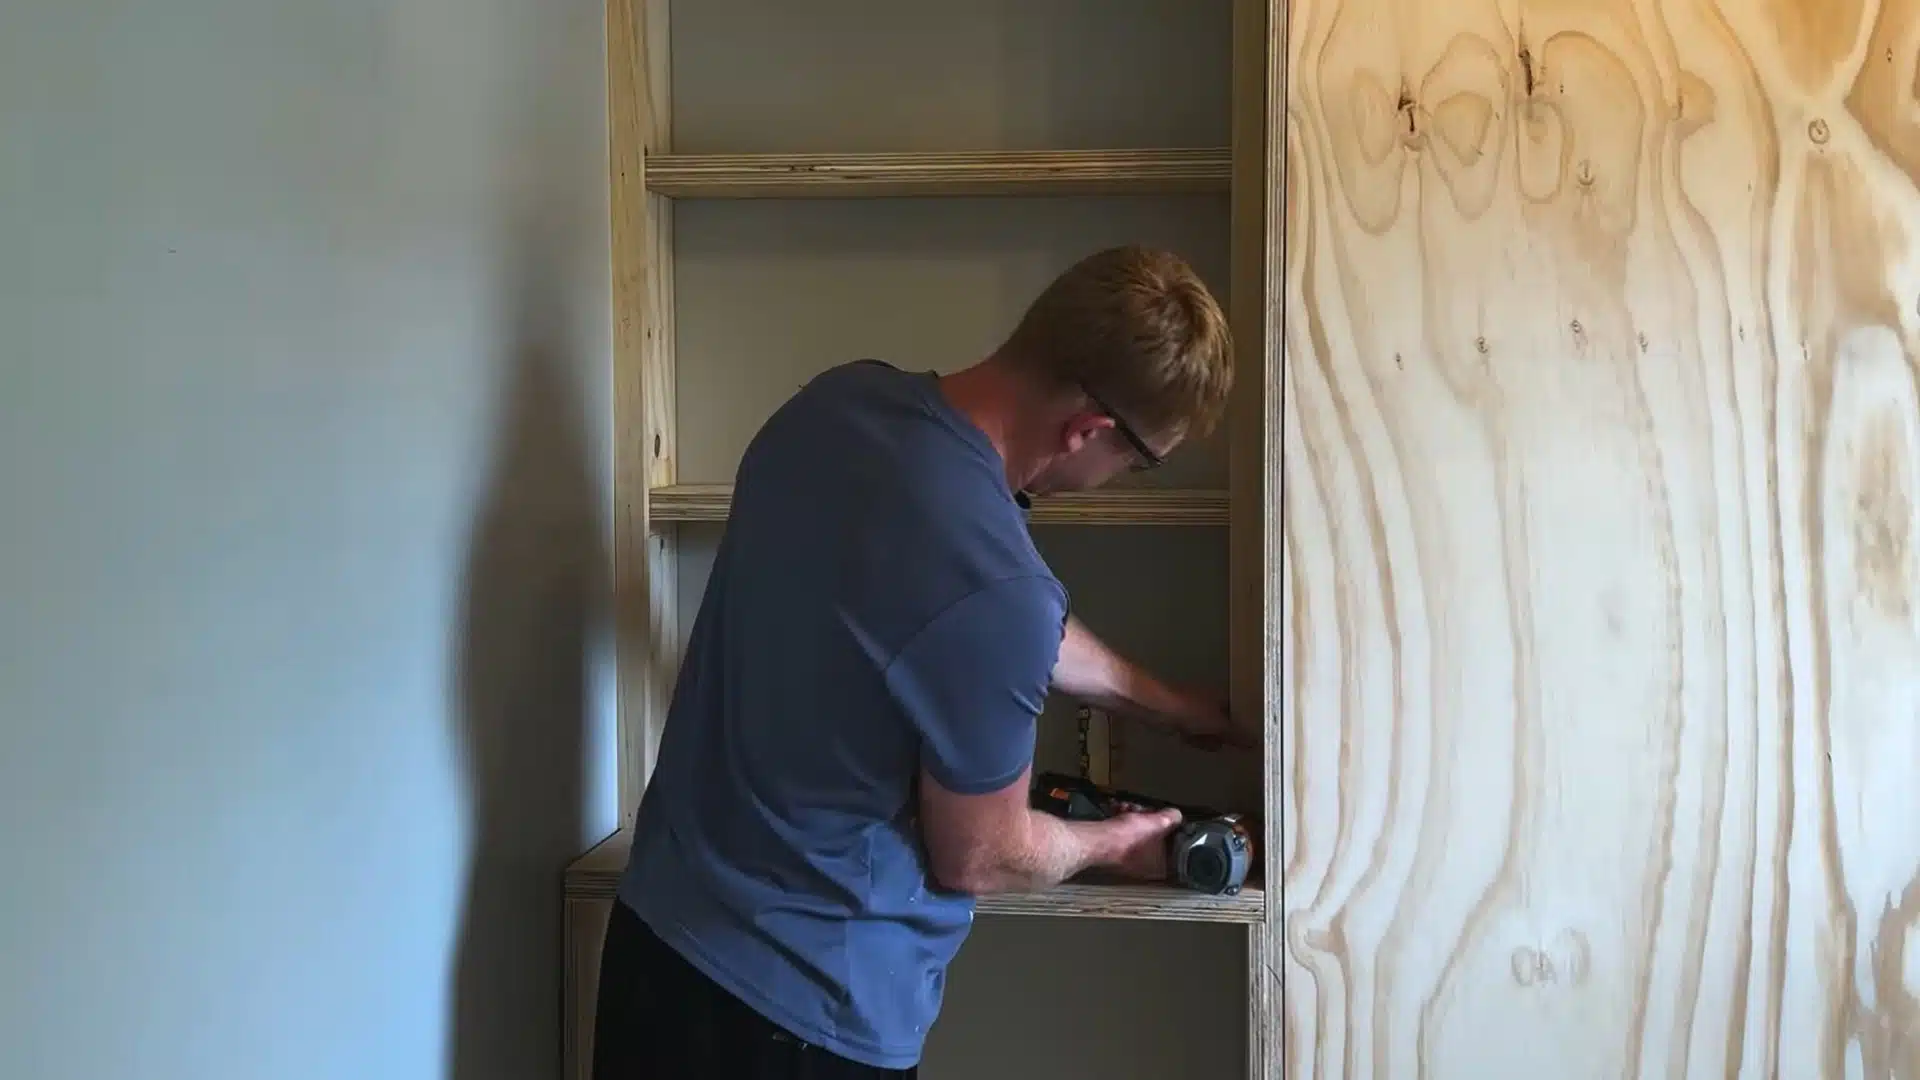
With the bed frame mounted, start building out the base cabinets underneath it.
Keep your base perfectly level, since every other cabinet and shelf depends on it being straight. Add open shelving above the base and small cabinets above the bed itself for extra storage.
These cabinets are what give the whole piece its finished, built-in look.
Step 11: Prep, Paint, And Add Hardware
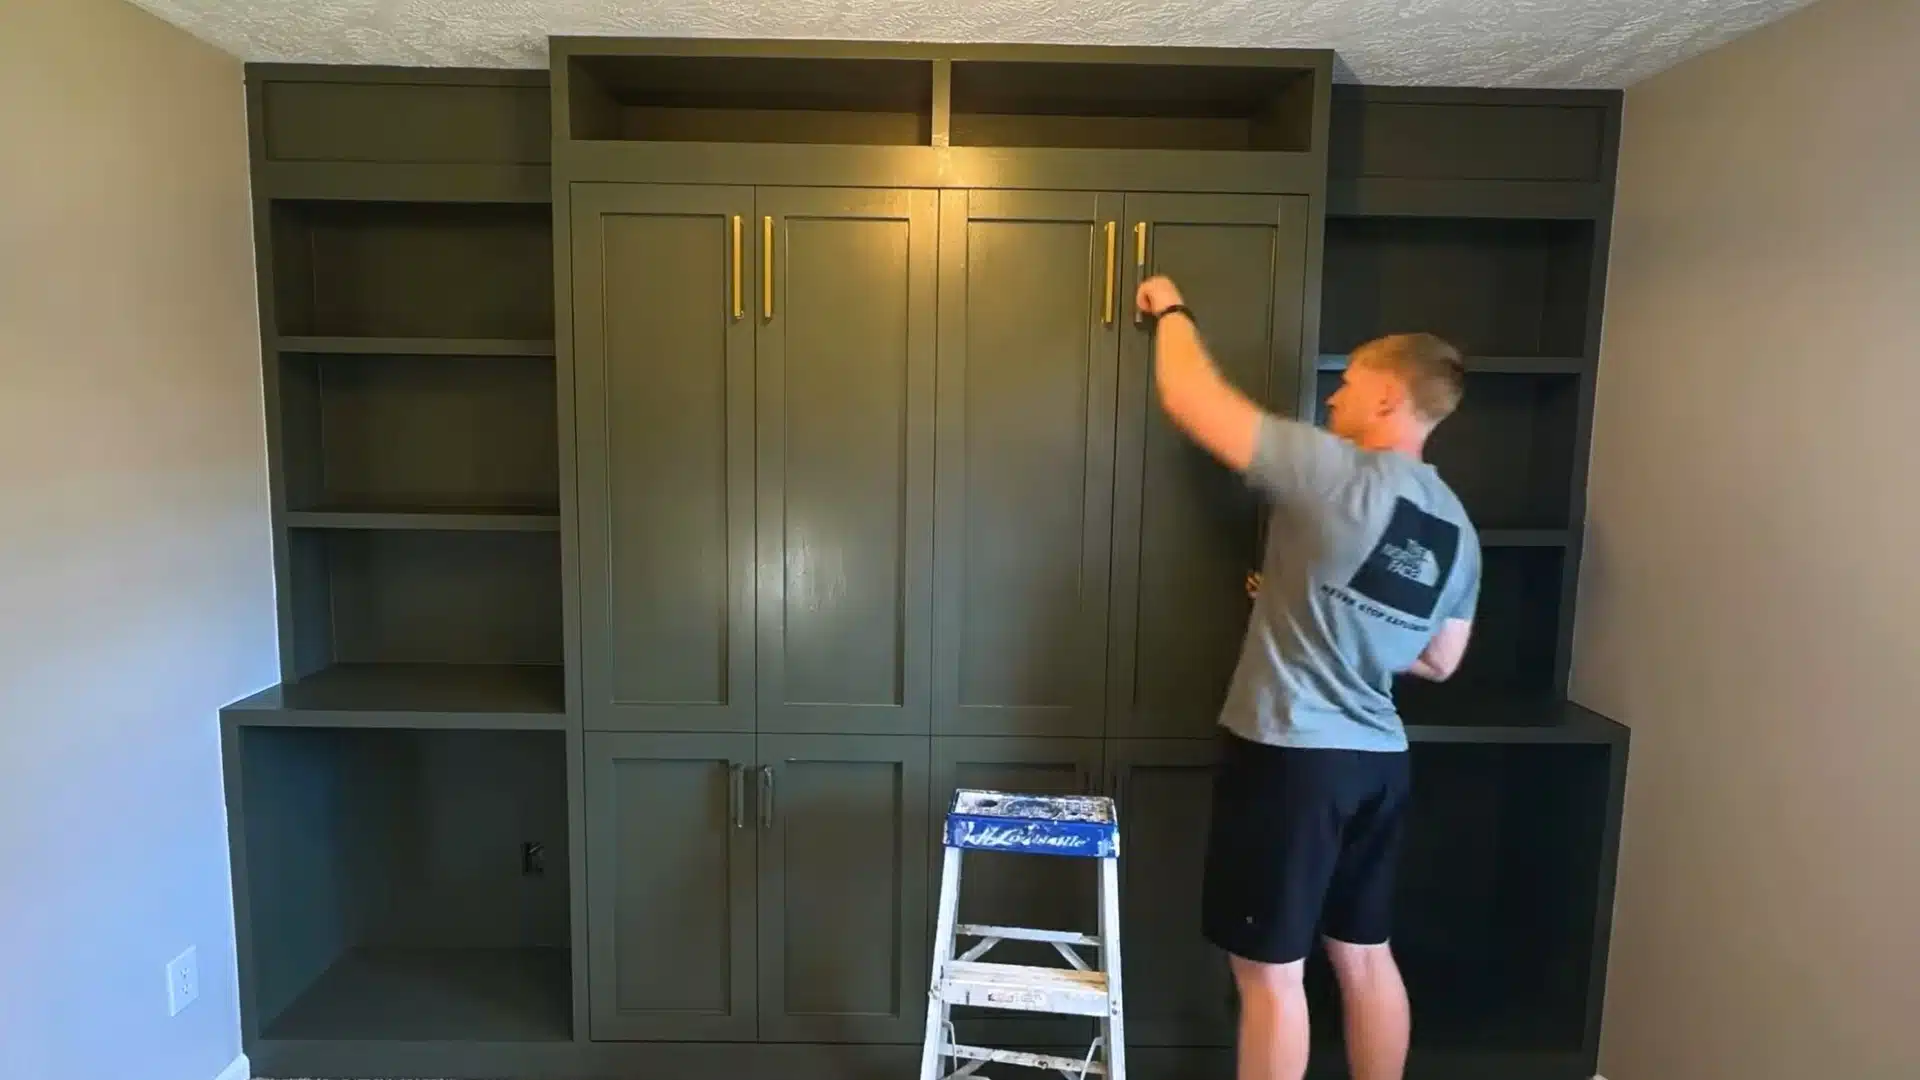
Fill nail holes, caulk the gaps, and sand everything smooth before you even think about paint.
Use masking film instead of shields for clean corners, and apply several light coats rather than one thick one to avoid drips.
Once dry, add your concealed hinges using a hinge jig, then attach your handles last so the bed is ready to pull down and use.
For more details, watch the complete video tutorial by Satisfy DIY
Common DIY Murphy Bed Mistakes to Avoid
A few small slip-ups can turn a smooth build into a frustrating one, so keep these in mind as you work:
- Mismatched rails or verticals: Building both sides identical instead of mirrored means they will not fit together properly.
- Uncut verticals: Forgetting to trim one down to length means it will not stand upright later.
- Skipped wall anchoring: Not securing the header board into real studs leaves the bed unstable and unsafe to use.
- Thick paint coats: Applying one heavy coat instead of several light ones causes drips and messy runs.
- Wrong masking method: Using a paint shield around tight corners instead of masking film makes clean lines much harder to get.
Most of these come down to double-checking your pieces before you move to the next step, so a little patience with the small details goes a long way toward a cleaner finish.
Frequently Asked Questions
How Long Does This Build Usually Take?
Most builders finish over a weekend or two, depending on experience level. The frame and hardware install take the most time, while cabinets and painting can stretch it further.
Can One Person Build a Murphy Bed Alone?
Yes, most steps are manageable solo, though mounting the frame to the wall and lifting larger panels goes faster and is safer with a second person helping.
Does the Mattress Affect How the Bed Folds?
Yes, thicker mattresses need extra clearance and stronger straps to stay secure when folded up, so check your hardware kit’s recommended mattress thickness before buying one.
Wrapping It Up!
Building your own Murphy bed takes patience, but this DIY Murphy bed plan breaks the whole project into steps anyone can follow.
From framing to pivot hardware to mounting it safely on the wall, every stage builds on the last, so nothing feels rushed or confusing along the way.
Once the cabinets are painted and the hardware is in place, you end up with a fold-down bed that gives your room its space back whenever you need it.
Grab your tools, work through the steps at your own pace, and drop a comment once your build is finally done.