Curtains hung at the wrong height or length can make even a beautifully designed room look smaller, unfinished, or oddly proportioned.
A rod placed too close to the window or panels that stop short of the floor draw the eye downward instead of up, working against the room rather than for it.
This post walks through everything you need, from ideal height and length to choosing the right hardware.
We will also cover how to hang curtains properly, plus no-drill methods for renters or anyone who wants a damage-free setup.
What Length Should Curtains Be?
Length plays just as big a role as height, shaping whether curtains look tailored or simply too short for the space.
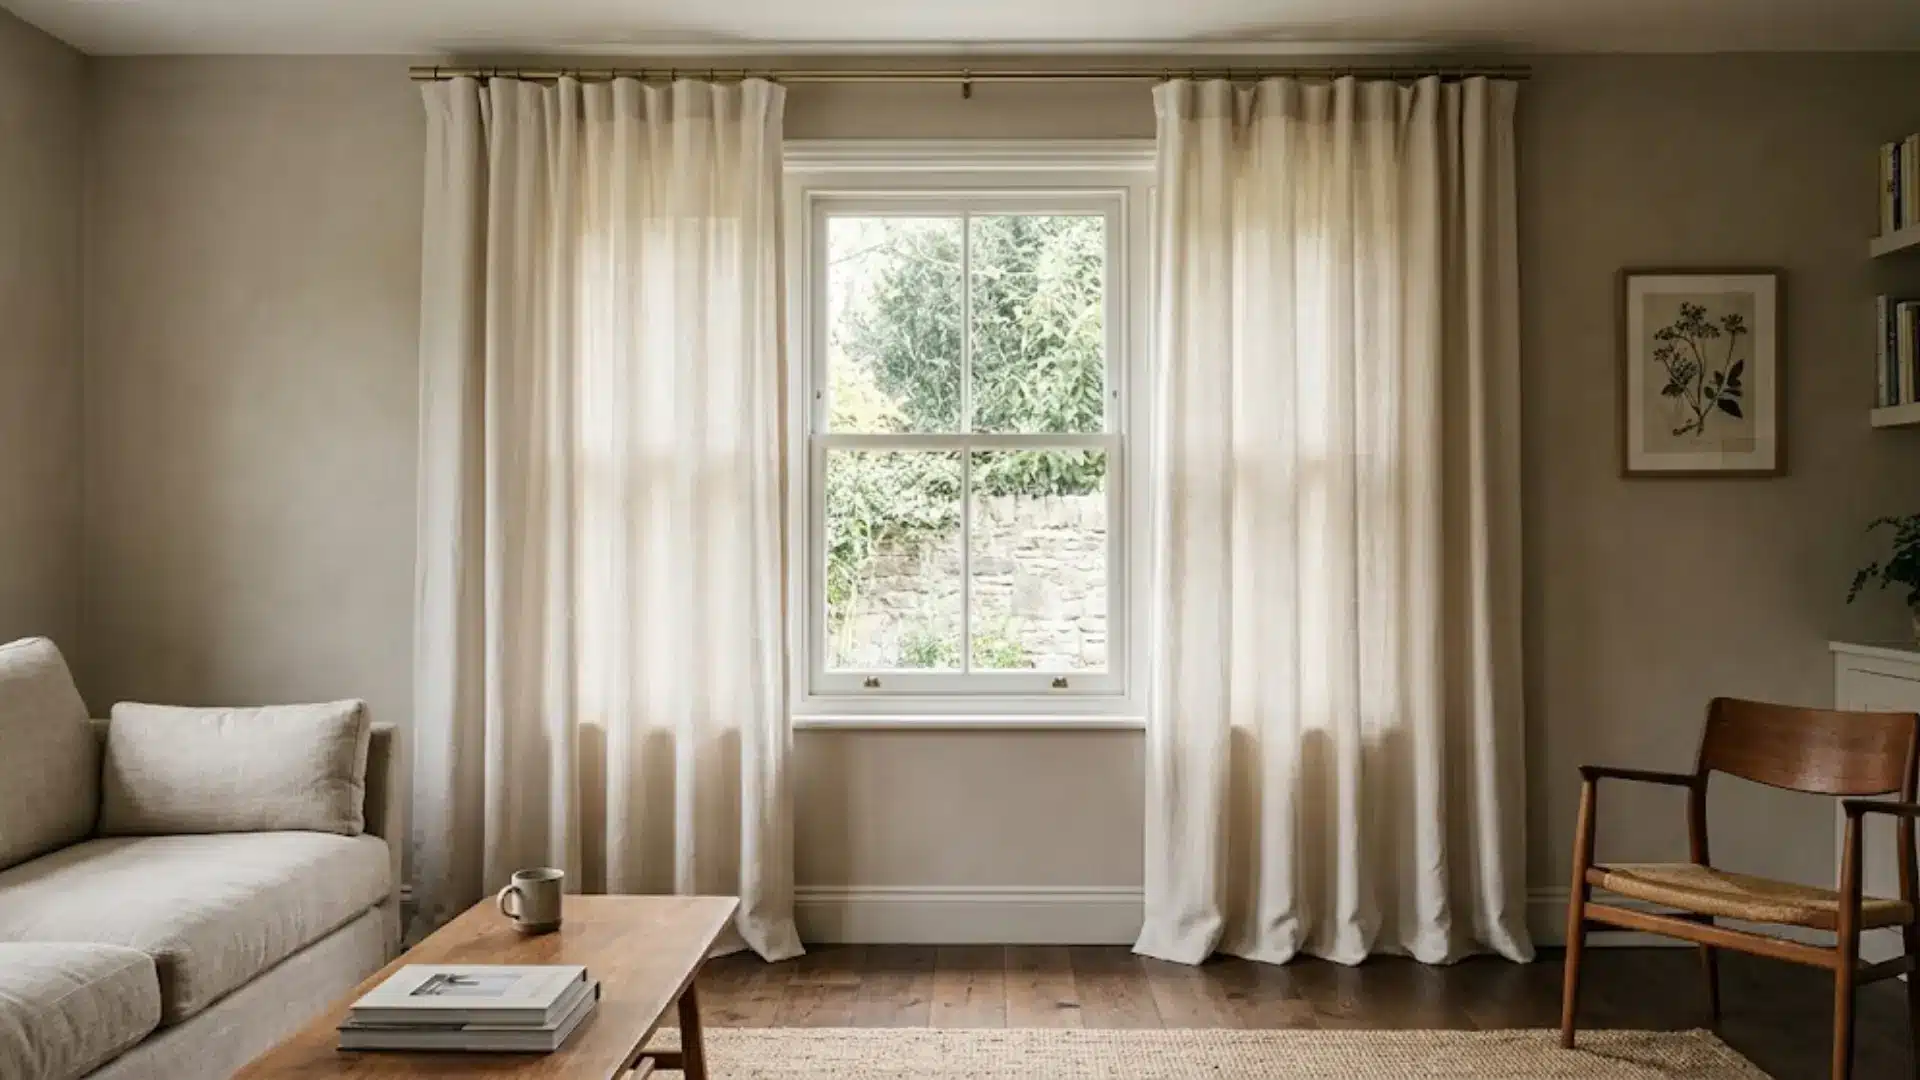
- Floor-Length: Curtains just kiss the floor for a clean, tailored look suited to most rooms and styles.
- Puddle Style: Three to six inches of extra fabric pools softly on the floor for a more luxurious, formal feel.
- Measuring Tip: Always measure from the top of the mounted rod to your desired finish point, since height changes can alter the final required length.
Floor-length works well for everyday spaces, while puddle style suits bedrooms or living rooms where a more dramatic, elevated touch feels appropriate.
Choosing the Right Curtain Rod Width
Rod width affects how full and balanced curtains look once installed, beyond just covering the window itself.
A good rule of thumb is to extend the rod about 10 to 12 inches beyond the window frame on each side.
This allows panels to stack neatly to the sides when open, letting in more natural light while still framing the window attractively when the curtains are fully drawn closed.
For wider windows, extending the rod even further helps balance the visual width and gives curtain panels enough room to clear the glass completely.
Tools You’ll Need
Before you start, gather these basic tools to make the installation process smooth and accurate.
| Tool | Purpose |
|---|---|
| Tape measure | Measures bracket placement above and beside the window frame |
| Pencil | Mark the bracket position and screw hole locations on the wall |
| Allen key | Loosely secure the bracket in place before drilling |
| Power drill | Drills the pilot hole and drives in the bracket screws |
| Drill bit | Creates a clean guide hole for the screw to prevent wall cracking |
| Screws | Fastens the bracket securely and flush against the wall |
| Curtain rod and bracket | Holds the rod in place and supports the hung curtain panel |
Once you have everything on hand, you’re ready to move on to placement and installation.
Step-by-Step: How to Install a Curtain Rod?
Once you know your ideal height and width, here is the step-by-step process for mounting a standard curtain rod on drywall.
Step 1: Mark Bracket Placement

Hold a tape measure against the wall and measure out your ideal spot, about three inches to either side of the window frame and four inches above it.
Mark the position clearly with a pencil before moving any hardware into place, since this guideline determines how balanced and elevated the finished curtains will look.
If preferred, the rod can be hung directly onto the window frame instead, which skips wall marking entirely for a simpler, built-in look.
Step 2: Position and Secure the Bracket
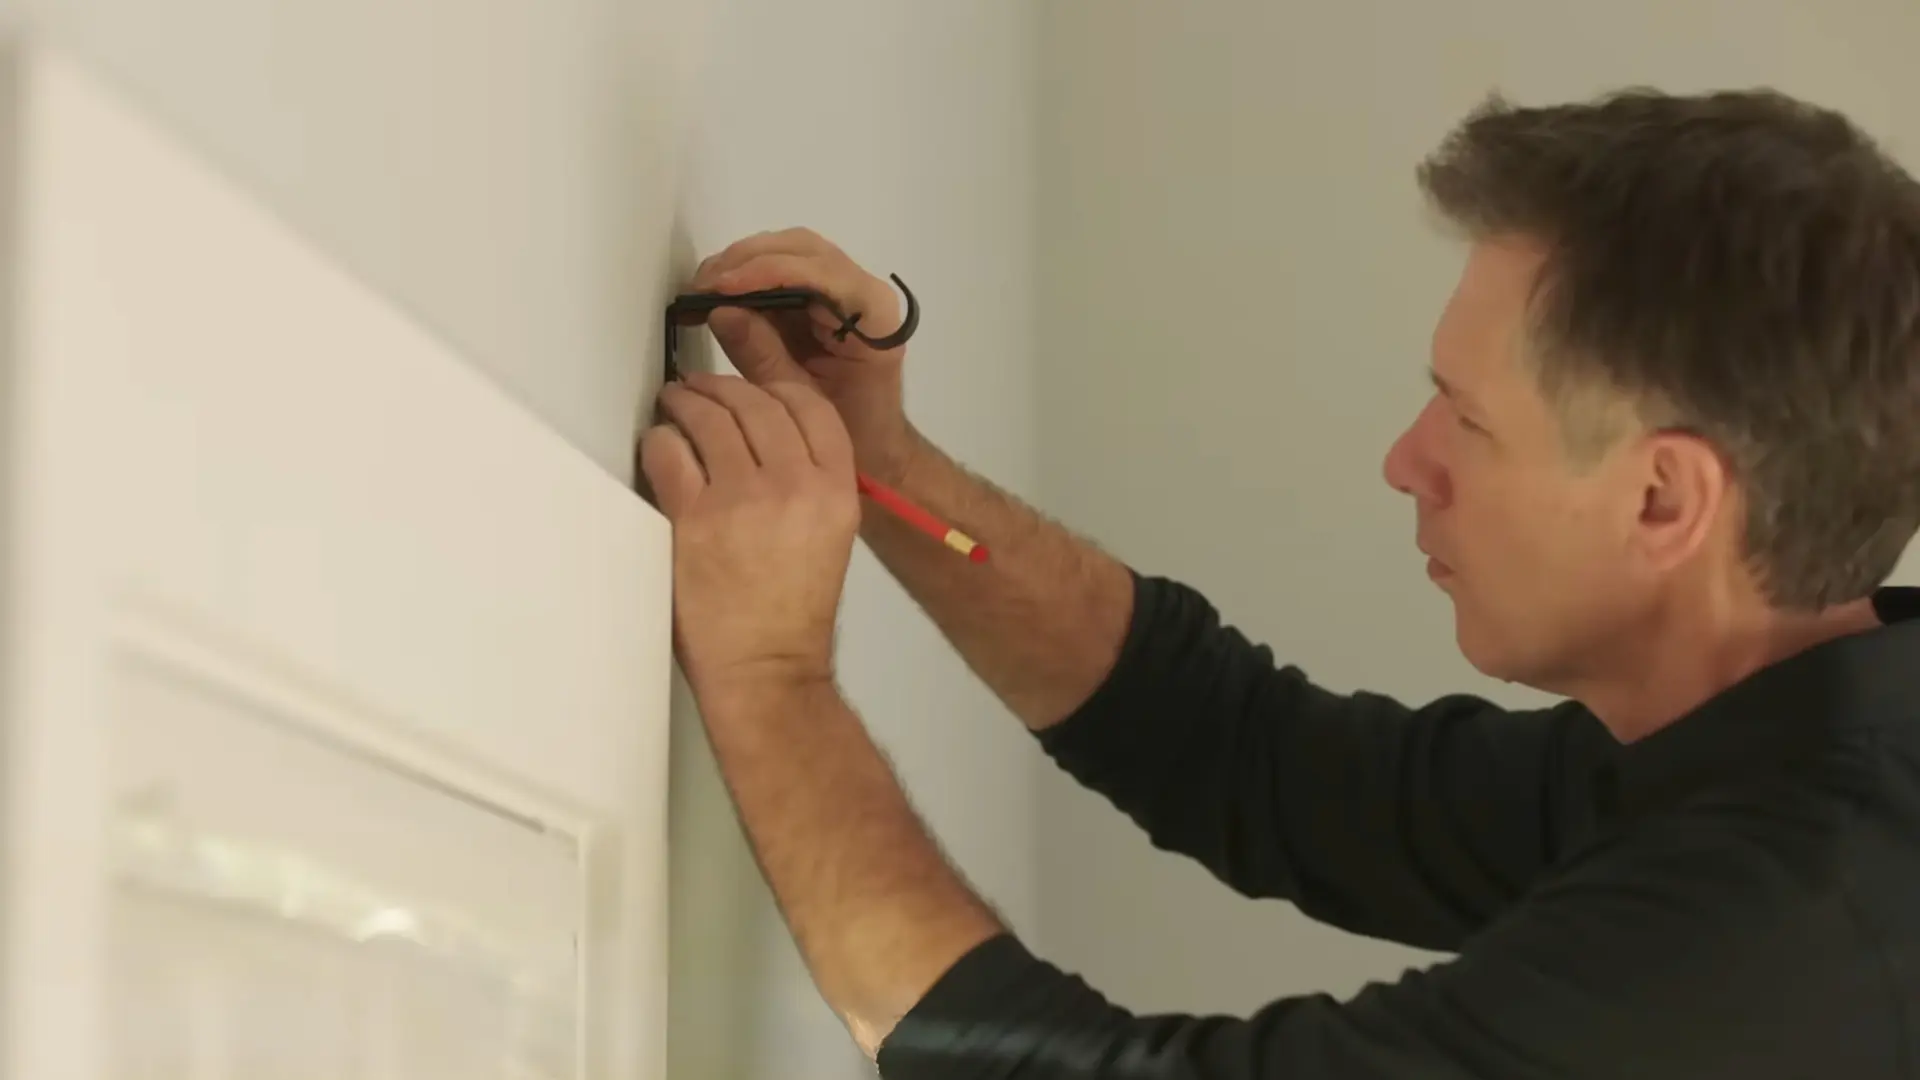
Hold the bracket up to the pencil mark and use an Allen key to loosely attach it, keeping the screw holes aligned and steady against the wall surface.
This prevents the bracket from shifting once drilling begins, making the next steps far more accurate.
Take a moment to double-check the placement here, since a secure, properly aligned starting position makes the rest of the installation noticeably easier and helps avoid having to redo any steps later.
Step 3: Drill the Pilot Hole
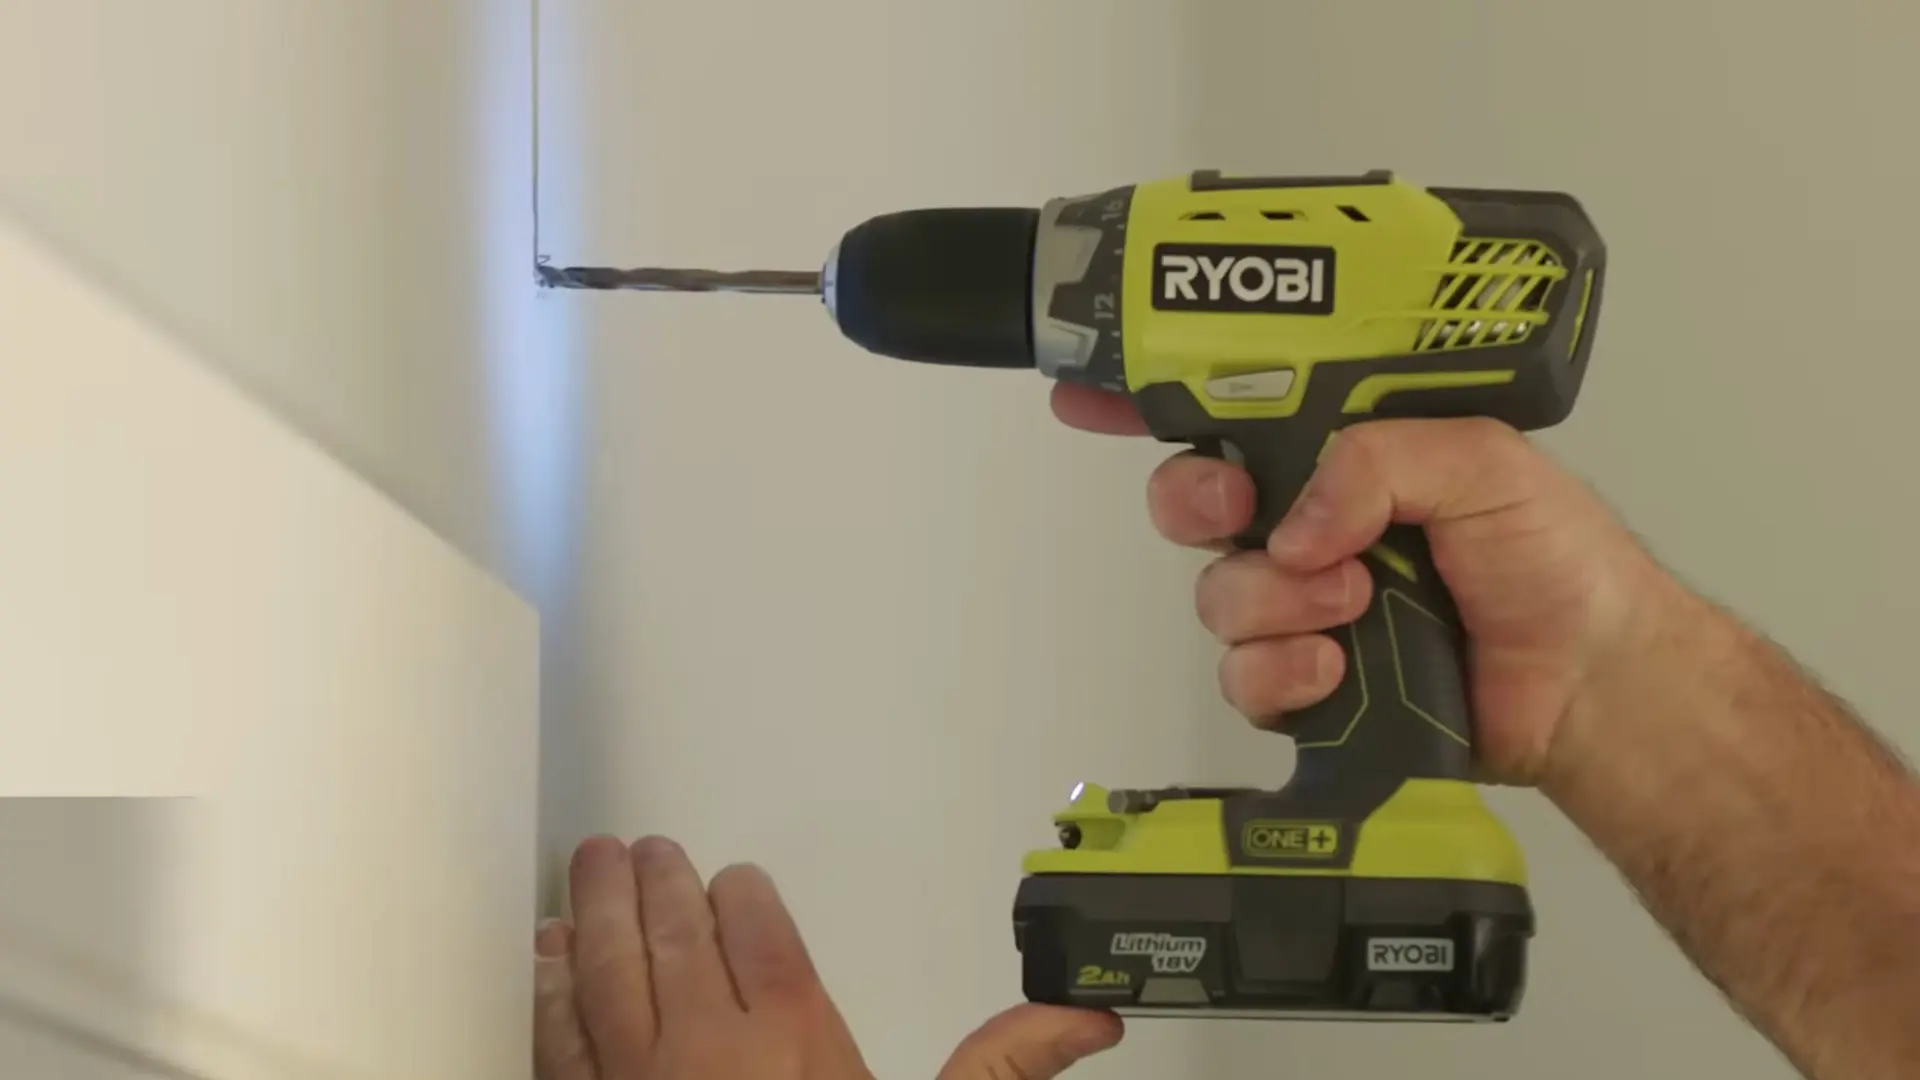
Using a power drill fitted with a small bit, drill a pilot hole directly at the marked spot along the bracket guideline.
This creates a clean path for the screw and helps prevent the wall from cracking, crumbling, or chipping during installation.
Keep the drill steady and level while drilling so the hole lines up properly with the bracket. A clean pilot hole also makes it much easier to drive the screw straight without it slipping or wandering off course.
Step 4: Drive in the Bracket Screws
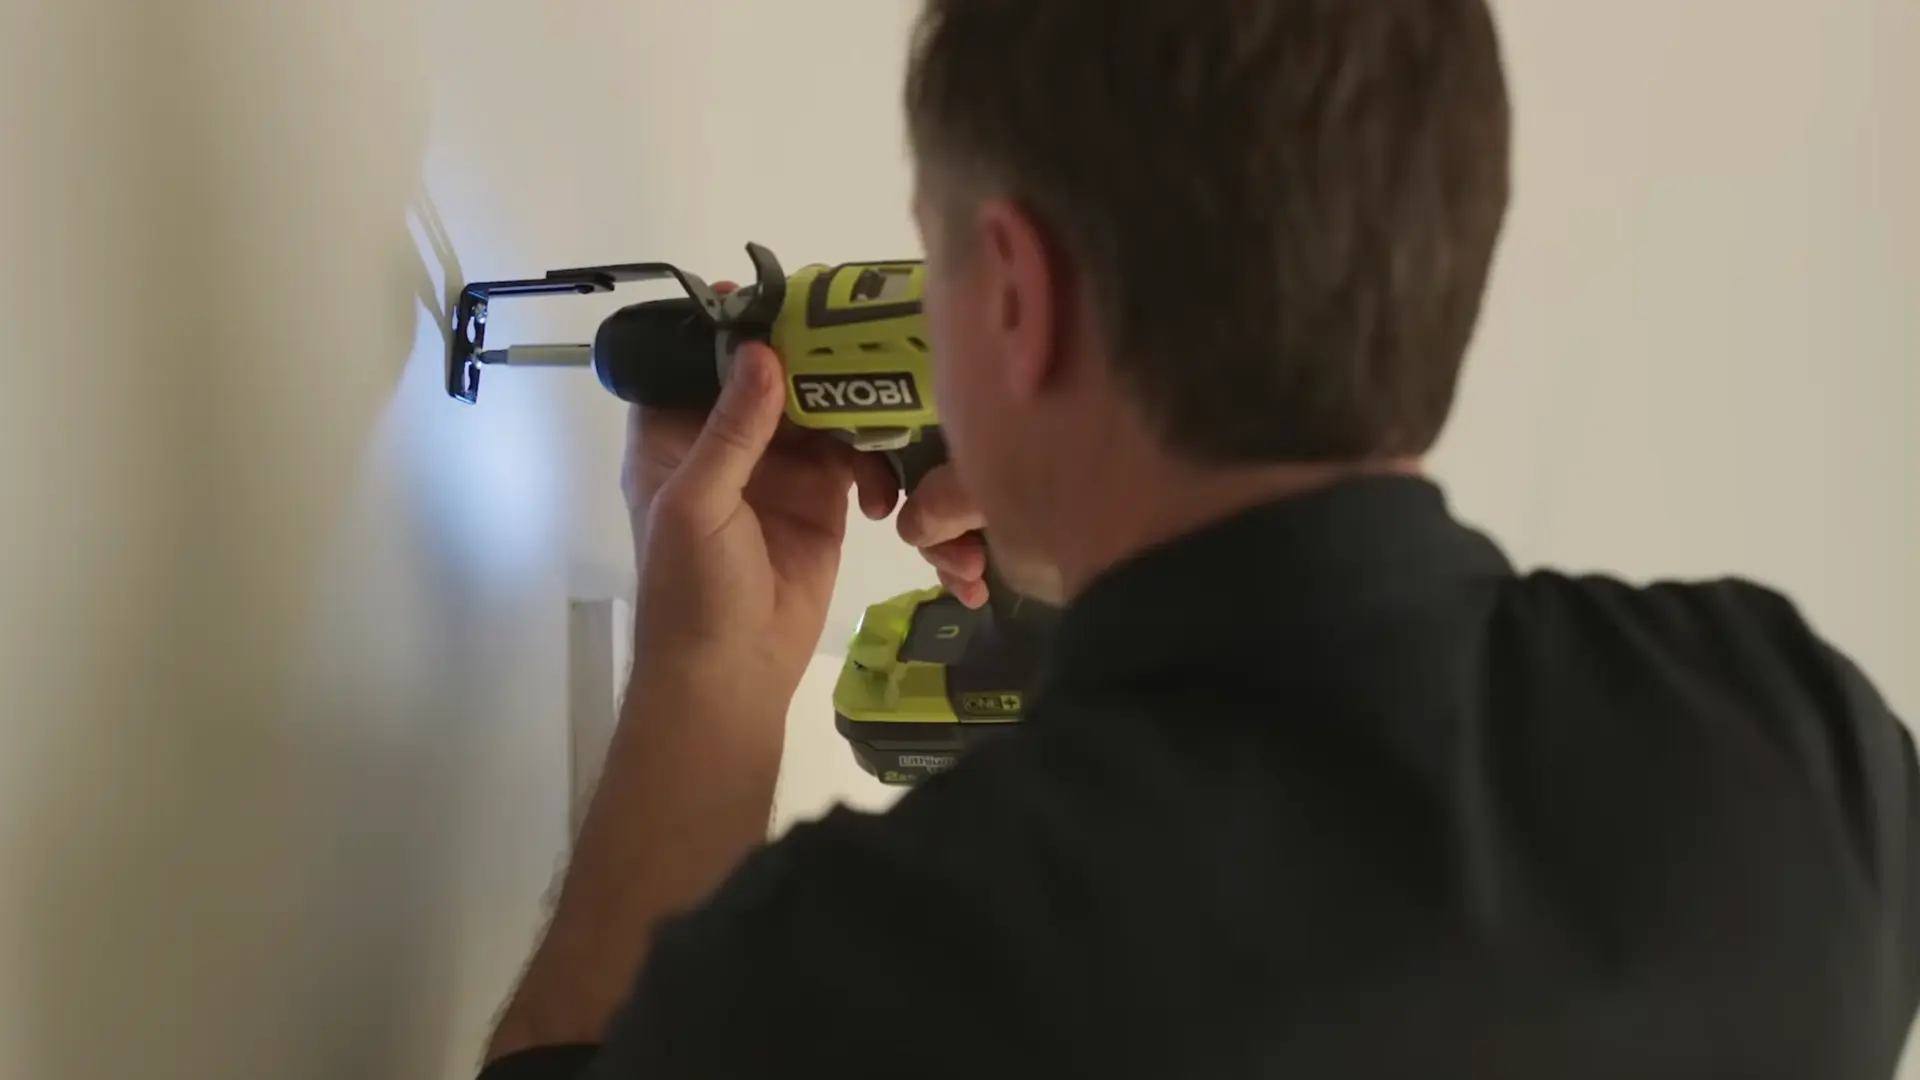
Switch to a screwdriver bit and drive the screws through the bracket and into the pilot hole until the bracket sits flush against the wall.
Work close to the wall for better control, accuracy, and a tighter overall fit. Once tightened, give the bracket a gentle tug to confirm it is firmly anchored before moving on to the rod.
A secure bracket at this stage is what keeps the entire curtain rod stable once weight is added later.
Step 5: Hang the Rod
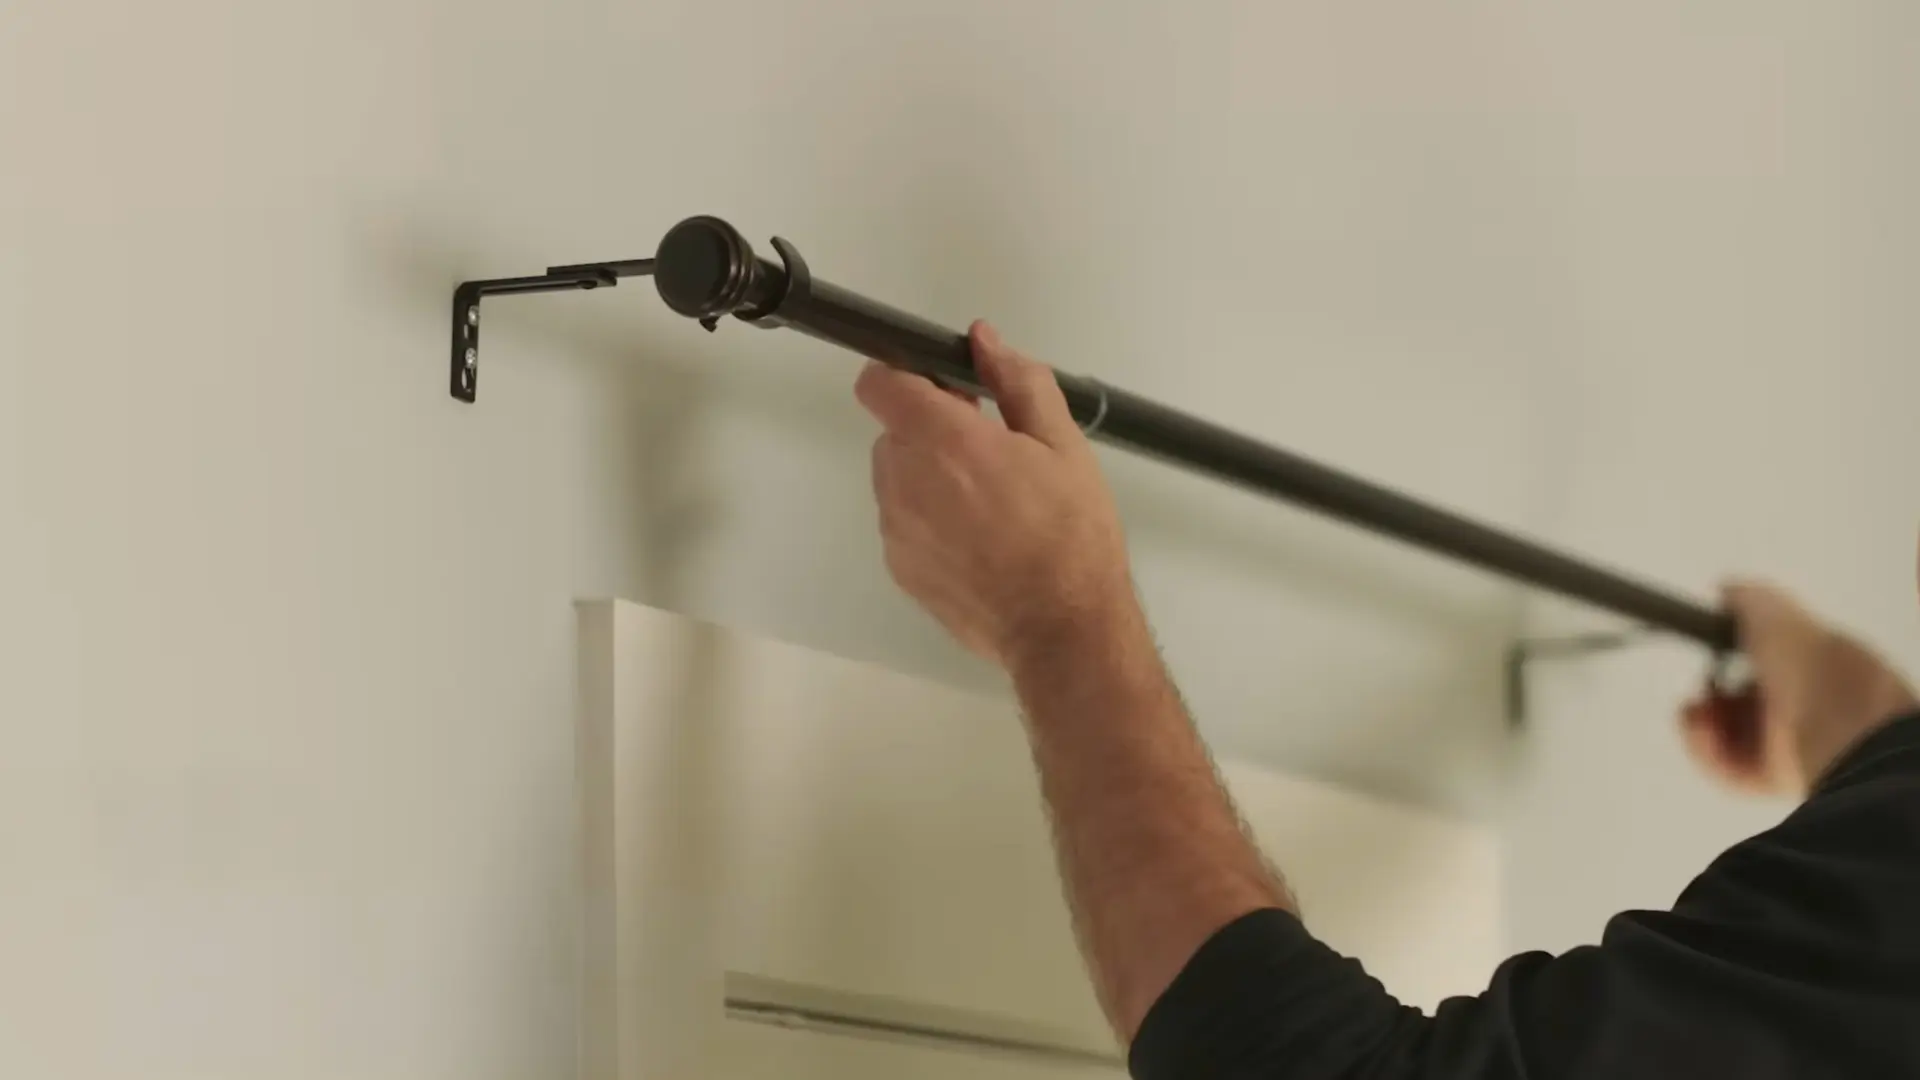
Lift the curtain rod and rest one finial end into the first mounted bracket, then carefully guide the opposite end into the second bracket positioned across the window.
Slide the rod gently until it locks securely into both mounts and sits level from side to side.
Step back and check that it looks straight and centered before adding any curtain panels, since small adjustments are much easier to make now than after the curtains are hung.
Step 6: Hang the Curtain
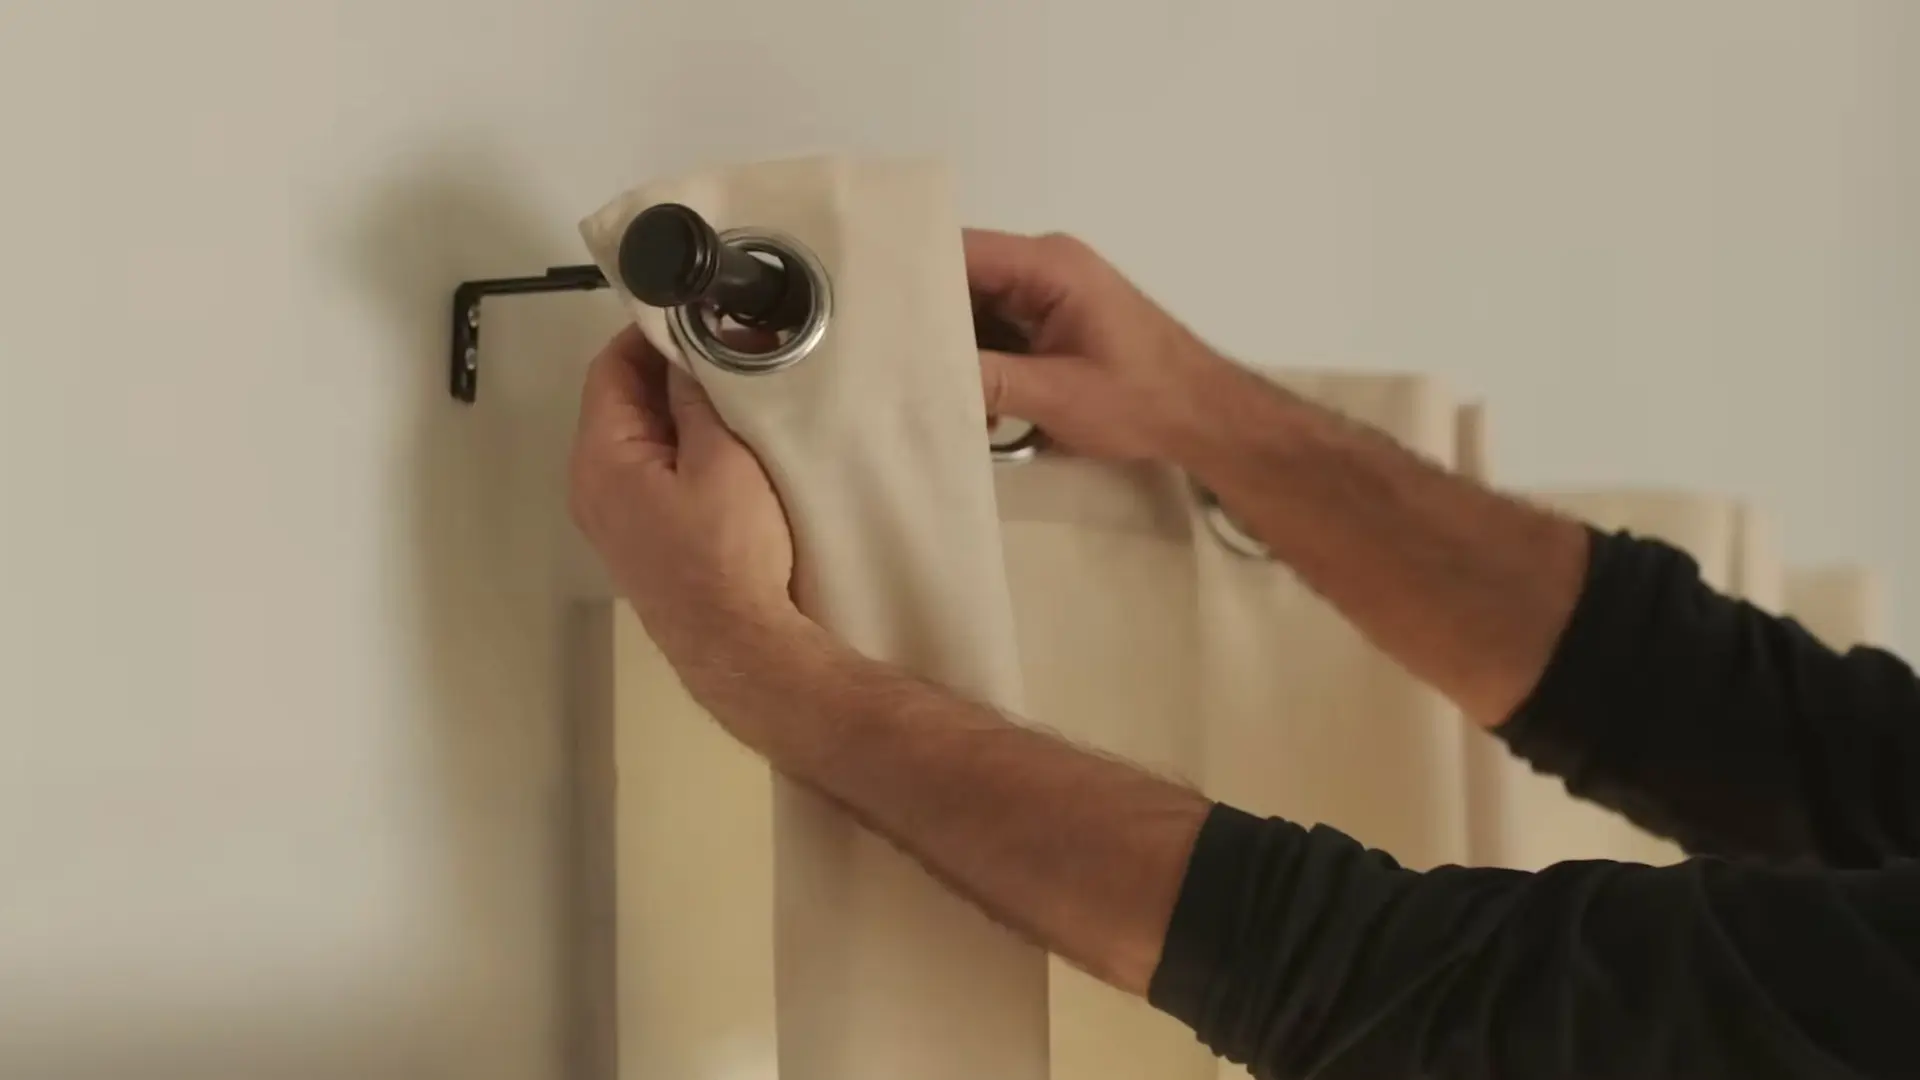
Thread the curtain panel onto the rod and slide the fabric toward the bracket until it settles evenly into place.
Adjust the folds so the curtain hangs balanced on both sides, with no fabric bunched unevenly near either bracket.
A tension rod placed between two walls is a quick, inexpensive, no-hardware option if you would rather skip drilling for this step entirely while still getting a clean finished look.
For a closer look at exactly how each method works, check out the video walkthrough below.
How High Should Curtains Be Hung?
Getting the height right is one of the most impactful decisions in the entire setup, since it directly affects how tall and spacious a room feels.
| Scenario | Recommended Height | Why It Works |
|---|---|---|
| Standard ceilings | 4 to 6 inches above the window frame | Draws the eye upward without disconnecting from the window |
| High or vaulted ceilings | A few inches below the ceiling line | Stretches the wall visually for a taller, more dramatic look |
| Low ceilings | Right at the ceiling, or use a ceiling mount bracket | Creates height without leaving an awkward gap above the curtains |
For most standard rooms, mounting the rod close to the ceiling rather than near the window frame tends to yield the most elevated, polished result, especially when paired with floor-length panels.
No-Drill Curtain Rod Options
For renters or anyone who wants to avoid drilling altogether, there are several damage-free ways to hang curtains without sacrificing a finished look.
1. Command Curtain Hooks
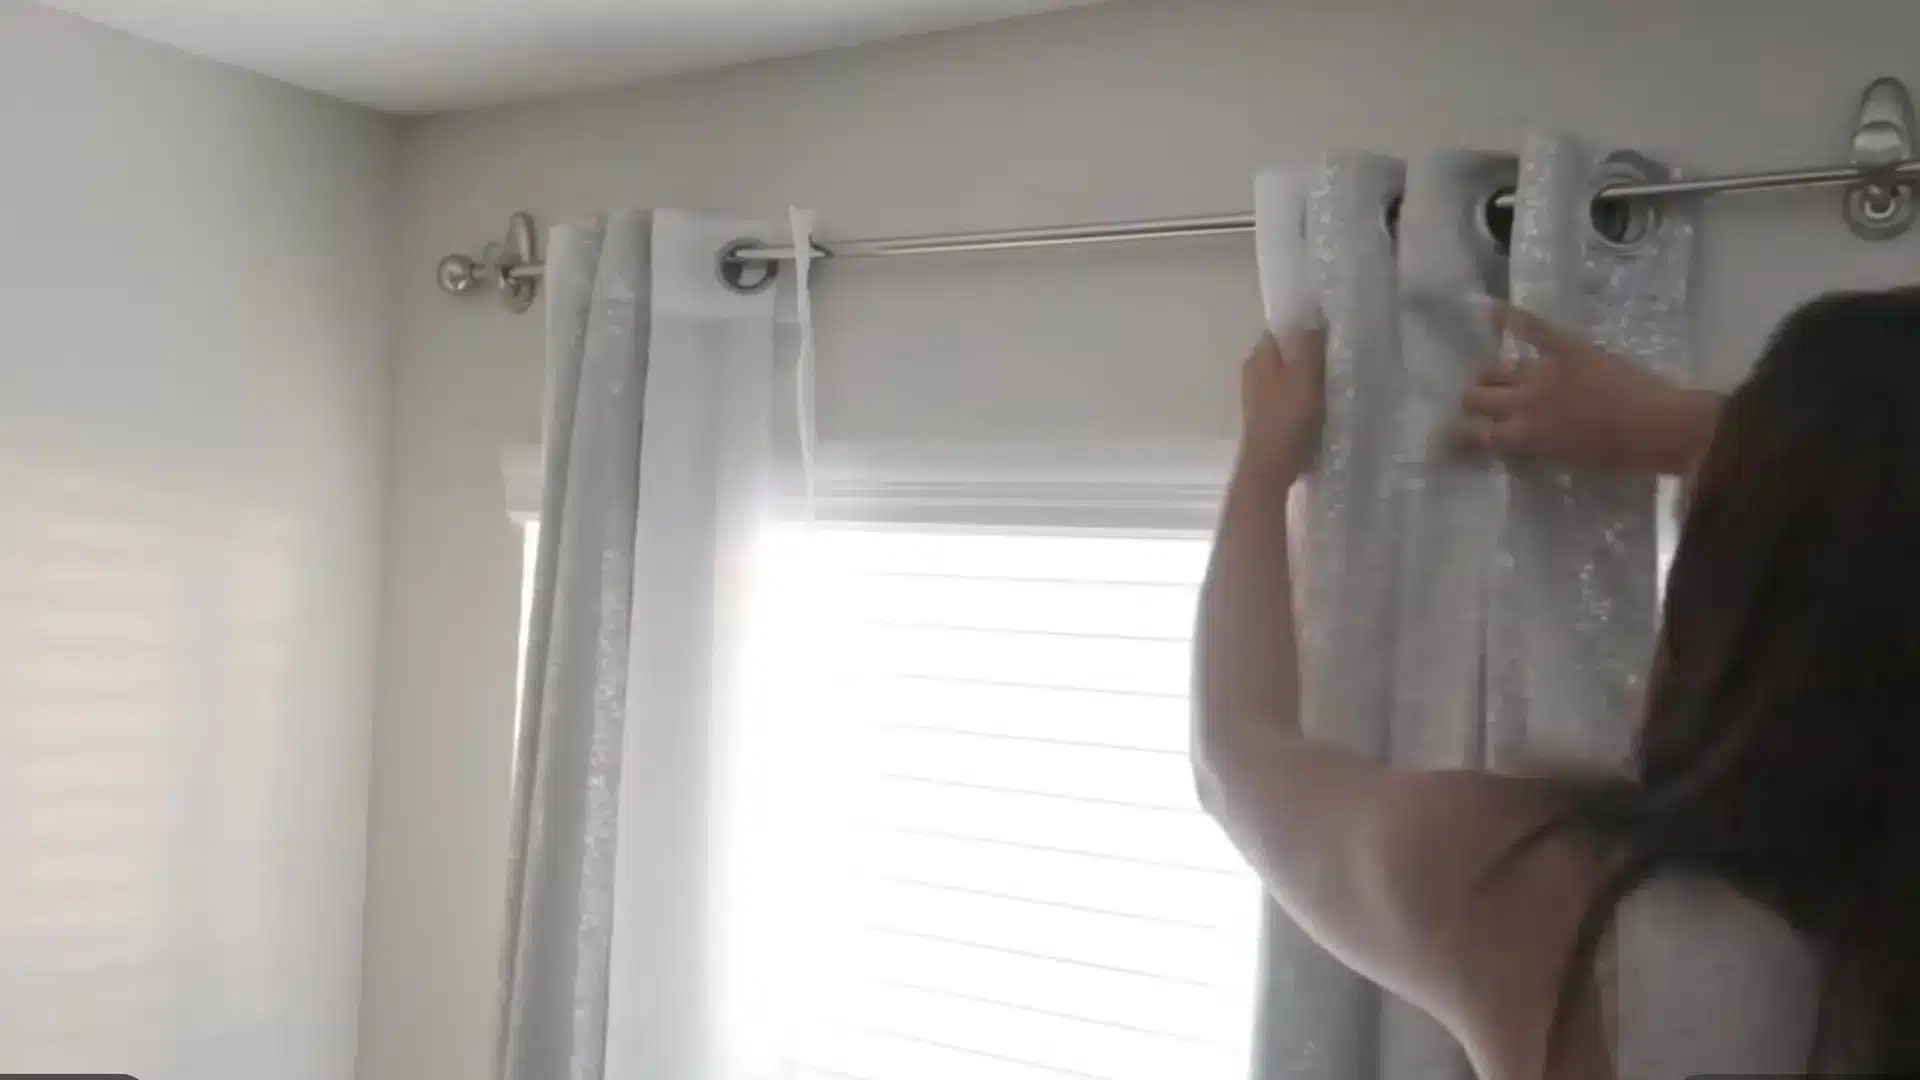
Picture-hanging strips paired with curtain hooks create a sturdy, no-drill option for lightweight curtains, generally five pounds or less.
Clean the wall first, attach the strip, then let the hook adjust to the wall for about 30 minutes before adding the rod, since letting it settle helps prevent it from slipping later.
Skip the adhesive included with most hook kits in favor of stronger picture hanging strips, which tend to hold up better over time and feel more secure once the curtain is finally added.
2. Mop and Broom Holders

Command-style mop and broom grippers can double as makeshift curtain rod holders, gripping a thin rod without any drilling or wall damage.
This option only works with very thin rods, similar in width to a broom handle, since anything thicker simply will not fit the gripper properly.
It also tends to carry less weight overall than other no-drill methods, so it suits short-term or temporary setups, like a holiday display, better than a long-term curtain solution you plan to keep up indefinitely.
3. Tension Rods
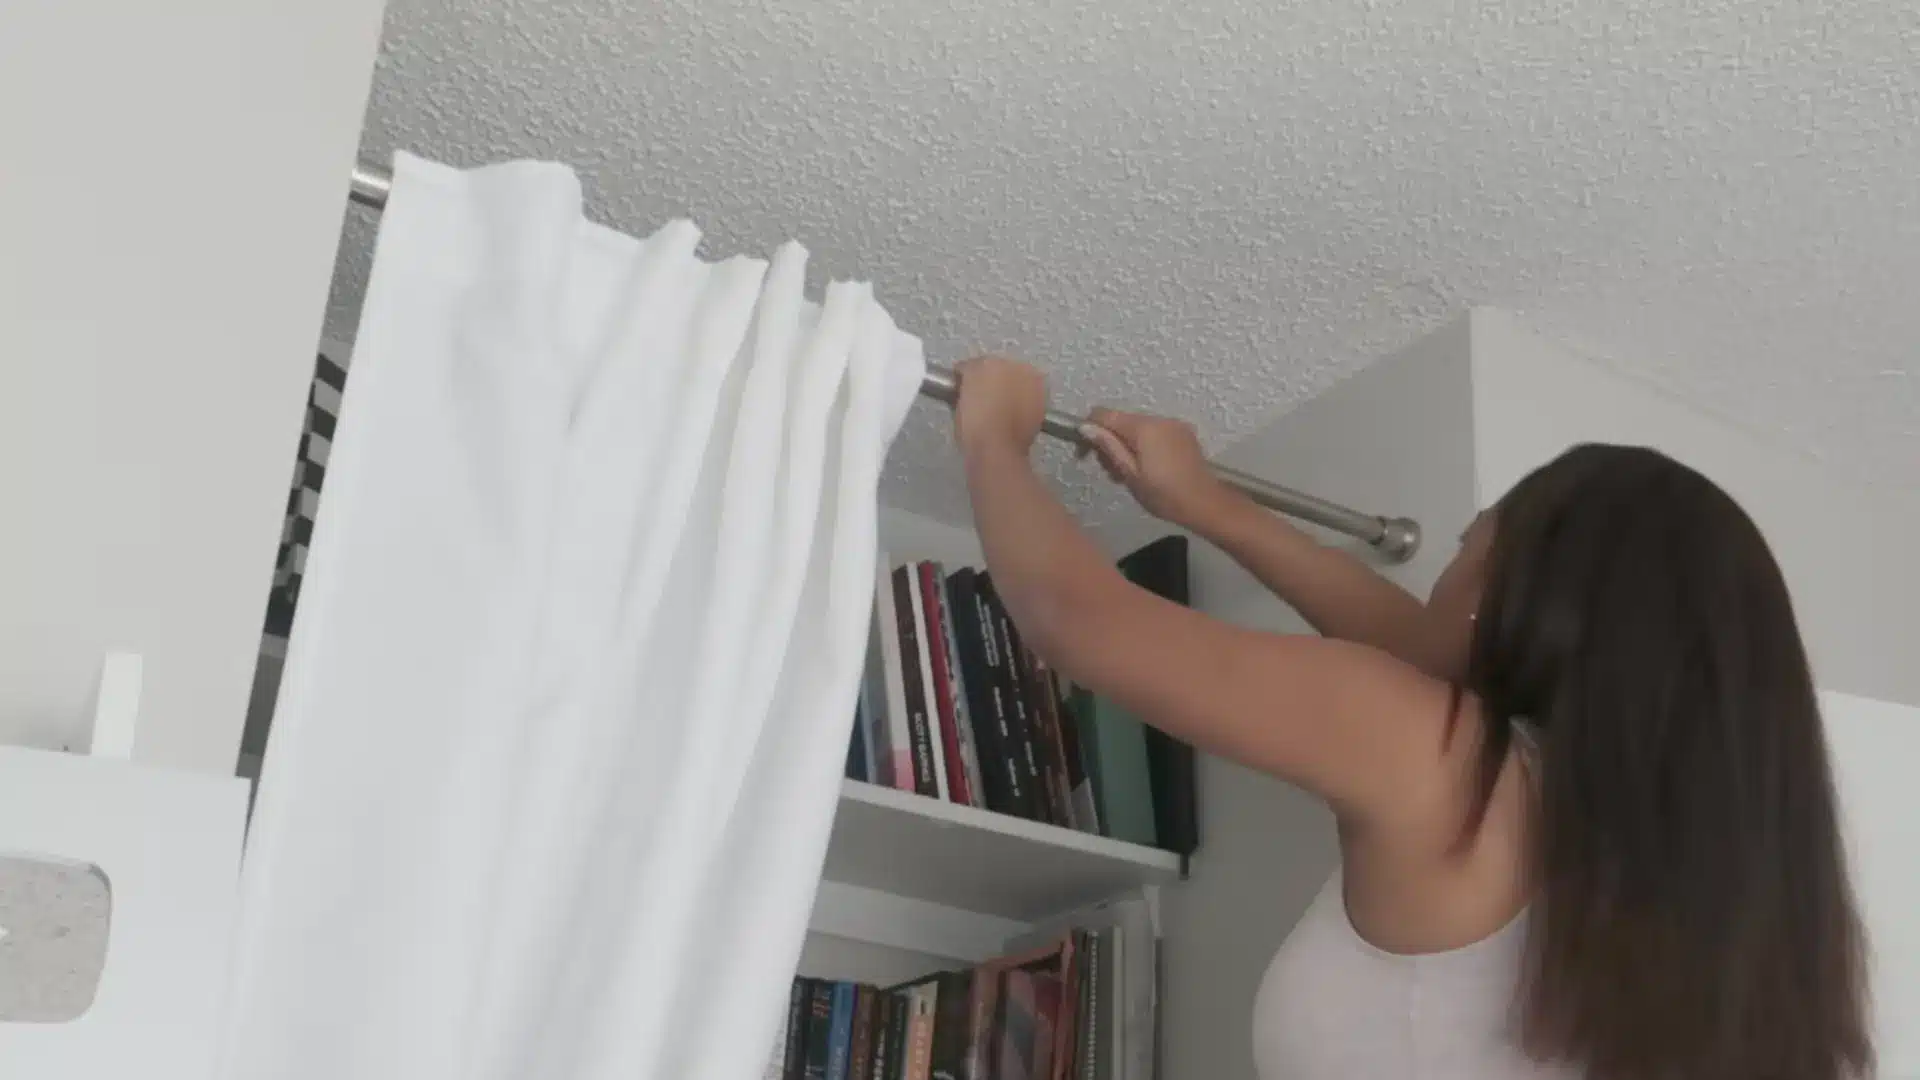
Tension rods work best for tucked-in window areas, since the spring mechanism presses against both sides of the frame to hold itself securely in place without any extra hardware.
They can typically support a bit more weight than adhesive hooks, making them a solid choice for slightly heavier curtain fabrics that other no-drill methods might struggle to hold.
The tradeoff is that they only work well in recessed or inset windows, not standard wall-mounted setups, so measure your window depth before relying on this option for your space.
4. Window Attachment Clips
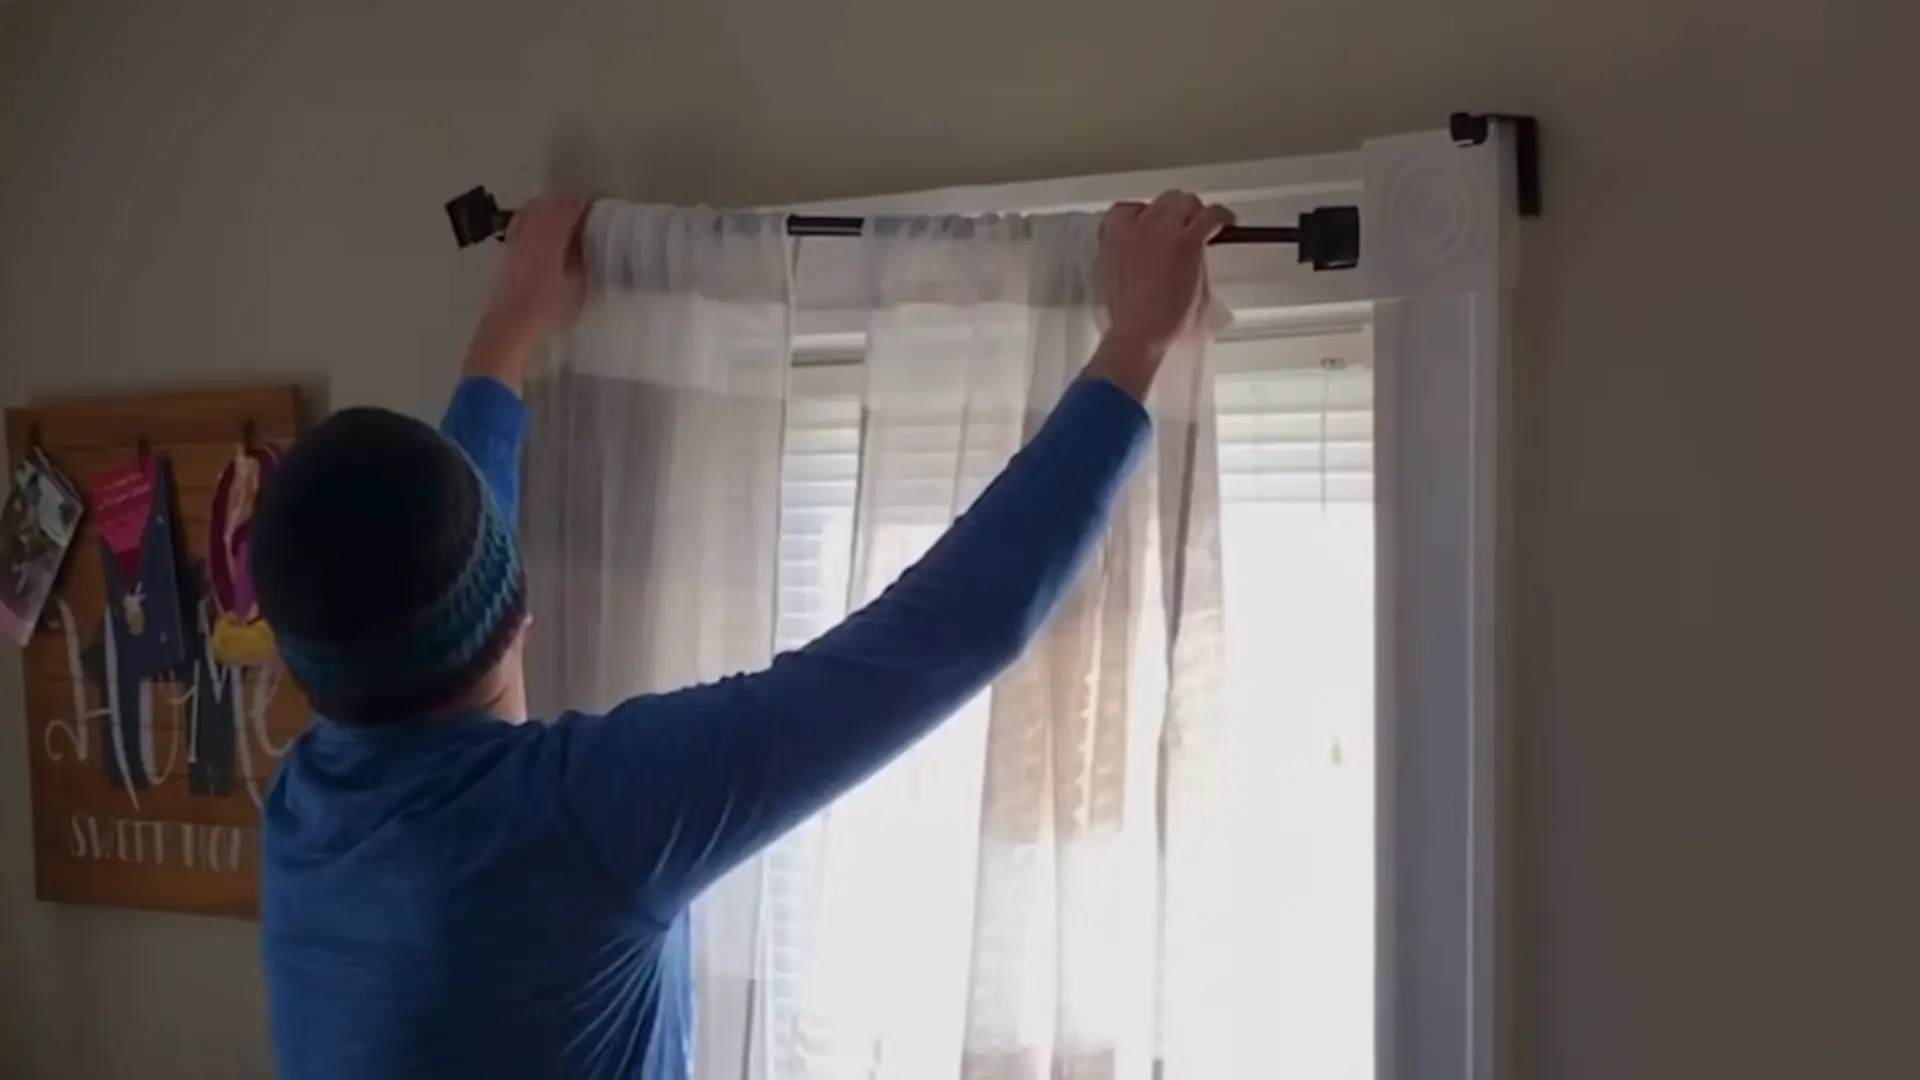
These clips attach directly to the window frame and hold the rod in place without any tools, drilling, or wall damage.
They work well for lighter curtains and offer a quick, simple setup for anyone who wants curtains up fast.
The main limitation is that they restrict how high above the window the rod can sit, since the curtain effectively starts right at the window line rather than higher up the wall for a taller look.
For a step-by-step visual installation process for these methods, watch the video tutorial below.
Curtain Hardware Types and Best Uses
Different hardware suits different windows and walls. Use this table to find the right match for your space.
| Hardware | Best For | Drilling Required |
|---|---|---|
| Standard Rod + Brackets | Most windows | Yes |
| Tension Rod | Renters, closets | No |
| Adhesive Brackets | Light curtains | No |
| Track Systems | Heavy drapes | Yes |
| Magnetic Rods | Metal door frames | No |
Choosing the right hardware upfront makes installation easier and helps the curtains hang securely for the long run.
Common Curtain Hanging Mistakes to Avoid
Even small placement or sizing errors can throw off the entire look of a window. Here are a few common mistakes worth avoiding.
- Hanging Too Low: Mounting the rod right at the window frame shortens the wall visually and makes the room feel smaller overall.
- Using a Rod That’s Too Short: A narrow rod bunches curtains against the window, blocking light and looking cramped instead of full.
- Mismatched Curtain Length: Panels that stop short of the floor or pool unevenly disrupt the clean, tailored look most rooms need.
- Ignoring Rod Weight Capacity: Heavy drapes on a lightweight rod can sag, bend, or pull brackets loose over time.
Avoiding these missteps keeps curtains looking balanced, secure, and intentional rather than like an afterthought.
Frequently Asked Questions (FAQs)
How High Should You Hang Curtains Above a Window?
Most rooms look best with curtains mounted four to six inches above the window frame, or closer to the ceiling for a taller, more elevated appearance.
What is the Ideal Curtain Length for Most Rooms?
Floor-length curtains that just kiss the ground work well for most spaces, while a slight puddle suits more formal or luxurious rooms.
Can You Hang Curtain Rods Without Drilling?
Yes, tension rods, adhesive brackets, and magnetic rods all offer secure, no-drill options suited to renters or lighter curtain styles.
How Wide Should a Curtain Rod Be Compared to the Window?
Extend the rod about ten to twelve inches beyond the window frame on each side to let panels stack neatly and maximize light.
How Do You Hang Curtains on Tile or Brick Walls?
Use masonry drill bits and wall anchors rated for hard surfaces, or choose adhesive or no-drill hardware to avoid drilling altogether.
Final Thoughts
Hanging curtains properly comes down to getting the height, length, and rod width right, then choosing hardware that fits your space and your wall type.
If you go with a standard drilled installation or a no-drill option like tension rods or command hooks, the goal is the same: curtains that look balanced, elevated, and intentional rather than like an afterthought.
Once you know how to install a curtain rod and hang curtains correctly, the whole room benefits from the upgrade.
Have you tried any of these methods at home? Let us know in the comments which option worked best for your windows.