A tired lawn can quickly make an outdoor space feel neglected, especially when bare patches, mud, and constant maintenance start taking over.
That is where learning how to install artificial grass can feel like a valuable skill.
The idea of creating a cleaner, greener yard without regular mowing or watering is appealing, but the first step can still feel intimidating.
Rolls of turf, base material, cutting, and fitting all need care, and rushing the process can lead to bumps, gaps, or poor drainage.
This blog walks you through every stage, from prepping the ground to the final brush-up.
Why More People are Choosing Artificial Grass?
Artificial grass isn’t just a passing trend; it’s a practical fix for problems that real lawns just can’t avoid, no matter how much care you put in.
Real grass needs constant attention: mowing on a schedule, watering through dry spells, and dealing with brown patches or muddy corners after heavy rain.
Synthetic turf skips all of that. People lean toward artificial grass for the following reasons:
- Low maintenance, no mowing or fertilizing required
- Stays green all year, even through winter and drought
- Saves water since there’s no watering needed
- Safe and soft for pets and kids to play on
- Fits almost anywhere, from backyards and front lawns to patios and balconies
Plan Your Installation Before Digging
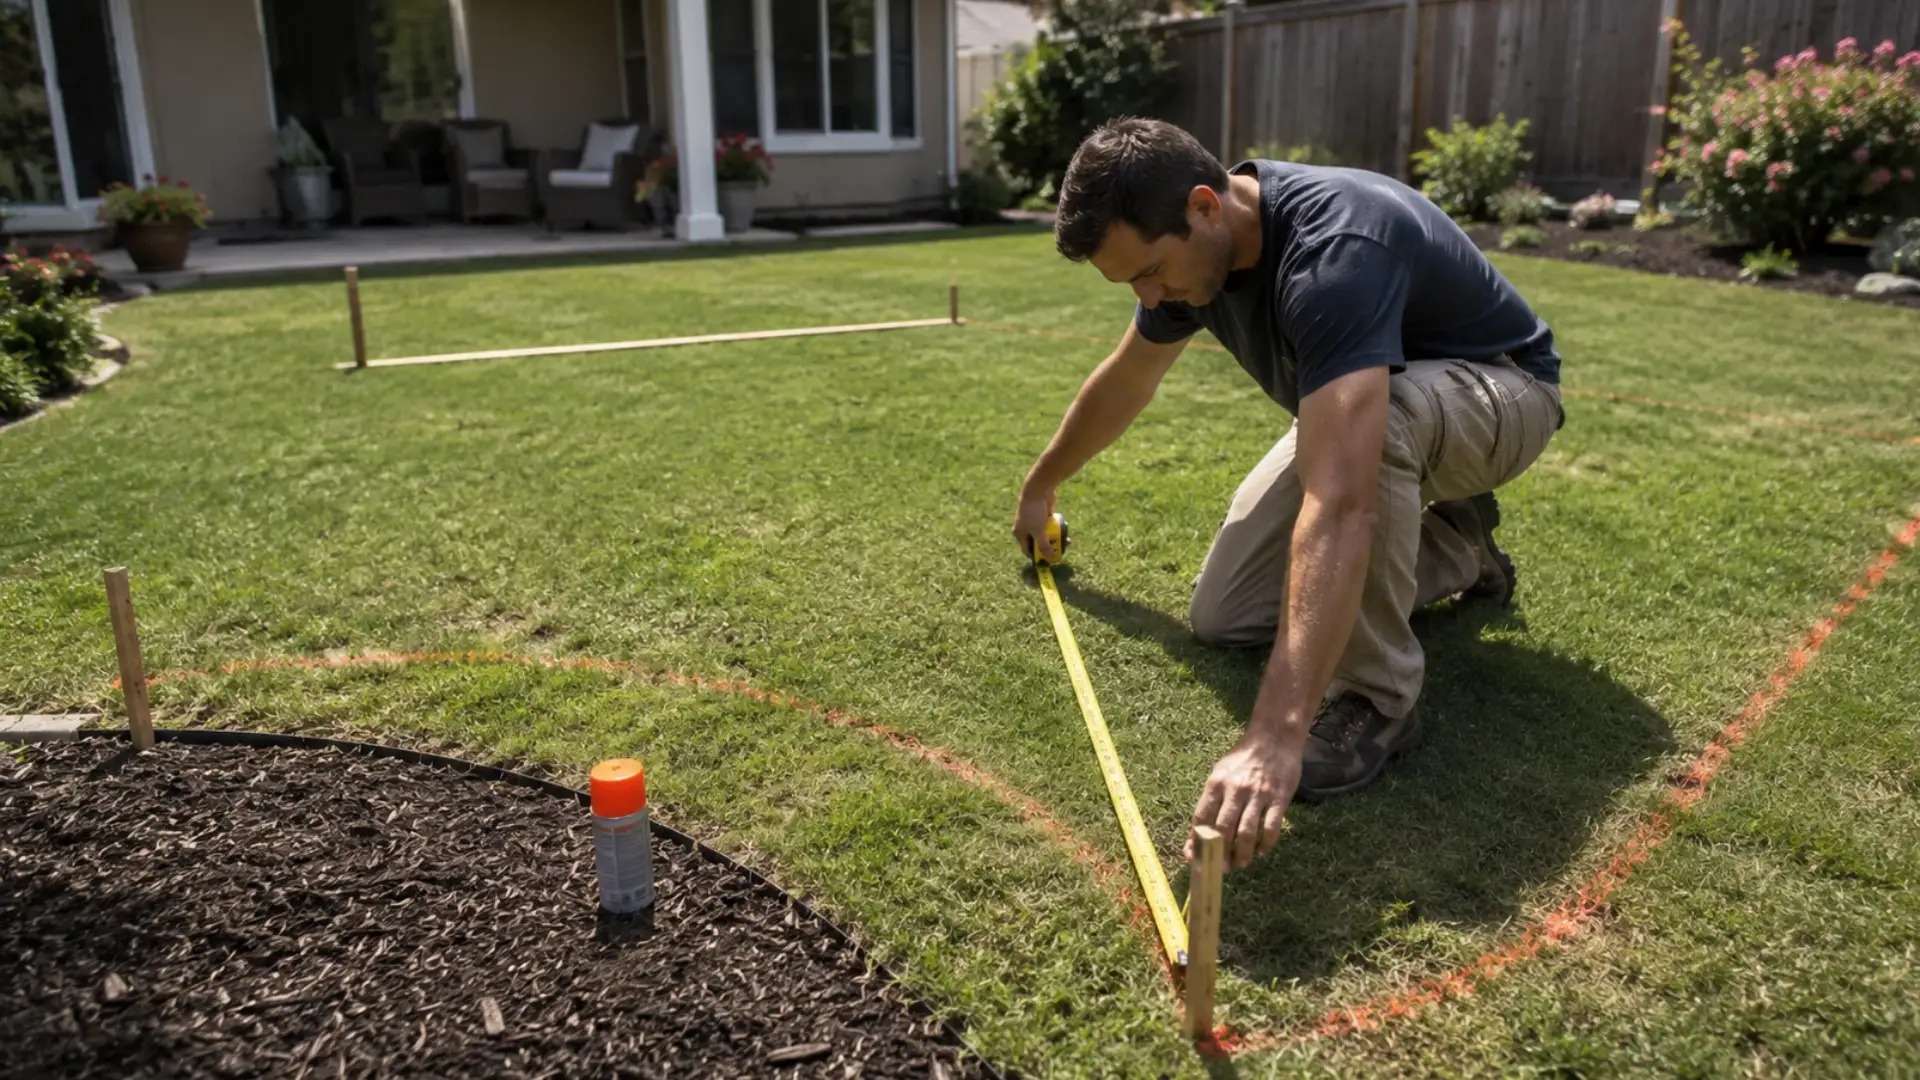
Before digging, take time to plan the artificial grass installation properly so you avoid wasted material, poor drainage, or uneven results later.
Start by measuring the full area carefully, including curves, corners, flower beds, patios, and walkways, then sketch the layout and record each measurement.
Check how water moves across the ground and note any low spots where puddles form, since the base may need grading or extra drainage material.
Next, decide which direction the grass fibers should face so the lawn looks natural from the main viewing area, such as a patio or window.
Finally, calculate the total square footage and add around ten percent extra for trimming, seams, and fitting.
Tools & Materials Required to Install Artificial Grass
Before getting into the actual installation, make sure you have everything lined up.
Having your tools and materials ready ahead of time saves you from stopping halfway through the project to run to the store.
- Artificial grass
- Weed membrane
- Crushed stone or decomposed granite
- Sharp sand (if needed)
- Joining tape
- Adhesive
- Landscape nails or fixing pins
- Silica sand infill (if needed)
How to Install Artificial Grass?
Installing artificial grass is much easier when each stage is handled in the right order.
From preparing the ground and building a stable base to laying, cutting, joining, and securing the turf, careful installation helps create a smooth, natural-looking finish that lasts.
Step 1: Clear the Existing Surface
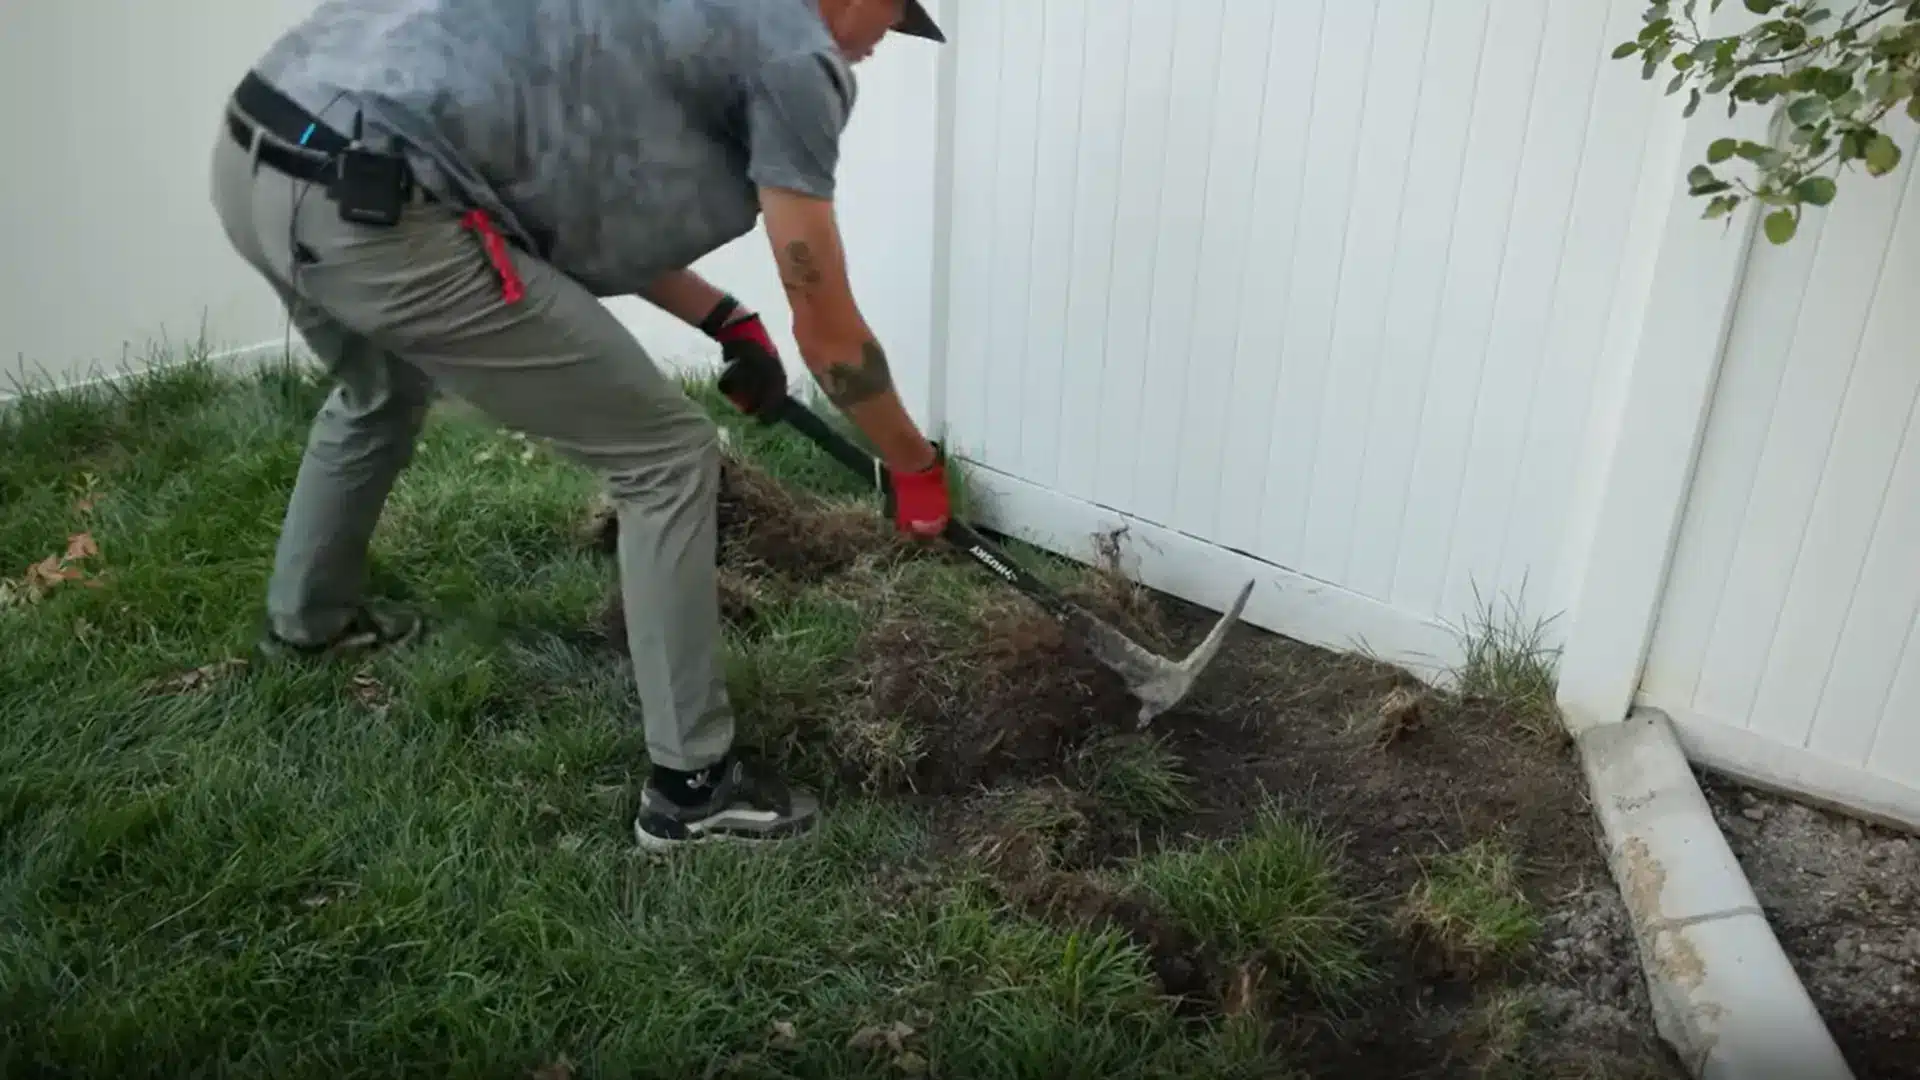
Start by removing any natural grass down to the soil, using a shovel or a sod cutter for larger areas. Pull out weeds by the root so they do not grow back through your new turf later.
Clear away rocks, roots, and other debris that could poke through the surface. Excavate the area to a depth of about three to four inches, or deeper if your soil drains poorly.
Once cleared, sweep the area clean so you are working with a smooth, debris-free surface.
Step 2: Create a Solid Base
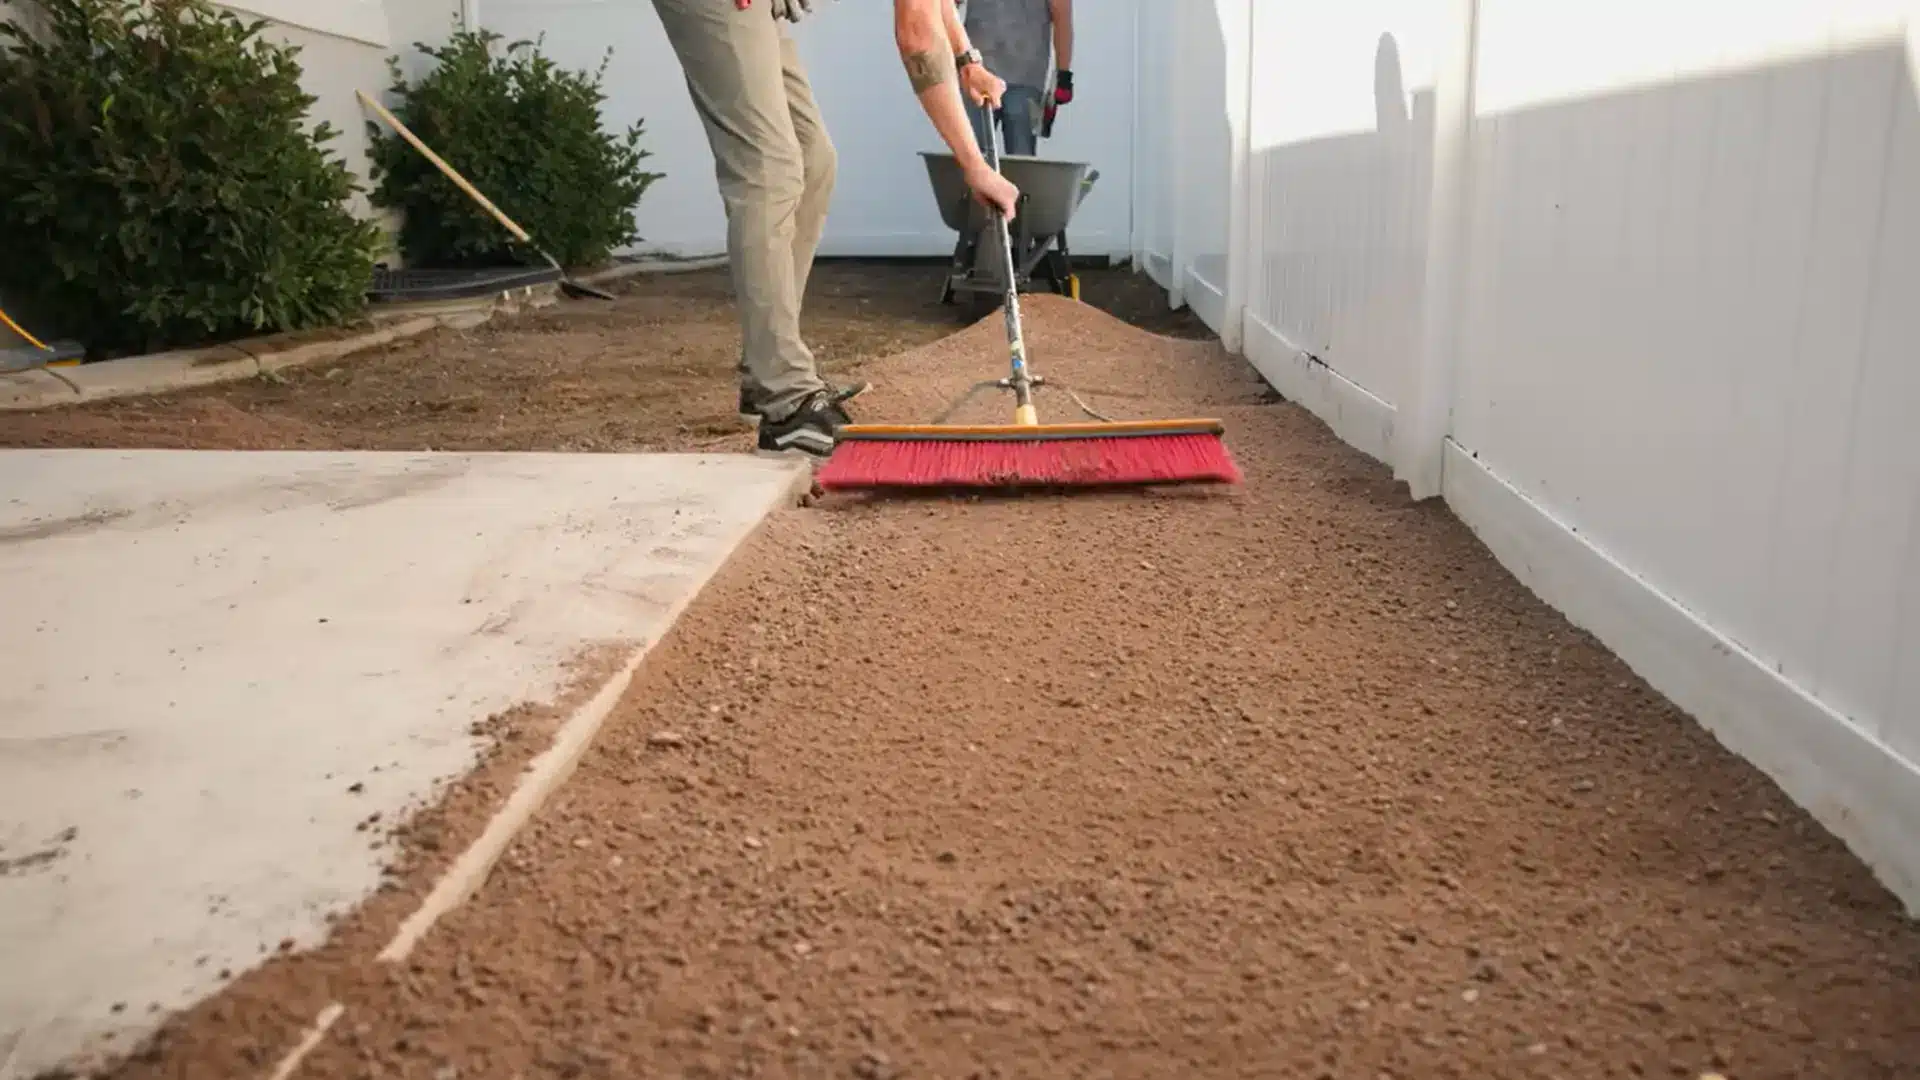
Add a layer of crushed stone or decomposed granite as your sub-base, spreading it evenly across the excavated area with a rake.
Work in thin layers, compacting each one with a plate compactor or hand tamper before adding the next.
Check the surface with a level as you go, keeping a slight slope away from your house for water runoff.
Step 3: Lay Out the Artificial Grass
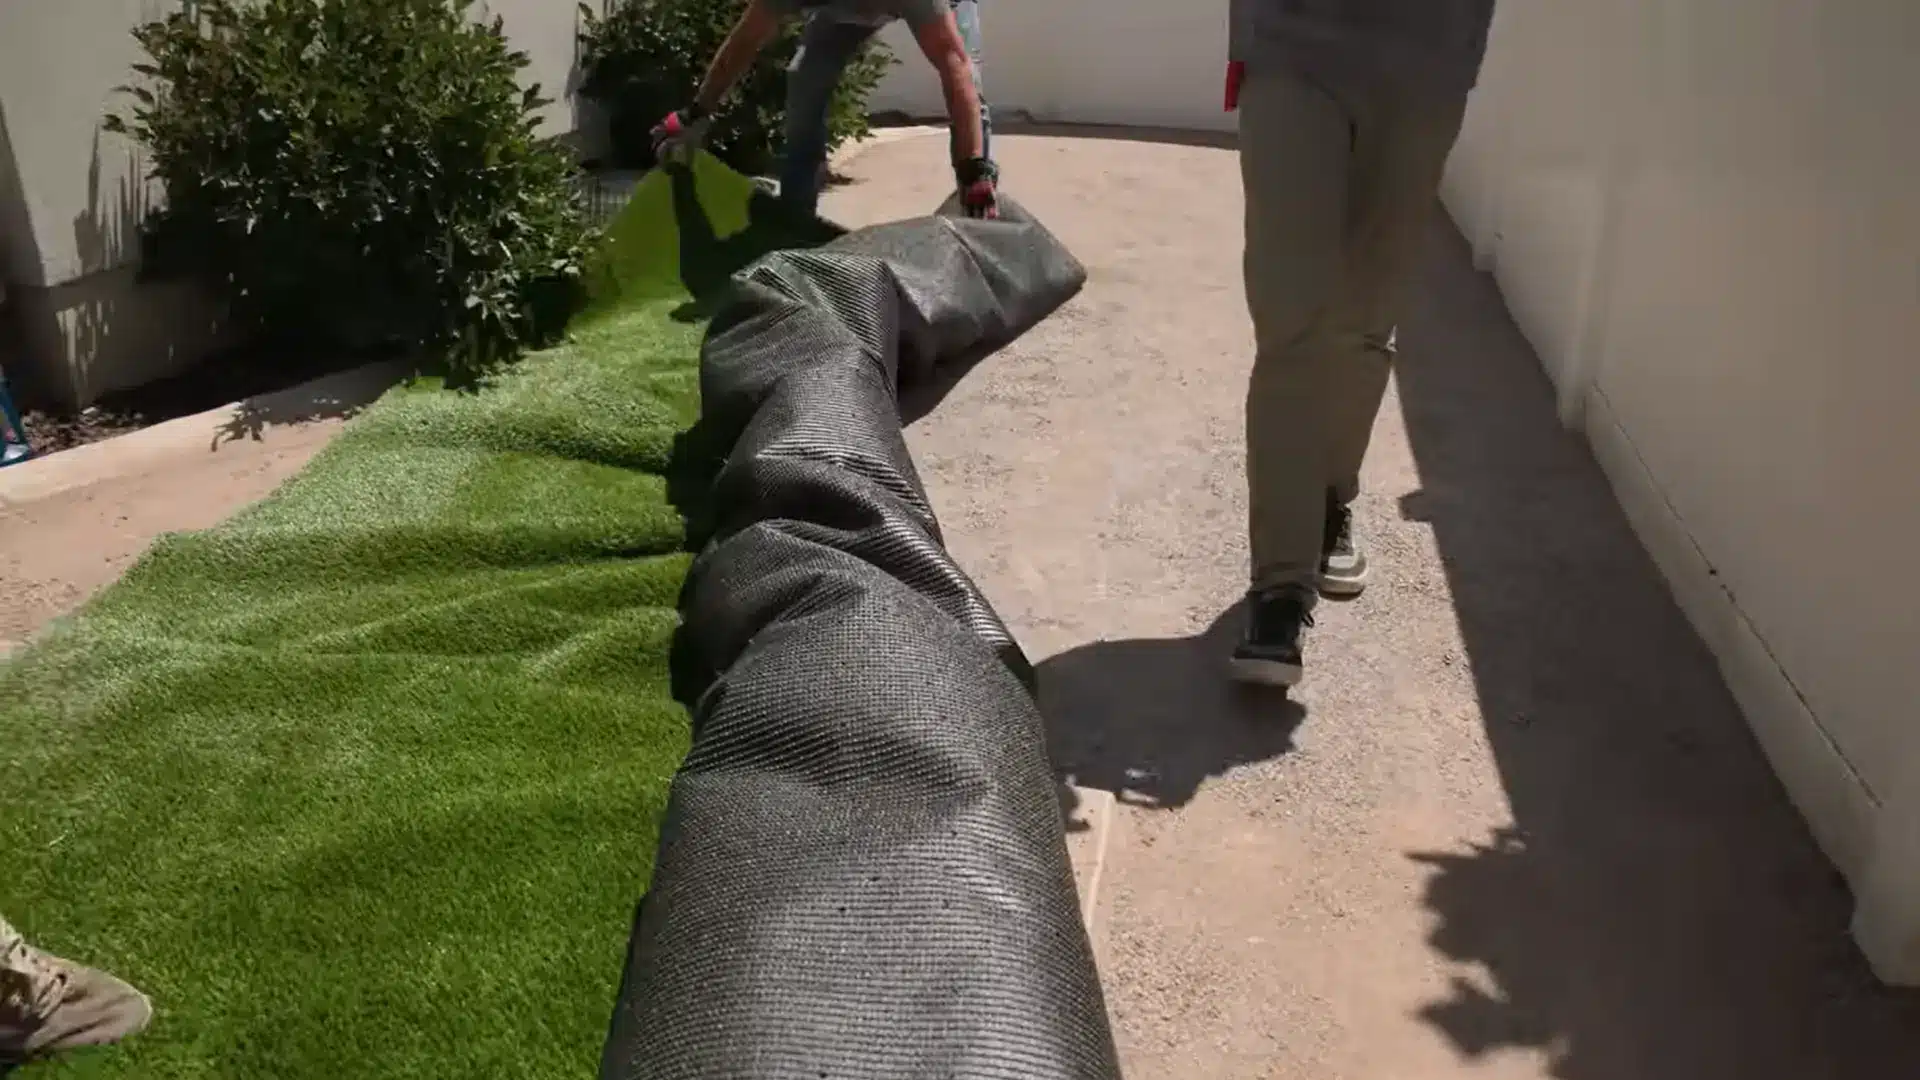
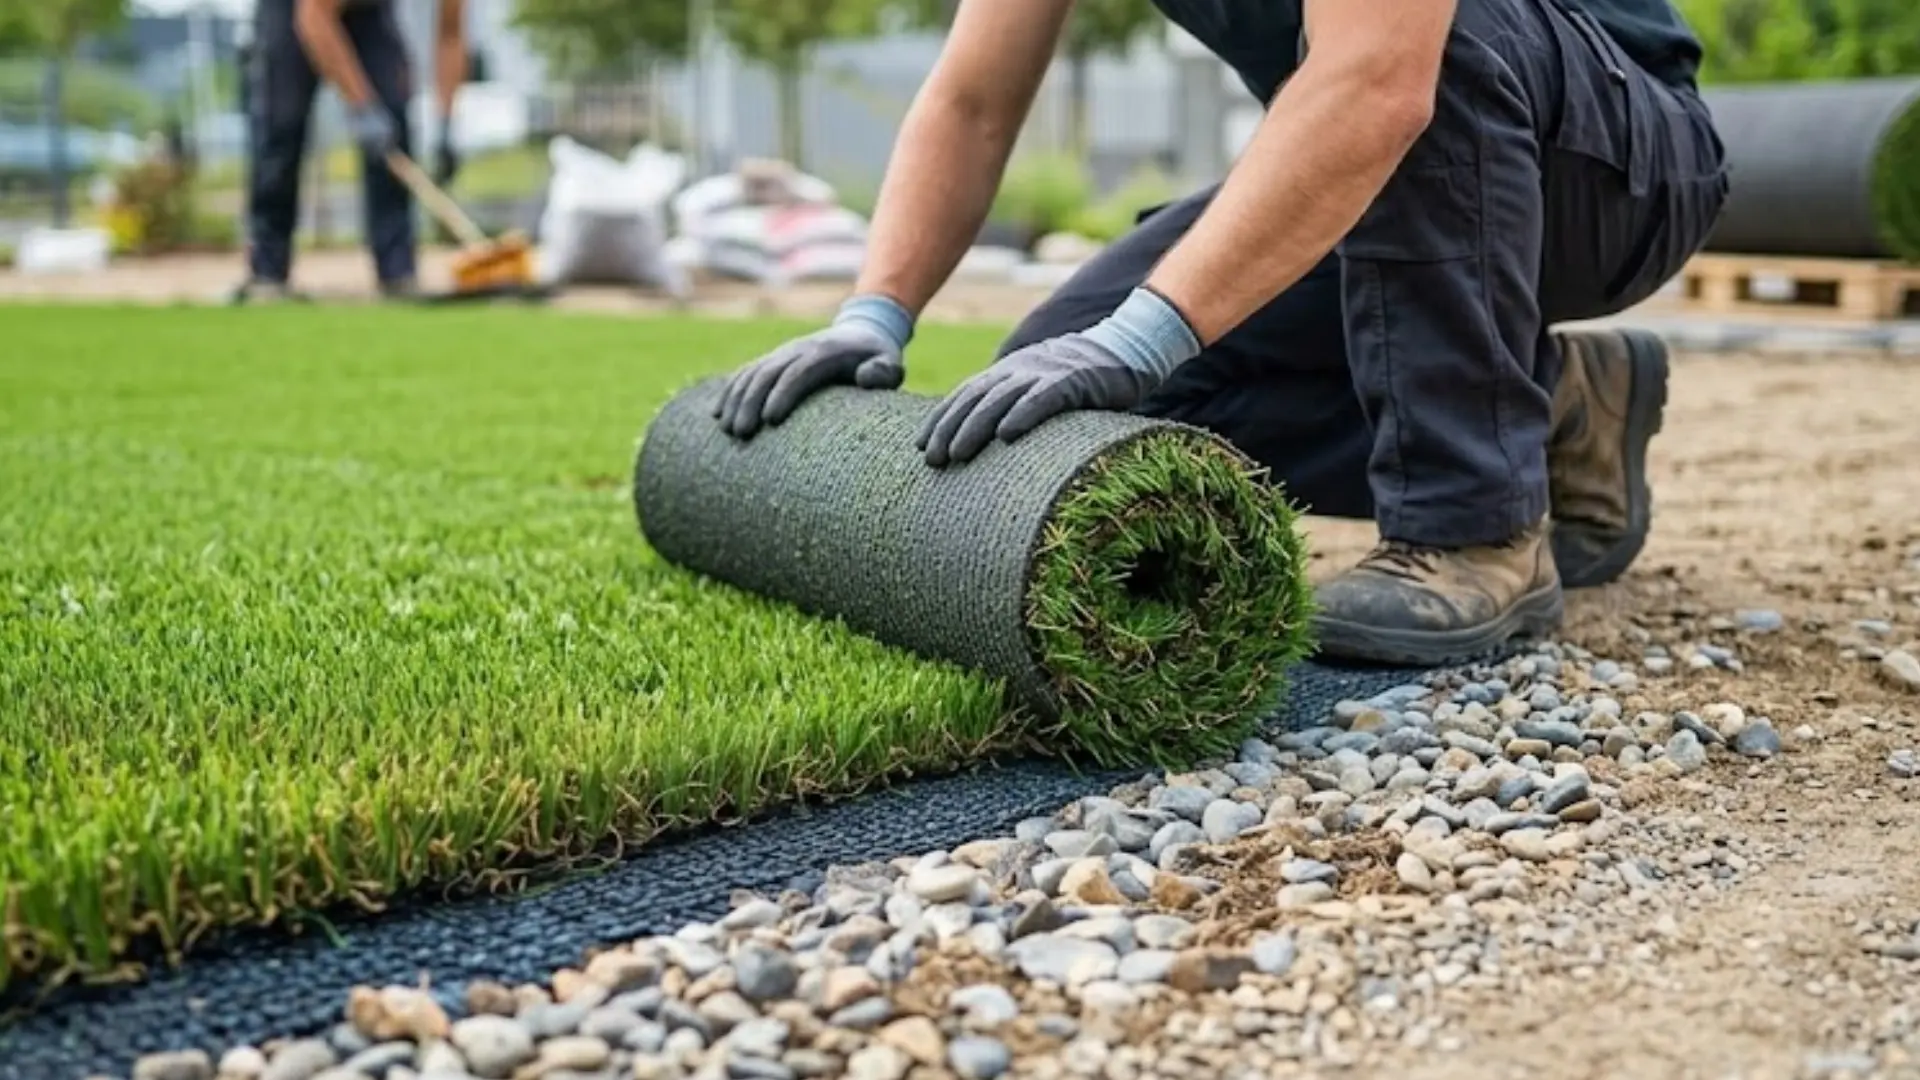
Roll out your artificial grass across the prepared base and let it sit in the sun for a couple of hours. This helps the fibers relax and lie flatter before you start working with it.
If you are using multiple pieces, keep the grain facing the same direction throughout for a consistent look.
Smooth out any wrinkles or folds by hand, working from the center outward, rather than pulling hard on one section, which can stretch the backing unevenly.
Step 4: Trim the Grass to Fit
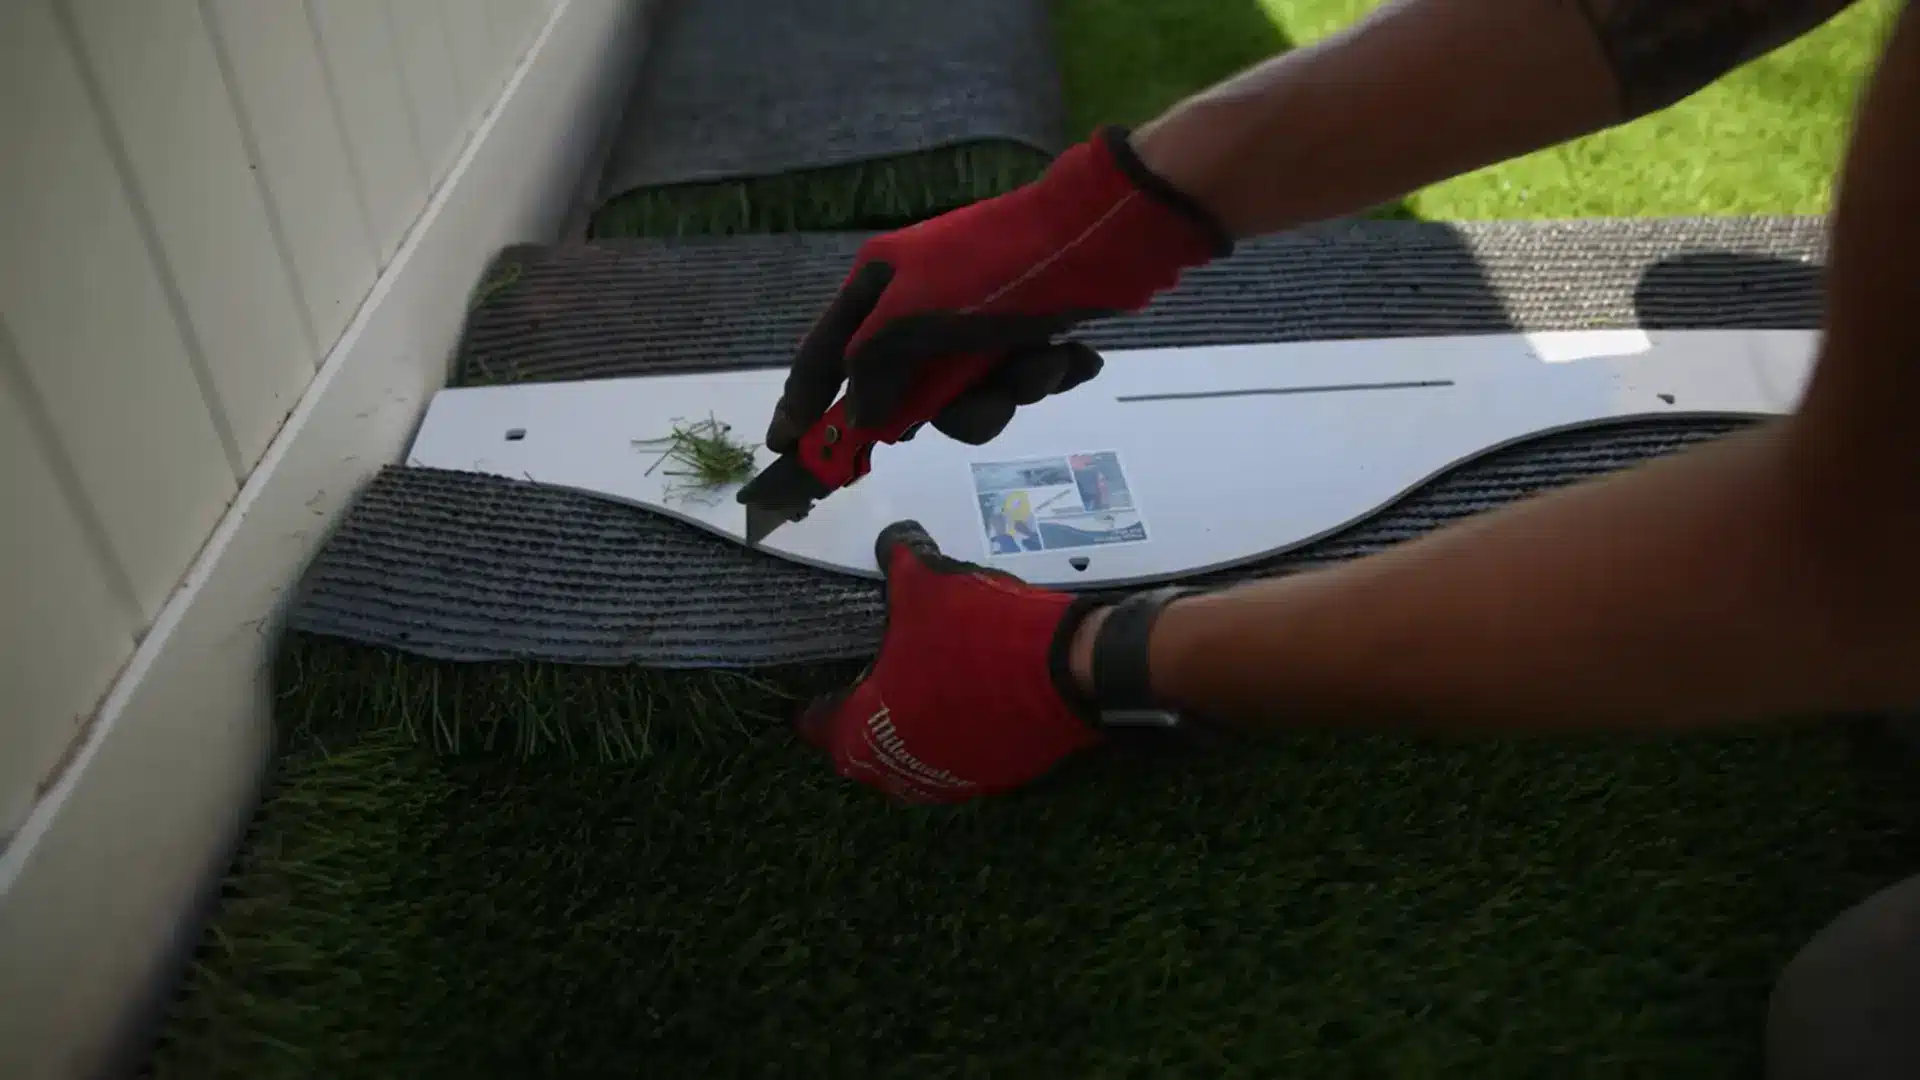
Measure carefully before making any cuts, marking your lines on the backing rather than the fibers themselves.
Always cut from the back side using a sharp utility knife, so you get clean edges without damaging the blades on top. Work slowly along borders, patios, and walkways for a tight fit.
For trees, posts, or curved edges, cut small slits or notches gradually, checking the fit often rather than cutting a large section all at once.
Step 5: Join Multiple Pieces Together
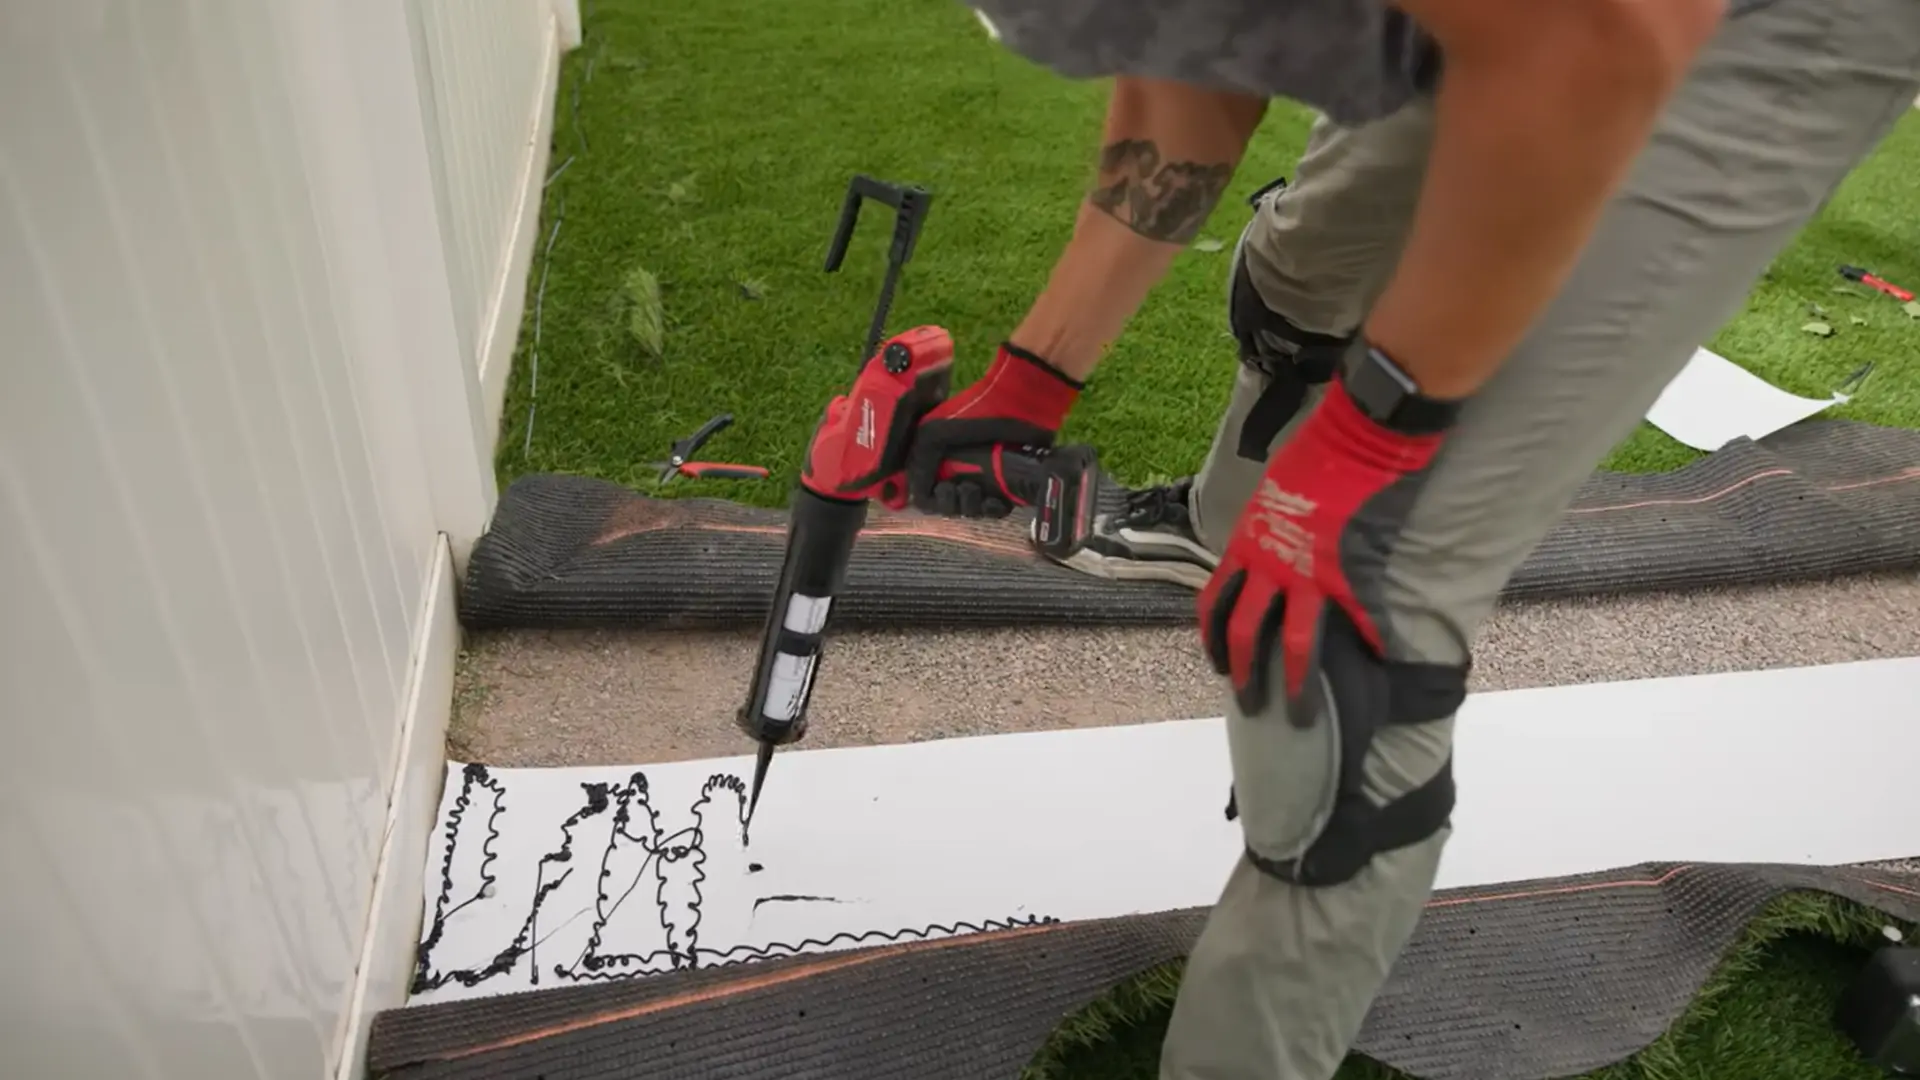
If your yard needs more than one roll of grass, line up the pieces so the grain runs the same direction on both sides of the seam.
Slide joining tape underneath, adhesive side up, then apply seam adhesive evenly along the tape. Press both edges of grass firmly together, making sure the blades interlock, and the seam disappears visually.
Let the glue cure fully, usually a few hours, before walking on it or moving to the next step.
Step 6: Secure the Edges
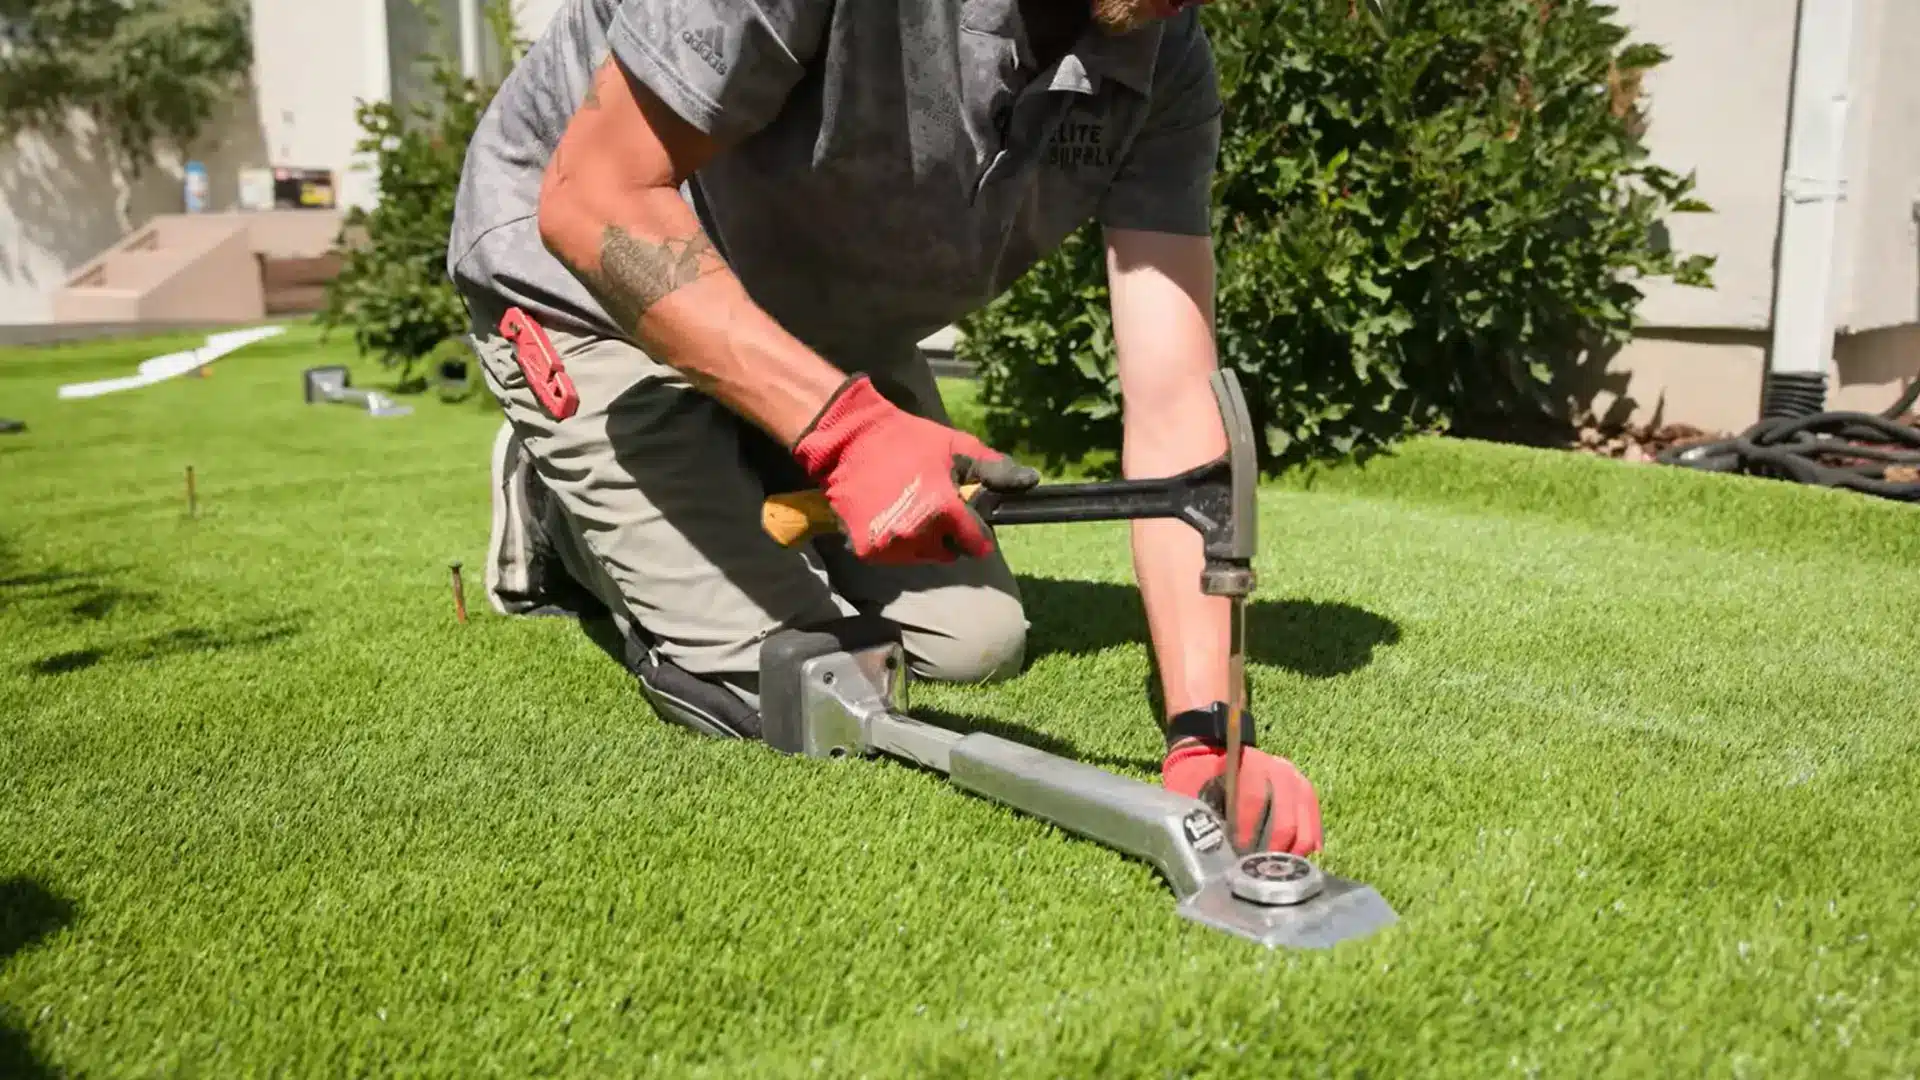
Once everything is trimmed and positioned, secure the outer edges using landscape nails or fixing pins, spacing them roughly every six inches.
For a cleaner finish, some installers use an edging system like timber or metal strips along borders. Keep the edges pulled flat and snug against the base.
This step keeps your lawn looking neat and prevents shifting from foot traffic.
Step 7: Add Infill (If Your Grass Requires It)
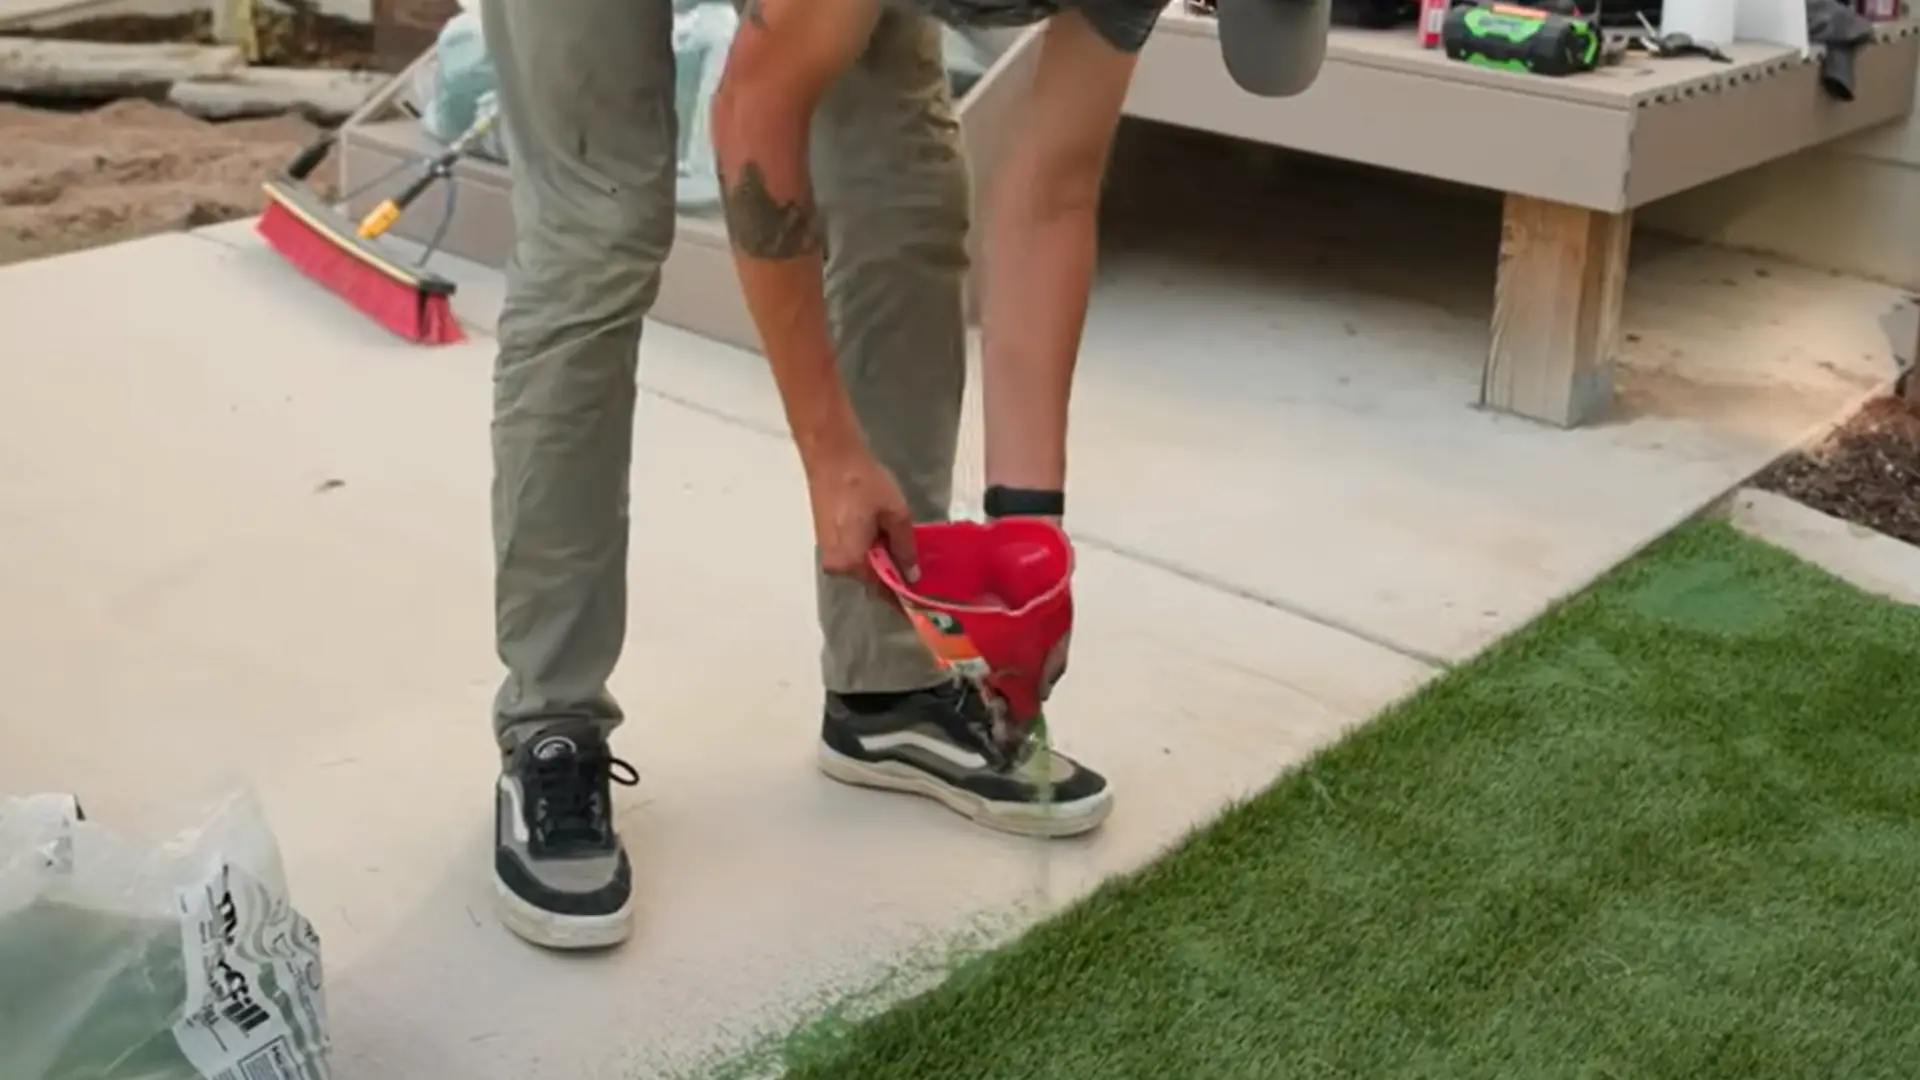
Infill helps the blades stand upright, adds weight to hold the turf in place, and improves drainage.
Silica sand is the most common type, though some products call for rubber or a mix. Spread it evenly using a drop spreader, working in light layers rather than dumping it all at once.
Brush it into the fibers as you go so it settles at the base of the blades instead of sitting on top.
Step 8: Brush the Grass and Enjoy the Finished Look
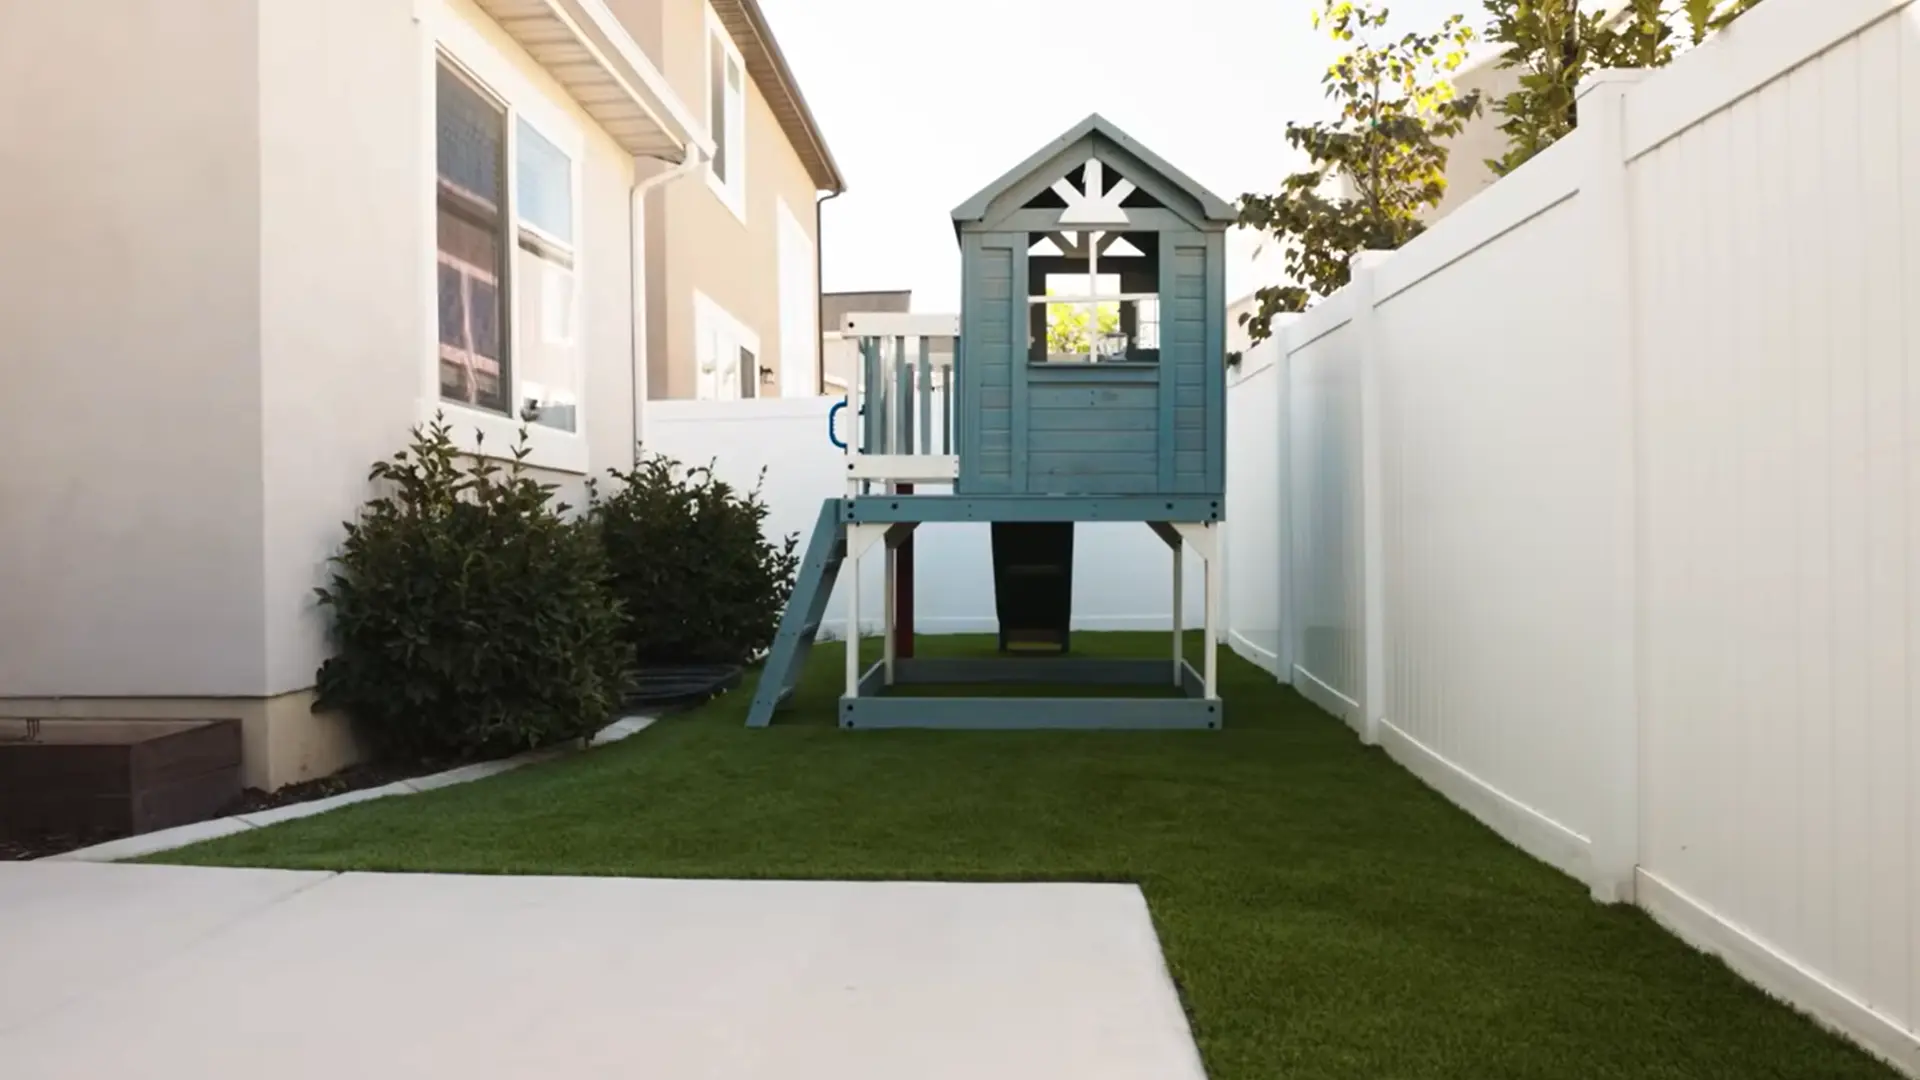
Finish by brushing the entire lawn with a stiff broom or power broom, working against the grain to lift the fibers upright.
Check all seams to make sure they lie flat and blend in smoothly. Clean up any leftover debris, sand, or trimmings from the surface.
Take a final look across the whole area for wrinkles, gaps, or loose edges. Once everything looks even, your new lawn is ready to enjoy.
This tutorial is based on a helpful video by Elite Turf Supply.
Artificial Grass Installation on Different Surfaces
Not every yard is a plain patch of dirt, and the surface you’re working with changes a few things about how you prep and install.
Here is a quick breakdown of what to expect on the most common surfaces.
| Surface | Key Considerations | Installation Notes |
|---|---|---|
| Soil | Most flexible surface, needs full base prep | Excavate, add crushed stone base, compact in layers, then lay turf as described above |
| Concrete | Does not drain on its own, can feel hard underfoot | Add a foam or rubber underlay for cushioning and drainage, then secure grass with adhesive around edges and seams |
| Decking | Needs airflow and drainage through gaps | Use an underlay pad for comfort, then staple or glue the turf directly to the deck boards, trimming carefully around the edges |
| Pavers | Surface should be clean and stable | Clean and level the pavers first, add a thin underlay if needed, then secure the grass with adhesive along borders |
| Balconies and Rooftops | Weight limits and drainage matter most | Check load capacity, add a waterproofing layer, use a lightweight drainage base, and secure edges without heavy fixing pins |
Whatever surface you are working with, the basics stay the same: a stable base, good drainage, and edges that are pulled flat and secured properly.
Once you have matched the prep to your surface type, the rest of the installation process follows the same steps you already know.
How to Maintain Artificial Grass After Installation?
One of the best parts about artificial grass is how little upkeep it actually needs, but a bit of routine care keeps it looking fresh and lasting for years.
- Weekly Rinsing: Lightly rinse artificial grass with a hose to remove dust, pollen, and surface debris before buildup occurs.
- Monthly Brushing: Use a stiff broom to lift flattened fibers and help the grass maintain an upright, natural appearance.
- Seam Checks: Inspect seams and edges regularly for lifting, shifting, or separation so small issues can be fixed early.
- Infill Top Ups: Add more infill to thin or worn areas to support fibers and maintain a consistent lawn surface.
- Leaf Removal: Clear fallen leaves and debris frequently to prevent moisture buildup, matting, and an untidy appearance.
- Pet and Spill Cleaning: Rinse pet waste promptly and blot spills quickly to reduce odors, stains, and surface residue.
- Winter Care: Brush away light snow gently and avoid sharp tools that could damage or tear the artificial grass.
With just a little regular care, your artificial lawn will stay looking green, full, and fresh for years to come, without any of the mowing or watering real grass demands.
DIY vs Professional Artificial Grass Installation
Deciding between DIY installation ideas or calling in a professional comes down to your budget, timeline, and comfort level with hands-on projects.
Here is a side-by-side look to help you decide:
| Factor | DIY Installation | Professional Installation |
|---|---|---|
| Cost per sq ft | $3–$6 | $8–$20 |
| Total cost (500 sq ft yard) | $1,500–$3,000 | $4,000–$10,000 |
| Time to complete | 2–3 days | 1 day |
| Tool rental cost | $50–$150/day | $0 |
| Lifespan | 15–20 years | 15–20 years |
| Labor cost | $0 | $2–$5 per sq ft |
Conclusion
At the end of the day, how to install artificial grass is less about laying down the turf and more about getting everything underneath it right.
For me, the real appeal is the finished space itself: a cleaner, greener area that feels easier to enjoy and simpler to live with.
A well-planned artificial lawn can change how a garden, patio edge, or play area feels without demanding constant attention afterward.
Are you planning to install artificial grass in your backyard? Share your thoughts about it in the comments below.
Frequently Asked Questions
Do I Need a Sub-Base Under Artificial Grass?
Yes, a sub-base is essential for stability and drainage. Skipping it leads to shifting, sinking, and an uneven surface over time.
Can I Lay Artificial Grass Directly on Soil?
Not directly, since bare soil does not provide stable drainage or support. You will need to excavate and add a proper base layer first.
How Long Does Artificial Grass Last?
Most quality artificial grass lasts between 15 and 20 years with proper care. Lifespan depends on installation quality, foot traffic, and sun exposure.
Does Artificial Grass Drain Water?
Yes, when installed correctly with a permeable base, water drains through easily. Poor base prep is usually the reason drainage issues occur later.