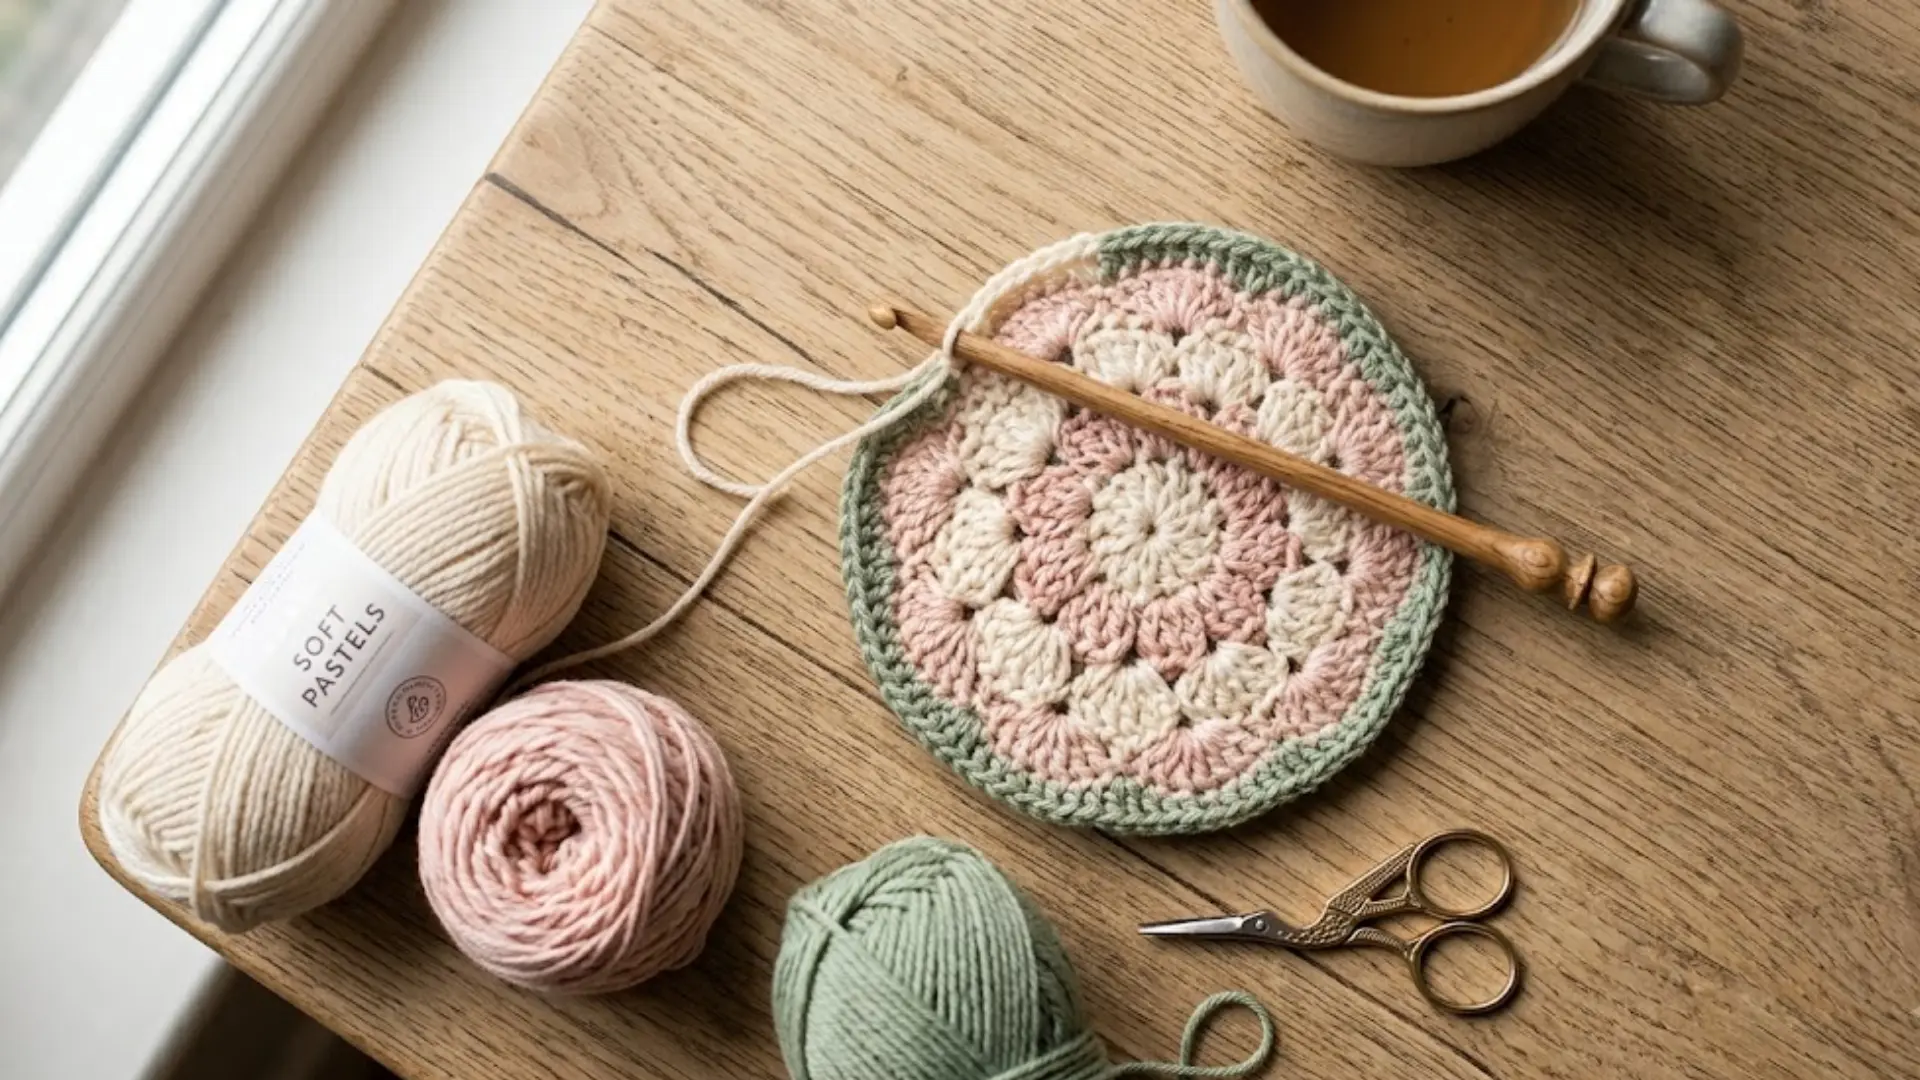
Turning a single strand of yarn into a shape and pattern of your choice with just your hands and a hook can give a sense of accomplishment.
Maybe you saw a cozy blanket online, or watched someone’s fingers move in a rhythm that looked almost like a small miracle, and felt that pull to try it yourself.
Learning how to start crochet often begins this way, with a spark of curiosity rather than a plan.
It feels unfamiliar at first, even a little clumsy, and that is completely normal. Crochet has a way of turning idle evenings into moments of quiet creation.
Learn the Basic Crochet Terms Before You Start
Before picking up the hook, learning a few basic crochet terms can make patterns easier to read and the first stitches much less confusing.
| Term | Meaning |
|---|---|
| Slip Knot | The first loop that starts every crochet project |
| Chain (ch) | A row of loops forming the foundation of your work |
| Slip Stitch (sl st) | A flat stitch used to join rounds without adding height |
| Single Crochet (sc) | A short, dense stitch and a beginner staple |
| Half Double Crochet (hdc) | A stitch slightly taller than single crochet |
| Double Crochet (dc) | A tall, fast-working stitch great for blankets |
| Turning Chain | A small chain that sets stitch height for a new row |
| Magic Ring | An adjustable loop for starting projects worked in the round |
| Fastening Off | Cutting and pulling yarn through to secure your last stitch |
| Weaving in Ends | Tucking loose tails in to keep your work neat |
Once these basic crochet terms feel familiar, reading beginner patterns becomes less confusing, making it easier to focus on learning the first stitches.
How to Hold Your Crochet Hook and Yarn Correctly?
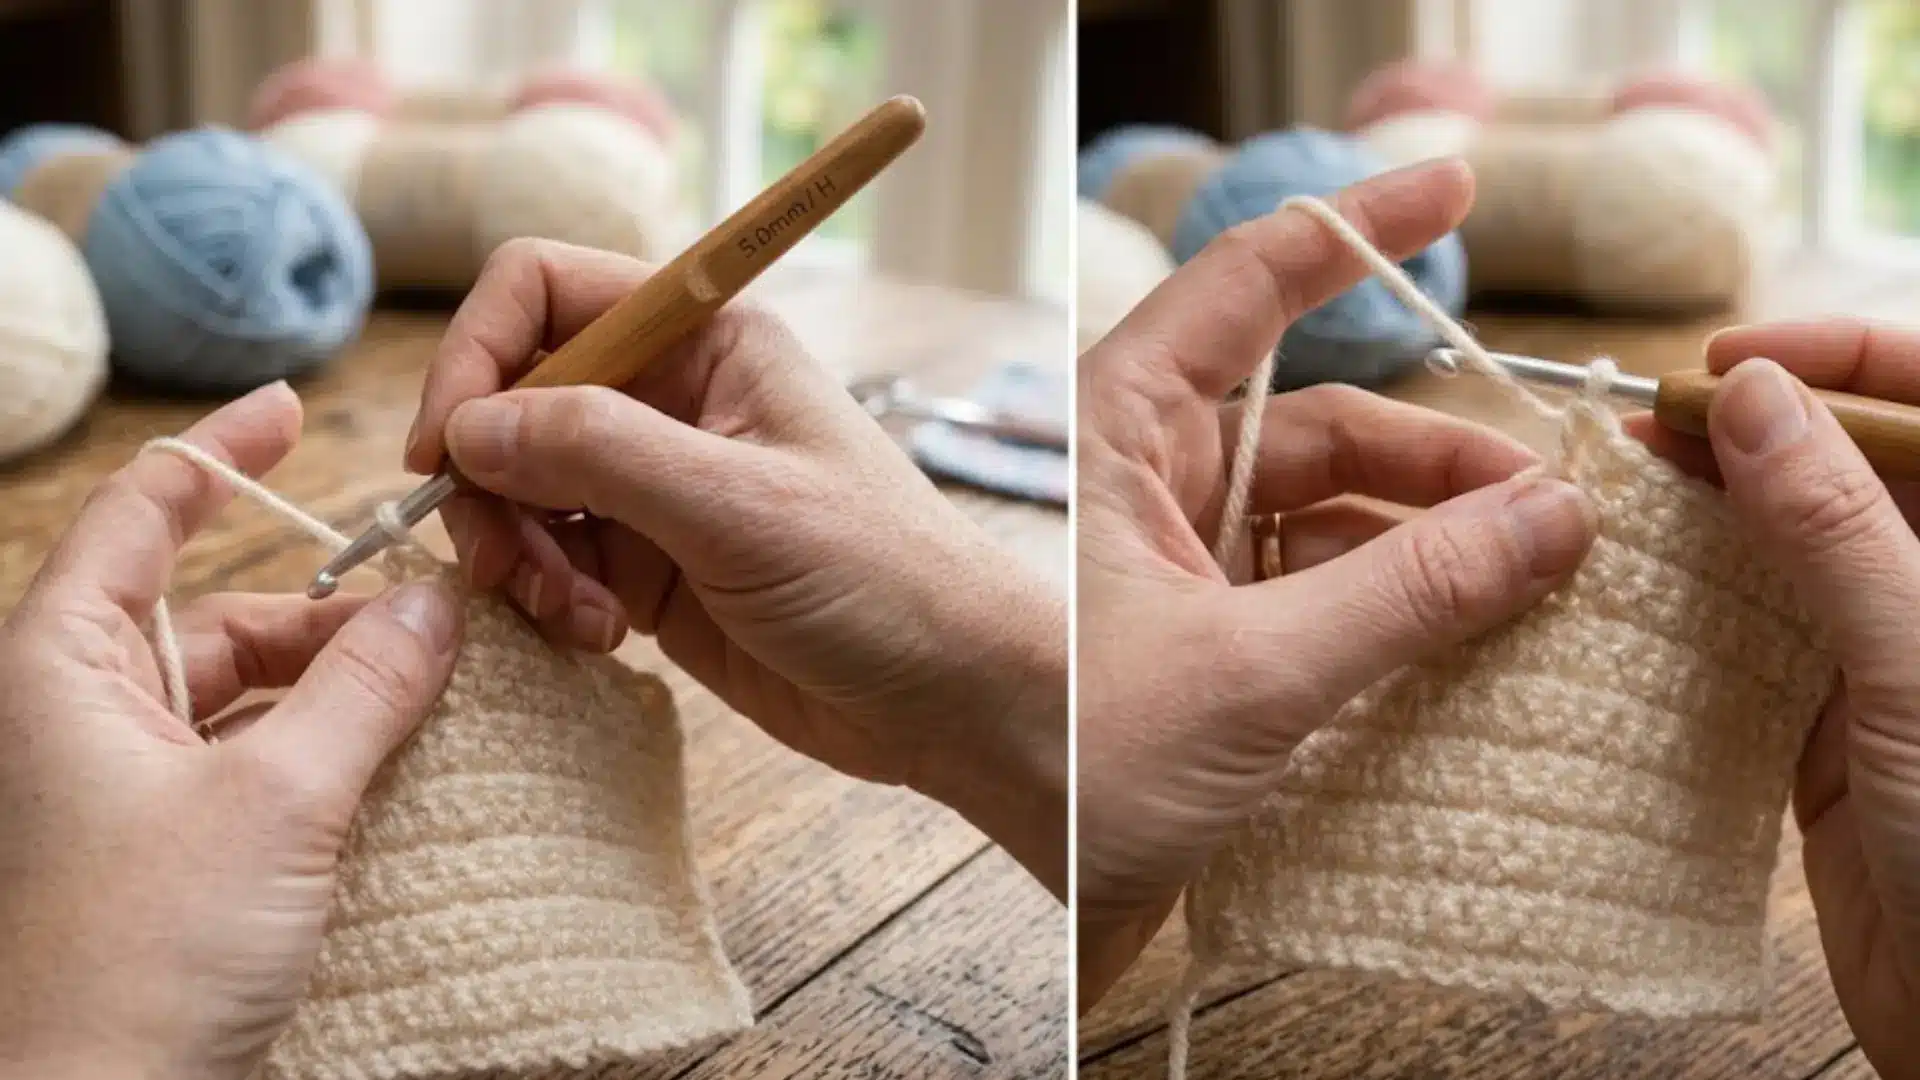
There’s no single correct way to hold your hook or yarn, it all comes down to comfort.
Try a pencil grip for precision or a knife grip for strength and speed, whichever feels natural. Here is a quick look at the two most common hook grips:
- Pencil Grip: Hold the hook like a pencil for precision and control.
- Knife Grip: Hold the hook like a knife for more strength and speed.
Your yarn hand controls tension, so weave it loosely through your fingers, over the pinky or index finger, keeping it steady without pulling too tight.
If your hands feel awkward at first, slow down, relax your shoulders, and take breaks; awkwardness fades fast with practice.
Crochet Supplies You Will Need Before You Begin
Here is a quick list of the basics before we dive into stitching; nothing fancy or expensive, just the essentials to get you started on the right foot.
- Crochet Hook
- Yarn
- Scissors
- Yarn Needle
- Stitch Markers
- Measuring Tape
- Storage Bag
Grab these, and you’re basically ready to go. No need to overthink it or buy a whole craft store’s worth of supplies; this short list covers everything a beginner needs to start their first project with confidence.
How to Start Crochet Step by Step
Starting crochet becomes much easier when the process is broken into small, manageable steps, from holding the hook and yarn to creating the first basic stitches.
1. Make Your First Slip Knot
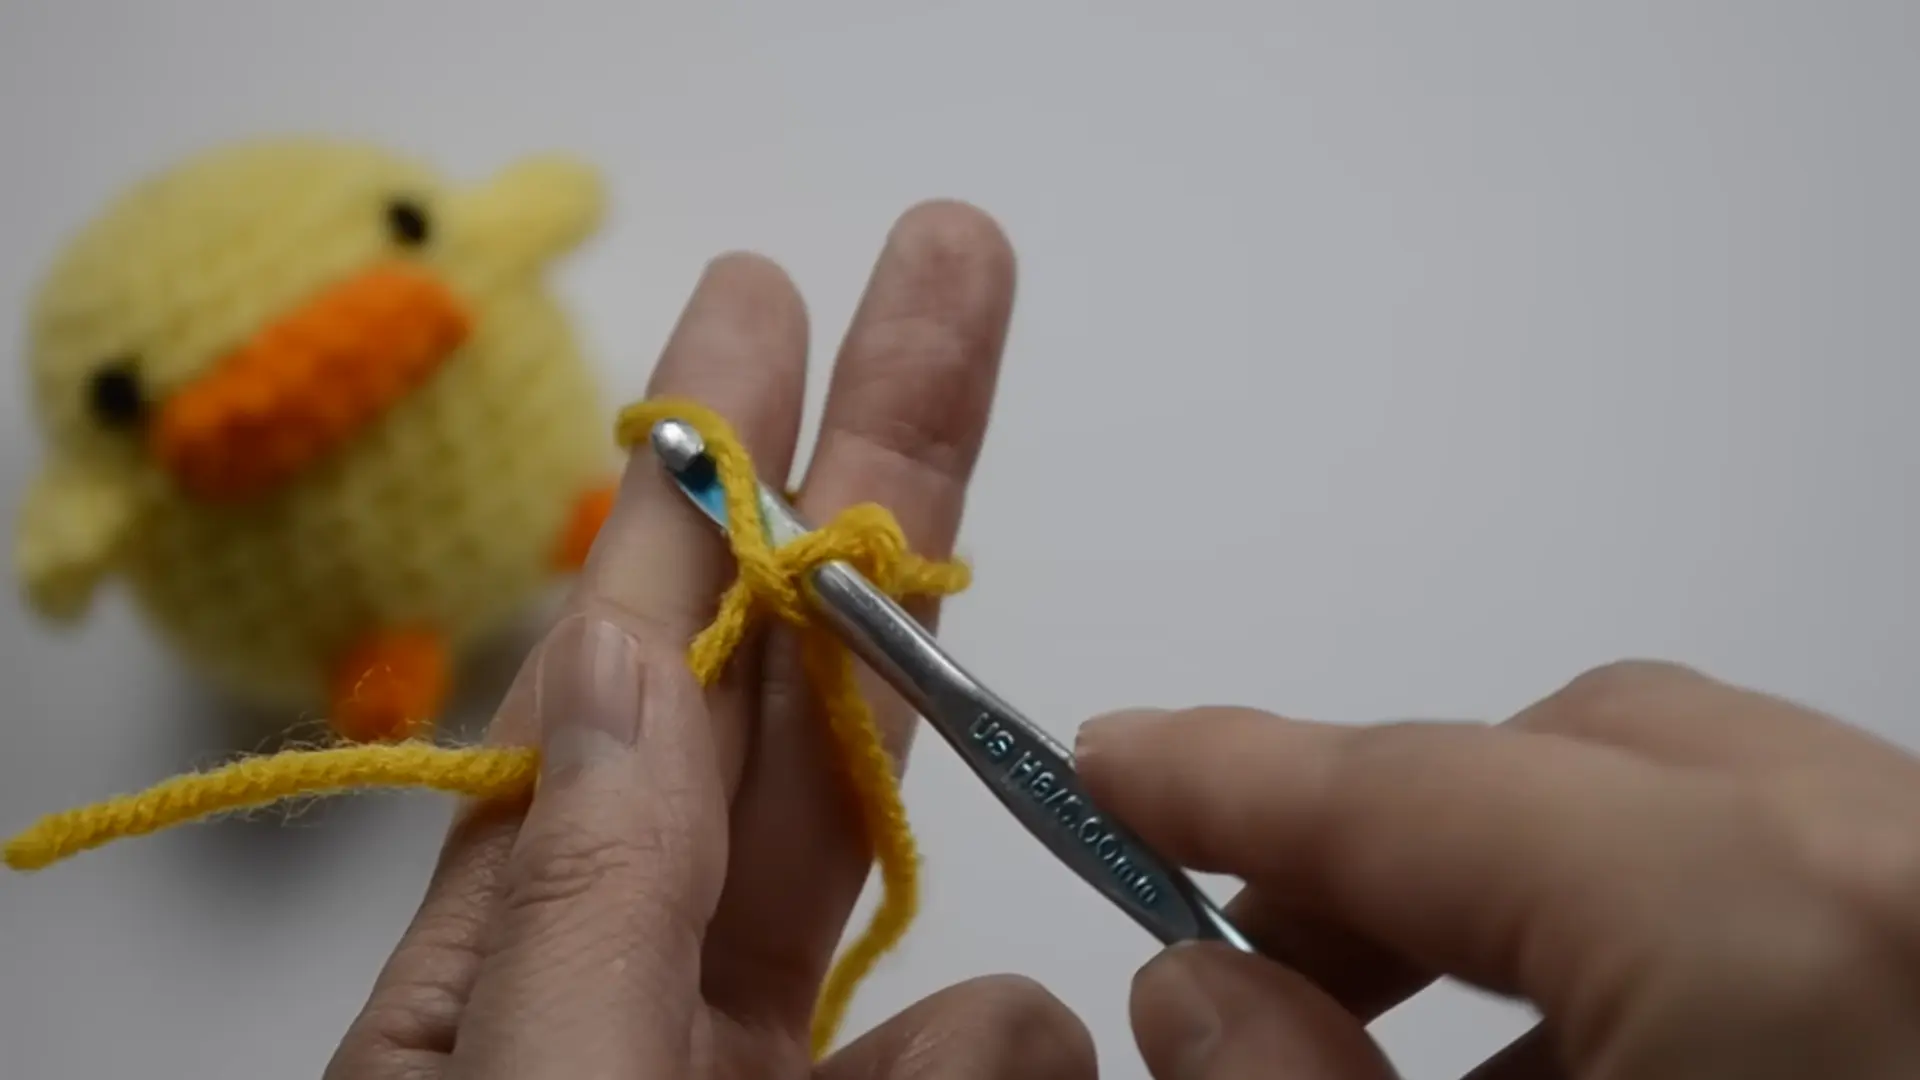
A slip knot is the very first loop that sits on your hook, kicking off your whole project.
Make a loop with your yarn, pull the working strand through it, and slide it onto your hook snugly, not too tight.
Beginner tip: leave a short tail of a few inches so it does not slip loose. Do not stress about perfection here; the slip knot is easy to redo if it feels off.
2. Crochet Your First Chain
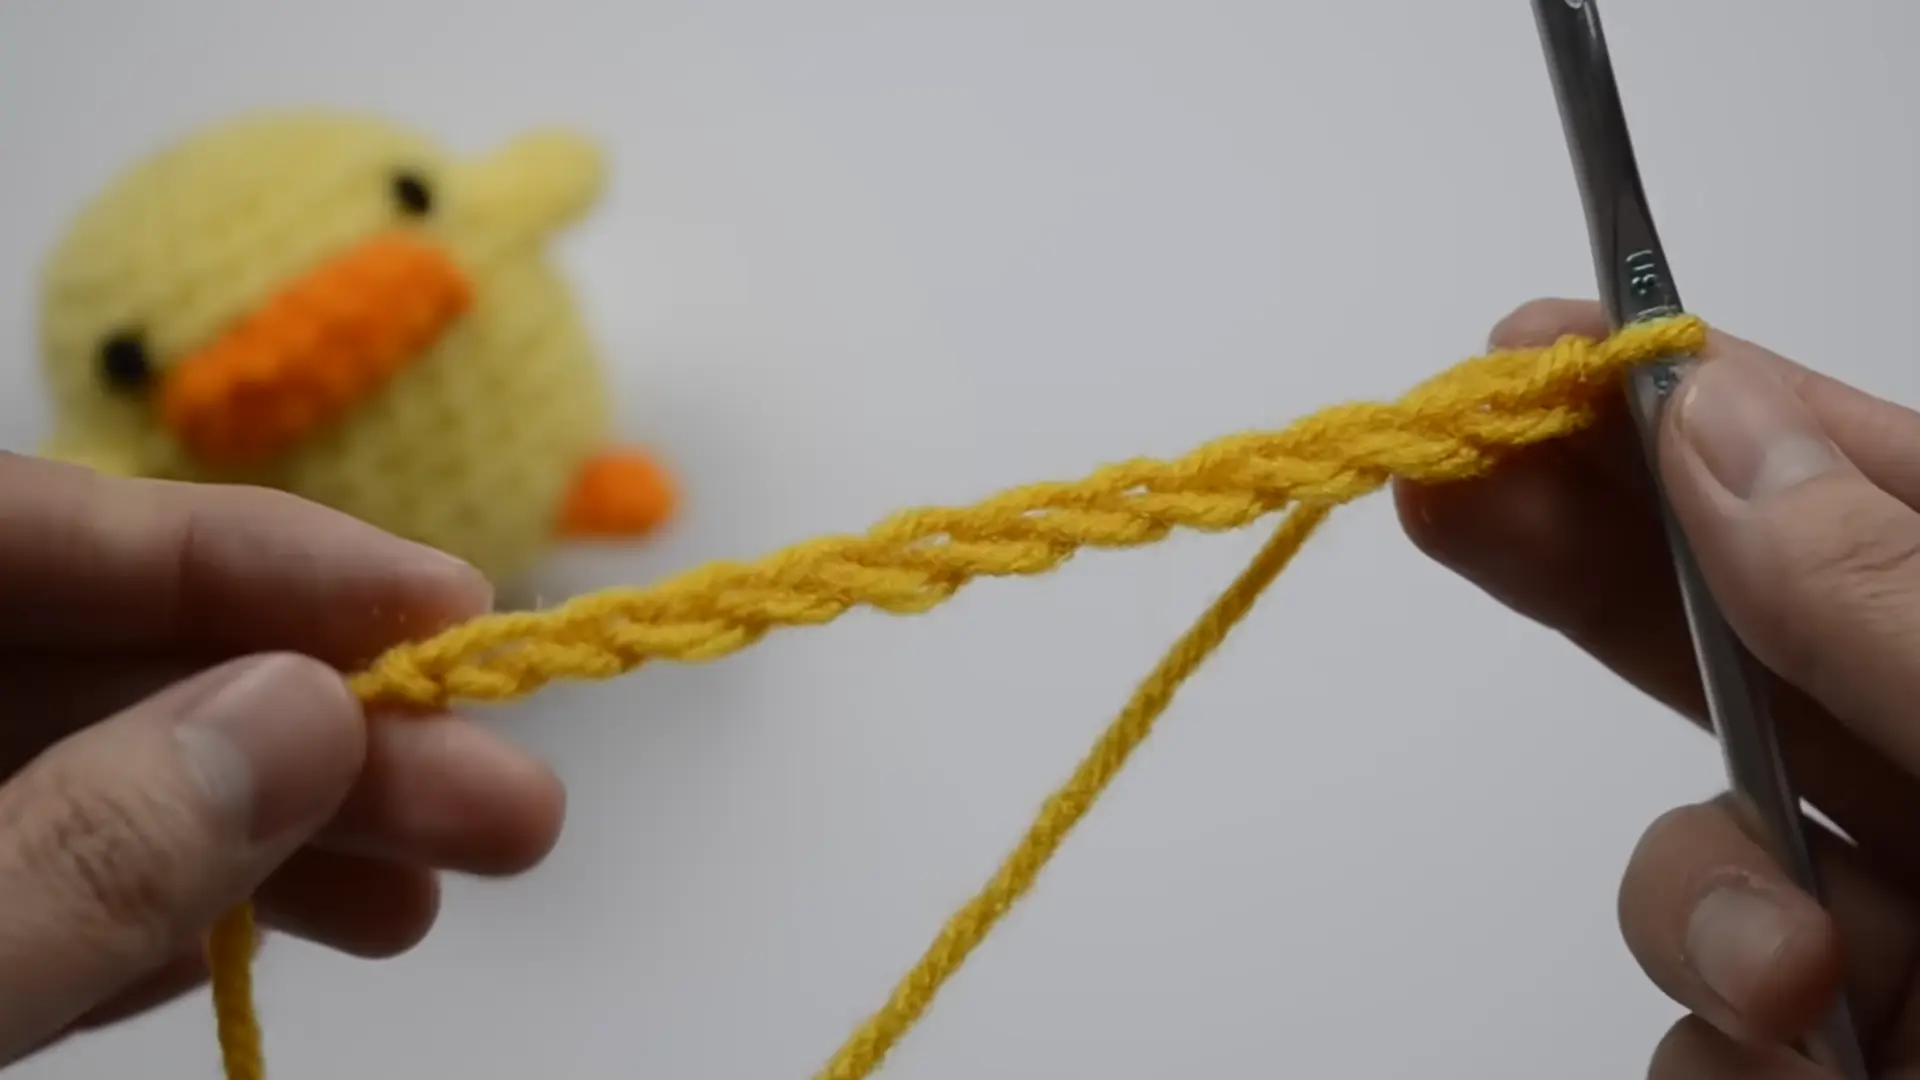
To yarn over, wrap the yarn around your hook from back to front, then pull it through the loop already on your hook; that is one chain done.
Repeat this motion slowly to build a row of even chains. Keep tension consistent so chains are not too tight or too loopy.
Practice a chain of twenty before moving forward; it builds real muscle memory fast.
Common mistakes to avoid: twisting chains, skipping the first loop, or accidentally working into the slip knot itself.
3. Work Your First Row
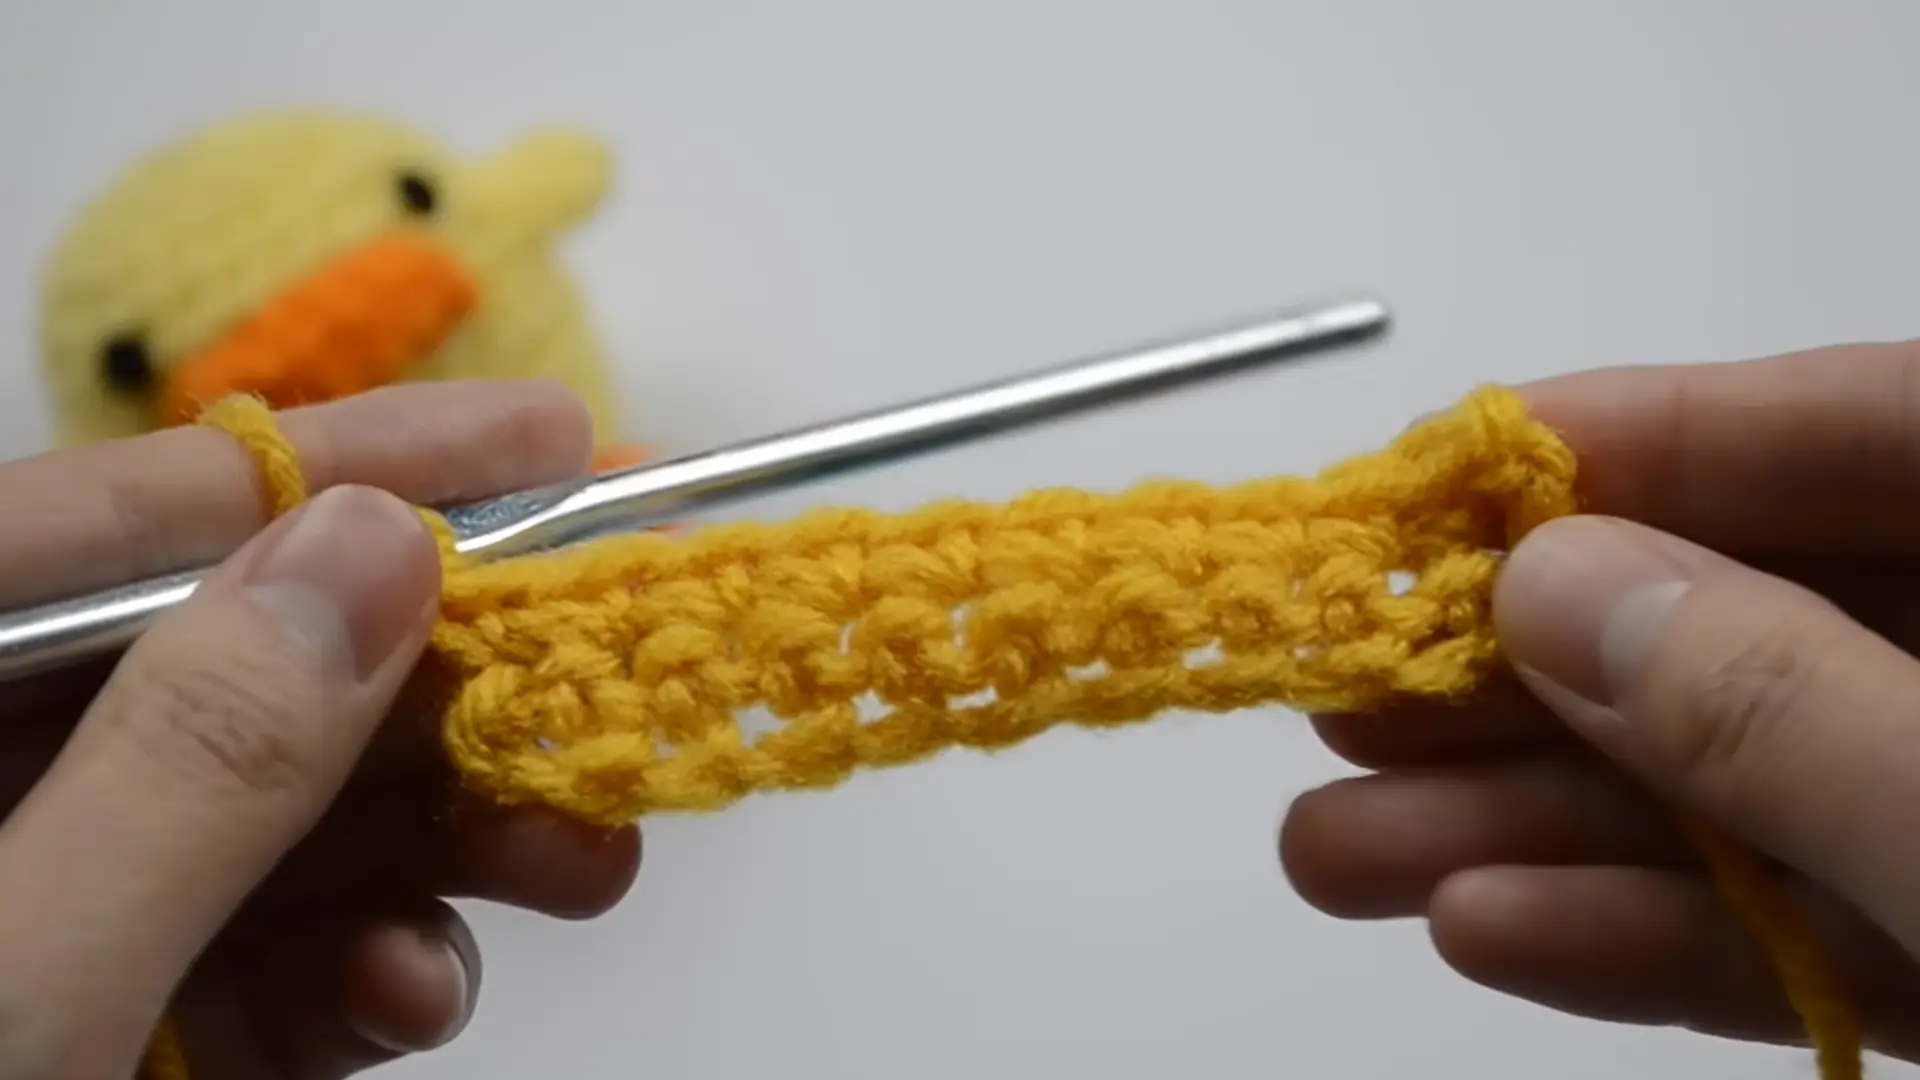
Insert your hook into the second chain from your hook, not the very first one, then yarn over and pull through, repeating this into each chain across the row.
This creates your first row of single crochet stitches. Go slowly, count your stitches often, and do not worry about wonky tension yet; that evens out with practice.
This first row is where crochet finally starts feeling real, and every wobbly stitch is proof you are learning.
4. Learn the Single Crochet Stitch
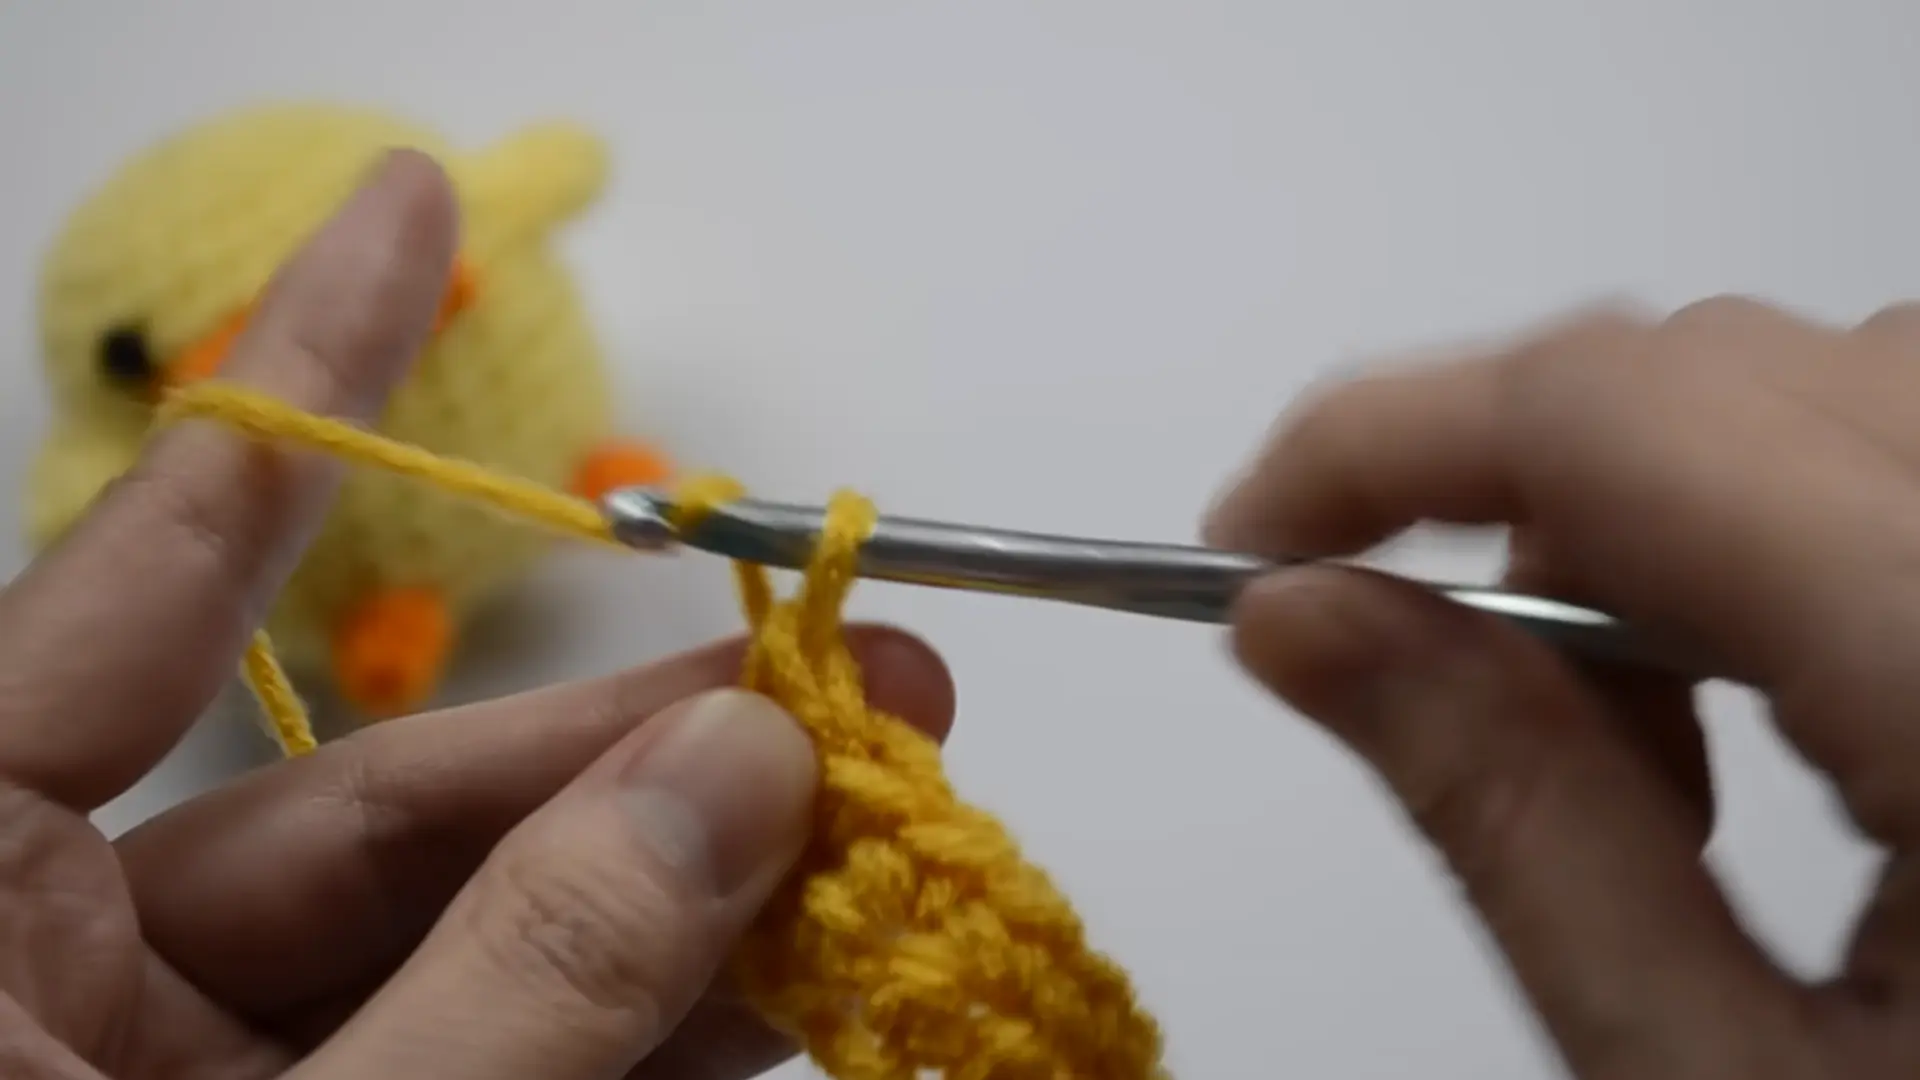
Insert your hook into a stitch, yarn over, and pull up a loop; you will now have two loops sitting on your hook.
Yarn over again and pull through both loops at once; that is one single crochet finished.
Repeat this same motion across the row, one stitch at a time. Stitch counting matters here; pause every few stitches to count and make sure you have not accidentally added or skipped one.
5. Practice Turning Your Work
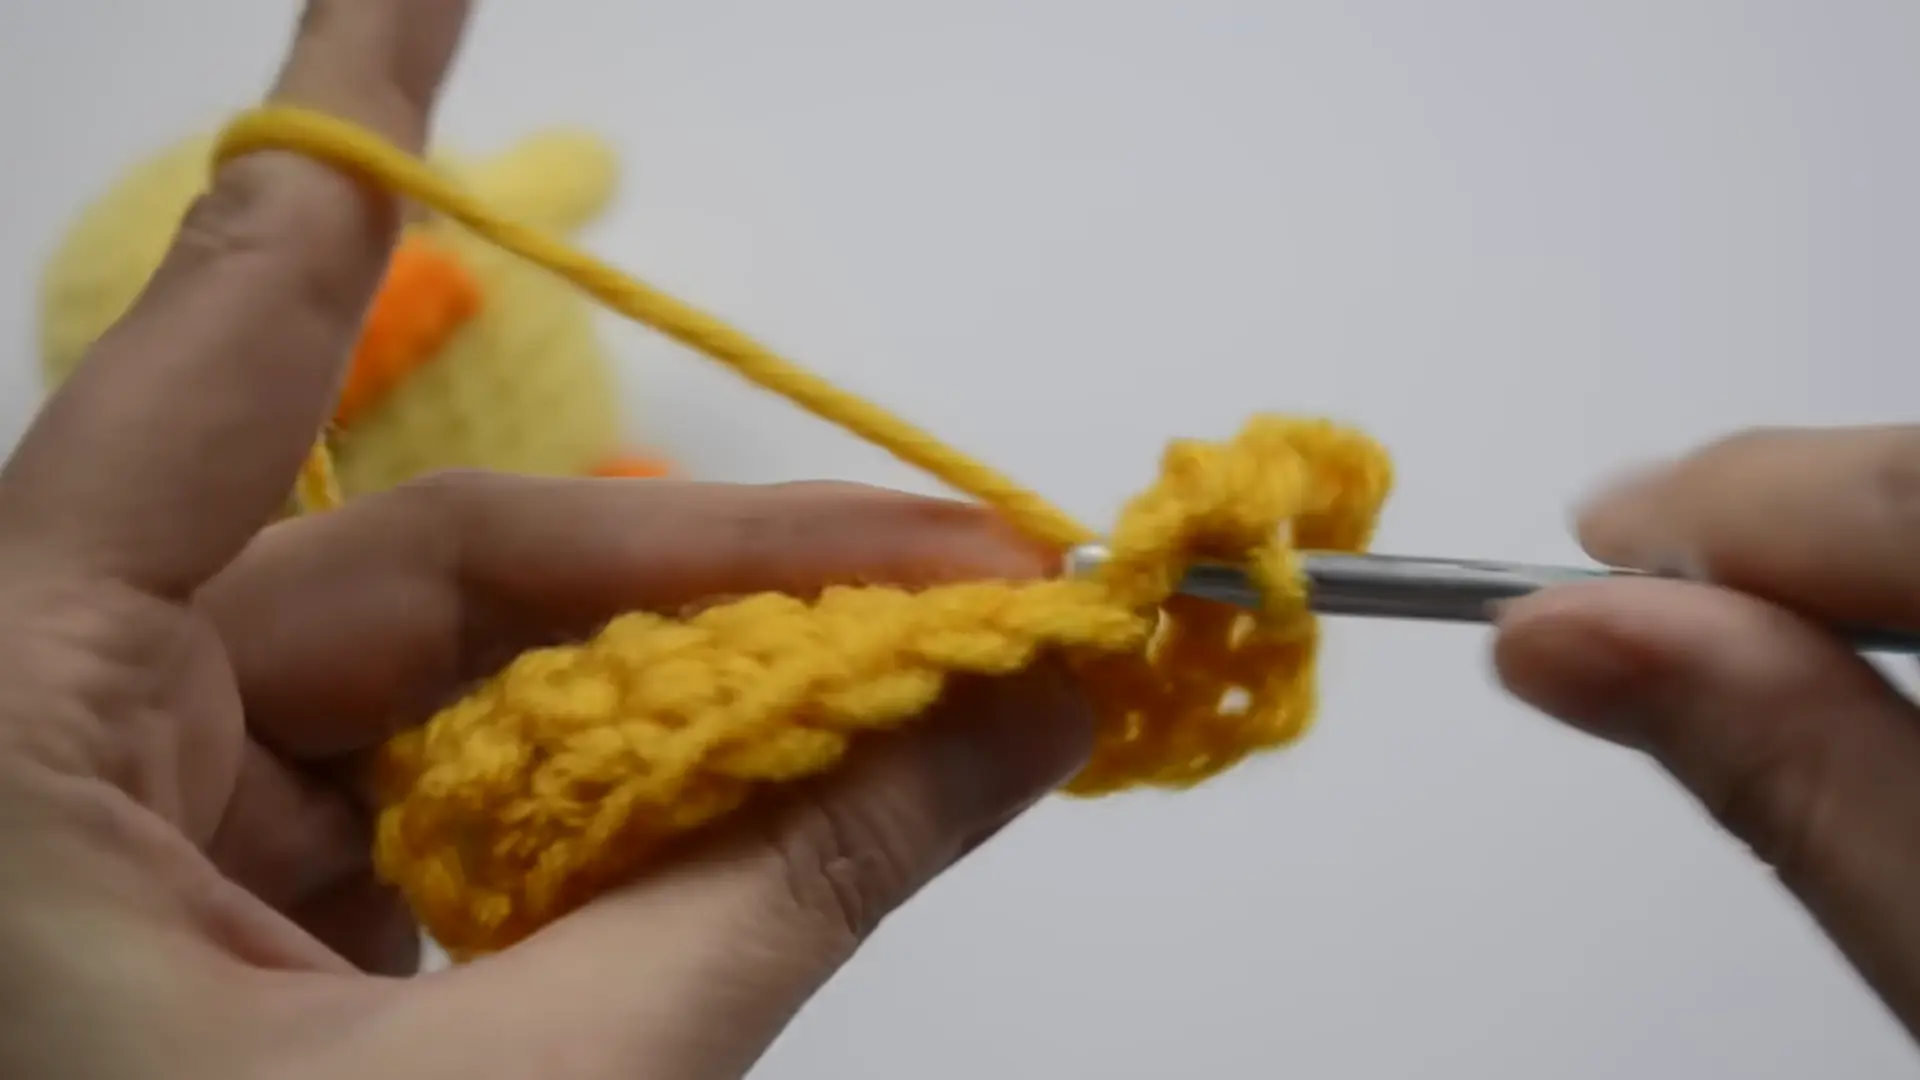
At the end of a row, chain one before turning; this is your turning chain, and it sets the height for the next row.
Flip your work like a page in a book, keeping the yarn attached and untangled.
Insert your hook into the first proper stitch, not the turning chain itself, and begin your new row.
This rhythm of chain, turn, stitch becomes second nature fast, and soon you would not even think twice about it.
6. Finish and Fasten Off
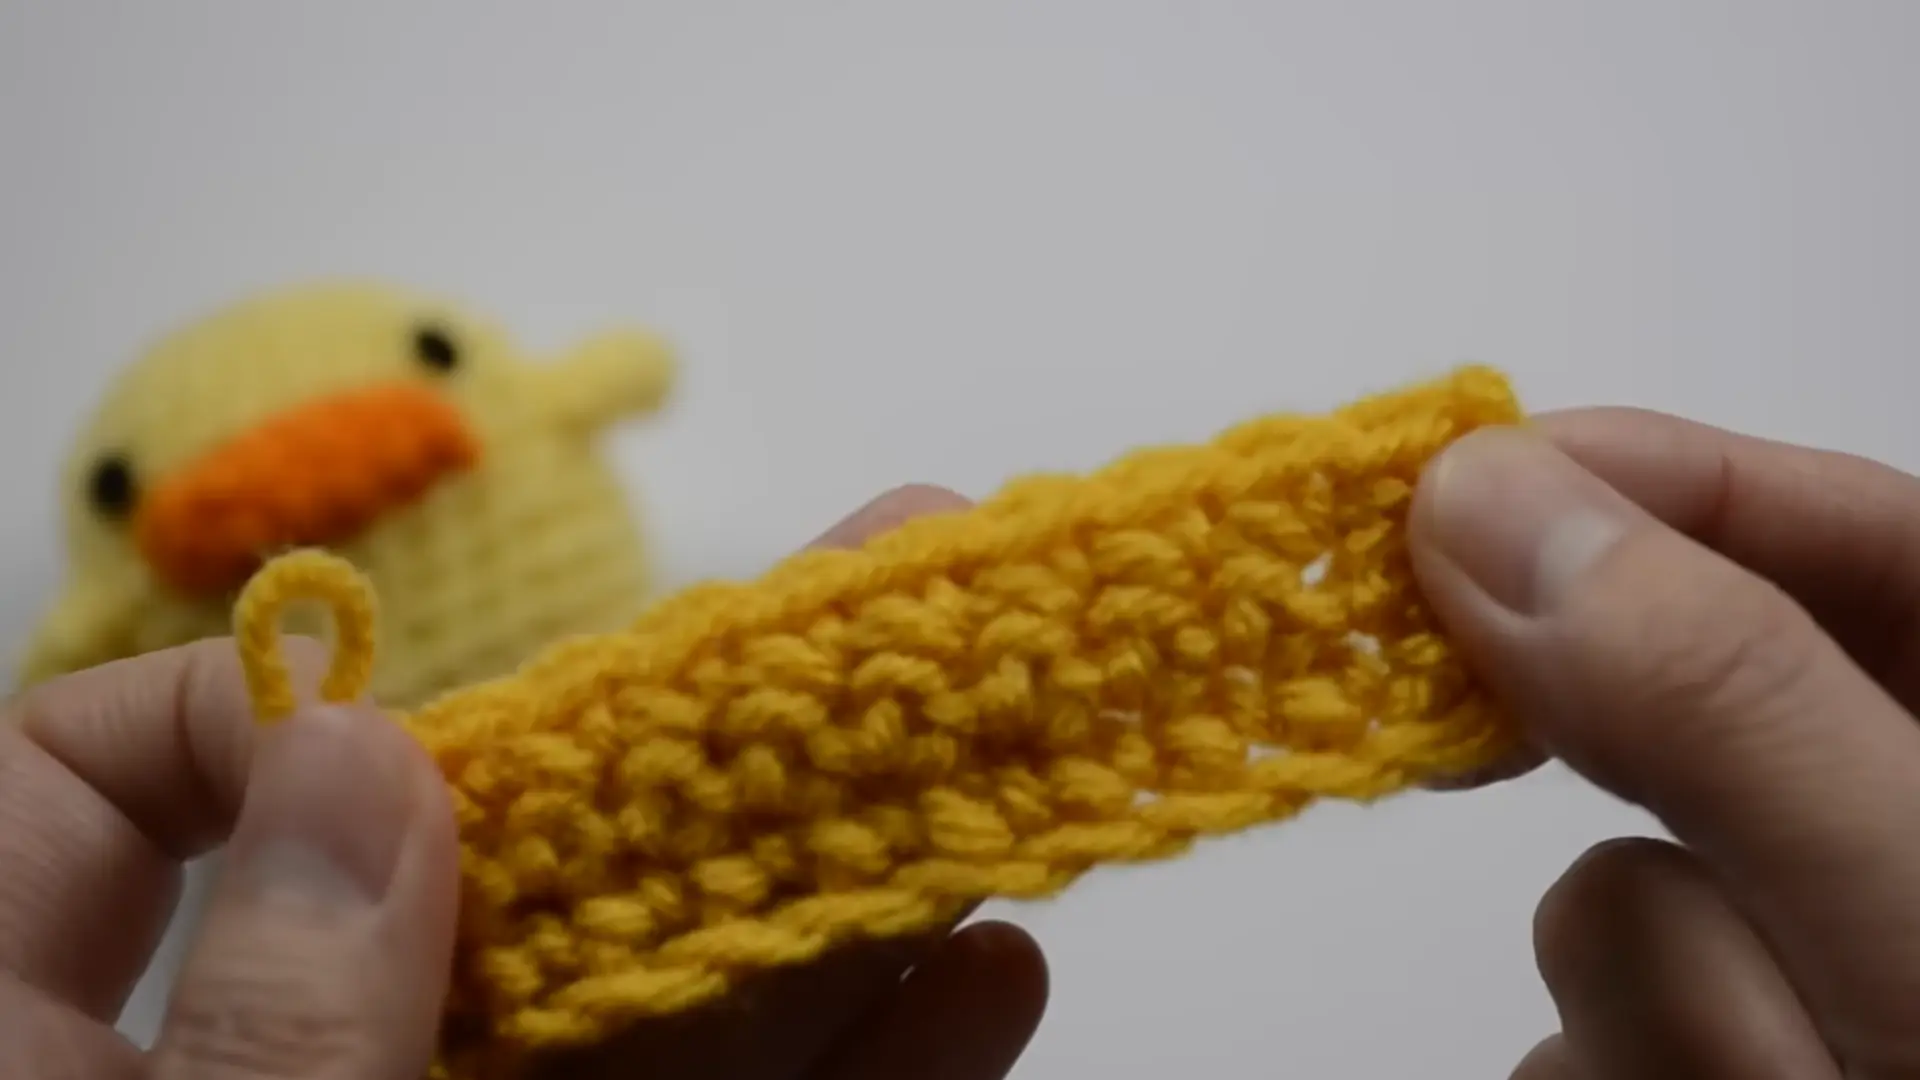
Once your practice piece feels complete, cut the yarn a few inches from your work, leaving a tail.
Yarn over one last time and pull the tail all the way through your final loop, pulling snug to lock it in place.
That’s fastening off done. Finally, thread the tail onto a yarn needle and weave it in and out of nearby stitches to hide it completely.
Practice These Beginner Crochet Stitches Next
Once your first row feels solid, it’s time to expand your stitch toolkit. These five stitches form the backbone of nearly every crochet pattern you’ll come across, so getting comfortable with them now sets you up for pretty much anything later.
- Single Crochet: A short, dense stitch that creates a tight, sturdy fabric. Commonly used for amigurumi, dishcloths, and coasters.
- Half Double Crochet: A medium-height stitch that works up faster than single crochet while staying cozy and dense. Commonly used for blankets, hats, and scarves.
- Double Crochet: A tall, quick-growing stitch that creates an open, drapey fabric. Commonly used for blankets, garments, and shawls.
- Slip Stitch: A flat stitch with almost no height, used to join rounds and move across stitches. Commonly used for edging and finishing touches.
- Chain Stitch: The foundational stitch that starts most projects and forms turning chains. Commonly used for foundations, lacy patterns, and drawstrings.
Easy Crochet Projects for Absolute Beginners
Once your basic stitches feel steady, these six projects are perfect next steps. They are small enough to finish quickly, but each one teaches a new skill you will use forever.
1. Simple Dishcloth
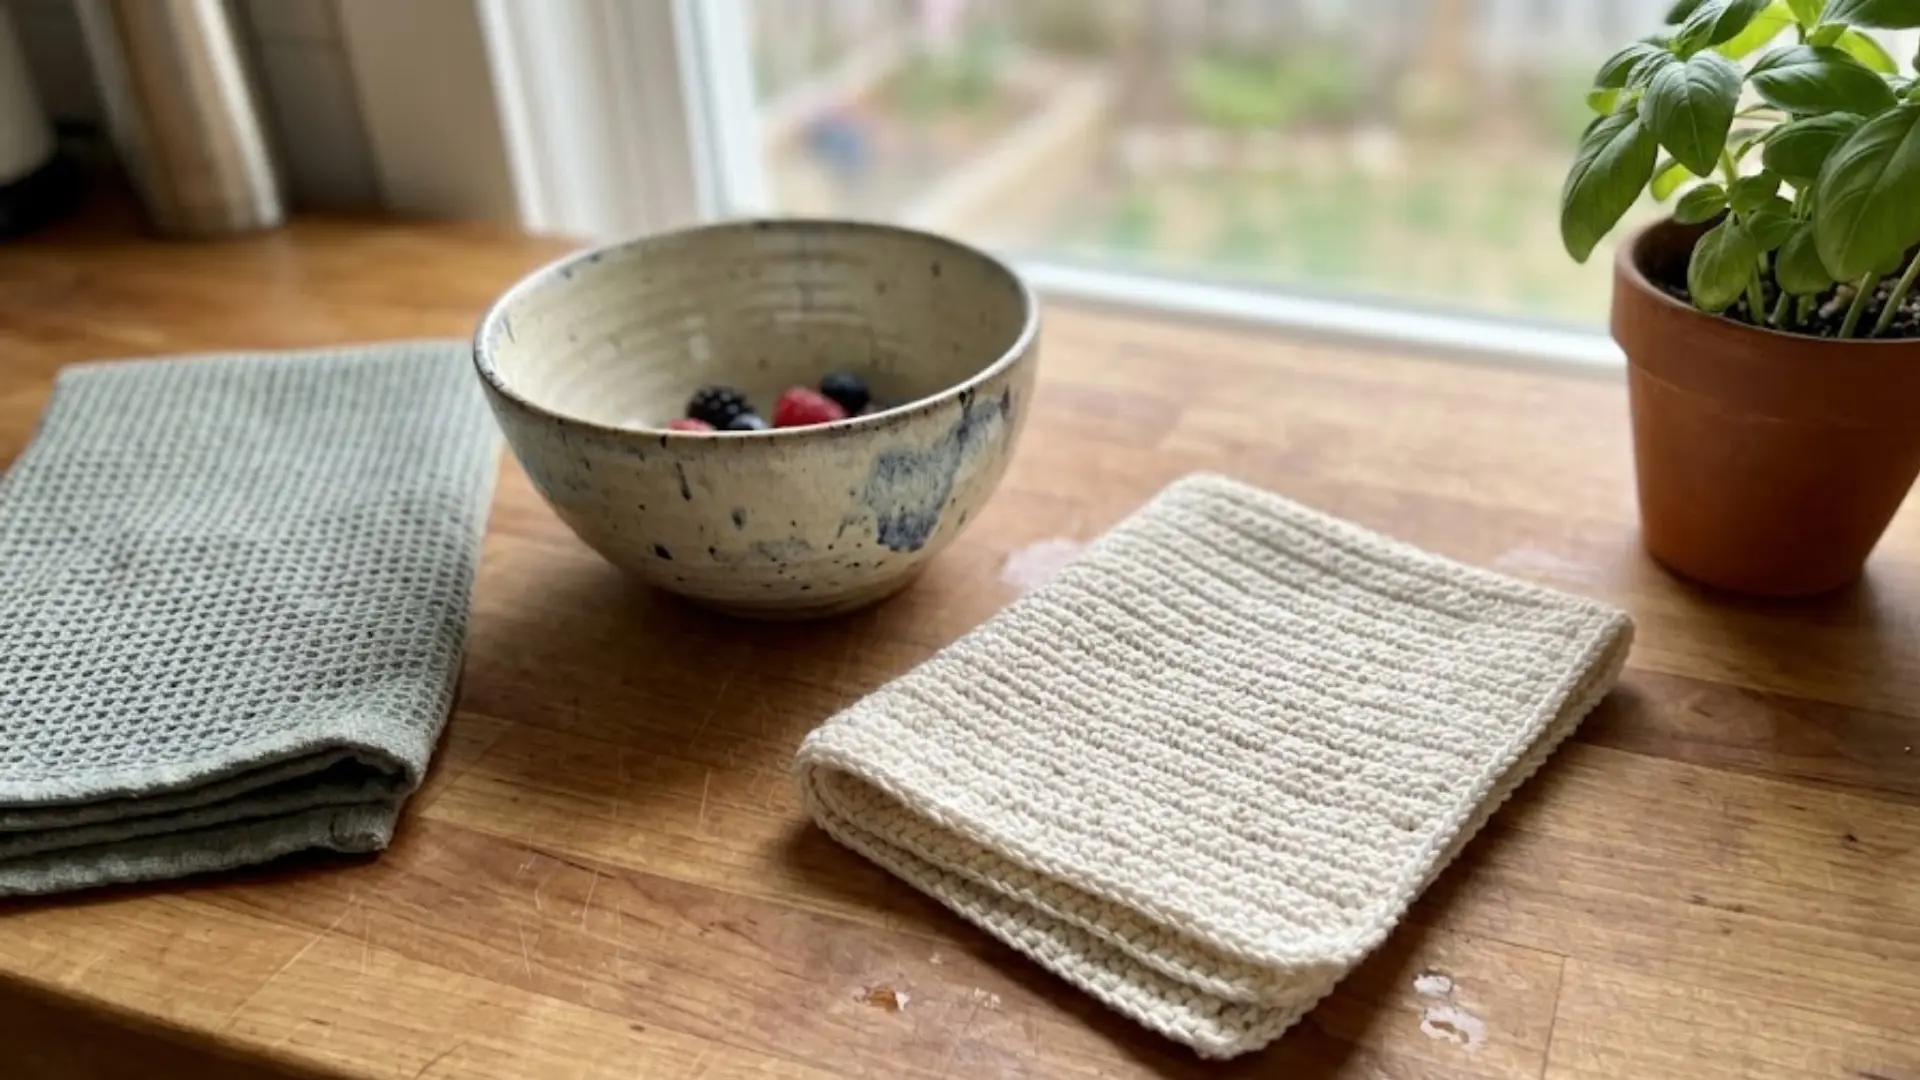
A dishcloth is essentially a square, so there is no shaping to worry about, just steady repetition.
It is the perfect first real project since mistakes are easy to spot and fix, and finishing it gives you an instant confidence boost before moving on to anything trickier.
- Difficulty level: Beginner
- Skills you will practice: Single crochet, counting stitches, and keeping even tension across straight rows.
- Estimated completion time: 1 to 2 hours
2. Mug Cozy Crochet
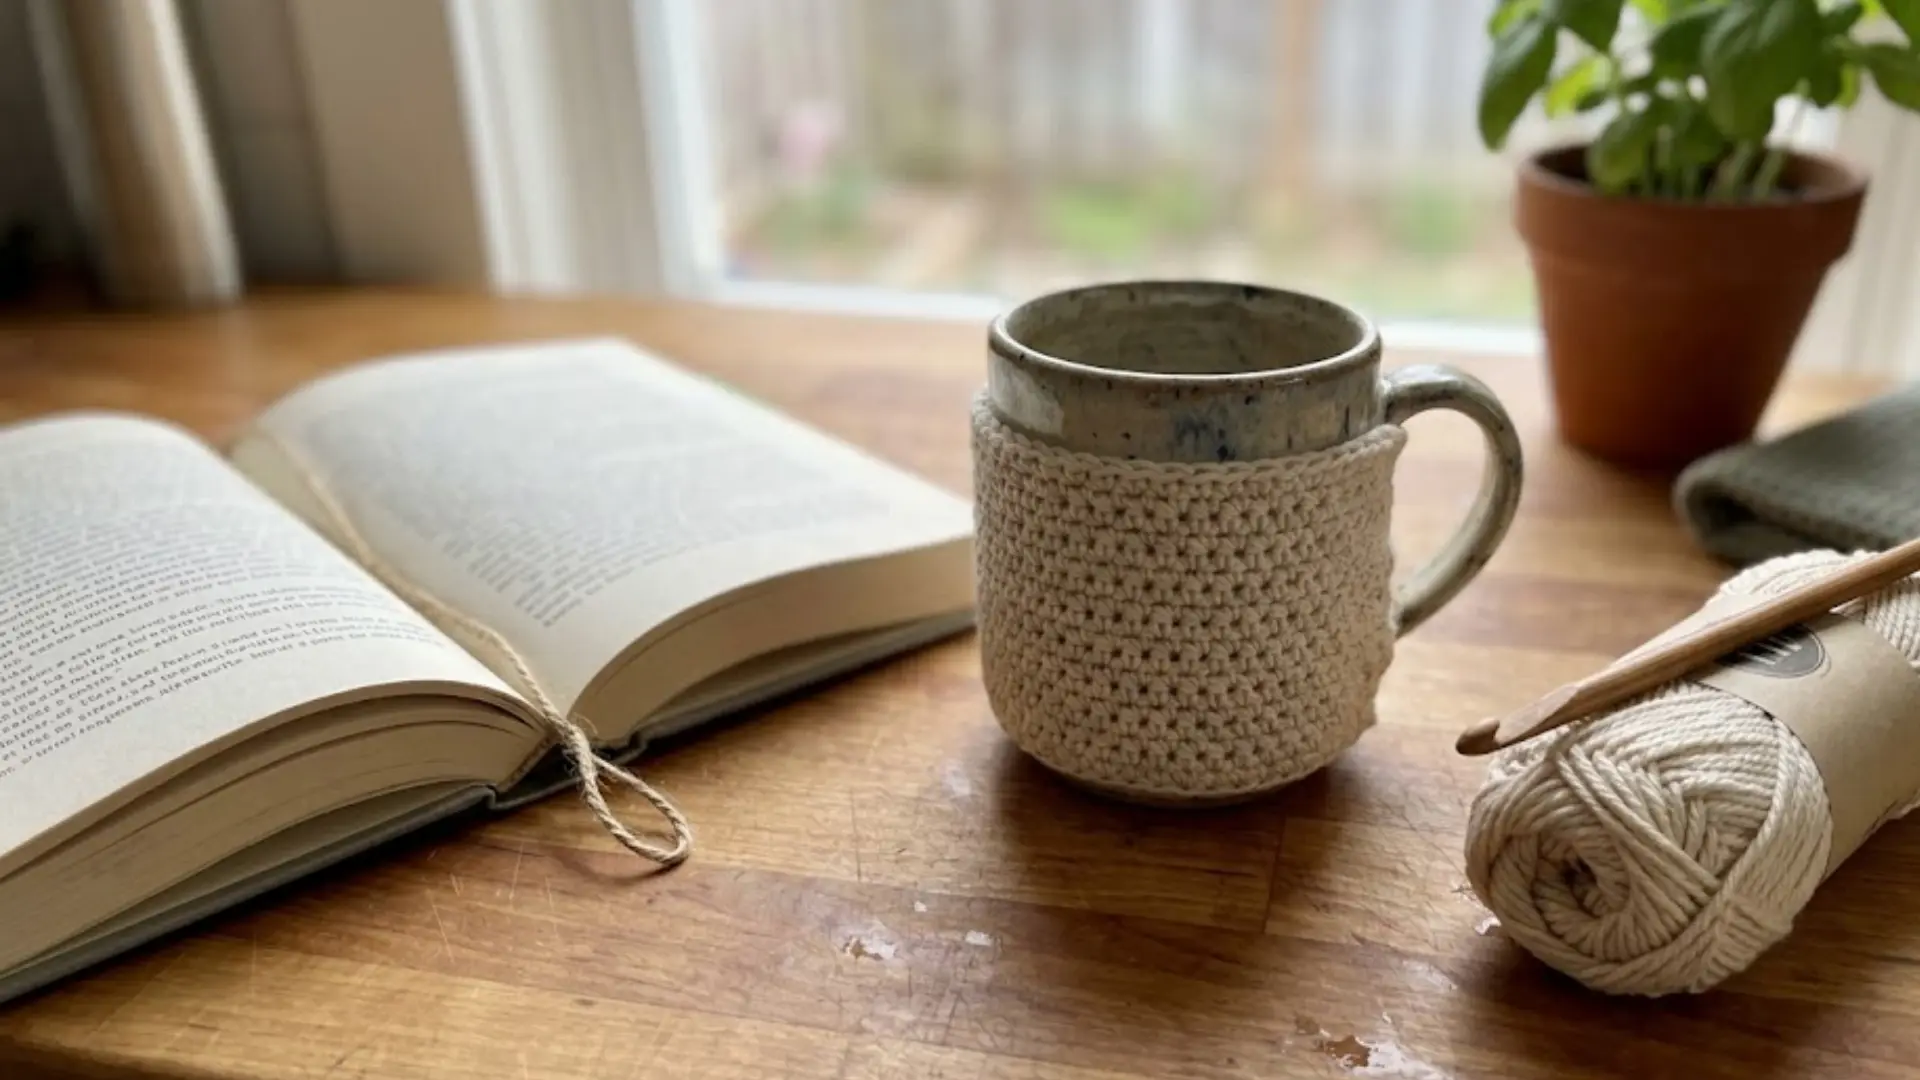
It introduces the magic ring and slip stitch joins in a low-pressure way.
Because it is so small, you will finish fast and immediately have something cute and useful, perfect motivation to keep going and try your next project with a little more confidence.
- Difficulty level: Beginner
- Skills you will practice: Working in rounds, joining stitches, and basic shaping around a small tube.
- Estimated completion time: 30 to 45 minutes
3. Headband
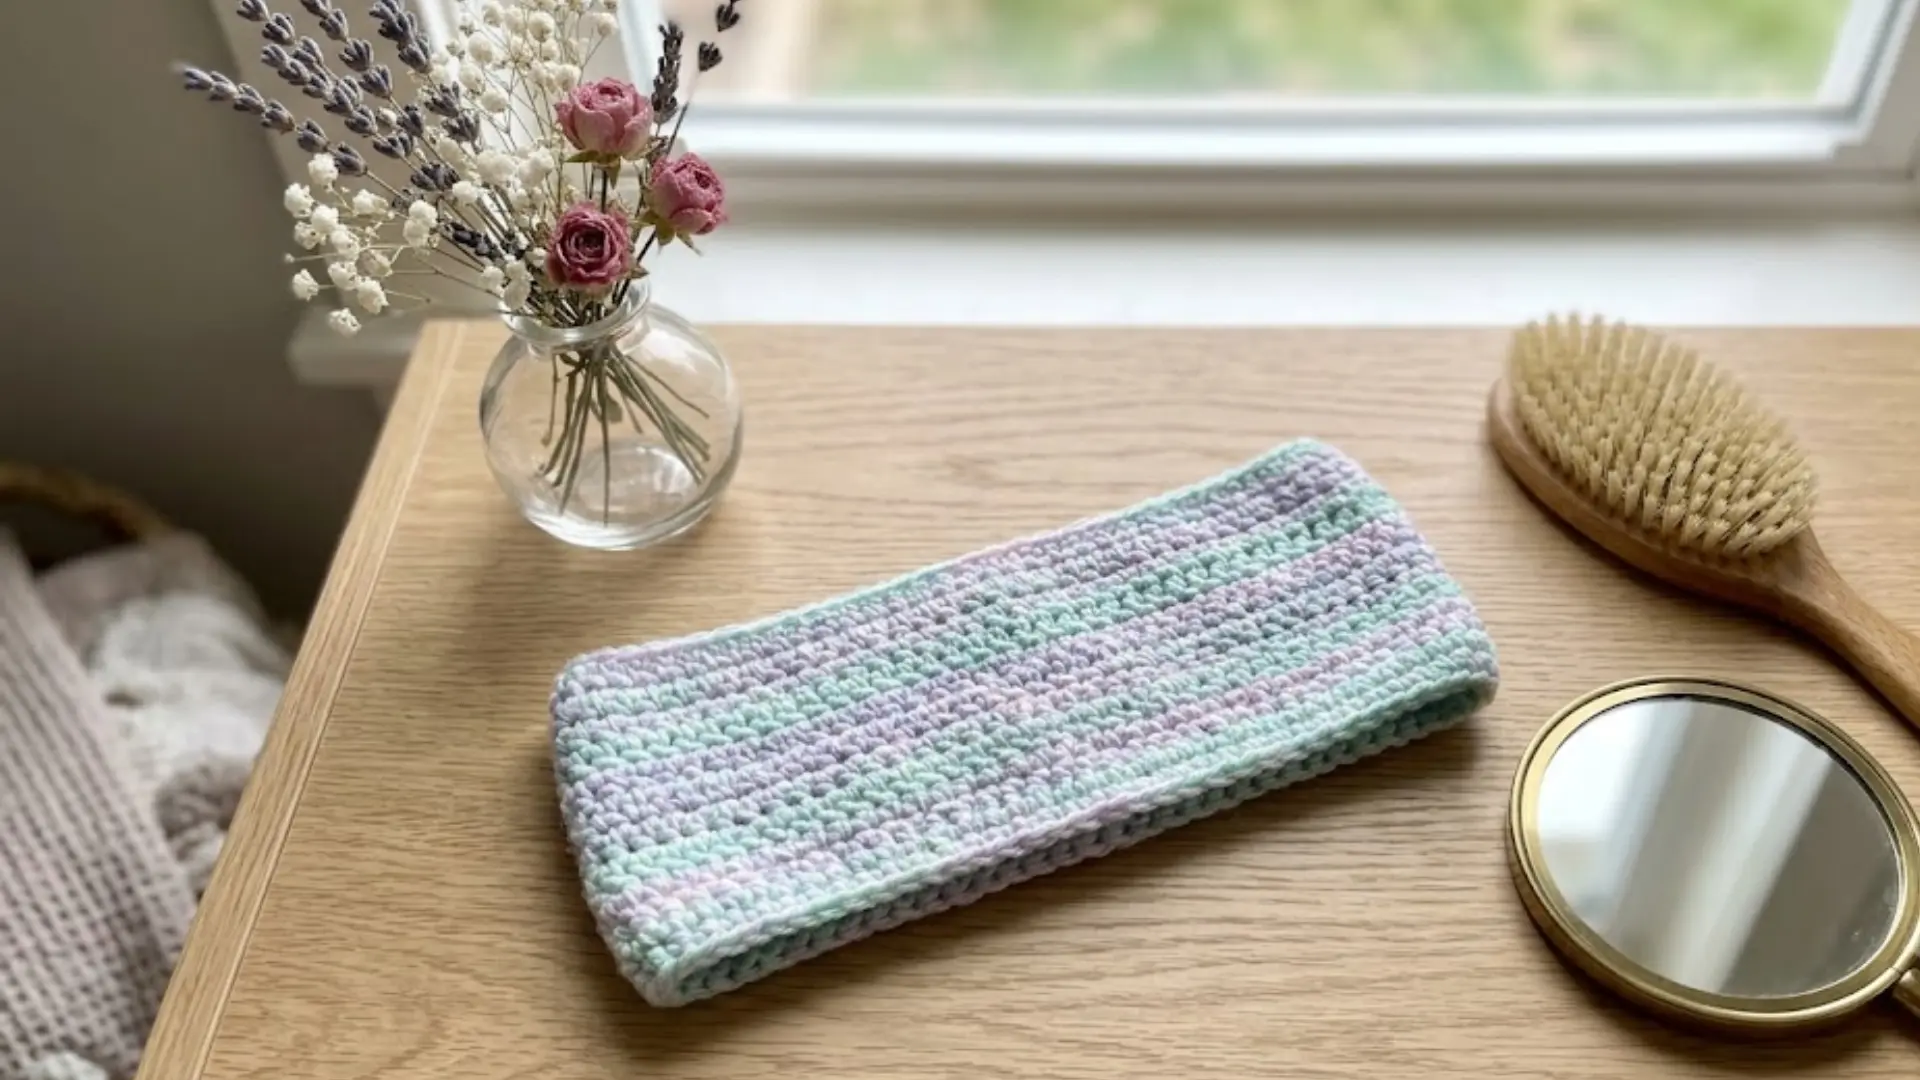
It is a great intro to sizing a project to fit something specific, like your own head.
Headbands also introduce simple embellishments if you want to add a button or bow, giving you a taste of customizing patterns beyond the basic instructions.
- Difficulty level: Beginner to easy-intermediate
- Skills you will practice: working in rows, basic shaping, and seaming or buttoning the ends together.
- Estimated completion time: 1 to 2 hours
Common Beginner Crochet Mistakes (And Easy Fixes)
Even experienced crocheters mess up sometimes, so do not sweat it if these show up in your early practice.
Here is a quick cheat sheet for the most common hiccups and how to fix them fast.
| Mistake | Why It Happens | How to Fix It |
|---|---|---|
| Uneven tension | Pulling yarn too tightly | Relax your grip |
| Missing stitches | Not counting | Count every row |
| Twisted chain | Starting too fast | Lay the chain flat |
| Wrong hook size | Incorrect materials | Match hook to yarn |
| Tight foundation chain | Beginners pull too hard | Make chains loosely |
| Frustration after mistakes | Learning curve | Frog and try again |
Conclusion
Starting something new always feels a little wobbly at first, and crochet is no different.
The tangled yarn, the dropped stitches, the moments you wanted to give up; they are all part of the process, not signs you are doing it wrong.
Here is the truth: your first rows probably will not look Pinterest-perfect, and that is completely okay.
Every crocheter you admire started with wonky tension and mismatched stitches too.
Share your first project, your favorite stitch, or even your funniest crochet fail in the comments below.
Frequently Asked Questions
How Long Does It Take to Learn Crochet?
Most people feel comfortable with the basics within 1 to 2 weeks of regular practice. Getting truly confident with tension, counting, and multiple stitches usually takes a few weeks of consistent stitching.
How Much Does It Cost to Start Crocheting?
Starting out is refreshingly cheap. A hook, one skein of yarn, and a small pair of scissors can cost as little as ten to fifteen dollars, making crochet one of the most budget-friendly hobbies around.
Which Crochet Hook Size Is Best for Beginners?
A 5mm (H-8) hook paired with medium-weight (#4) yarn is the standard beginner combo. It’s large enough to see your stitches clearly but not so bulky that it feels unwieldy in your hands.